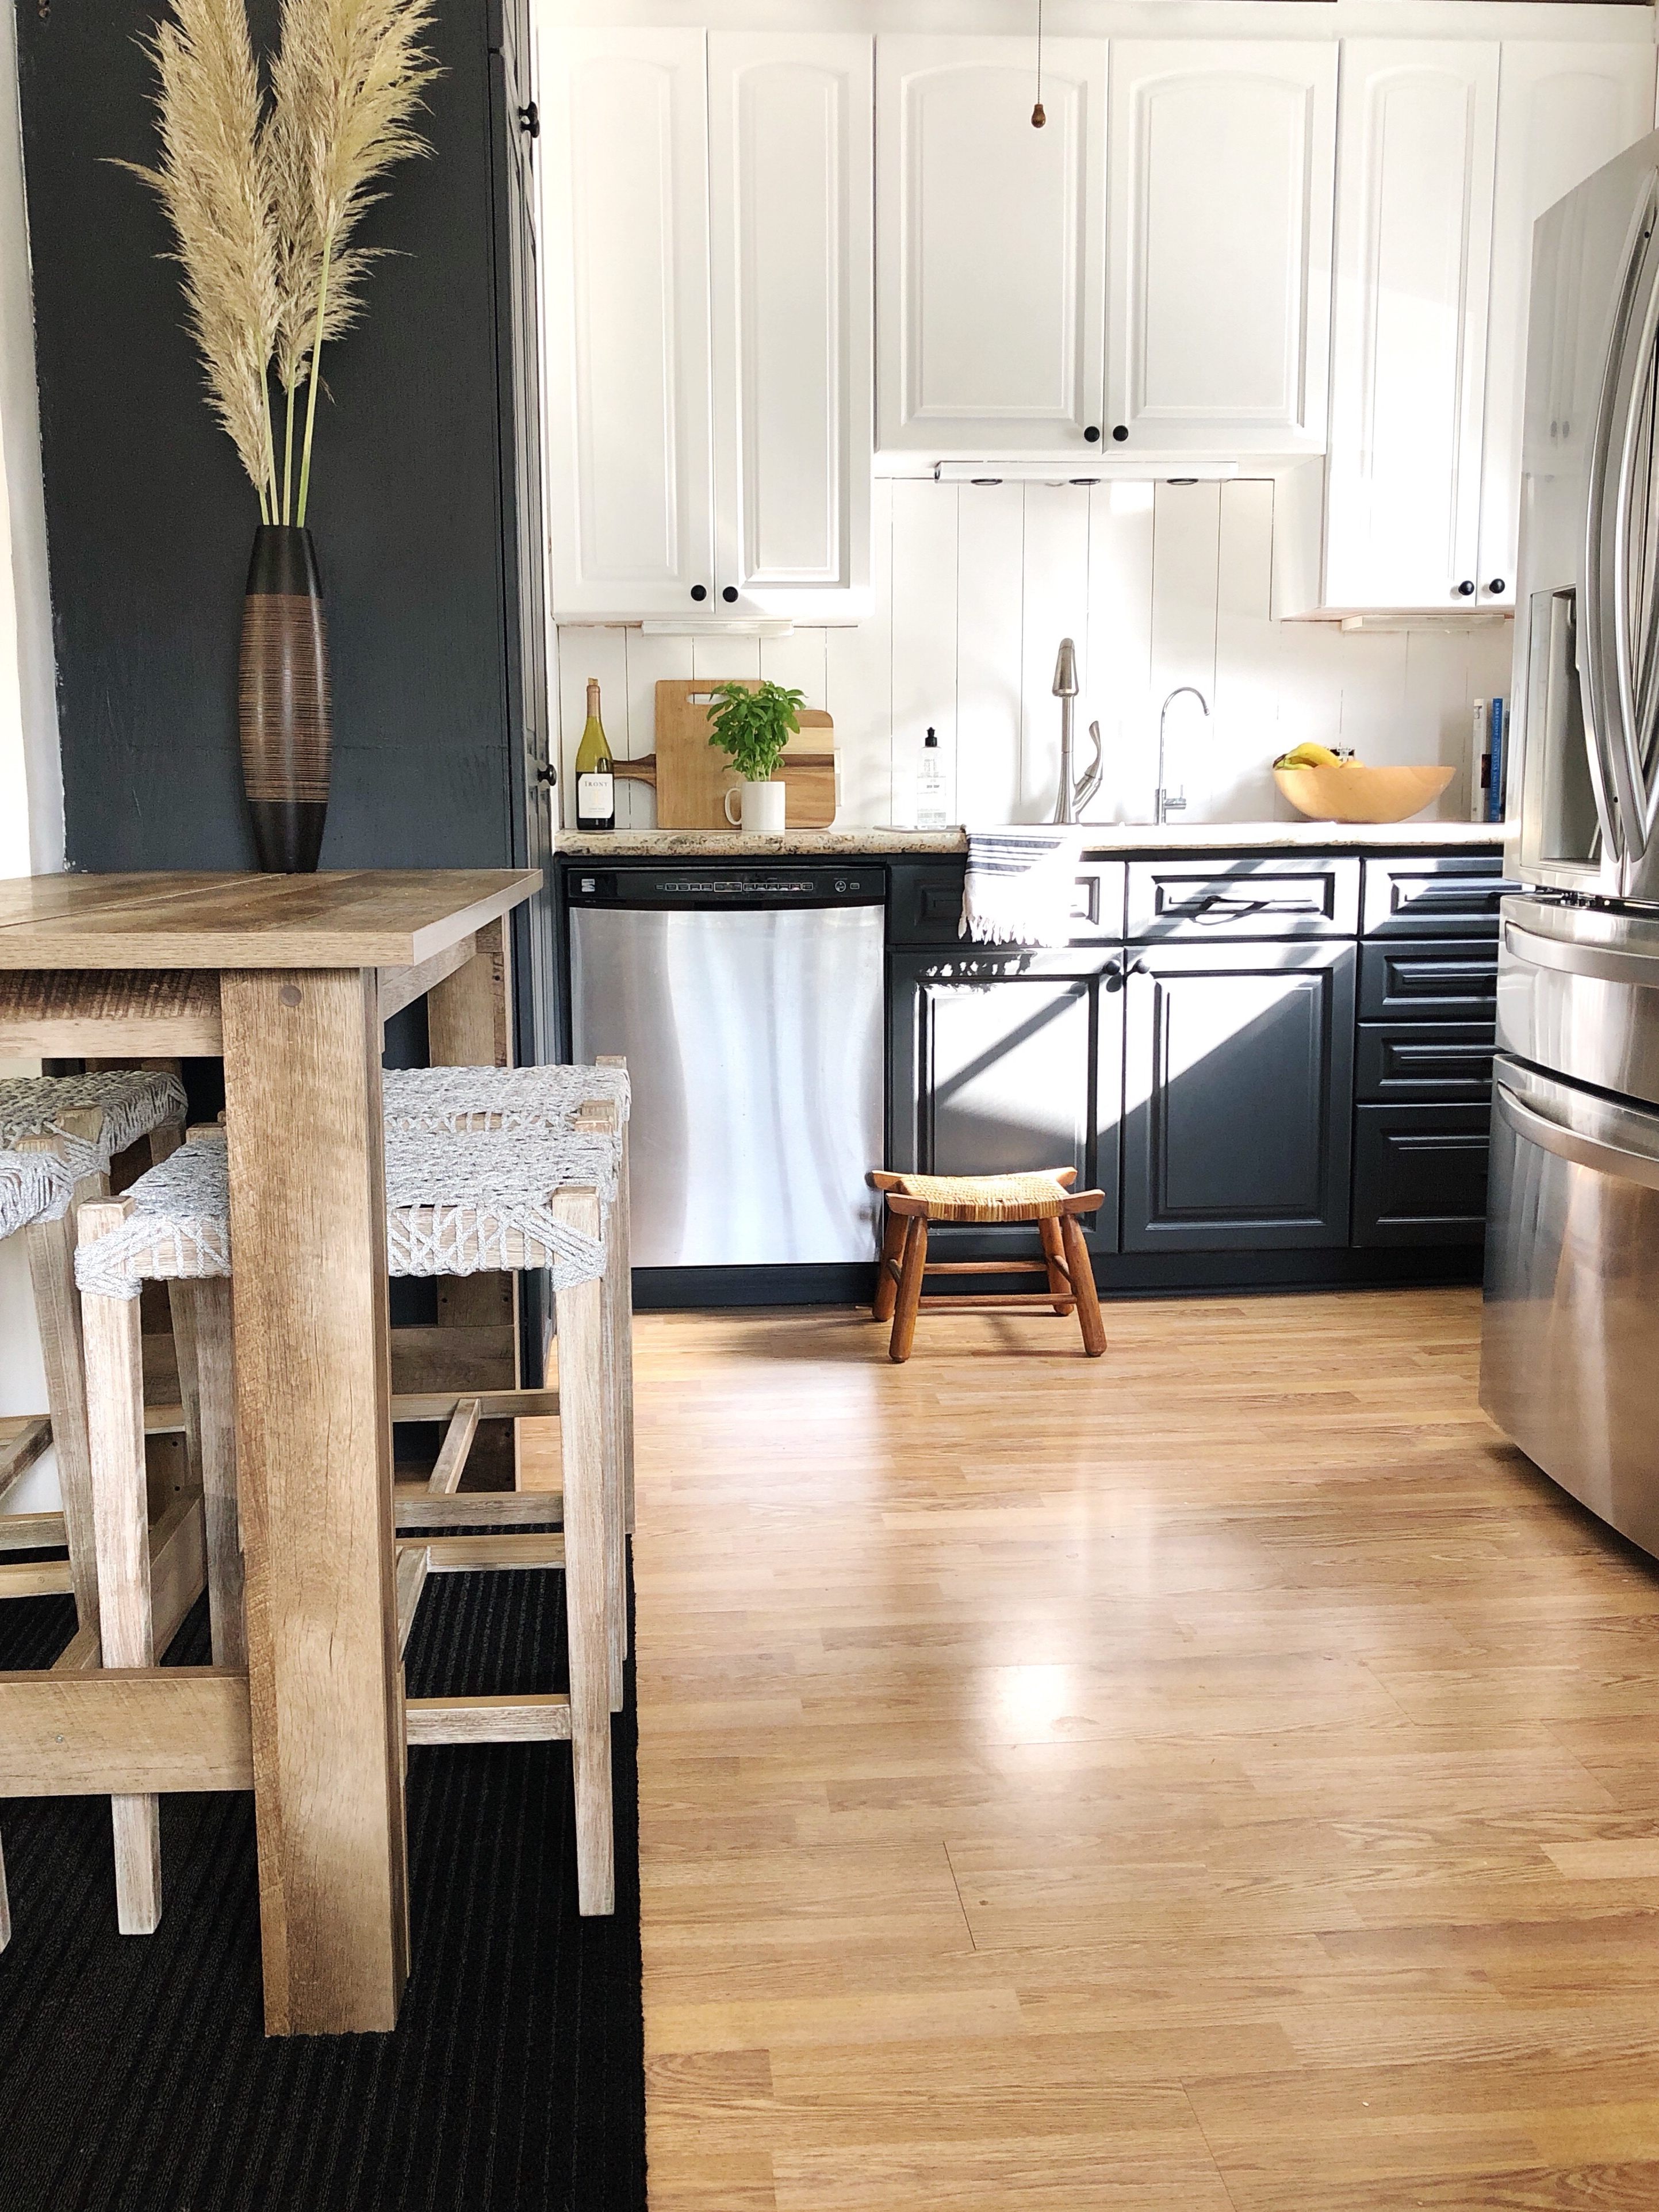
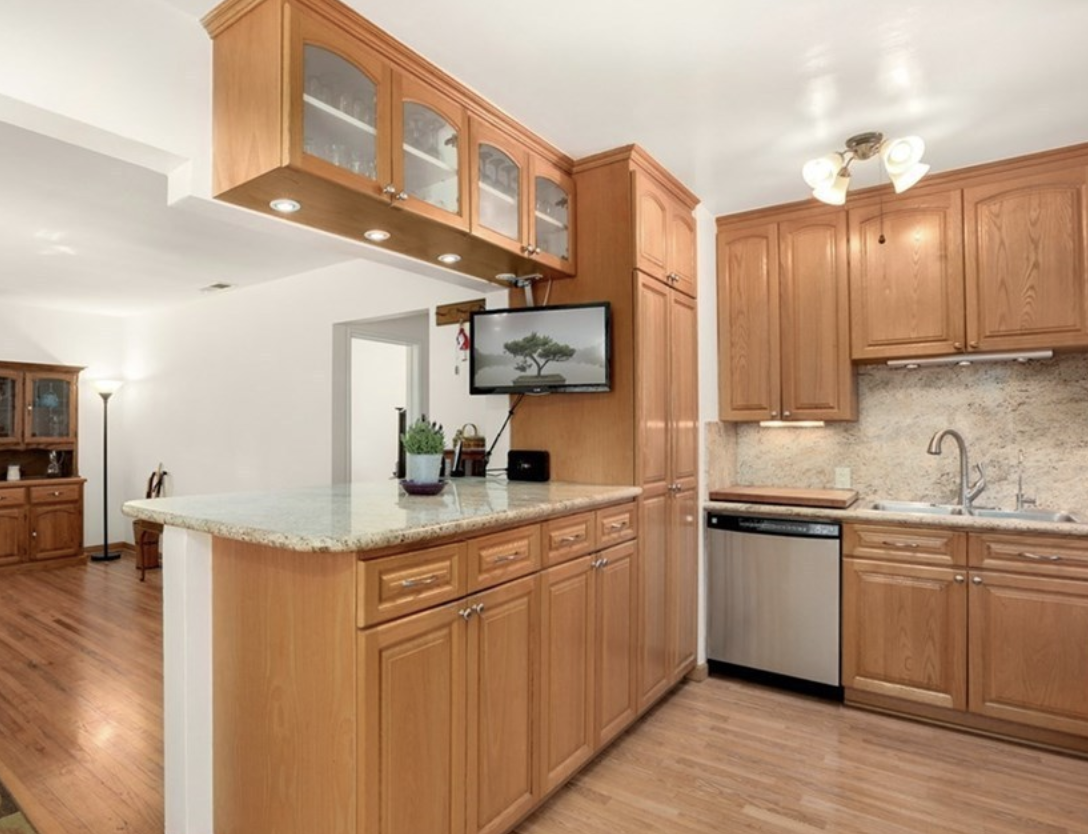
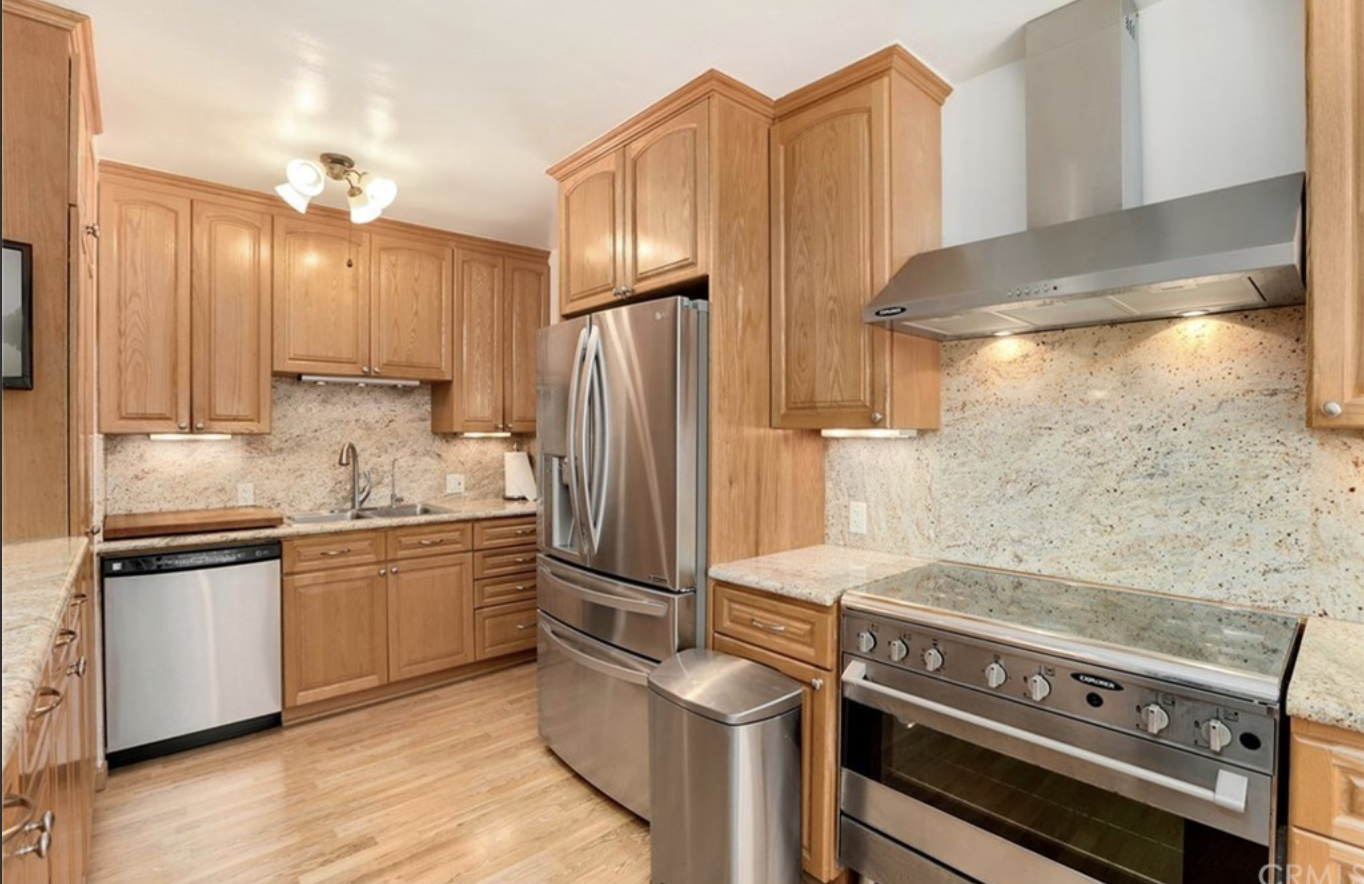
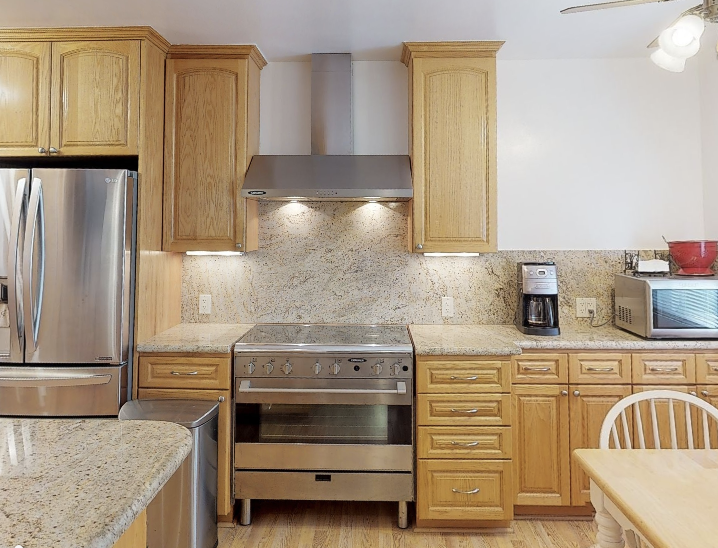
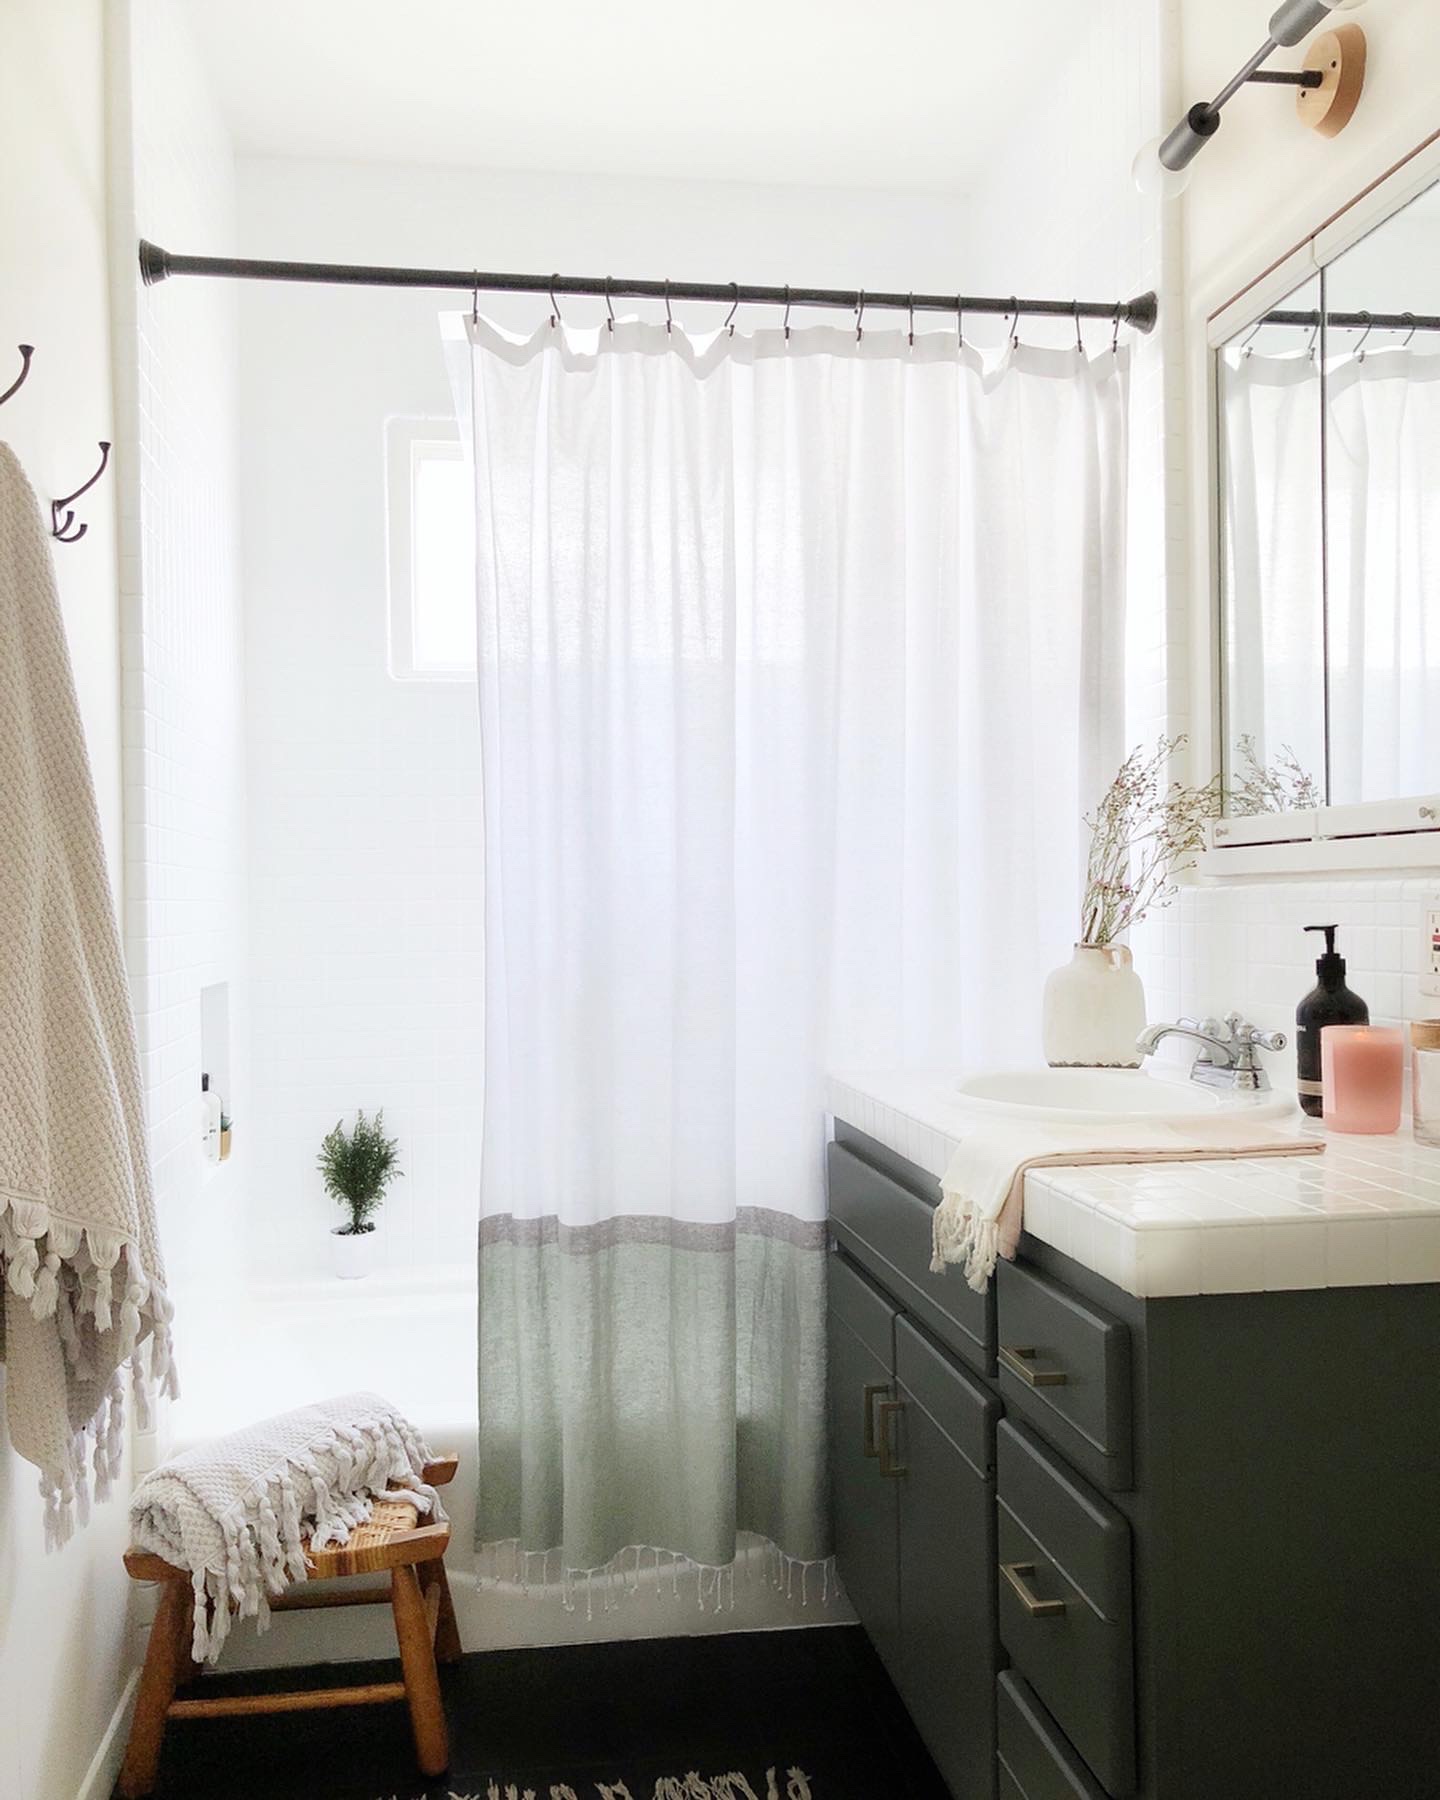
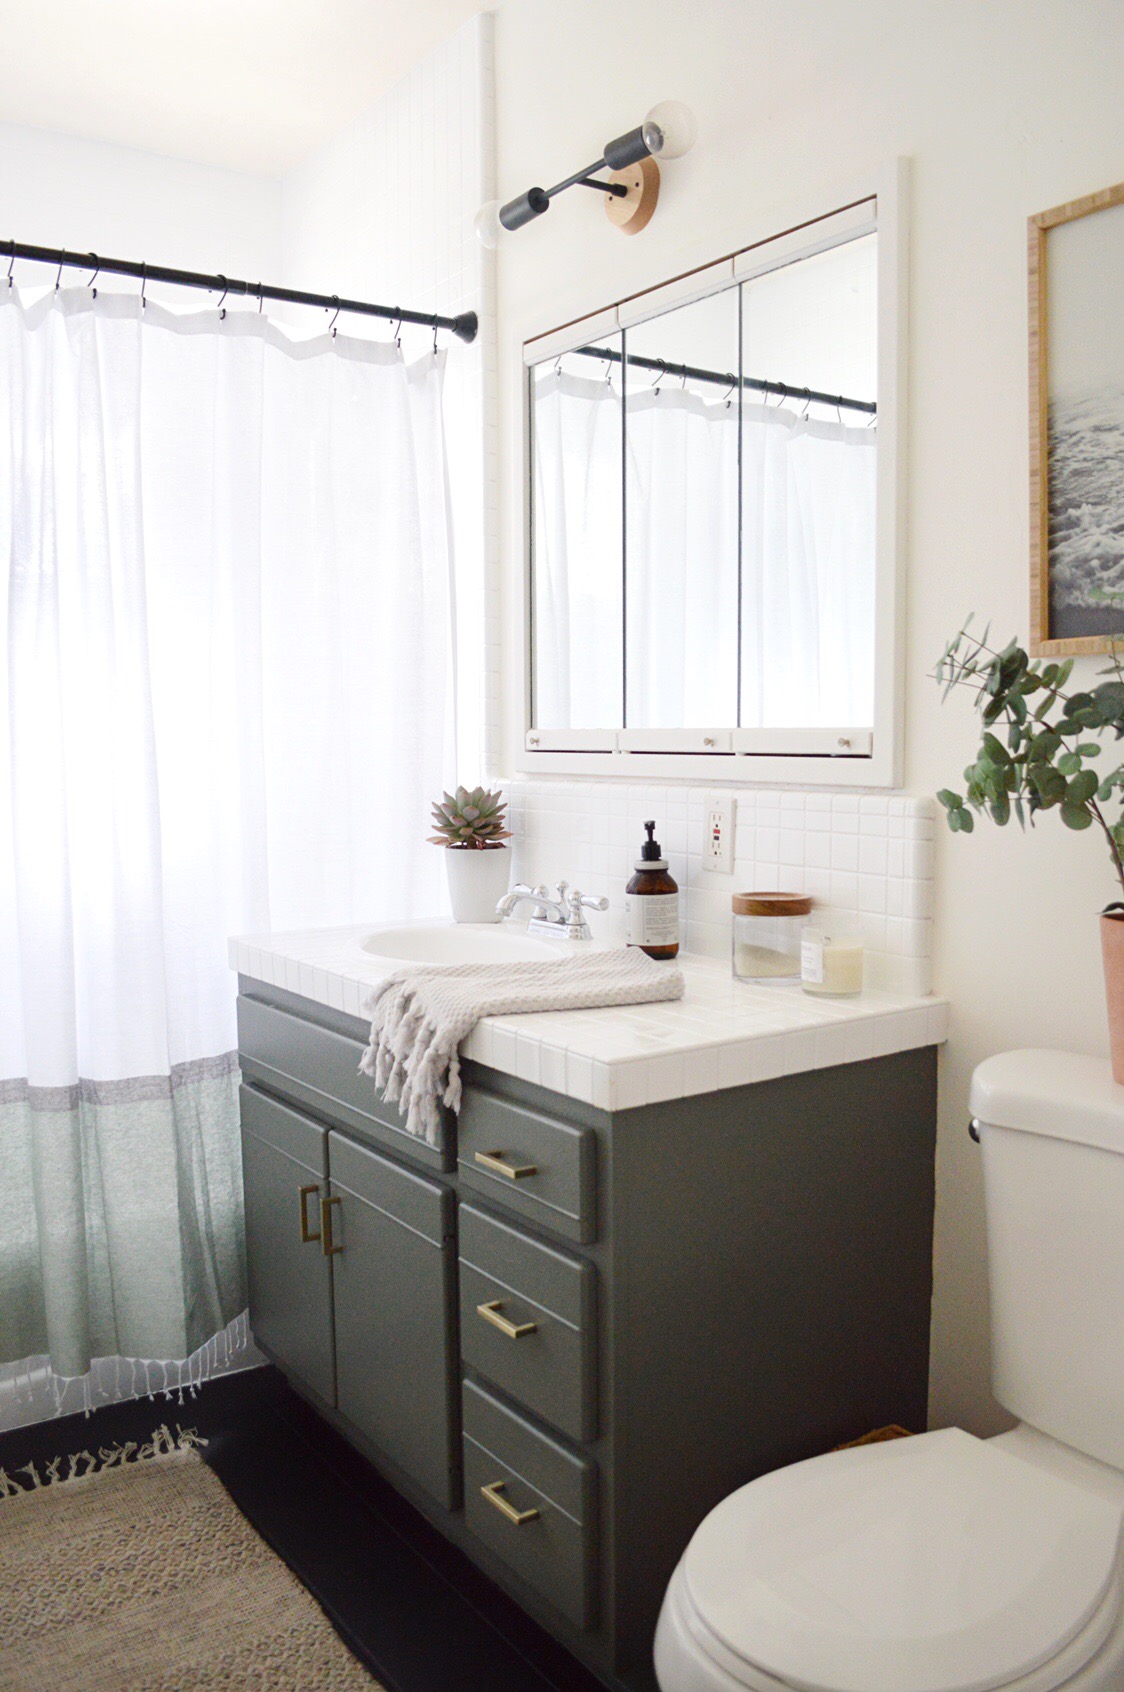
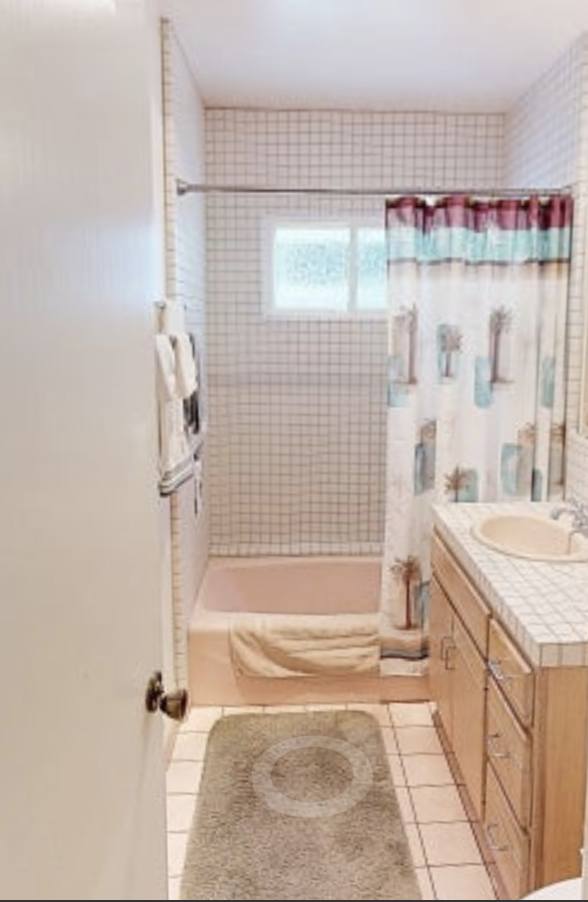
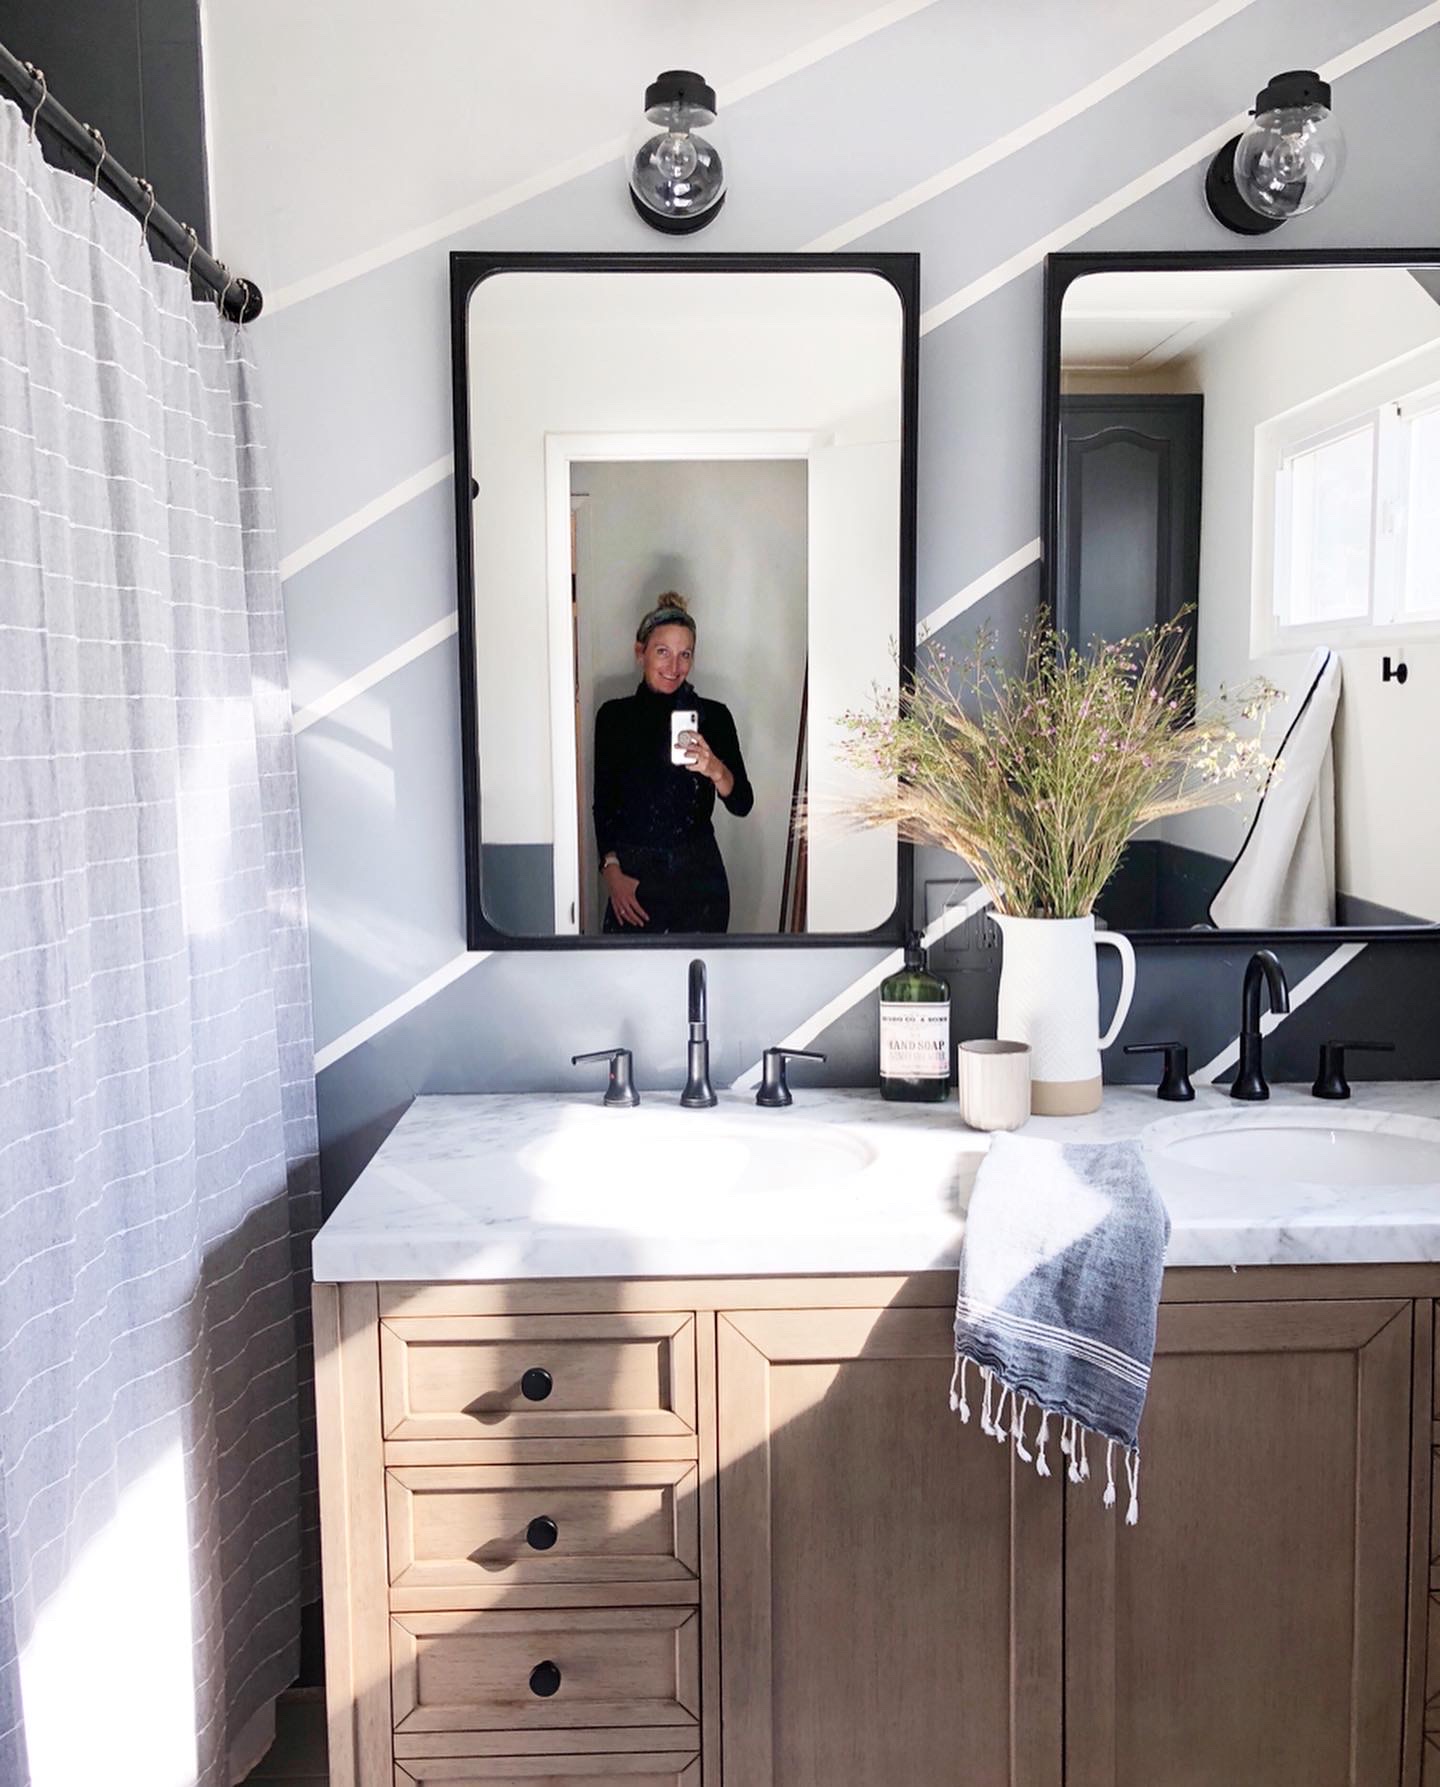
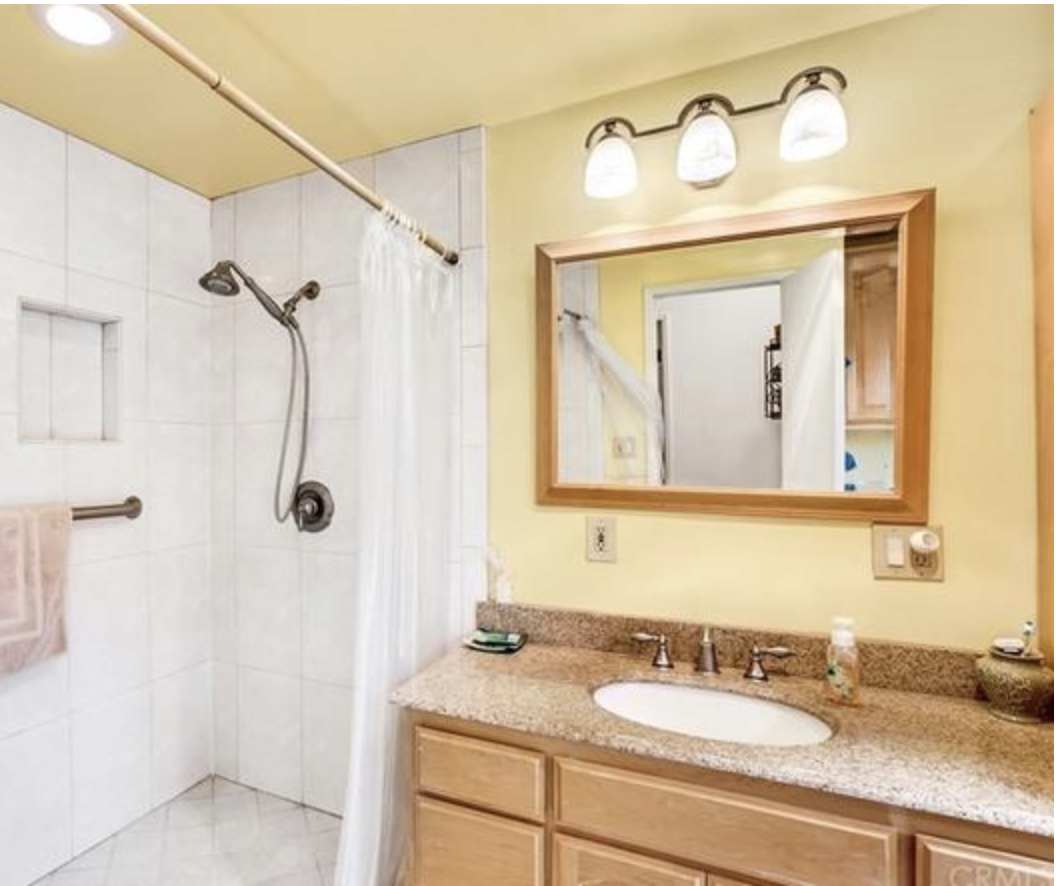
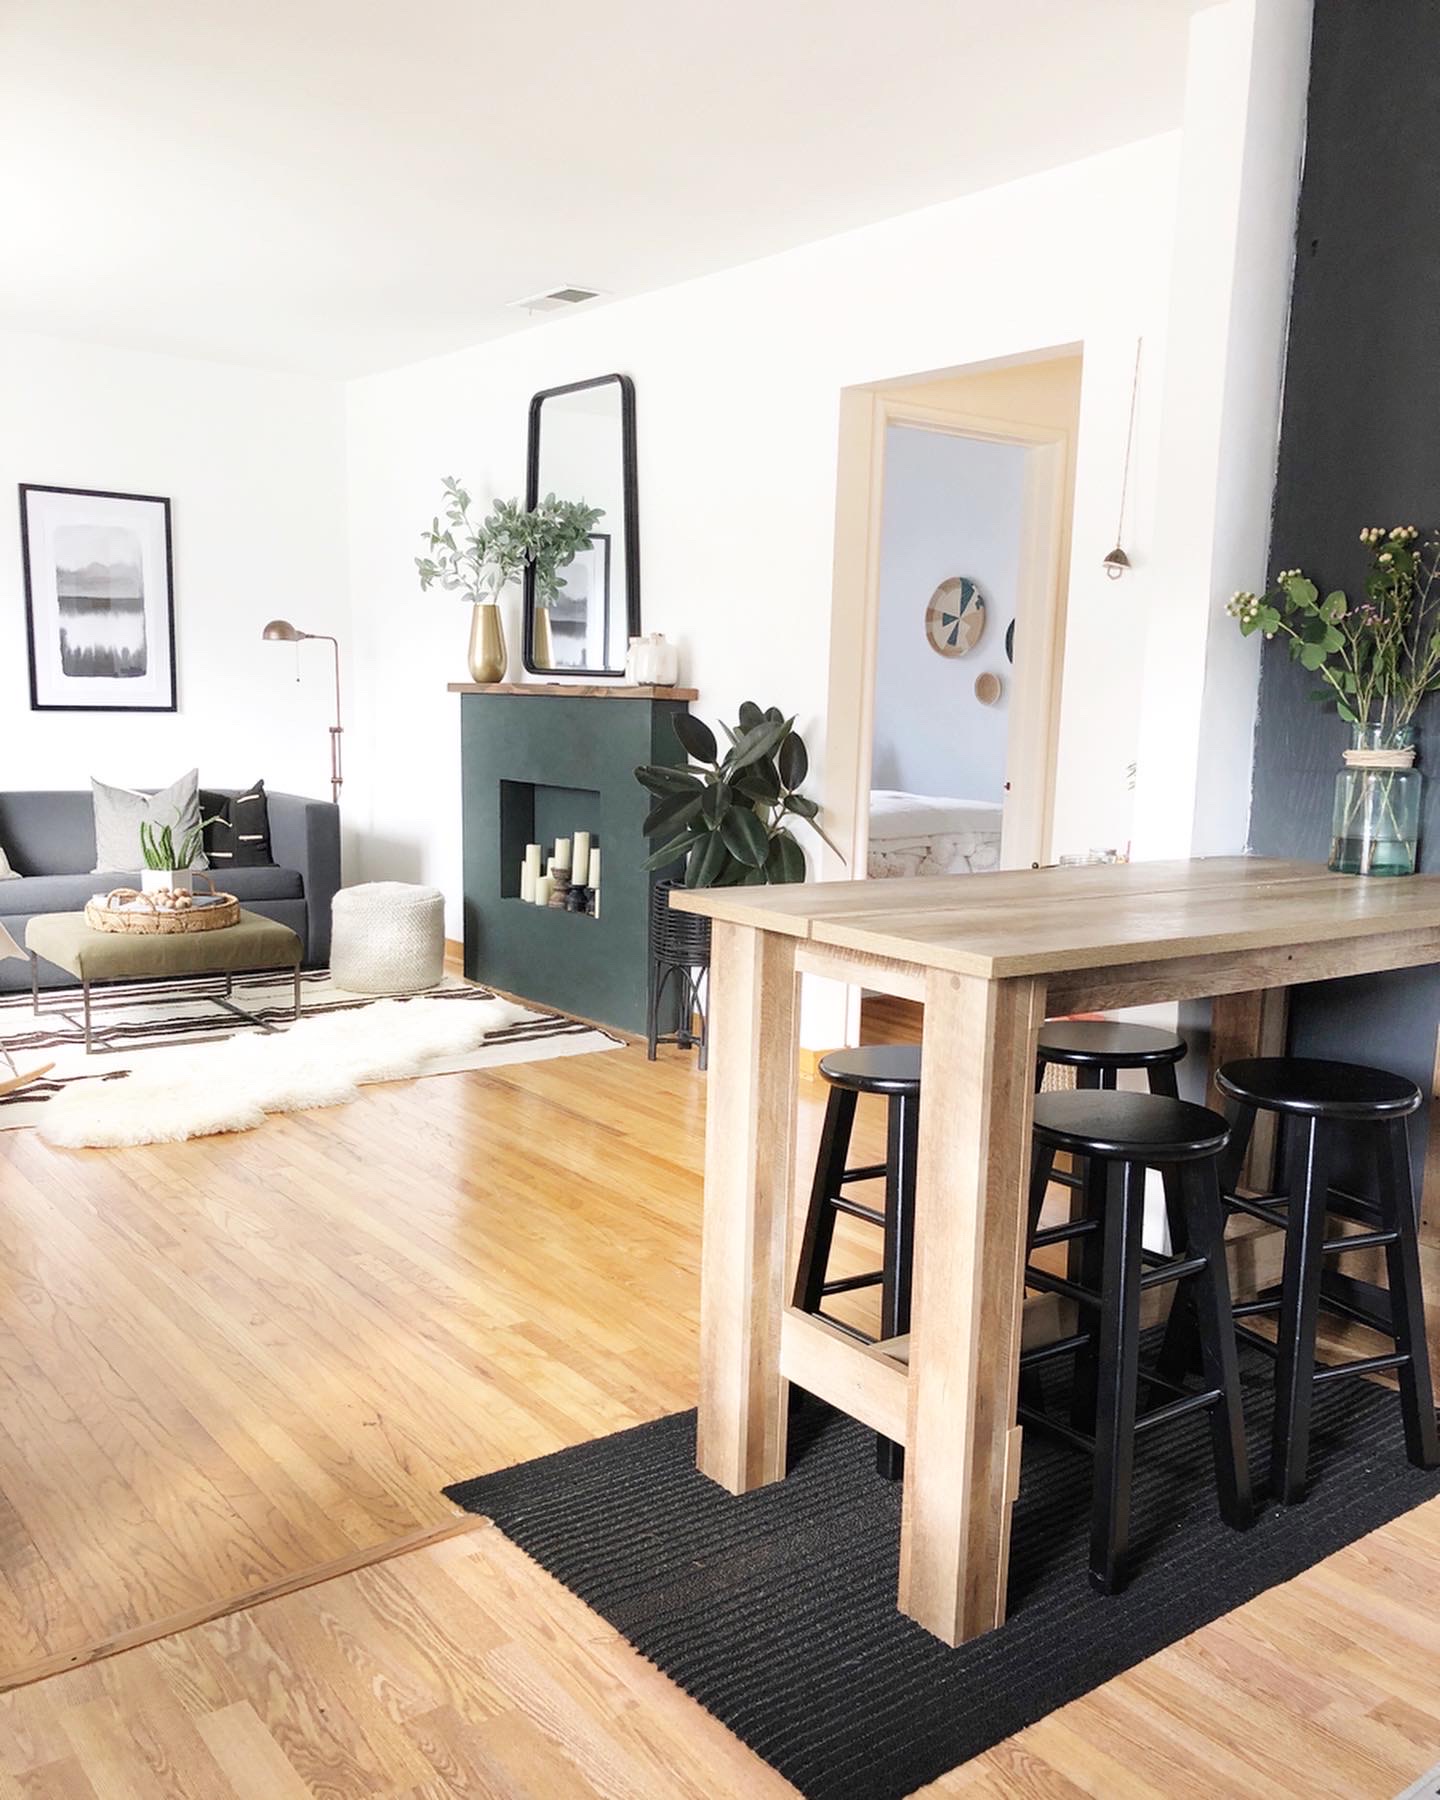
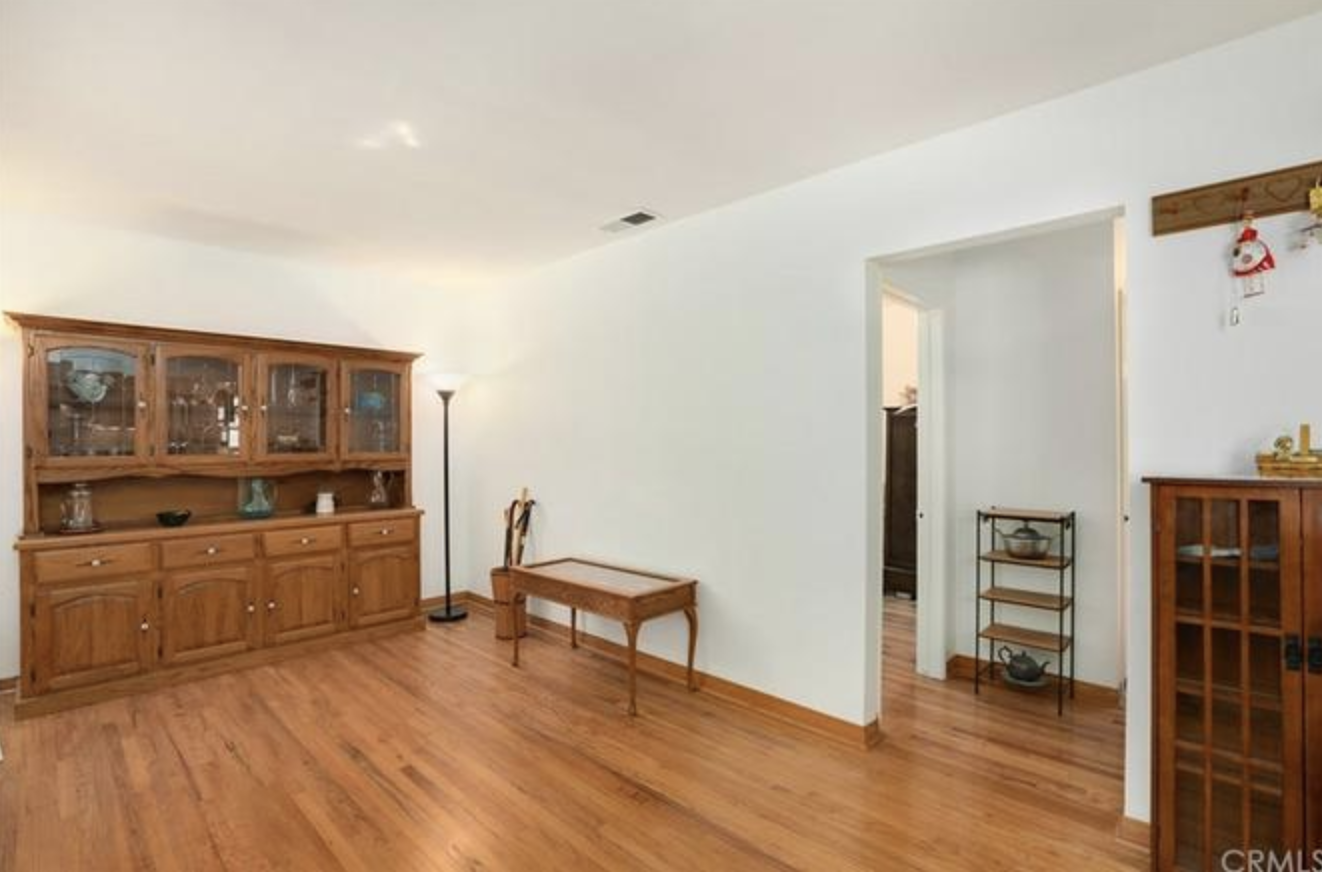
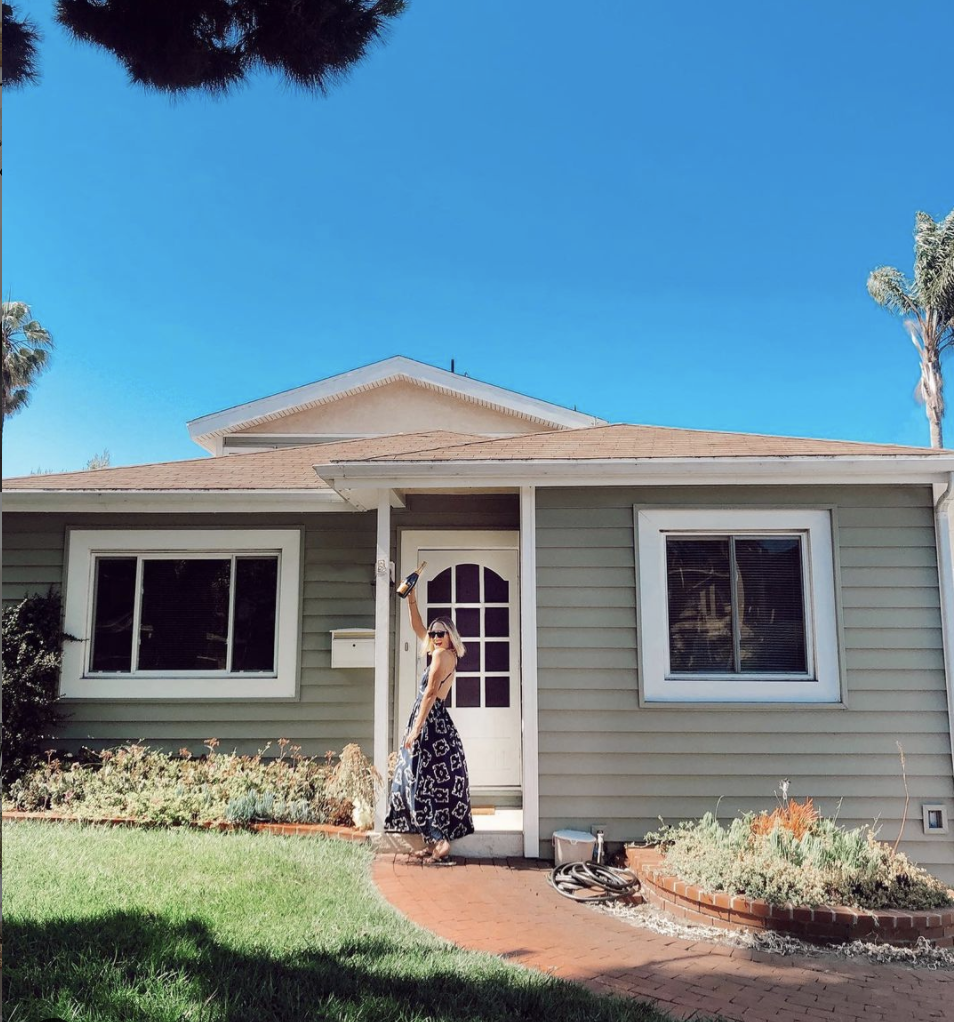
As some of you know, we purchased a fixer upper home in our dream neighborhood last August, 2019. We love a design project AND we couldn’t afford an already perfect home. We decided to live in the house “as is,” to make sure we like the schools and community before we pour more money into the house. Some would call this crazy because it means we had to move in, move out and when construction is done, we will move back in – 3 MOVES! Turns out it was the BEST decision for us because we made lots of friends, became close with our neighbors, the kids quickly adjusted to the excellent schools (and even got 7 months in-person before the pandemic hit) and got a better feel for the property and what we want.
So let’s dive in the first phase of planning a remodel. First, obviously, you have to buy the property (we chose ours for its lot size, proximity to the schools and the price was right for us). Then you get to dive into a pretty fun phase – drawing the plans. For an extensive remodel project like ours, I highly suggest hiring an architect. I interviewed several and went with my gut and hired Ben Ballentine. Ben has a collaborative attitude and together, we came up with an amazing floor-plan that will work perfectly for our family. This phase is like a fairytale. For relatively little money (compared to the total price of a remodel), you get to put your house dreams to paper! SUPER exciting.
Then comes the next phase – the non-glamorous reality check. Applying for city building permits and hiring a contractor. I’ll start with permits. We let our architect take the lead on this one. But in a nutshell, you have to pay an engineer to draw construction papers based on the architectural papers and make sure everything is up to code. In Manhattan Beach, you have to pay for a soils test. And then you have to pay the permit office to review your papers and keep your fingers (and toes) crossed for months until you FINALLY hear you’re construction papers are approved. It’s not fun and feels totally out of your control AND it costs money.
At the same time as we were waiting for permits, we started interviewing contractors. So far, this has been the most emotional part – a true rollercoaster of emotions. You are essentially inviting strangers into your home (during a pandemic) to tell you how much your dream costs. All of them purport to be the best in their industry and the bids ranged by hundreds of THOUSANDS of dollars. It’s super confusing. Ultimately I went with the price I felt was fair (not the least expensive, not the most) and with the contractor I liked the best. It’s no small thing handing over your dream to a stranger to execute. So trust is critical. Hopefully, we made the right choice.
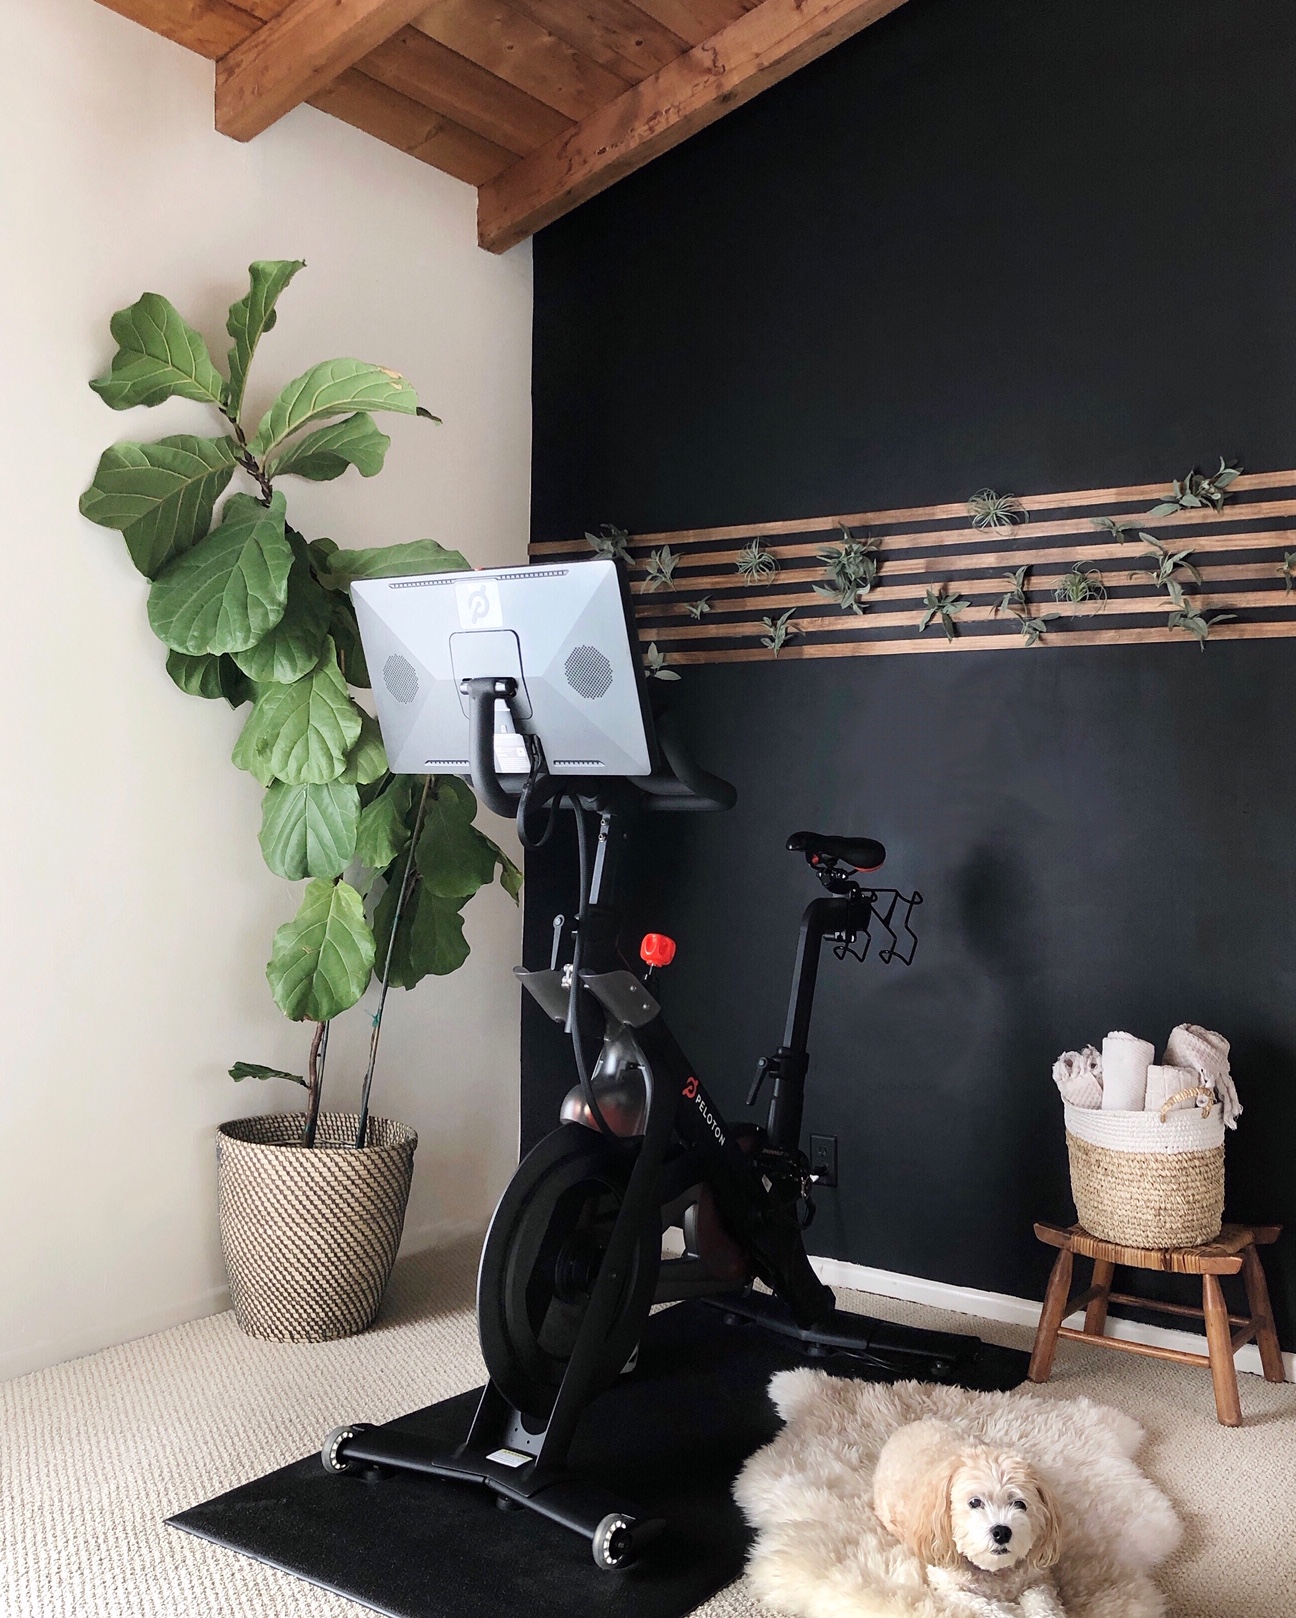
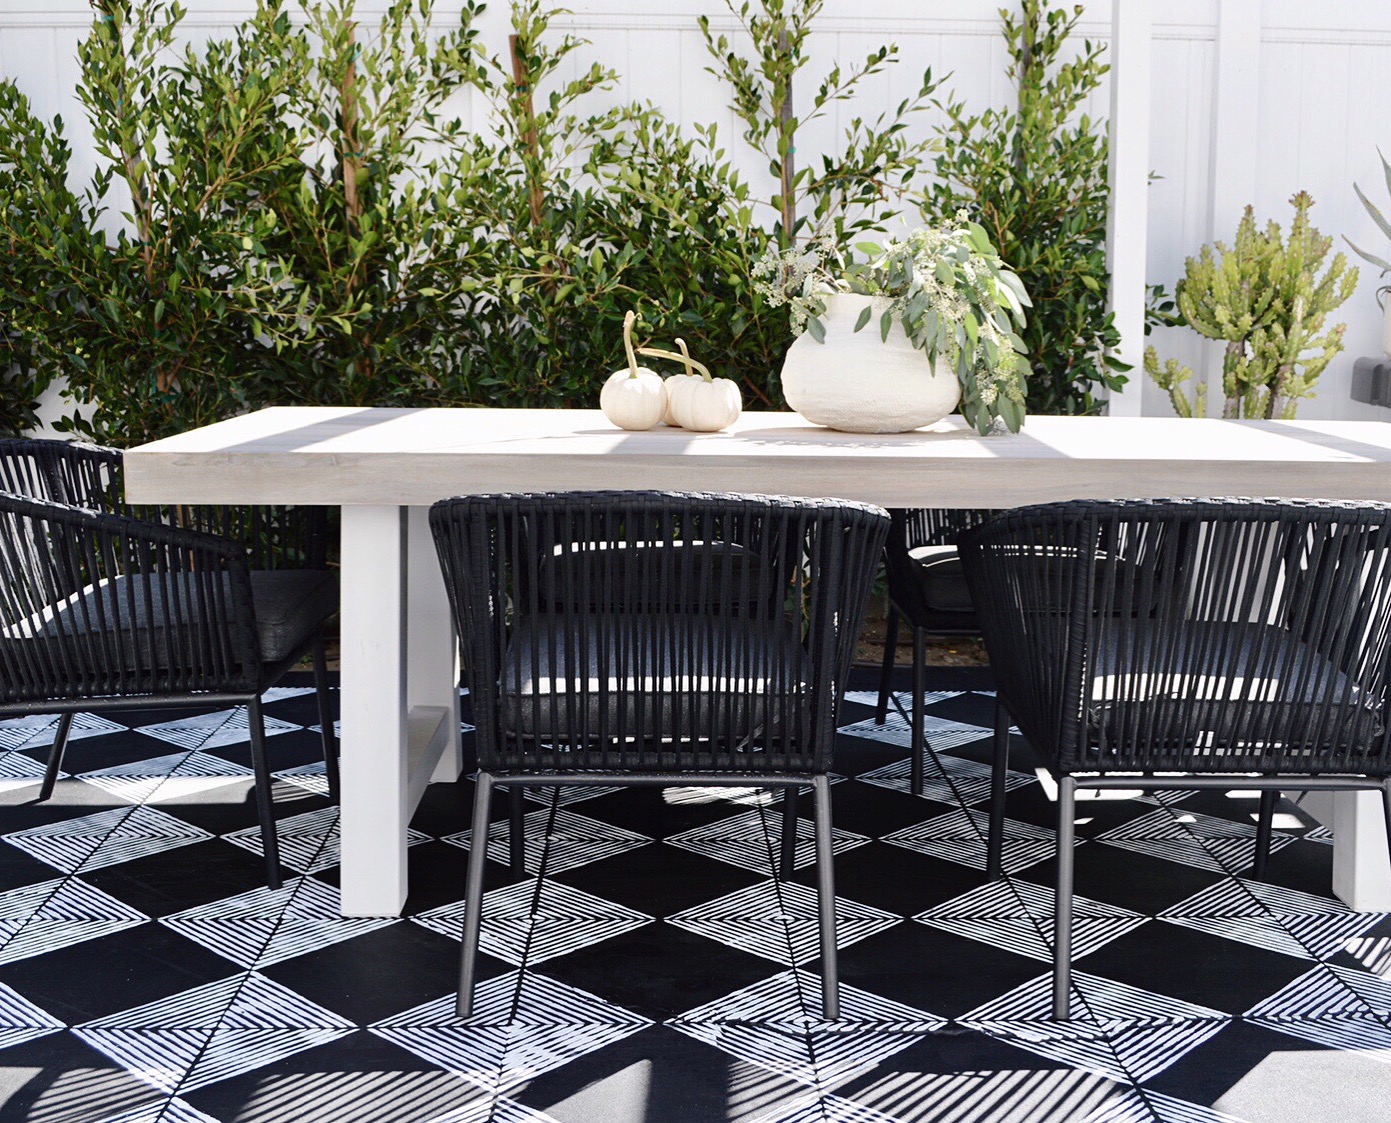
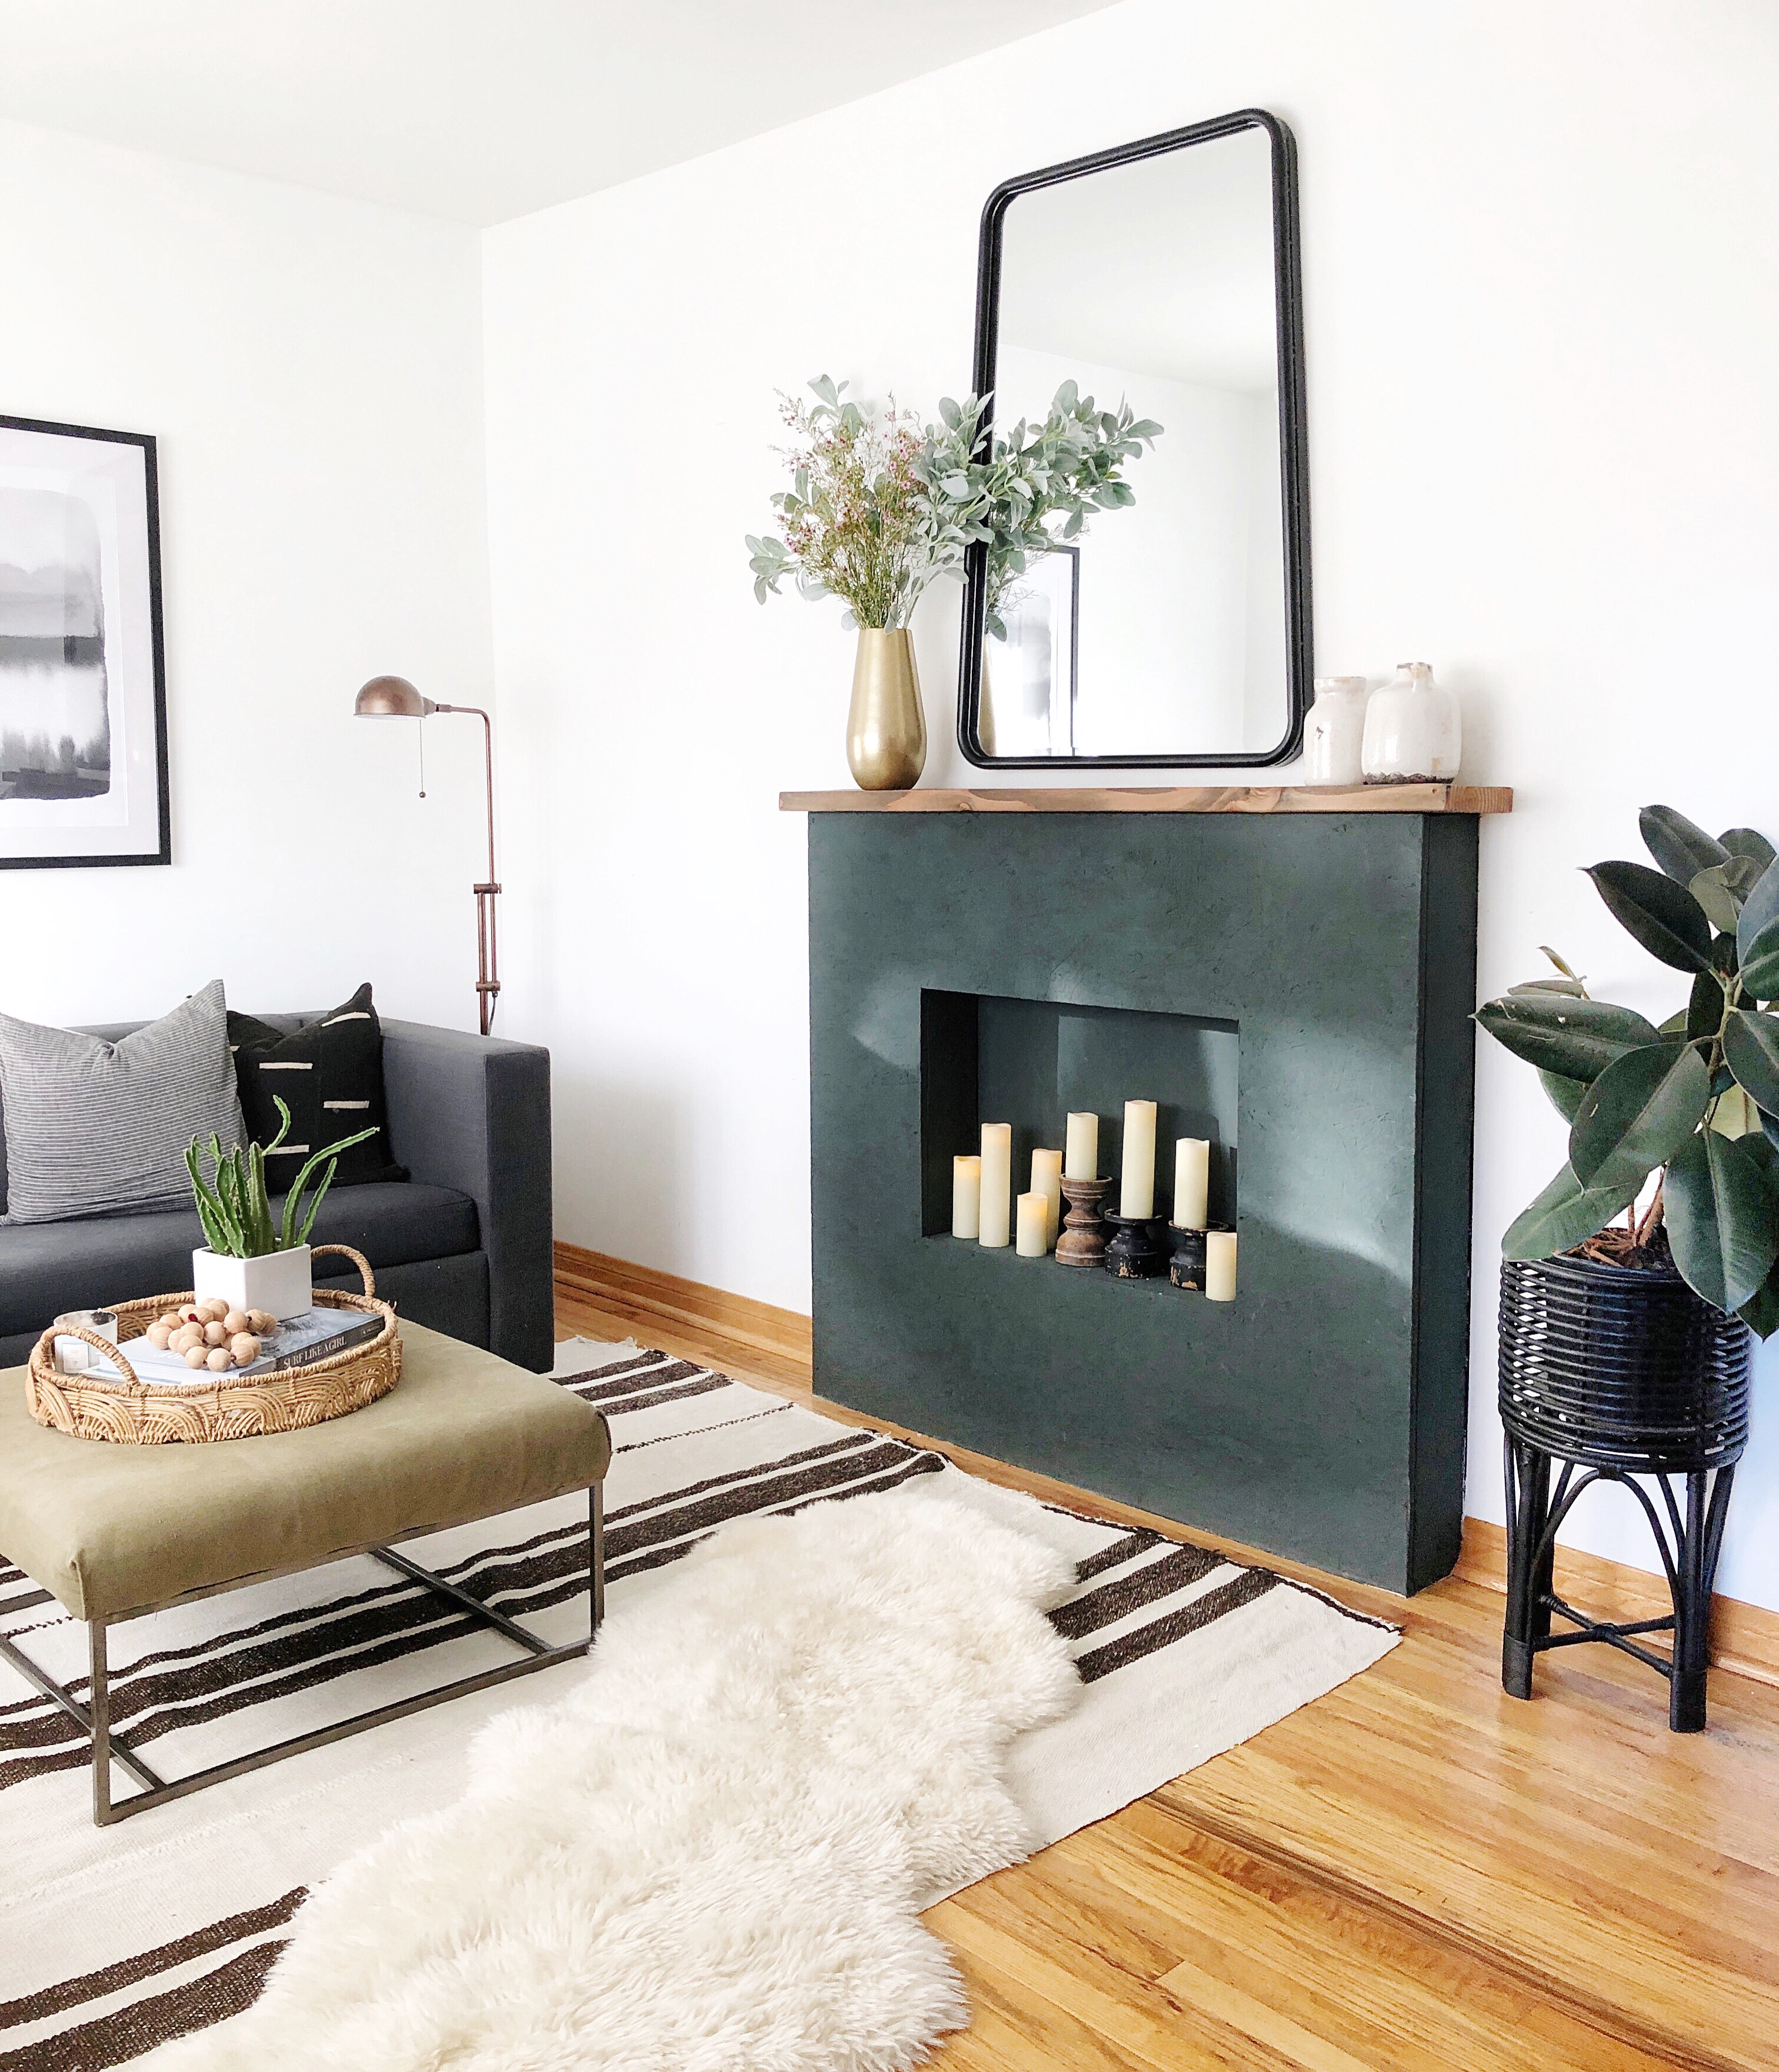
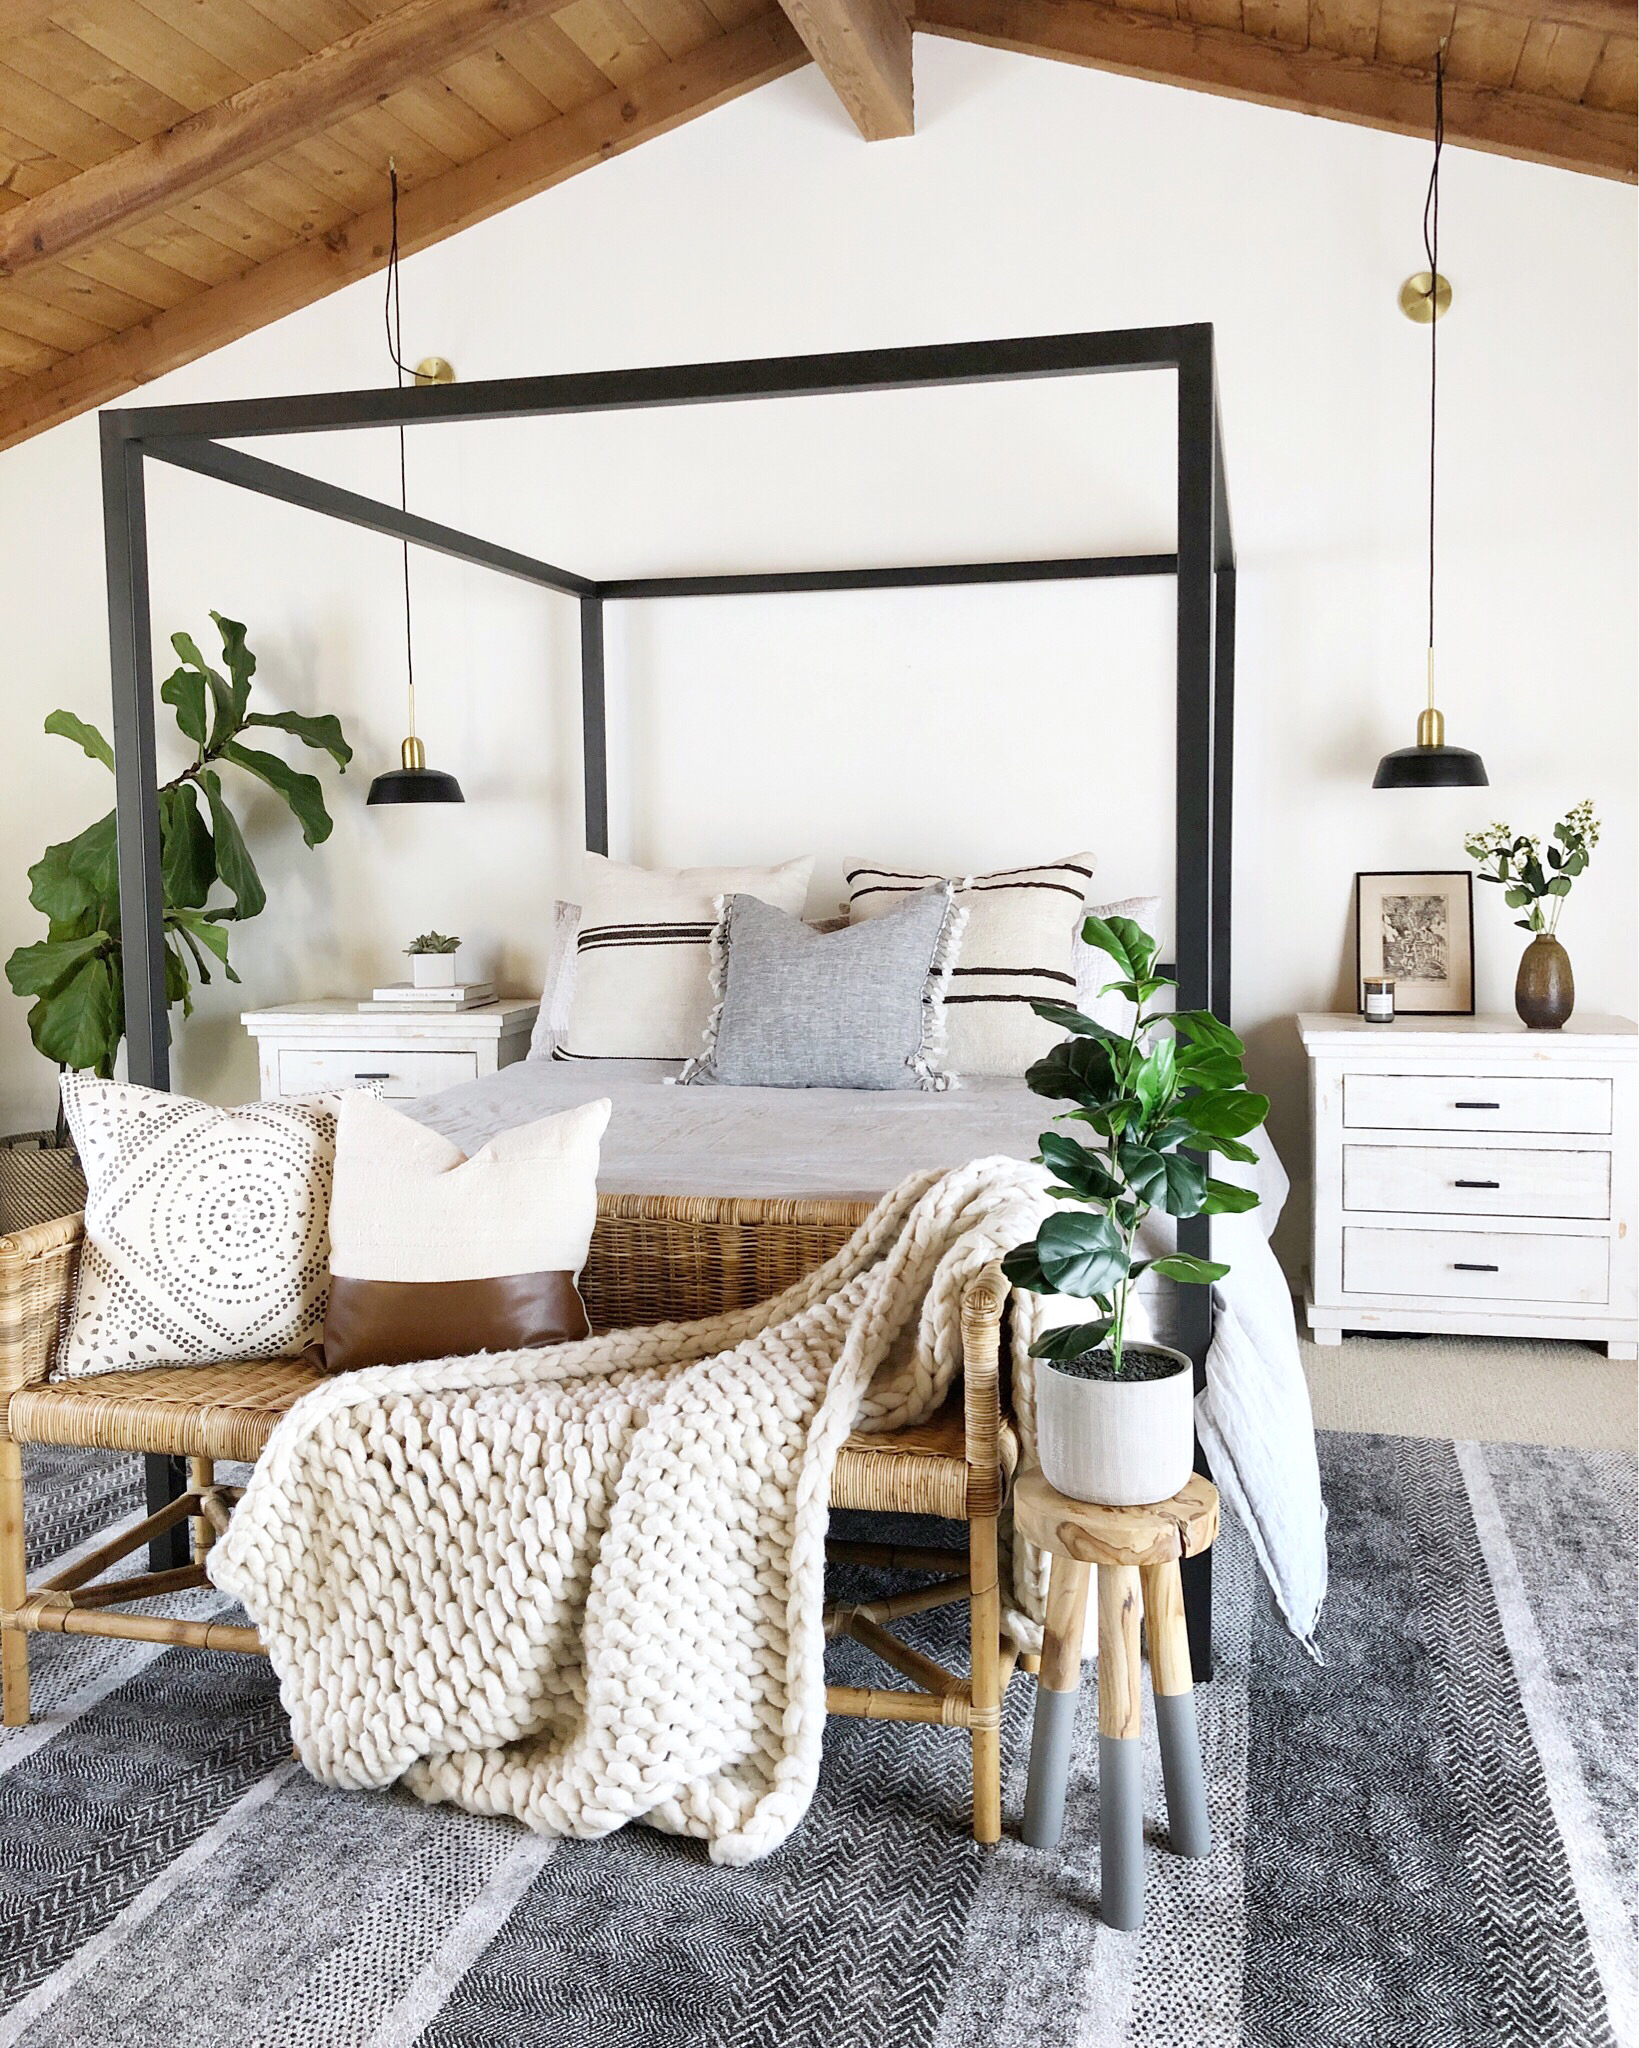
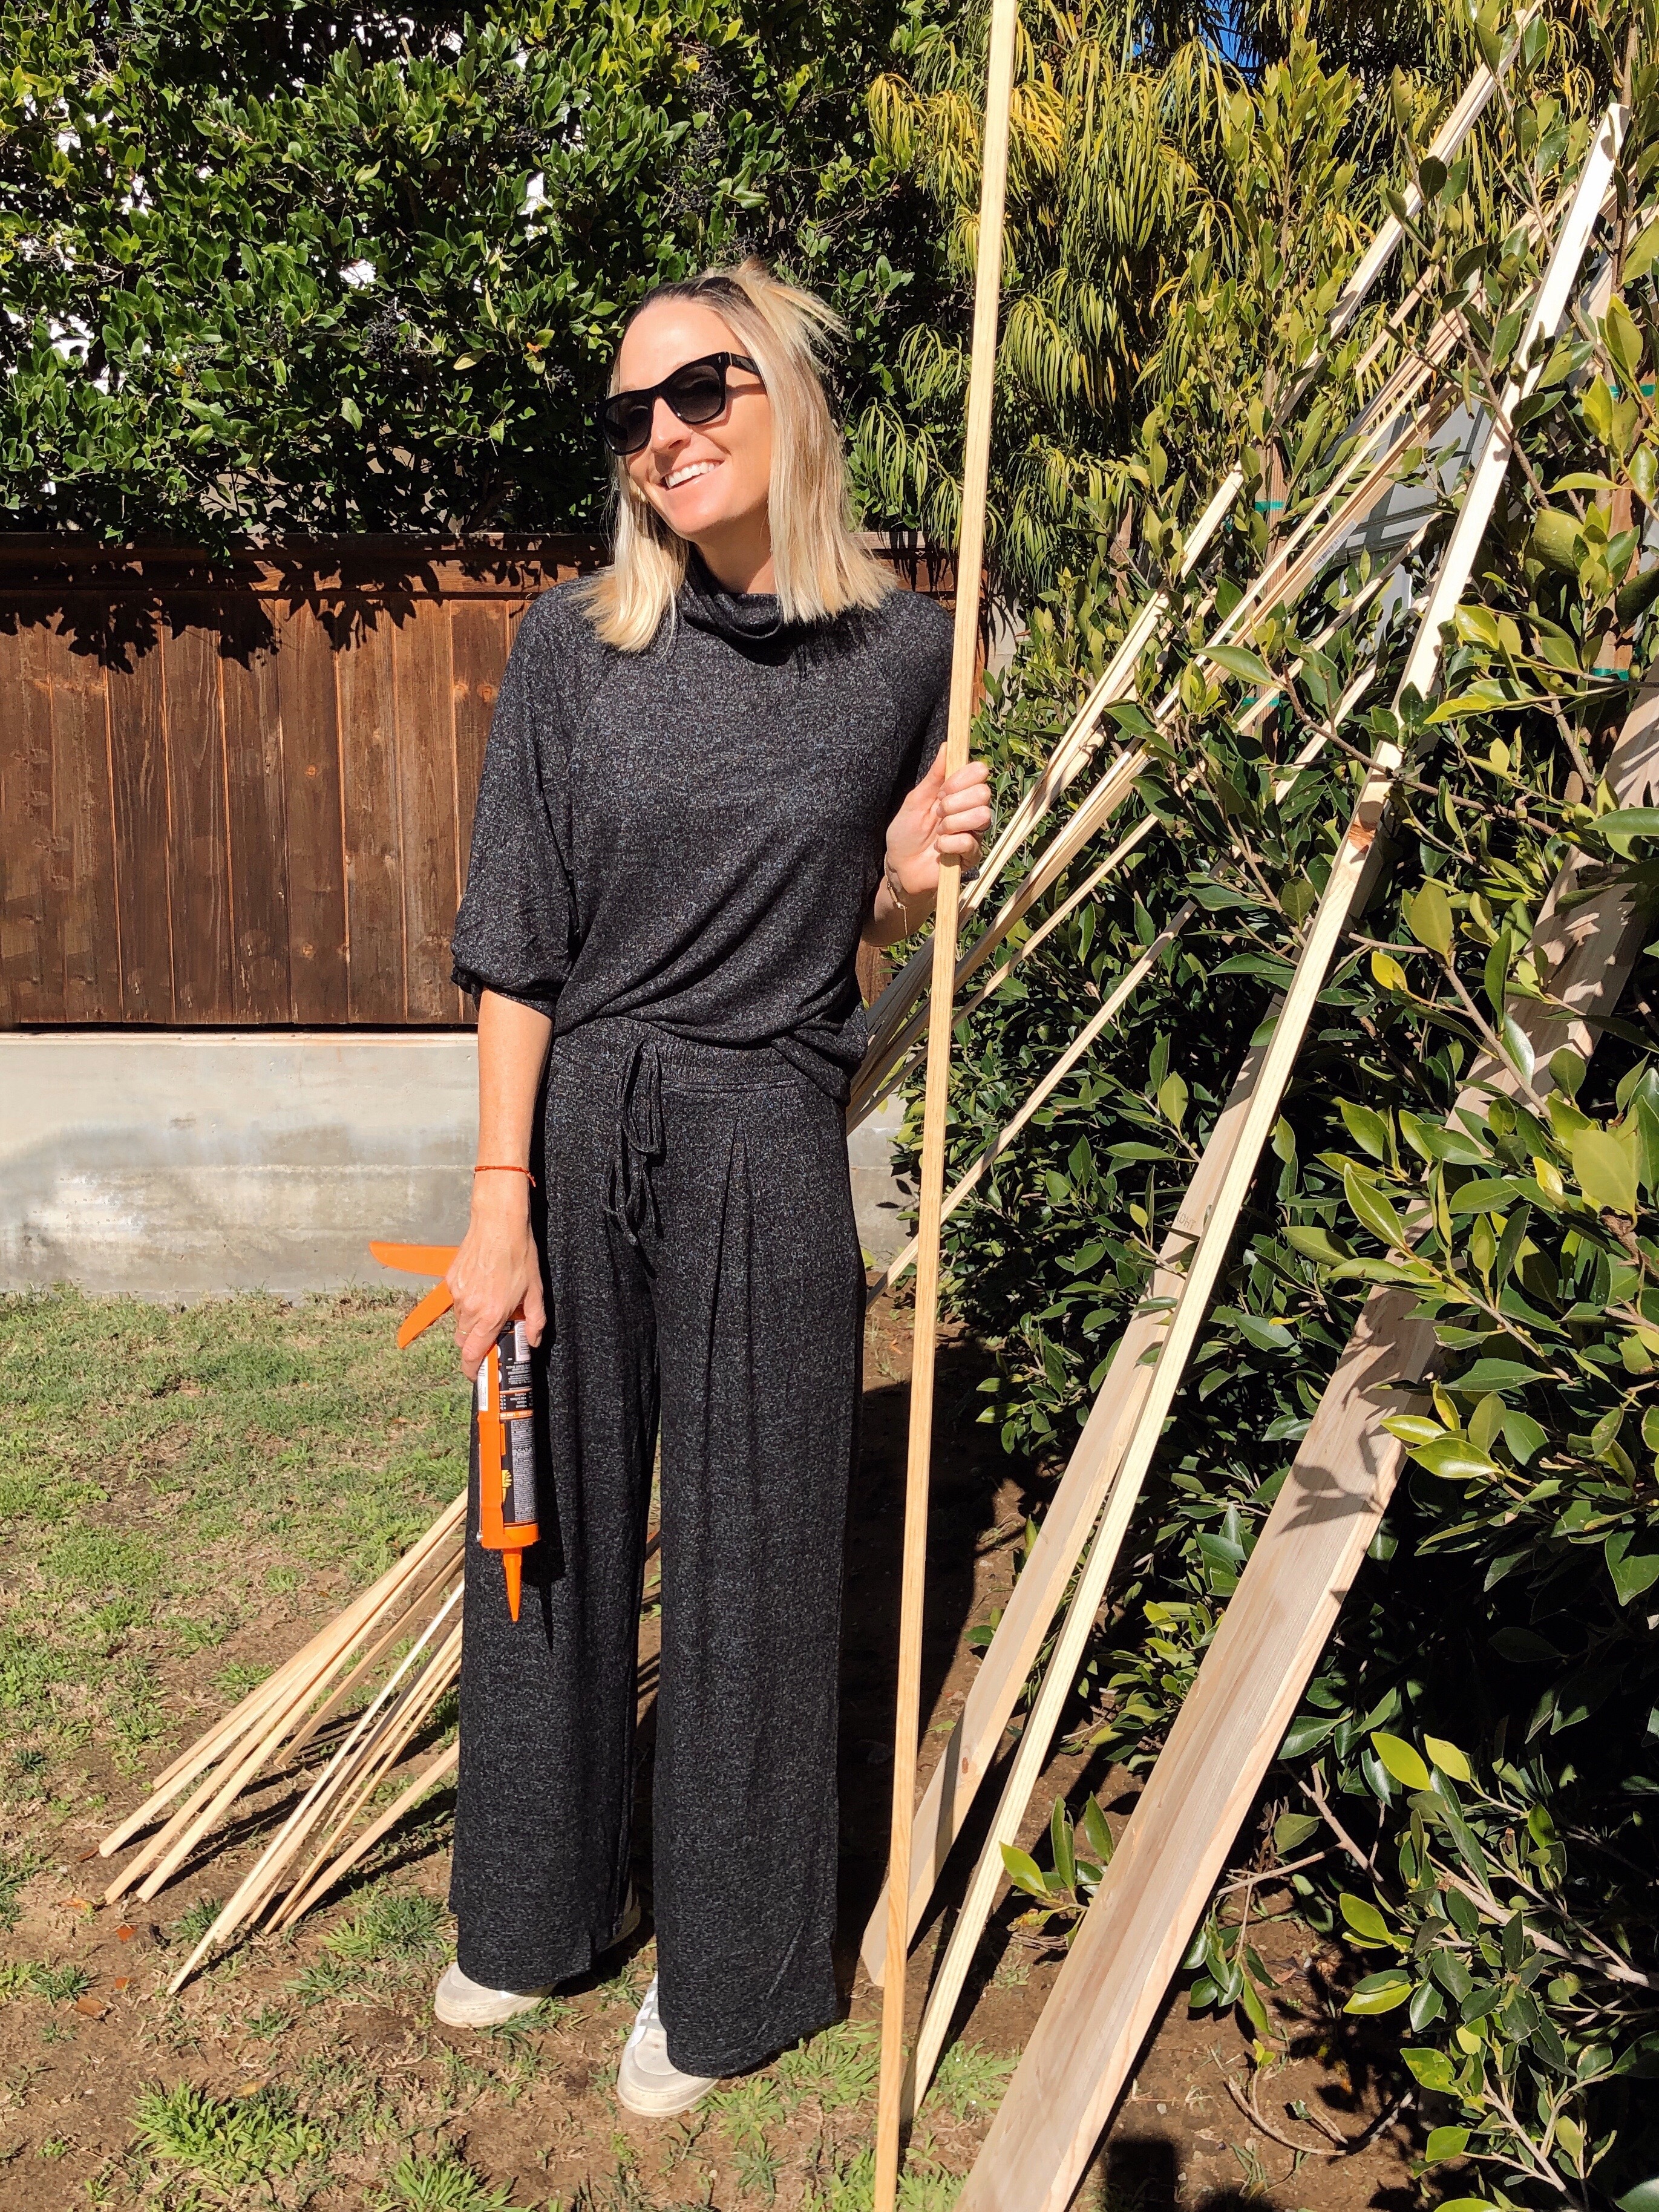
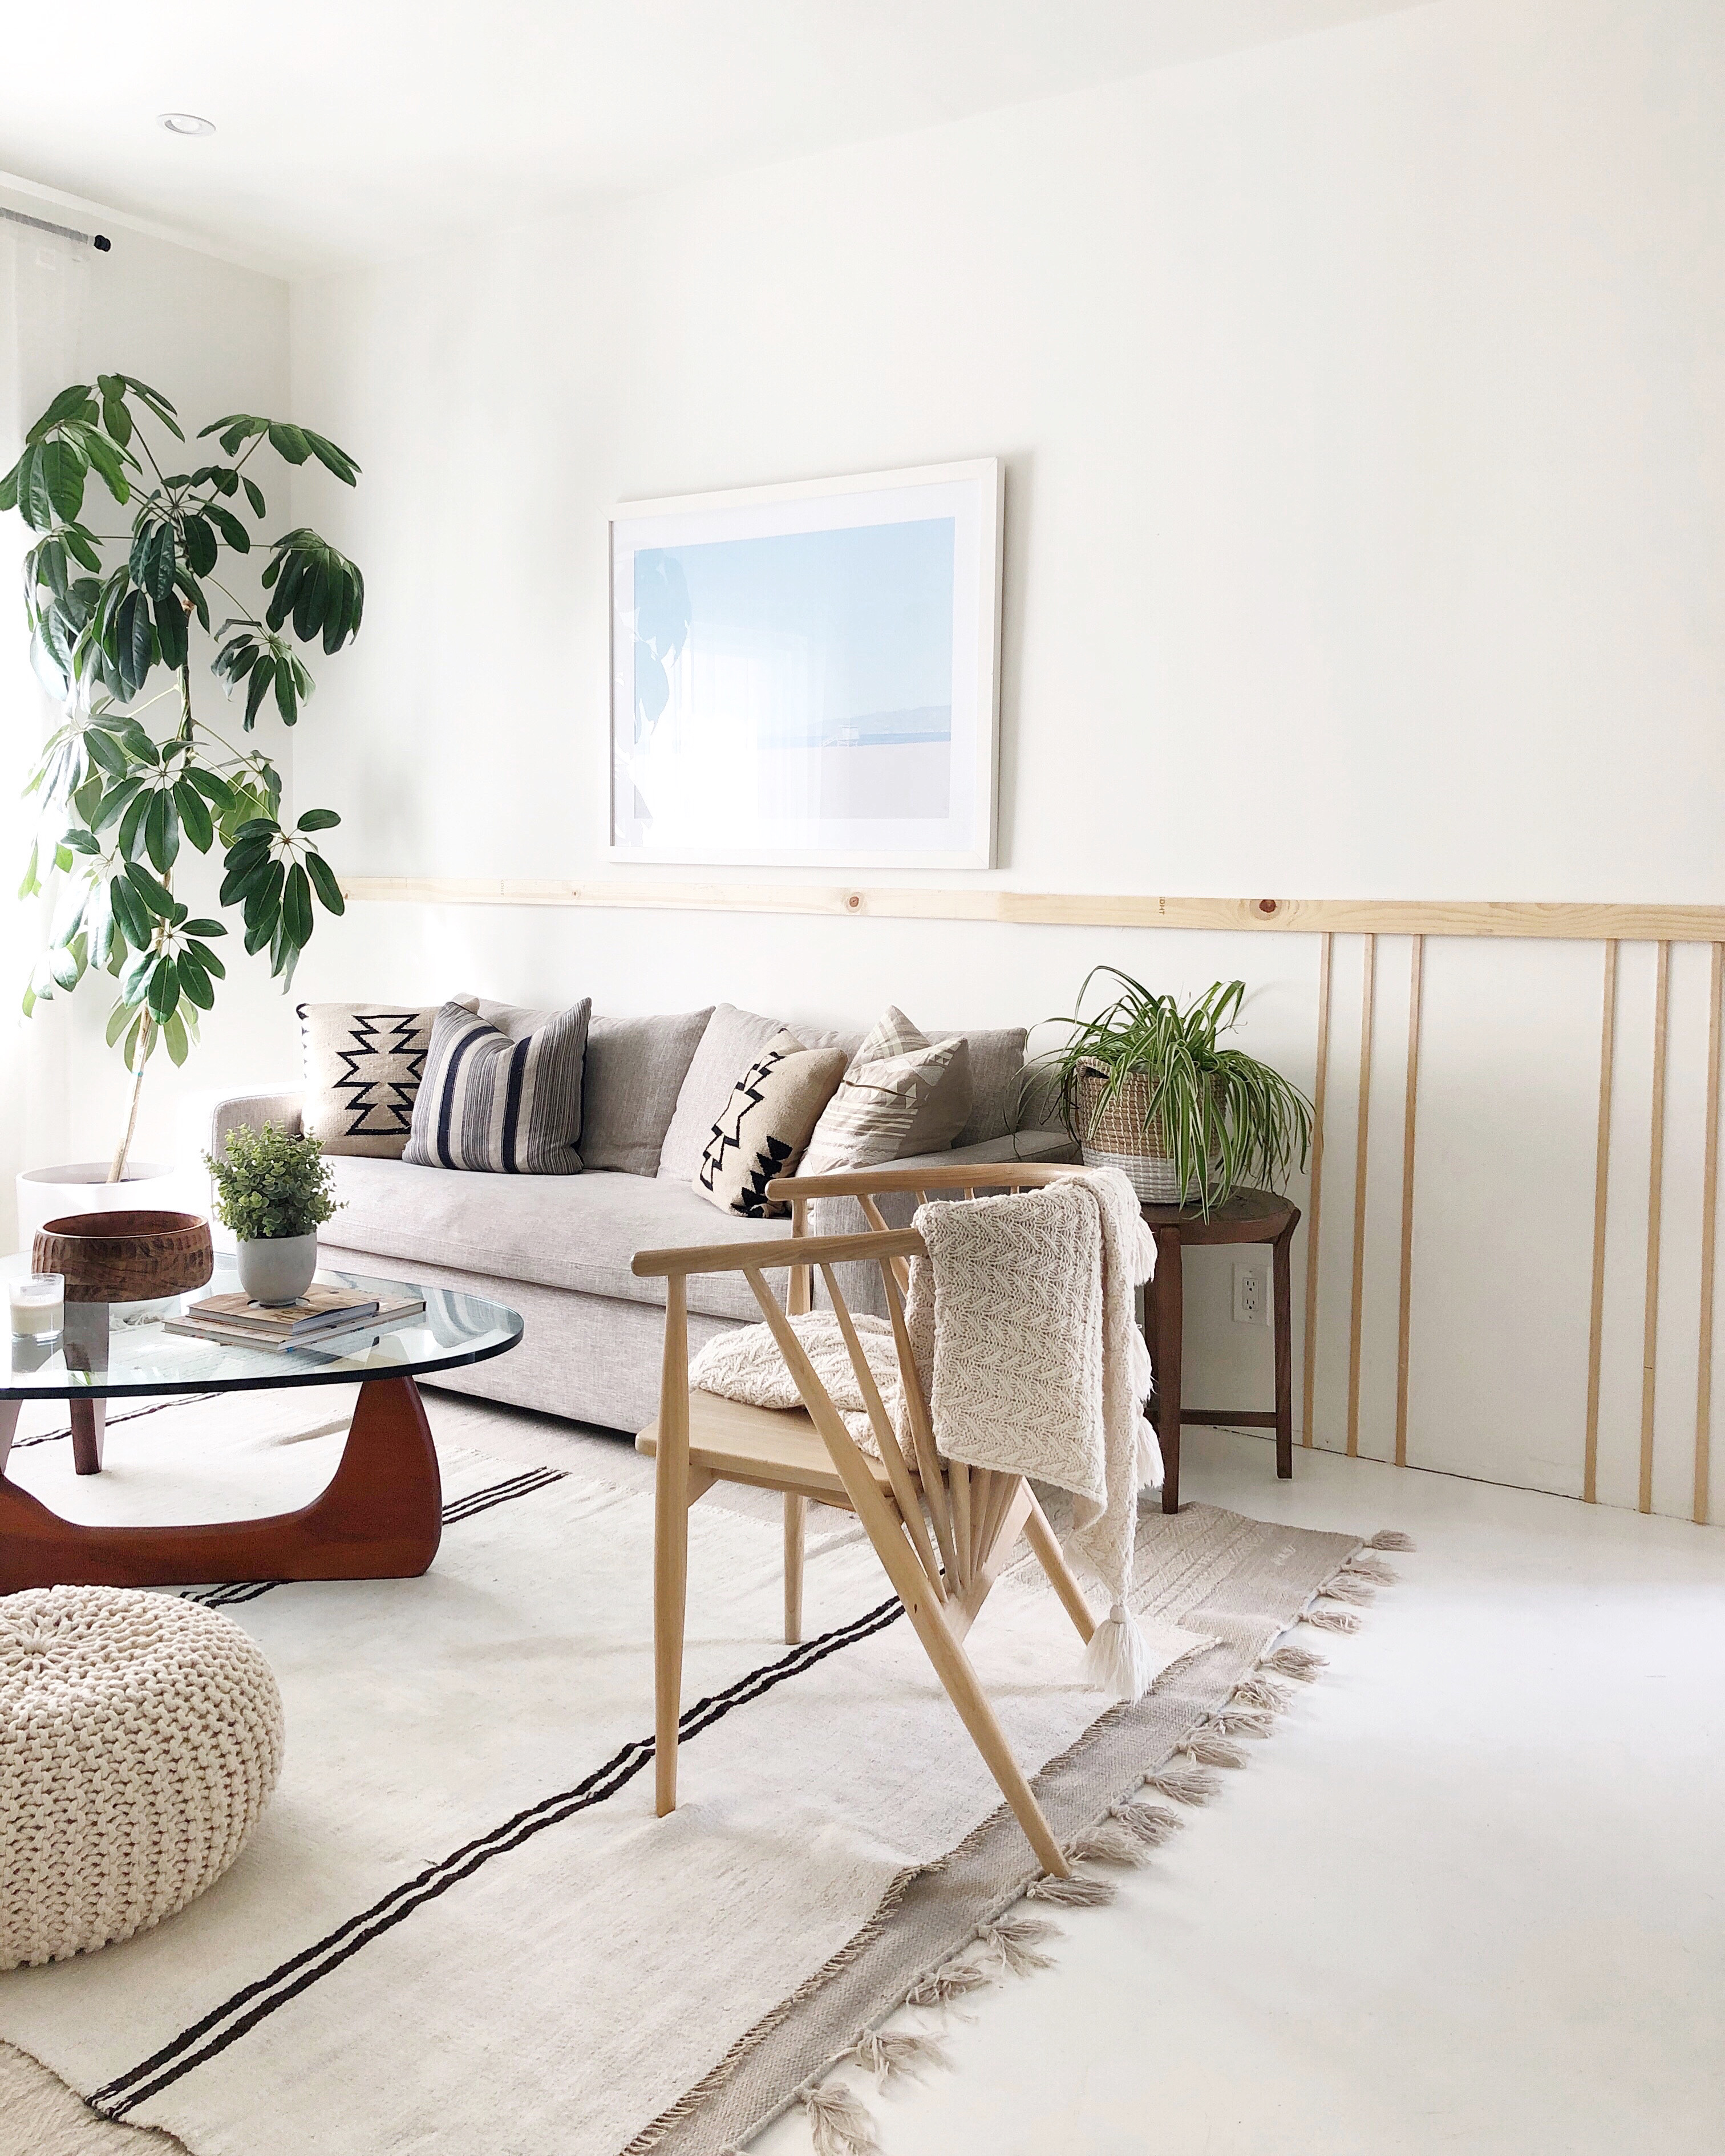
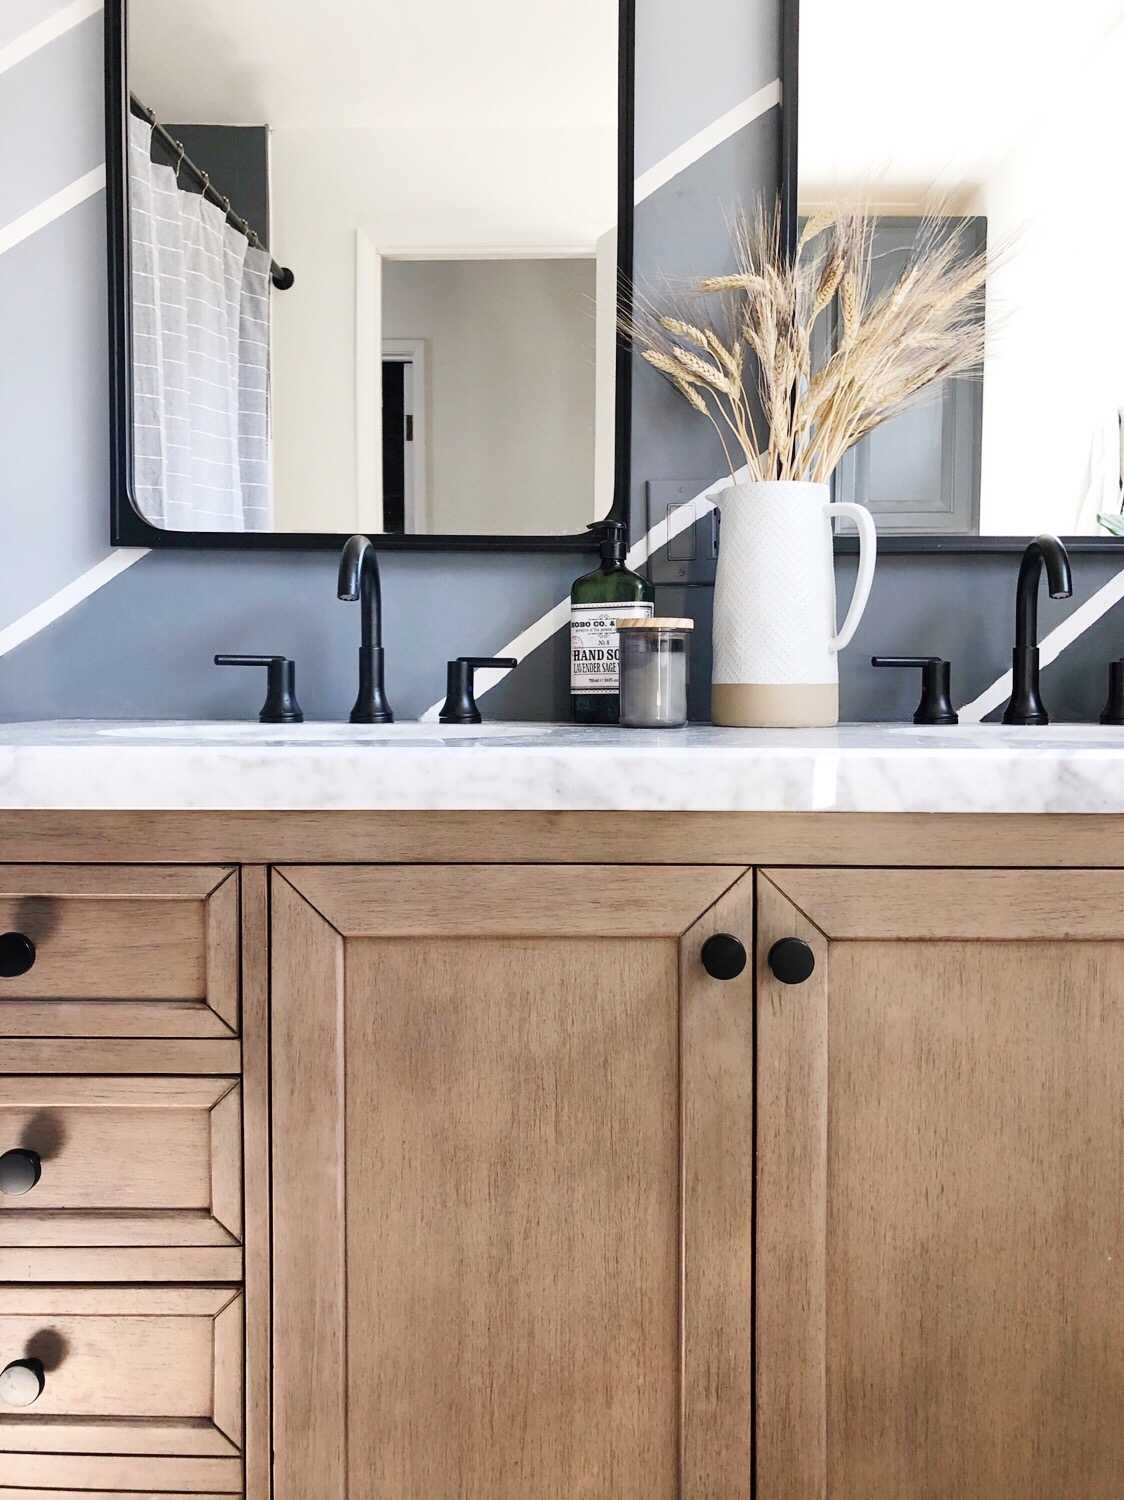
So that’s where we are folks! We got through the purchasing, planning, drawing, permitting, and hiring phase and now are ready to start construction. This process kept me very busy the last 17 months and none of it is Instagram worthy. BUT it is information and hopefully helpful to you if you ever consider a large scale remodel. Thanks for reading! I’m SOOOOO looking forward to the Instagram worthy phase of this project — the designs and the execution of those designs. WOO HOO!