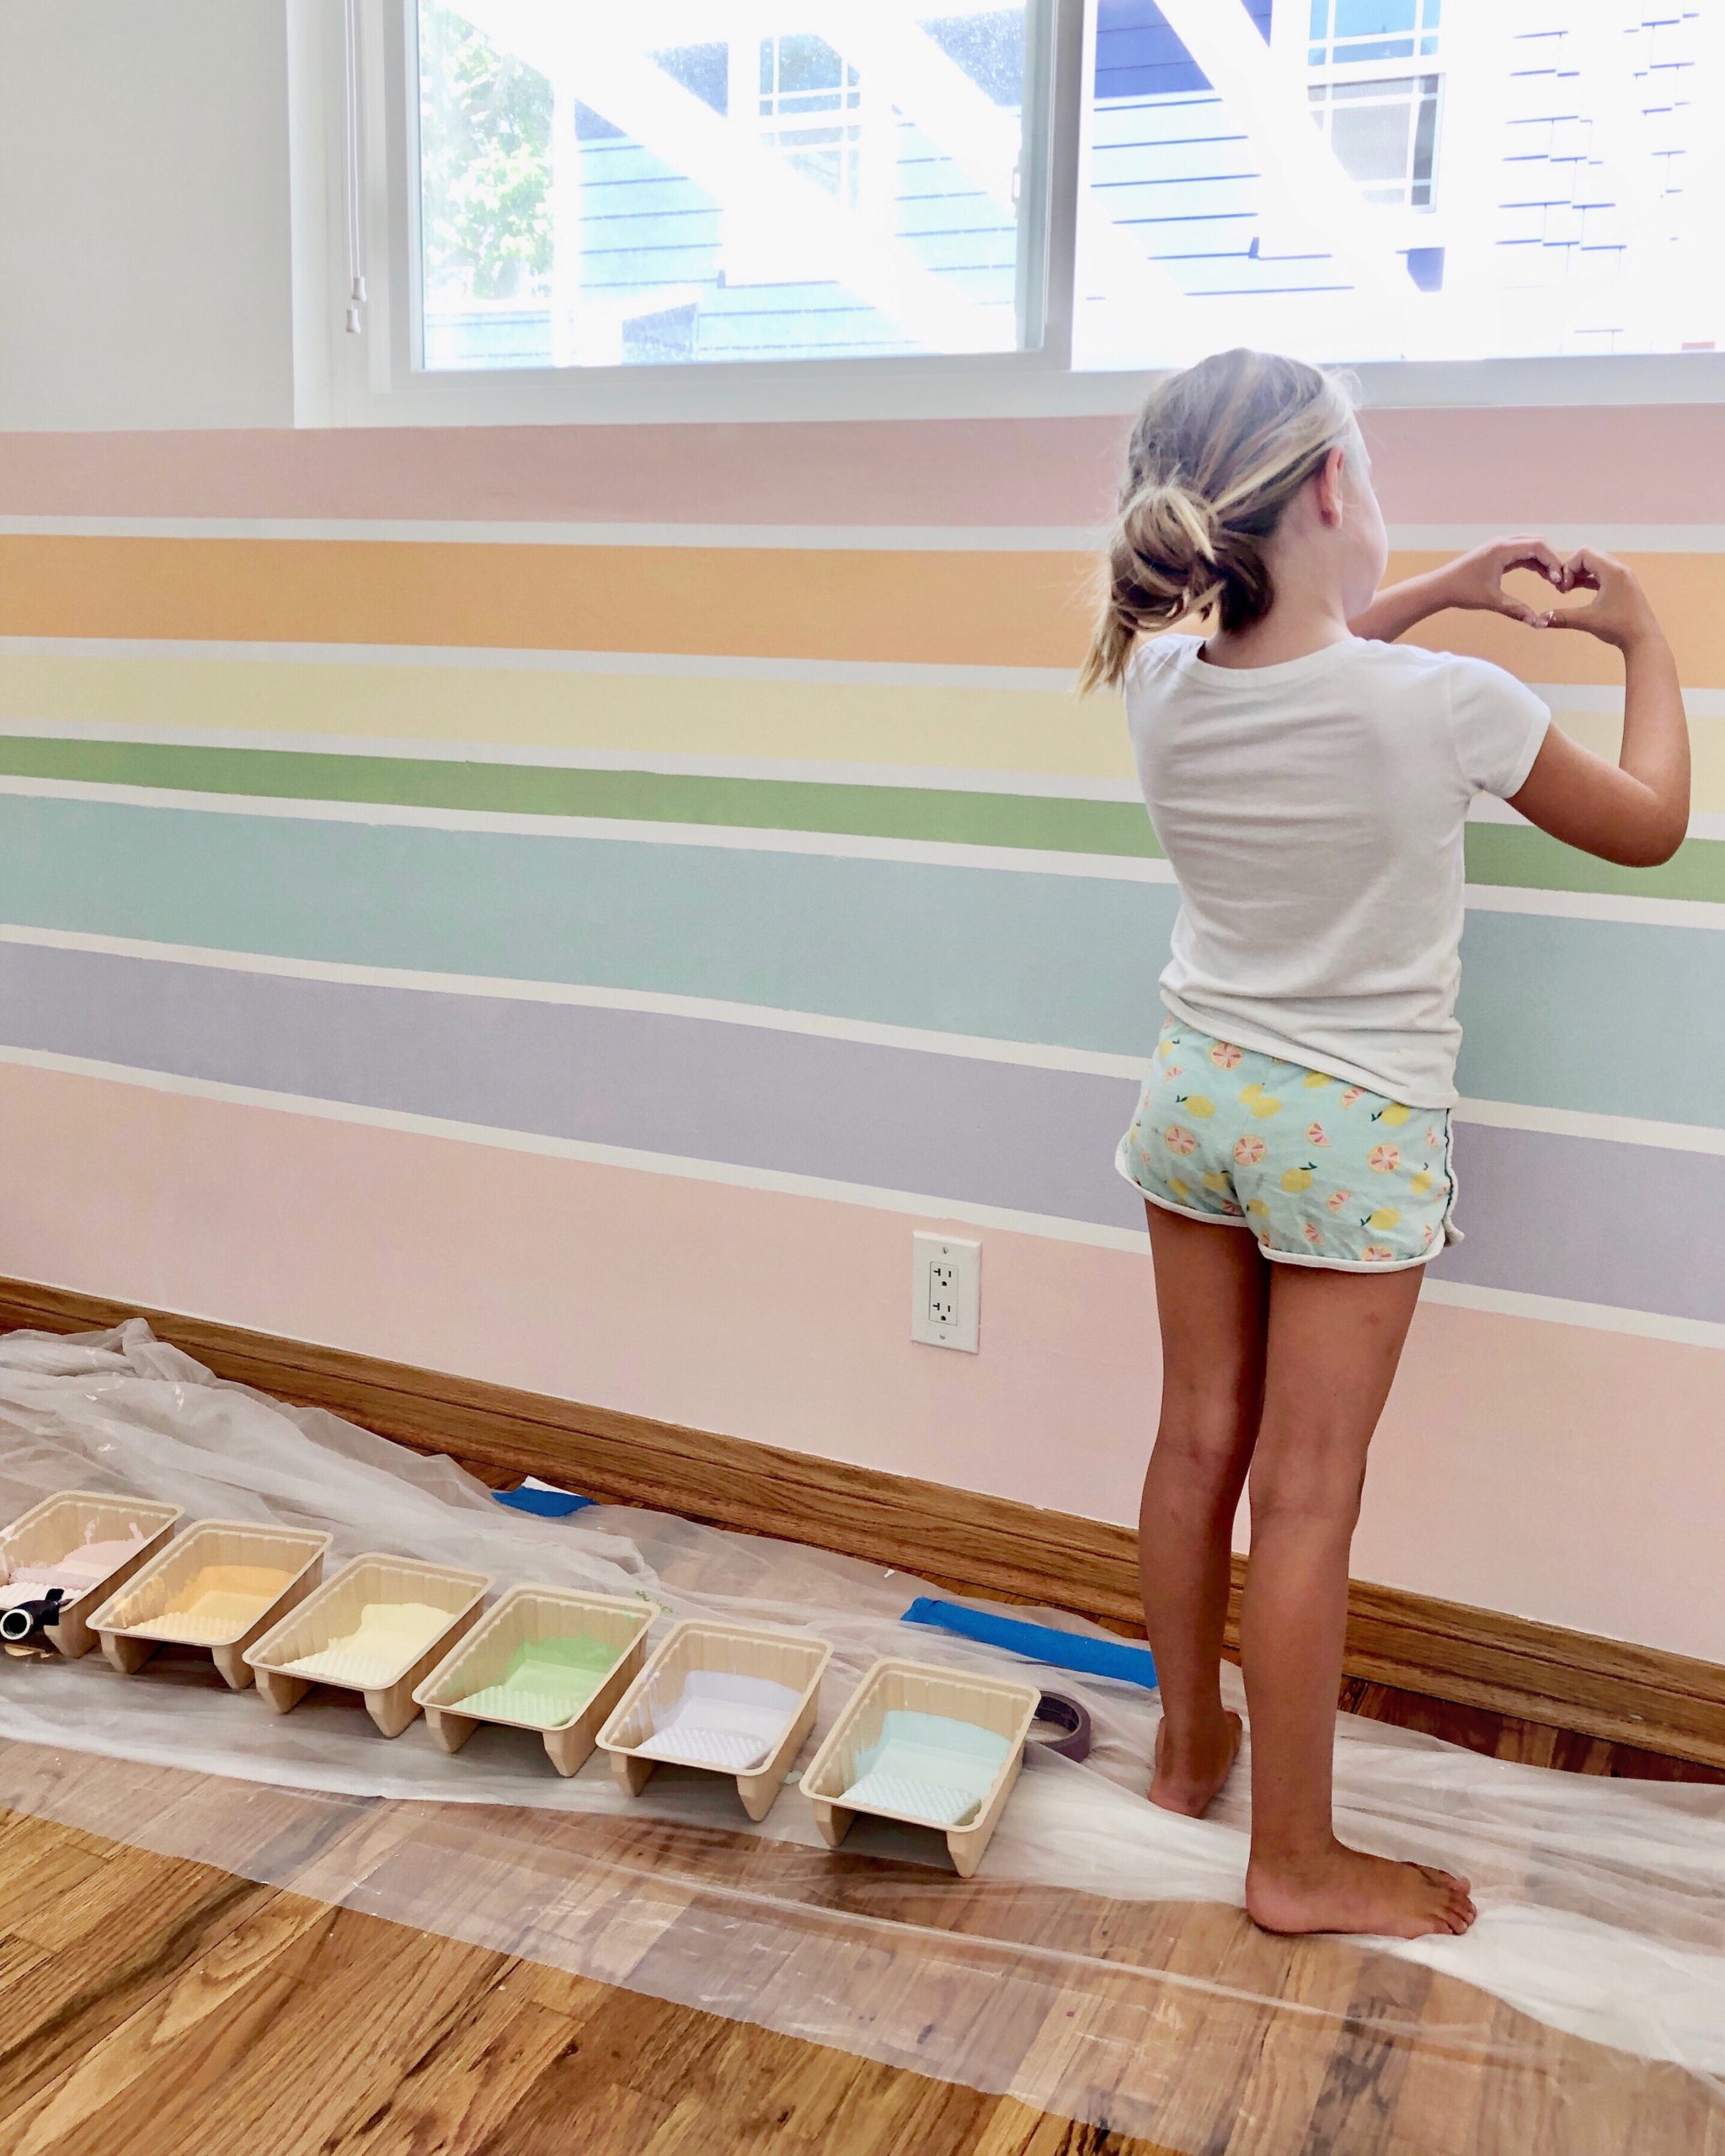
I am absolutely in LOVE with this DIY accent rainbow wall that Kristin and her daughter designed and painted in her daughter’s room! This fun DIY project transformed this room from a room in the house to HER room. The colors are soft but still vibrant, giving it the perfect pop of personality, and best of all, this rainbow wall DIY project was quick – it only took a couple of hours!
Here are the simple steps for this fun, kid-friendly DIY project you and your kids will enjoy!

How To Paint a Rainbow Wall
Total Time: 1-2 hours
- Pick out your colors! Paint color samples from Home Depot ($4 each) provide more than enough paint for the stripes.
- Mark out your stripes using Frog Tape (seriously the best for this) and have fun varying the size of the stripes! Not only is it visually interesting, but this will also save you the frustration of trying to get each rainbow stripe perfectly uniform – and a measuring tape can help to make them straight.
- Paint those stripes!
- Remove the tape and let dry for a day or two.
Here are the paint colors Kristin used for the rainbow wall. All paint colors are from Behr:
- Pink – Pink Elephant
- Orange – Dainty Apricot
- Yellow – Papaya Sorbet
- Green – Marjoram
- Blue – Sunken Pool
- Purple – Courteous
The final result of this DIY kids room rainbow wall made me so happy that I wanted to incorporate something similar somewhere in my daughter’s room. My eldest daughter recently moved into her big girl room, and we had JUST painted the walls a pretty shade of gray. Her room has exactly one window that looked at a rather drab, average fence where I planned to plant a shade garden eventually to brighten it up, but Kristin’s rainbow wall inspired me to give the fence outside my daughter’s window a very colorful makeover.
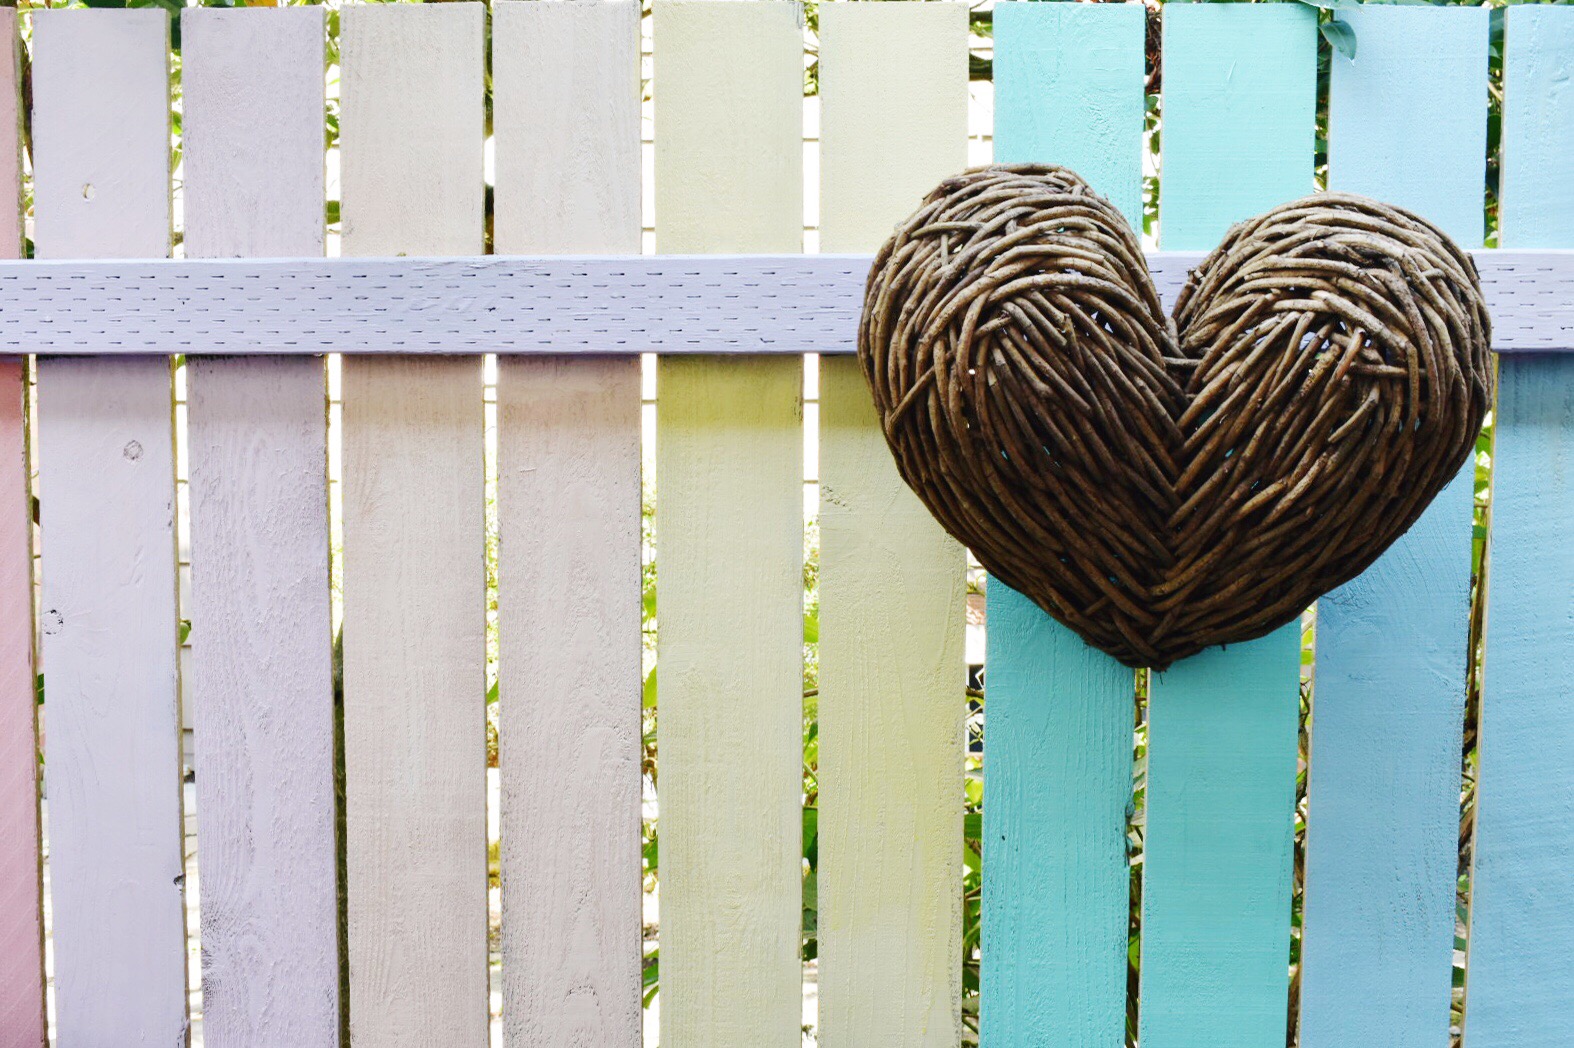
Rainbow Fence DIY
Total Time: 1-2 hours
- Prepping: I cleaned the fence with water from the hose and let it dry.
- Colors: I used leftover paint samples from other projects, which is always so nice! I tinted the colors myself with some acrylic paints that we had in our art supplies. I used Paper Lantern by Sherwin Williams as the base and added primary colors to it until they had the creamy rainbow hues I wanted.
- Painting: Painting a fence means there is no taping off necessary, and being outside meant I could drip – so drip I did!
- Sealing: I bought a couple of cans of spray sealant to help the paint weather and applied it all over the fence once the paint was dry.
- Personal Touch: I added a wicker heart that I got on clearance years ago and never used. I love seeing it out on the fence instead of in a closet!
My absolute favorite part of this update? My daughter ADORES it. The second best part is that this was a very affordable DIY project – it only cost about $5 for the sealant since we mostly used materials we already had. Oh – and guts. It took some guts, but I’m so happy I went for it!
If you need some more rainbow inspiration, here are a couple of other DIY rainbow wall ideas that Kristin and I love!
Tanya of @houseofsixinteriors made a gorgeous rainbow wall for her daughter.
And Cynthia of @cynthia_harper_ and her daughter recently added this beautiful hand- painted rainbow wall. 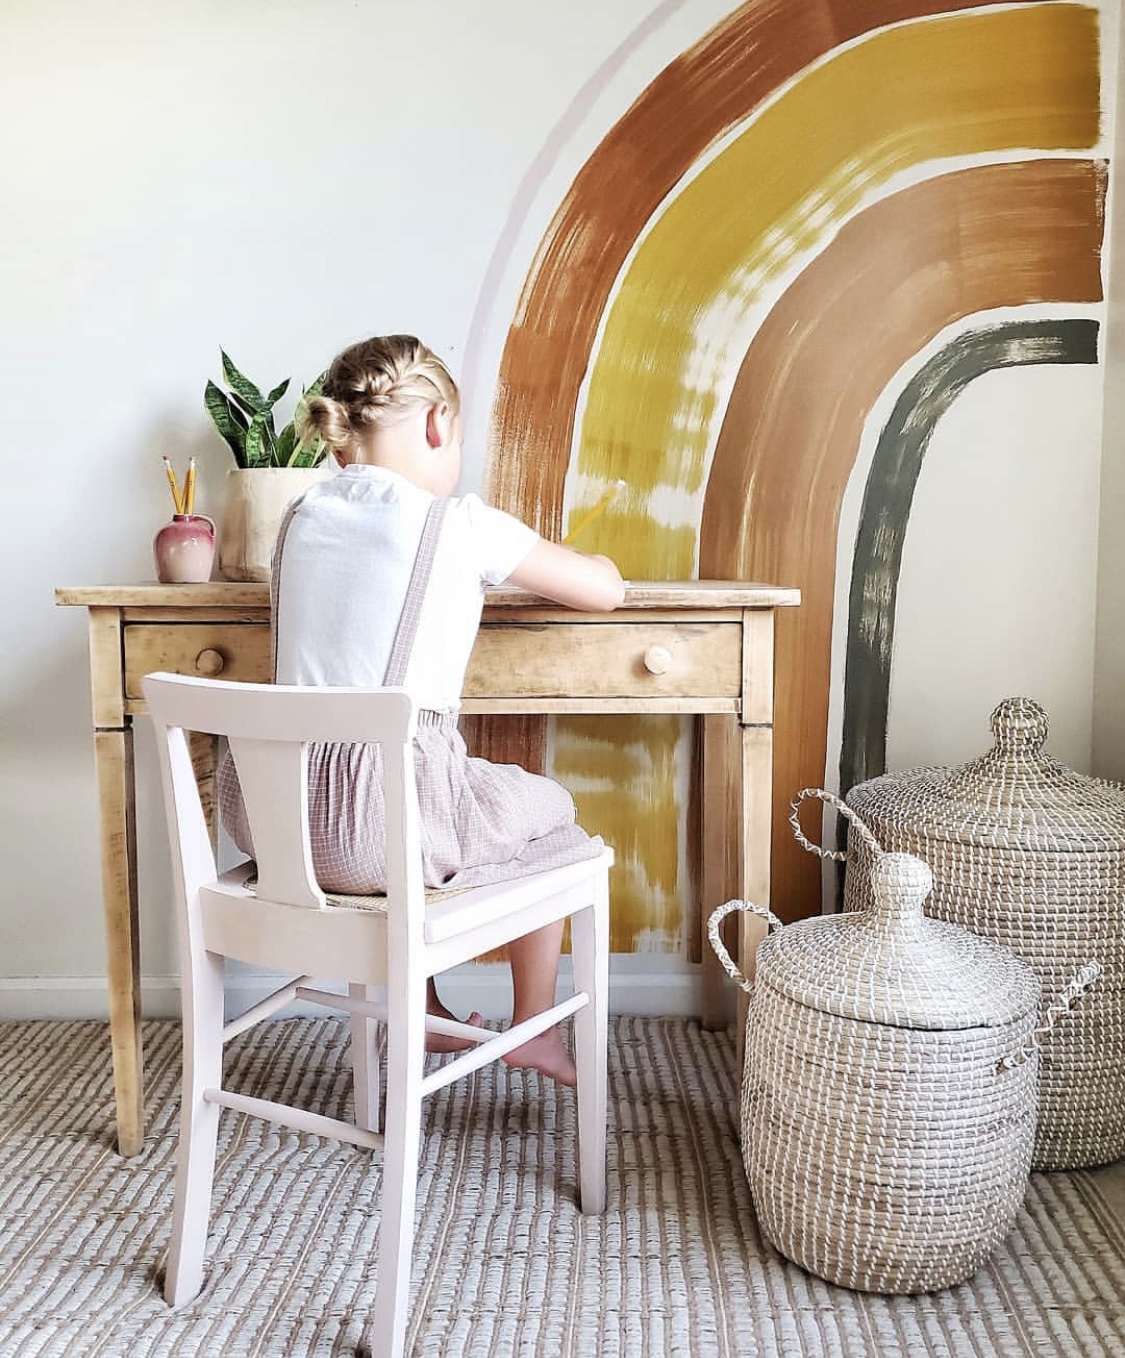
– Kaitlyn & Kristin