Hit enter to search of ESC to exit

How to Paint a Rainbow Wall (and Fence!)

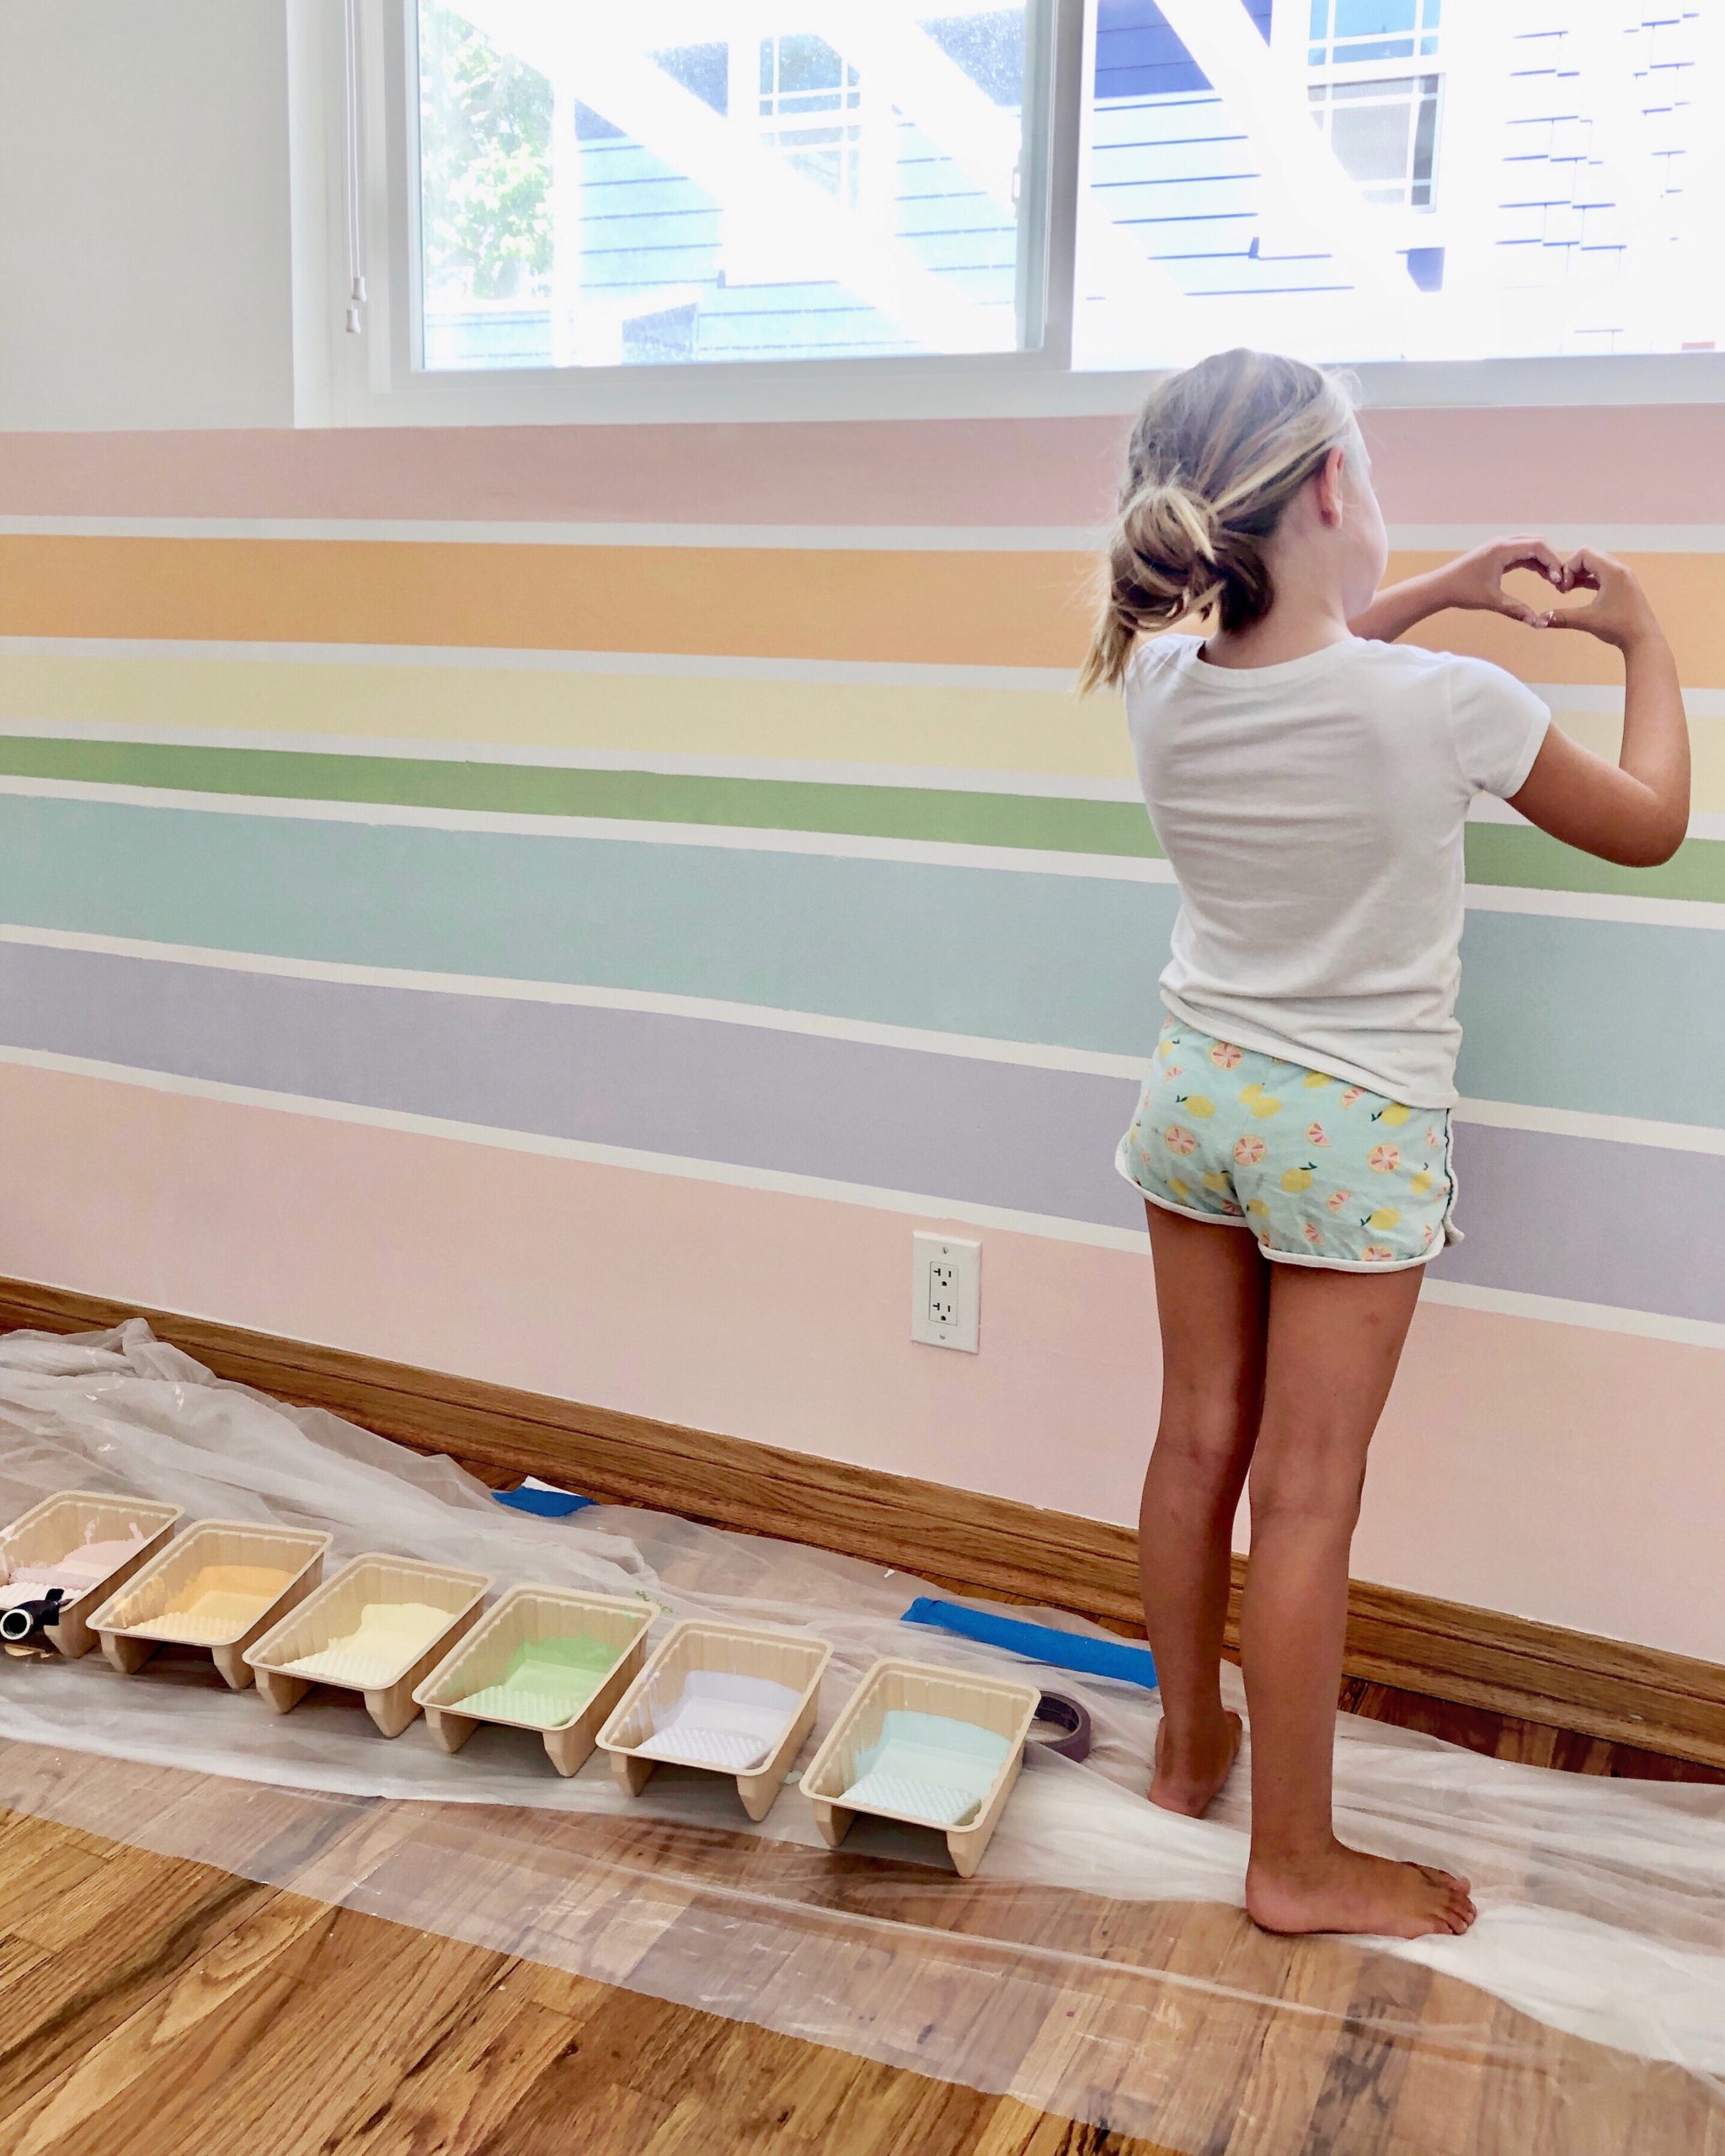
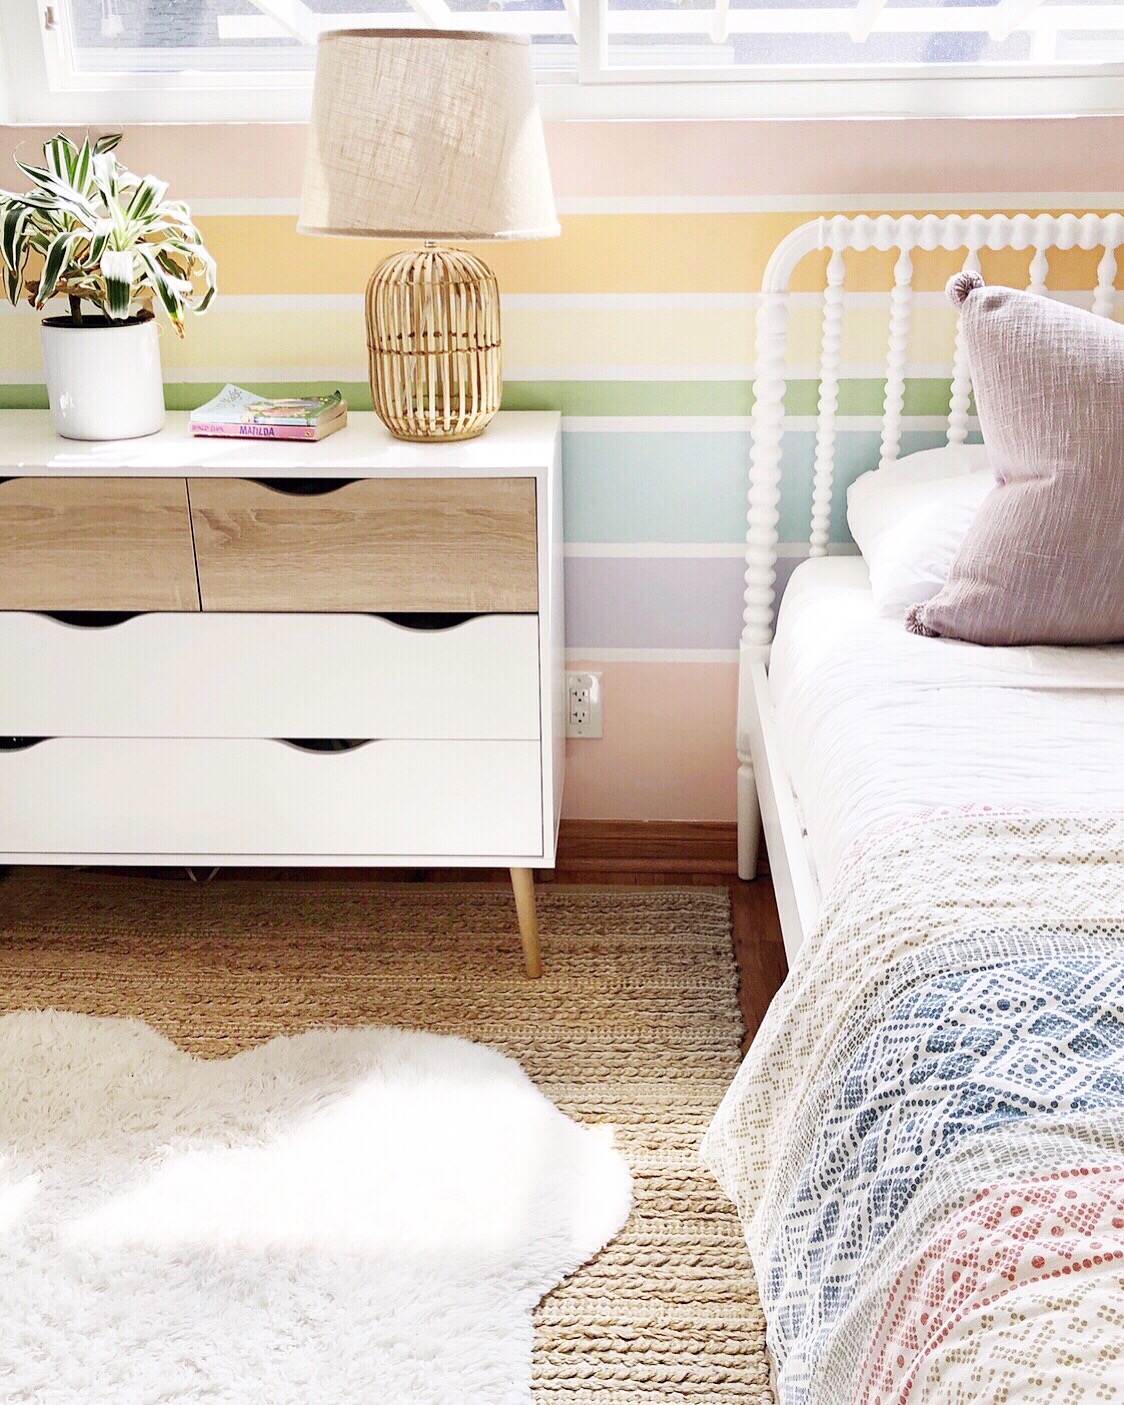
I am absolutely in LOVE with this DIY accent rainbow wall that Kristin and her daughter designed and painted in her daughter’s room! This fun DIY project transformed this room from a room in the house to HER room. The colors are soft but still vibrant, giving it the perfect pop of personality, and best of all, this rainbow wall DIY project was quick – it only took a couple of hours!

Here are the simple steps for this fun, kid-friendly DIY project you and your kids will enjoy!

How to Make a Rainbow Wall DIY | Kristin Dion Design

How To Paint a Rainbow Wall

Total Time: 1-2 hours

  1. Pick out your colors! Paint color samples from Home Depot ($4 each) provide more than enough paint for the stripes.
  2. Mark out your stripes using Frog Tape (seriously the best for this) and have fun varying the size of the stripes! Not only is it visually interesting, but this will also save you the frustration of trying to get each rainbow stripe perfectly uniform – and a measuring tape can help to make them straight.
  3. Paint those stripes!
  4. Remove the tape and let dry for a day or two.

Here are the paint colors Kristin used for the rainbow wall. All paint colors are from Behr:

The final result of this DIY kids room rainbow wall made me so happy that I wanted to incorporate something similar somewhere in my daughter’s room. My eldest daughter recently moved into her big girl room, and we had JUST painted the walls a pretty shade of gray. Her room has exactly one window that looked at a rather drab, average fence where I planned to plant a shade garden eventually to brighten it up, but Kristin’s rainbow wall inspired me to give the fence outside my daughter’s window a very colorful makeover.

Rainbow Wall Kids Room

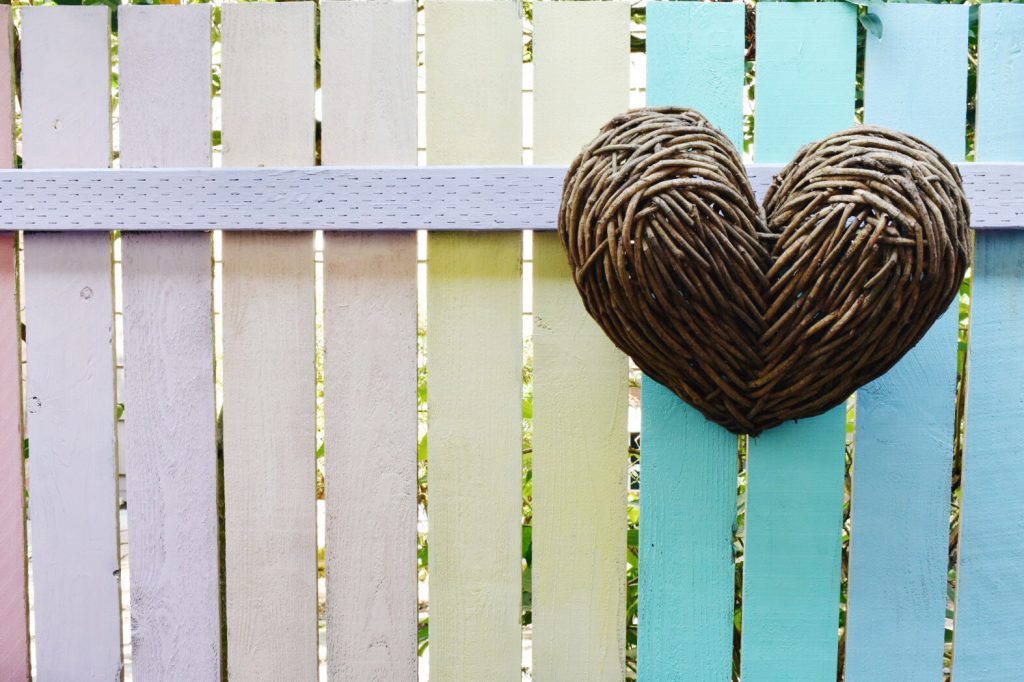
Rainbow Fence DIY

Total Time: 1-2 hours

  1. Prepping: I cleaned the fence with water from the hose and let it dry.
  2. Colors: I used leftover paint samples from other projects, which is always so nice! I tinted the colors myself with some acrylic paints that we had in our art supplies. I used Paper Lantern by Sherwin Williams as the base and added primary colors to it until they had the creamy rainbow hues I wanted.
  3. Painting: Painting a fence means there is no taping off necessary, and being outside meant I could drip – so drip I did!
  4. Sealing: I bought a couple of cans of spray sealant to help the paint weather and applied it all over the fence once the paint was dry. 
  5. Personal Touch: I added a wicker heart that I got on clearance years ago and never used. I love seeing it out on the fence instead of in a closet! 

My absolute favorite part of this update? My daughter ADORES it. The second best part is that this was a very affordable DIY project – it only cost about $5 for the sealant since we mostly used materials we already had. Oh – and guts. It took some guts, but I’m so happy I went for it! 

If you need some more rainbow inspiration, here are a couple of other DIY rainbow wall ideas that Kristin and I love!

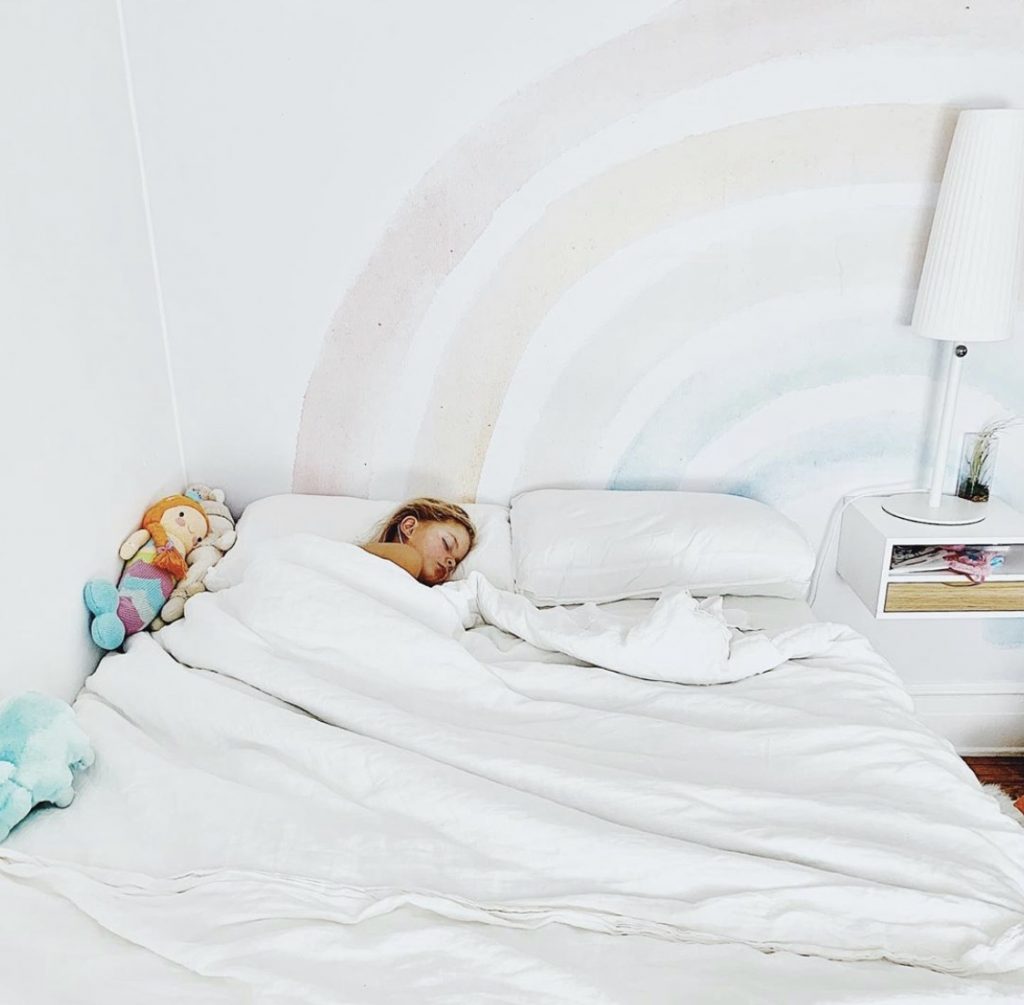
Tanya of @houseofsixinteriors made a gorgeous rainbow wall for her daughter.Rainbow Wall Kids Room


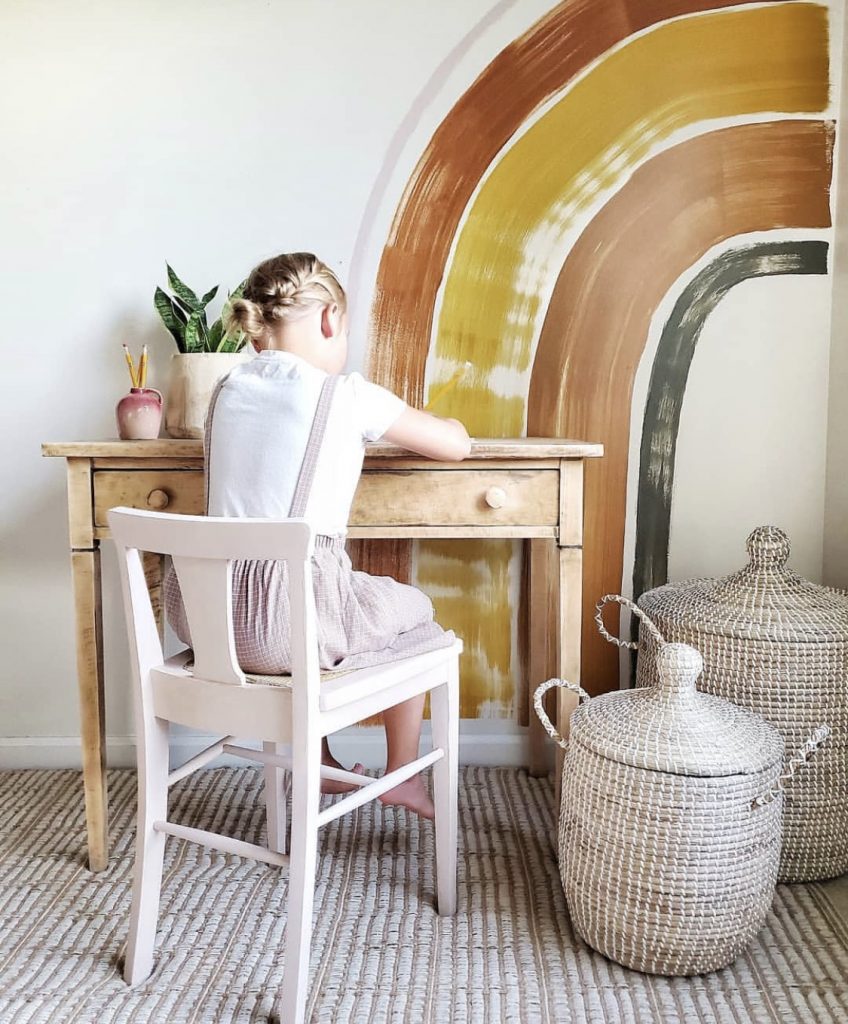
And Cynthia of @cynthia_harper_ and her daughter recently added this beautiful hand- painted rainbow wall.  Rainbow Wall Kids Room

– Kaitlyn & Kristin 

Modern Coastal DIY Bathroom Remodel

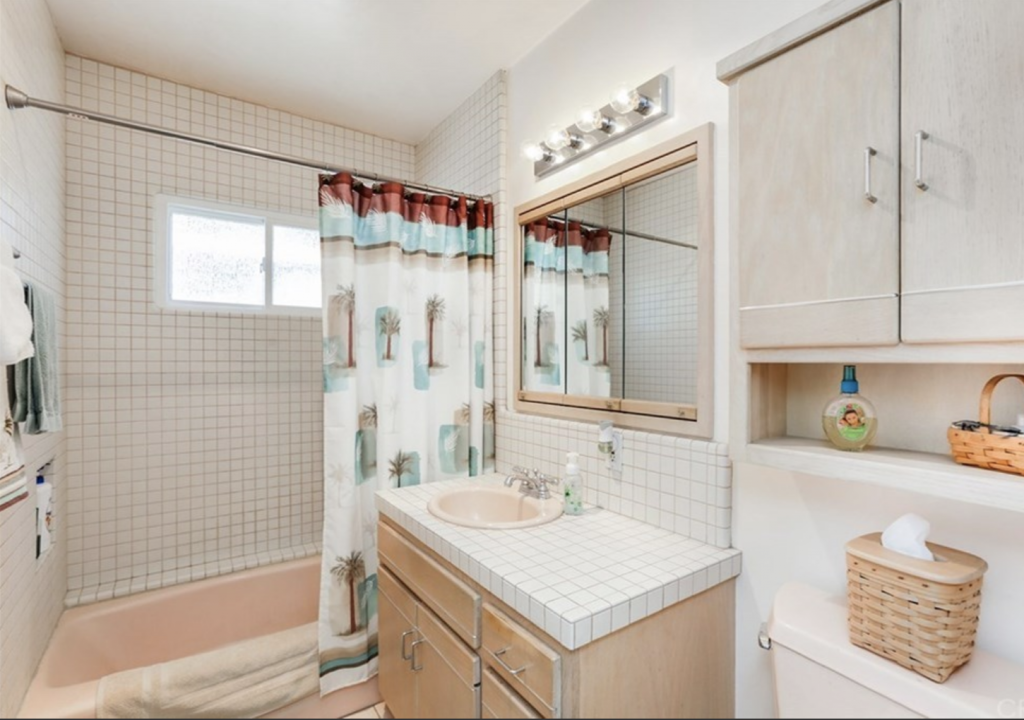
The bathroom! This project is easily night and day with only a handful of changes (one big and the rest small).

BEFORE

Kristin Dion Design DIY Bathroom Remodel Before Photo

Kristin Dion Design DIY Bathroom Remodel Before Photo

AFTER

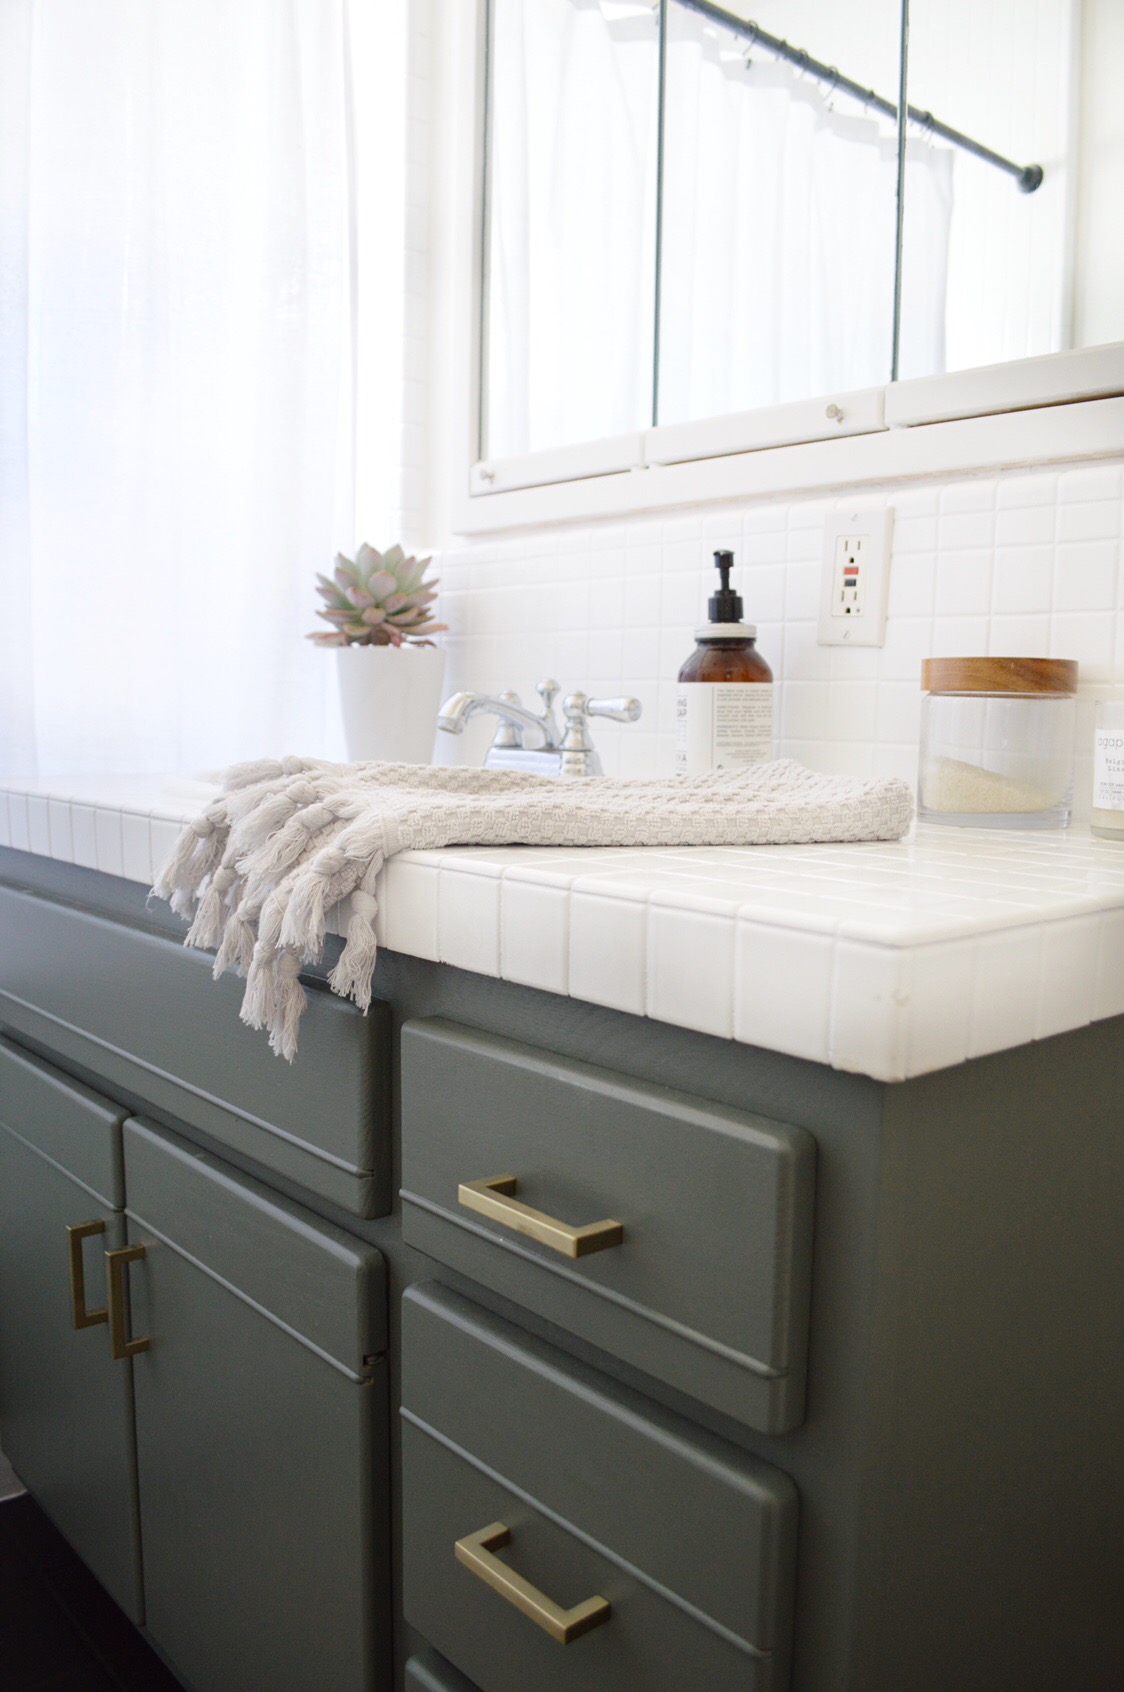
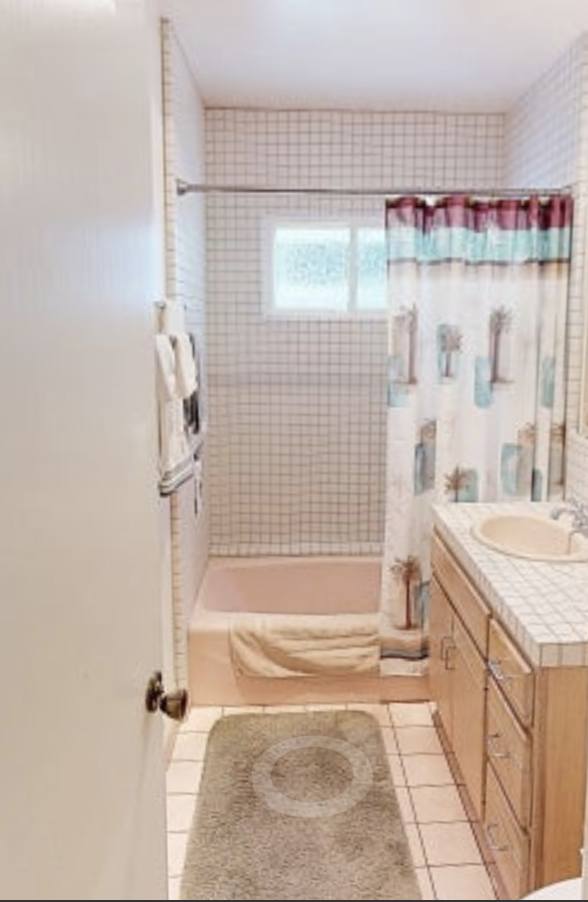
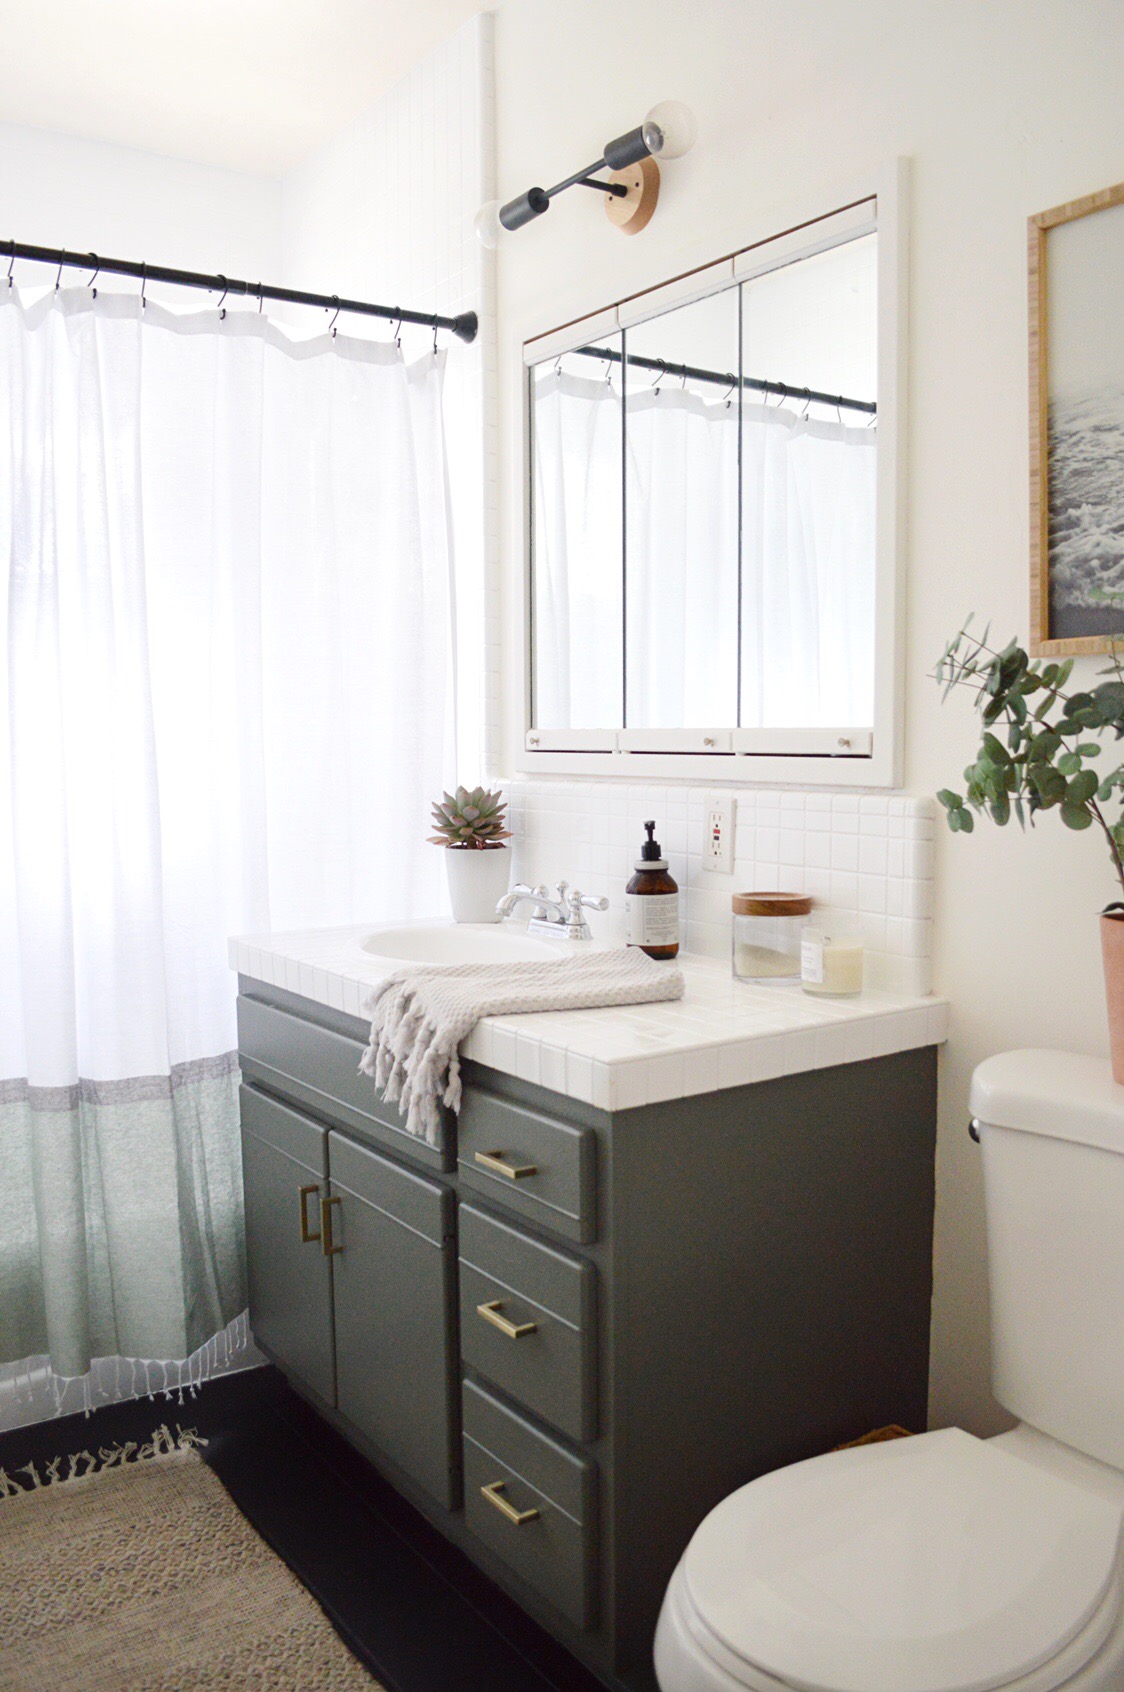
This bathroom was a sight for sore eyes, to say the least. It was so dated that it felt like stepping into a time machine, and the pale, dirty colors were not helping with the bathroom’s tight size. We needed a total (and affordable!) bathroom makeover to better reflect our laidback style, and this modern coastal bathroom DIY before and after makes me SO happy. While the majority of this bathroom *is* DIY, I always recommend outsourcing for professionals when necessary for guaranteed quality and peace of mind on elements that require more expertise, such as I did for glazing portion of this project.

Kristin Dion Design DIY Bathroom Remodel After Photo

Kristin Dion Design DIY Bathroom Remodel After Photo Tile Glaze

Kristin Dion Design DIY Bathroom Remodel After Photo Tile Glaze

Affordable Bathroom Remodel DIY Tutorial
TOTAL TIME: 3 days 

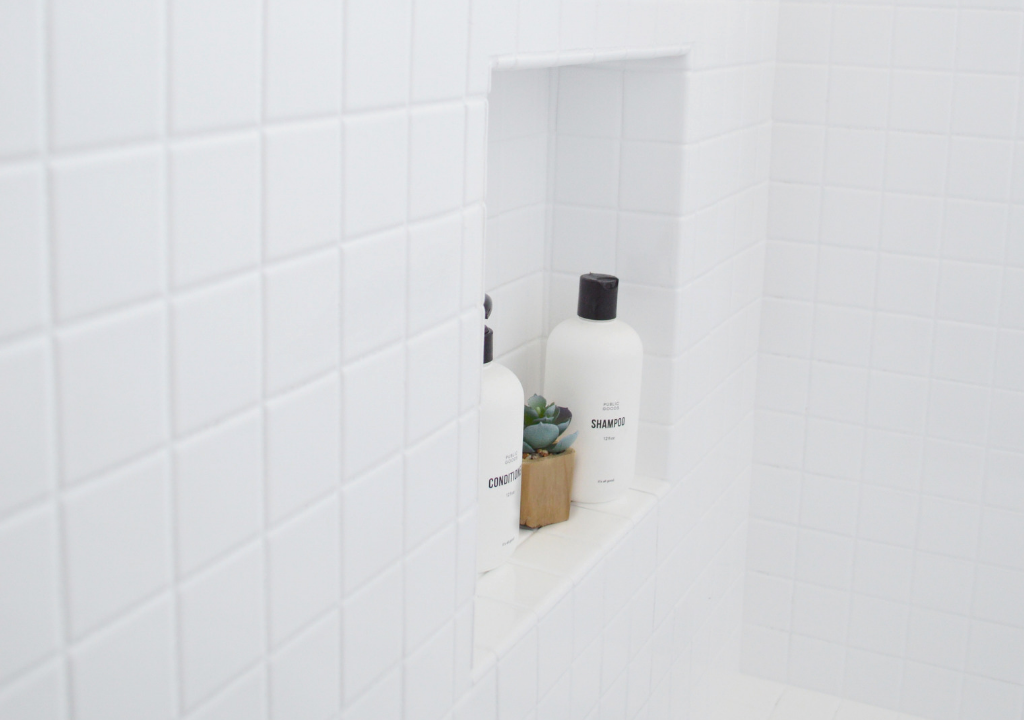
  • I hired Porcelain & Fiberglass Maintenance in North Hollywood to professionally glaze our pink tub, shower tiles, and the sink, and they did an AMAZING job. Everything is now a crisp, bright white – and it made a WORLD of a difference! Plus, I have the reassurance of knowing it will perform as it should and last a lifetime. Depending on the size of your space, professional tile glazing will probably cost you between $800-$1,200.  
  • After waiting 48 hours for all the glaze to fully dry, I painted the vanity with a couple coats of the Millstone Gray by Benjamin Moore paint color. Note: I recommend sanding and priming wood cabinets too – I cut corners because this bathroom will be gutted when we remodel. I bought a sample of the paint for $12 and a foam roller for $4.  
  • I updated the hardware with these sleek and simple gold pulls from AllModern, which elevates the feel of the bathroom without stealing the spotlight.
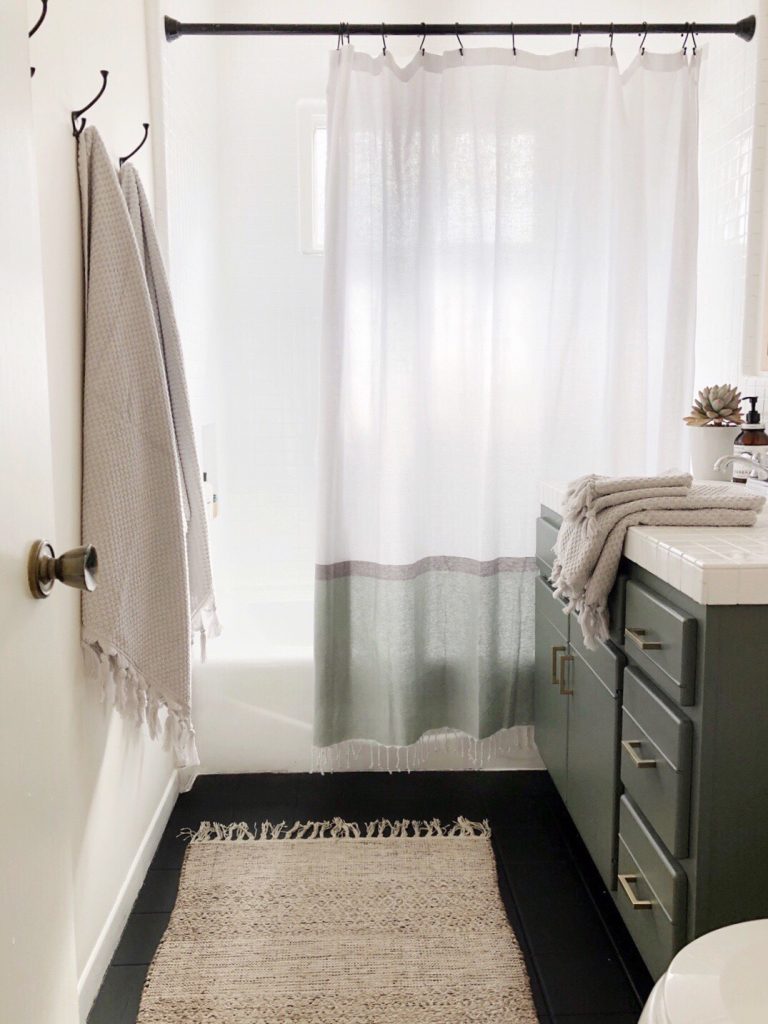
  • For the floors, I started by sanding, then priming using this primer, followed by painting them with Life Deck Floor & Deck Paint in Black by Benjamin Moore. The contrast of the light white tiles and the dark floors adds more depth to the bathroom, which is essential when you’re trying to figure out how to make a small space feel bigger.
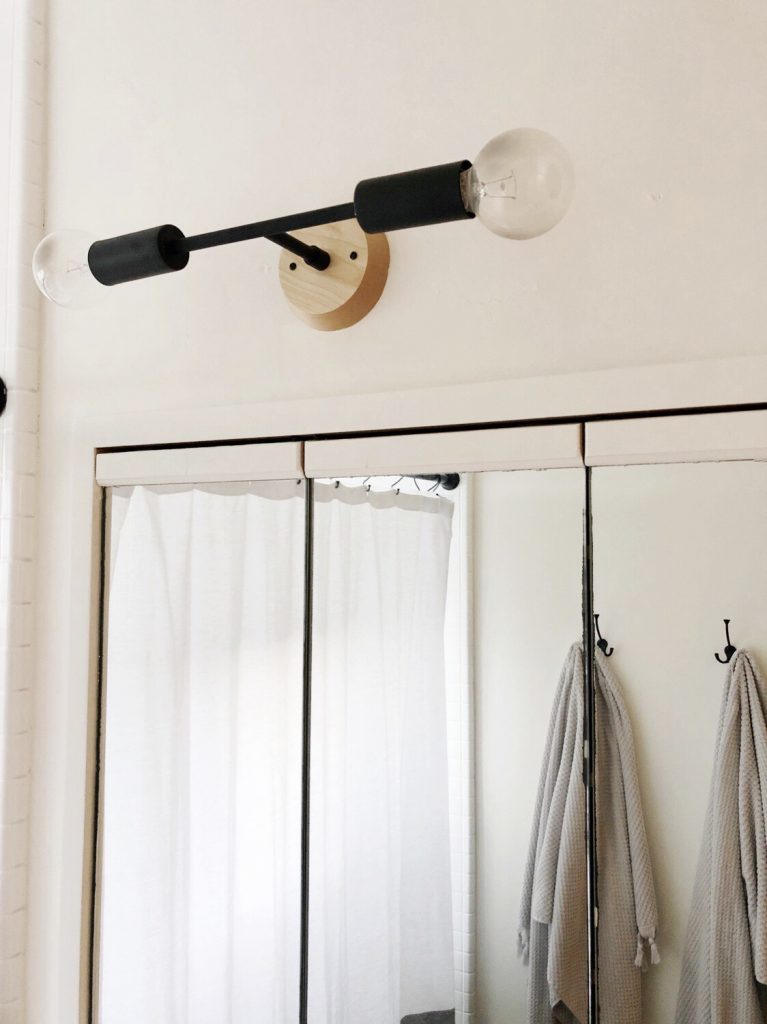
  • I replaced the main light in the bathroom with this cool black fixture from Cedar and Moss. I love how the black is a little unexpected alongside the other colors but still fits seamlessly within the rest of the design choices.
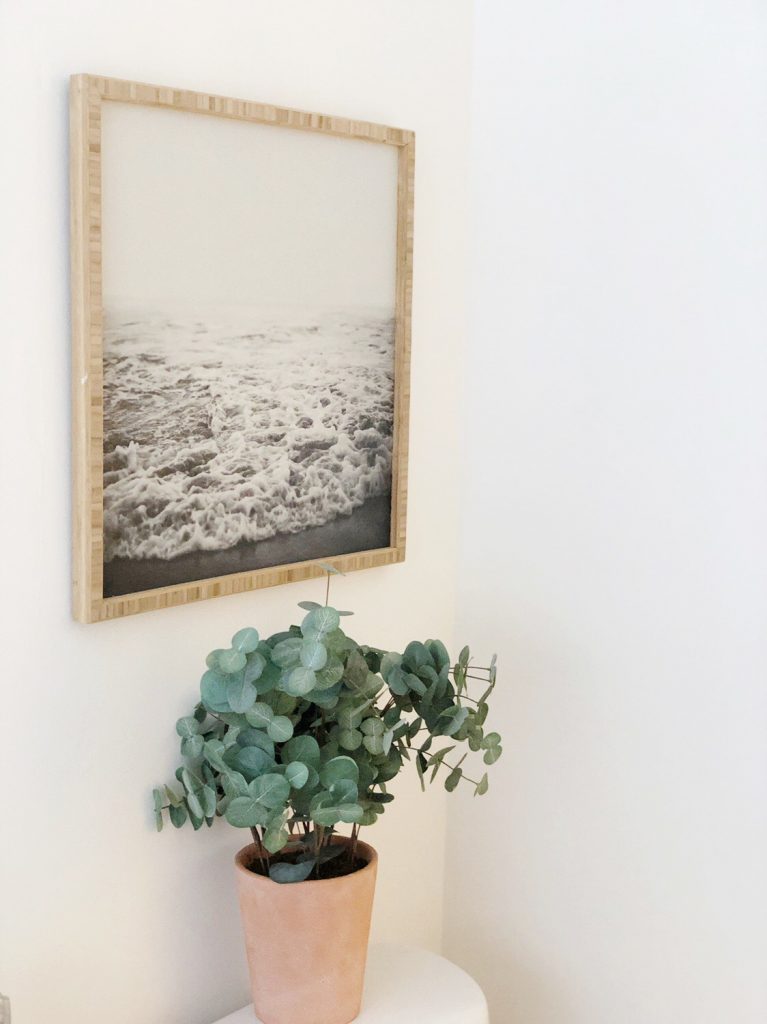
  • I ripped out the cabinet over the toilet, because we didn’t need the extra storage and it dwarfed the space – so I hung this art from AllModern instead! 
  • I used this black spray paint to update the shower curtain rod and hung this cute curtain from Target.
  • I painted all of the mirror frame, the walls and ceiling with one of my favorite paints ever: Simply White by Benjamin Moore.
  • Towels are these tassel towels from Parachute
  • The final touch? Adding this neutral cotton rug to incorporate more organic texture to the modern coastal bathroom vibe.

Kristin Dion Design DIY Bathroom Remodel After Photo Tile Glaze

Kristin Dion Design DIY Bathroom Remodel After Photo Tile Glaze

Don’t these bathroom before and after photos give you so much joy? There’s nothing like an extreme before and after to inspire me to keep going and finish other projects as quickly as possible (and inspire YOU with bathroom DIY ideas and make those changes you’ve been itching to do!). You can find all this and more on my Instagram and Pinterest.

xoxo,

Kristin

DIY Kitchen Remodel: Part 1

It’s here! The long-awaited kitchen remodel DIY. There’s so much change that’s happened in such a short amount of time, which was a lot of work but SO worth it! If you’re looking for some kitchen DIY ideas, keep reading for all the deets about our affordable kitchen DIY project!

BEFORE

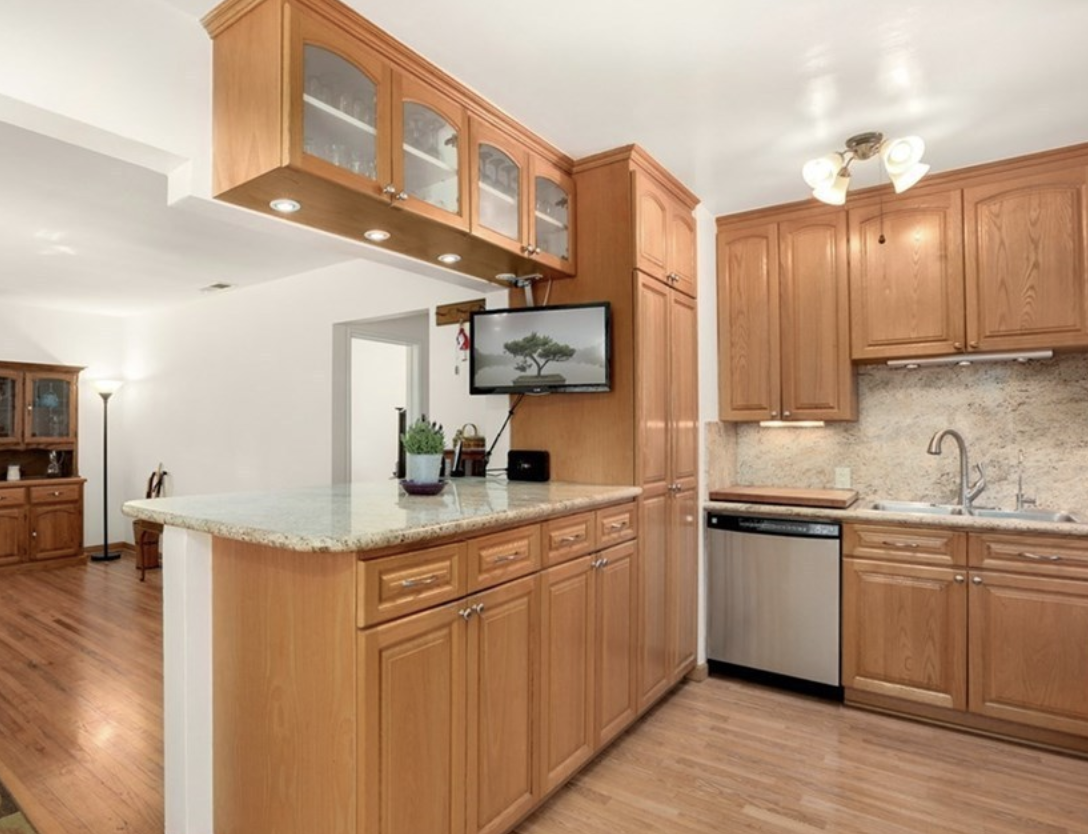
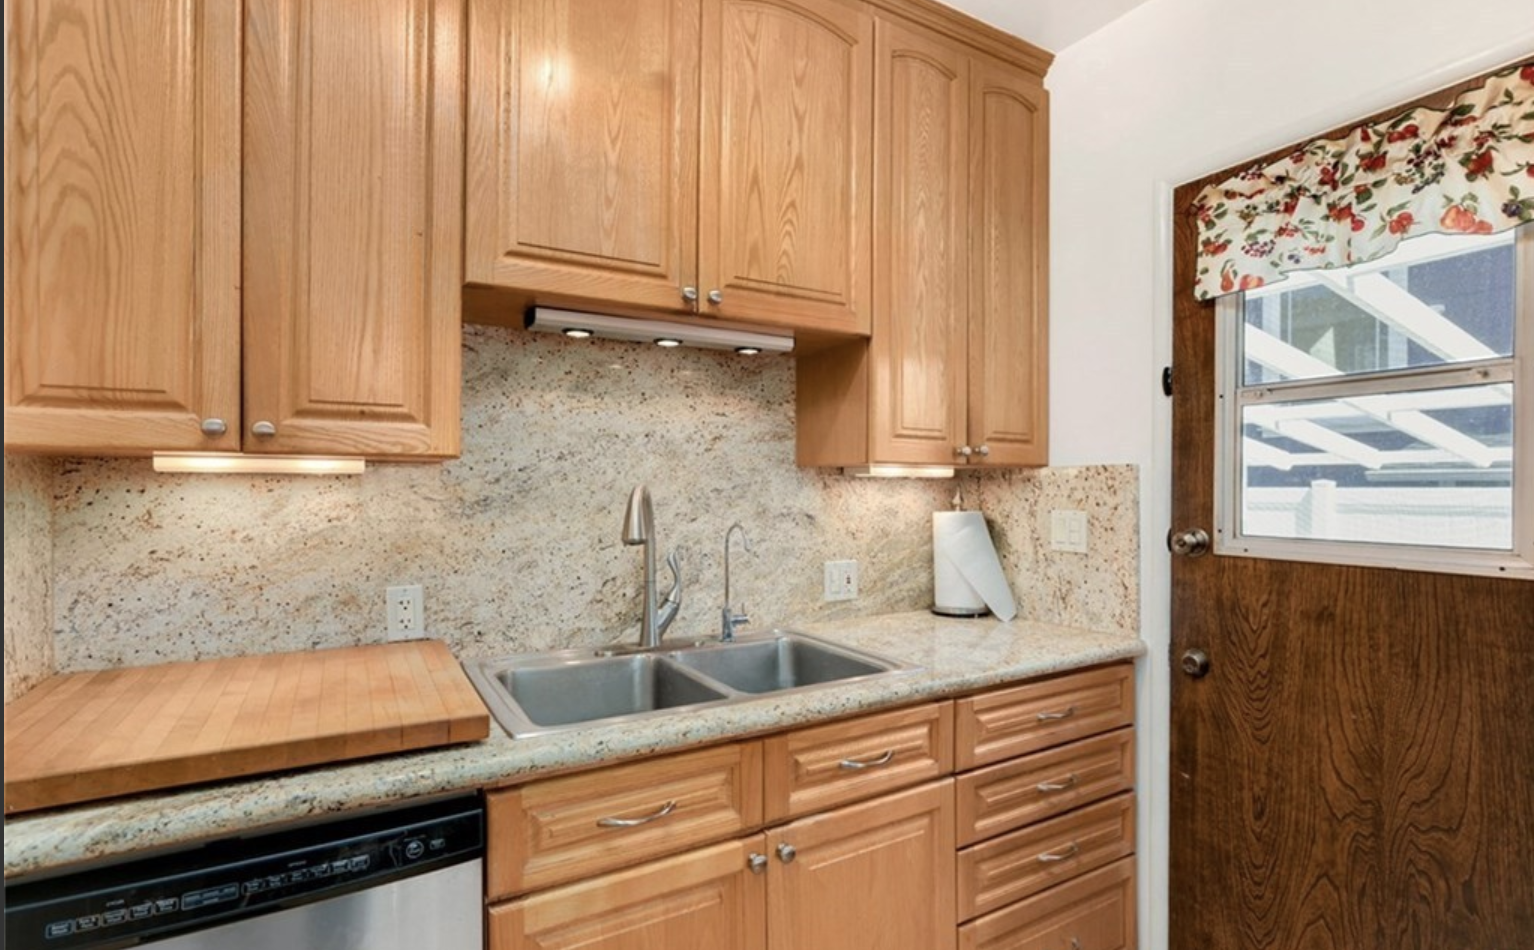
An impractical peninsula, granite counters, granite backsplash and LOTS of cherry cabinets dwarfing the space – NOT reflective of our style at all. We moved into this fixer-upper with the intention of a full gut remodel in a year or so BUT even in the interim, we want to enjoy this space as much as possible.
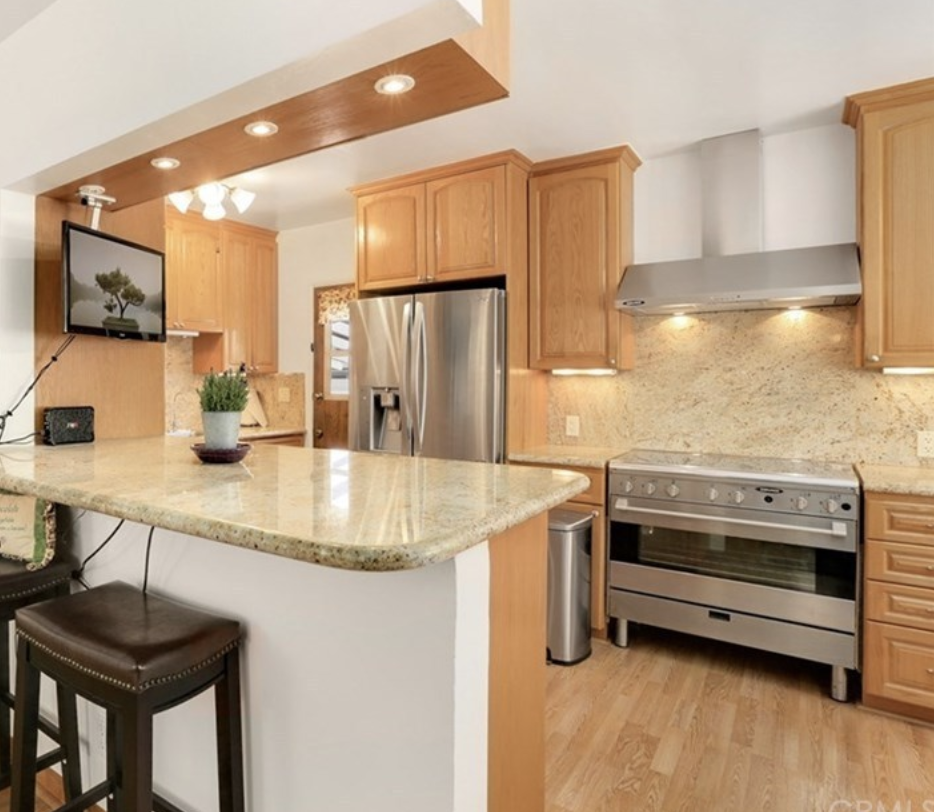
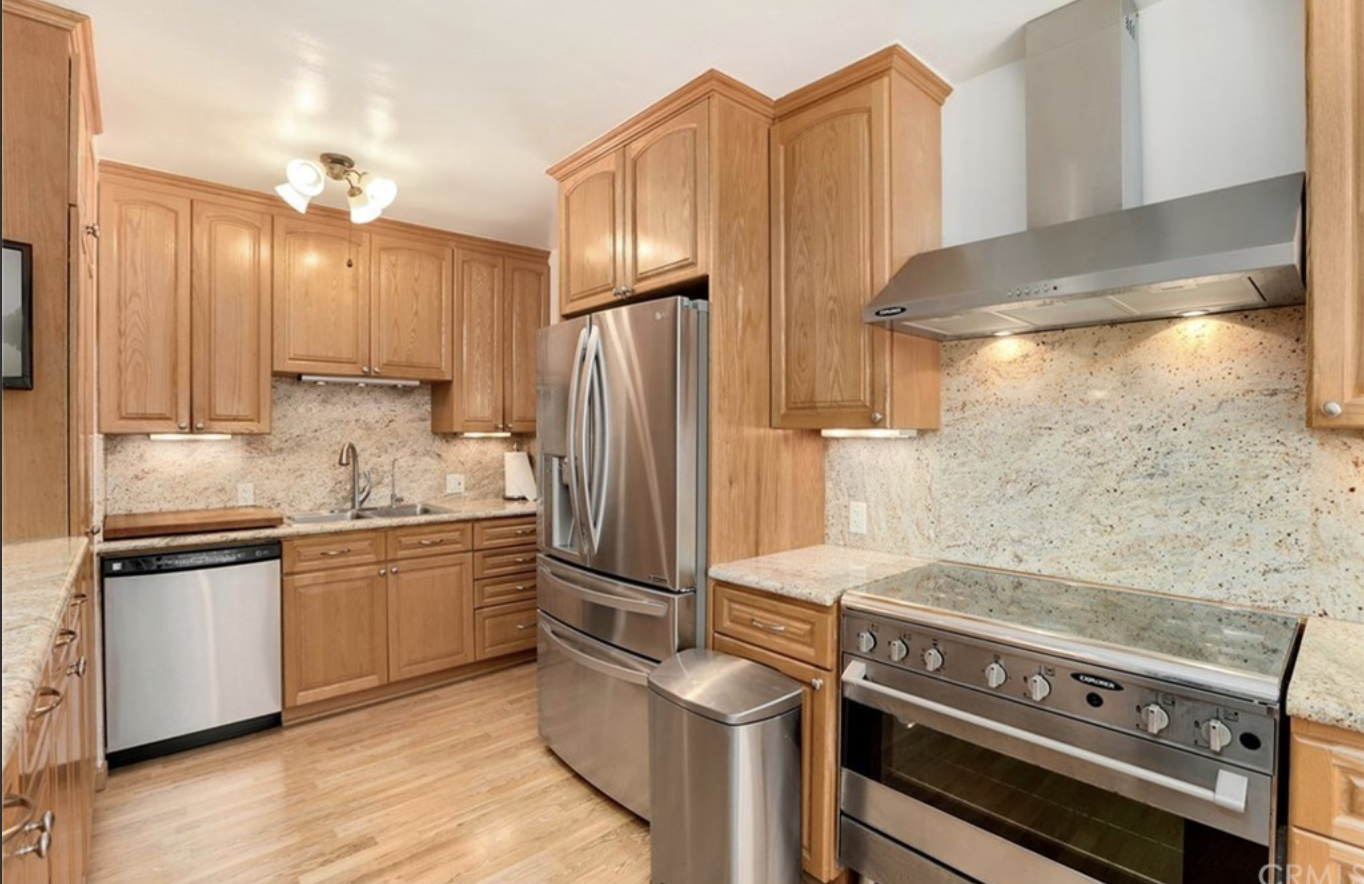
Kristin Dion Kitchen Remodel Before Photo Kristin Dion Kitchen Remodel Before Photo Kristin Dion Kitchen Remodel Before Photo Kristin Dion Kitchen Remodel Before Photo

PENINSULA DEMO

This was easily the thing I was looking forward to doing to most in the kitchen renovation, and it was the most satisfying, too! This peninsula was so impractical and just barely allowed the front door swing past it at the entrance, so it had to go. The only negative of getting rid of it was the ugly holes it left behind in the floor, but that’s where plywood and a rug come to the rescue! Not only do these cover the disaster, but the rug really defines the space and adds more coziness. A quick and easy fix to a not-so-cute situation.
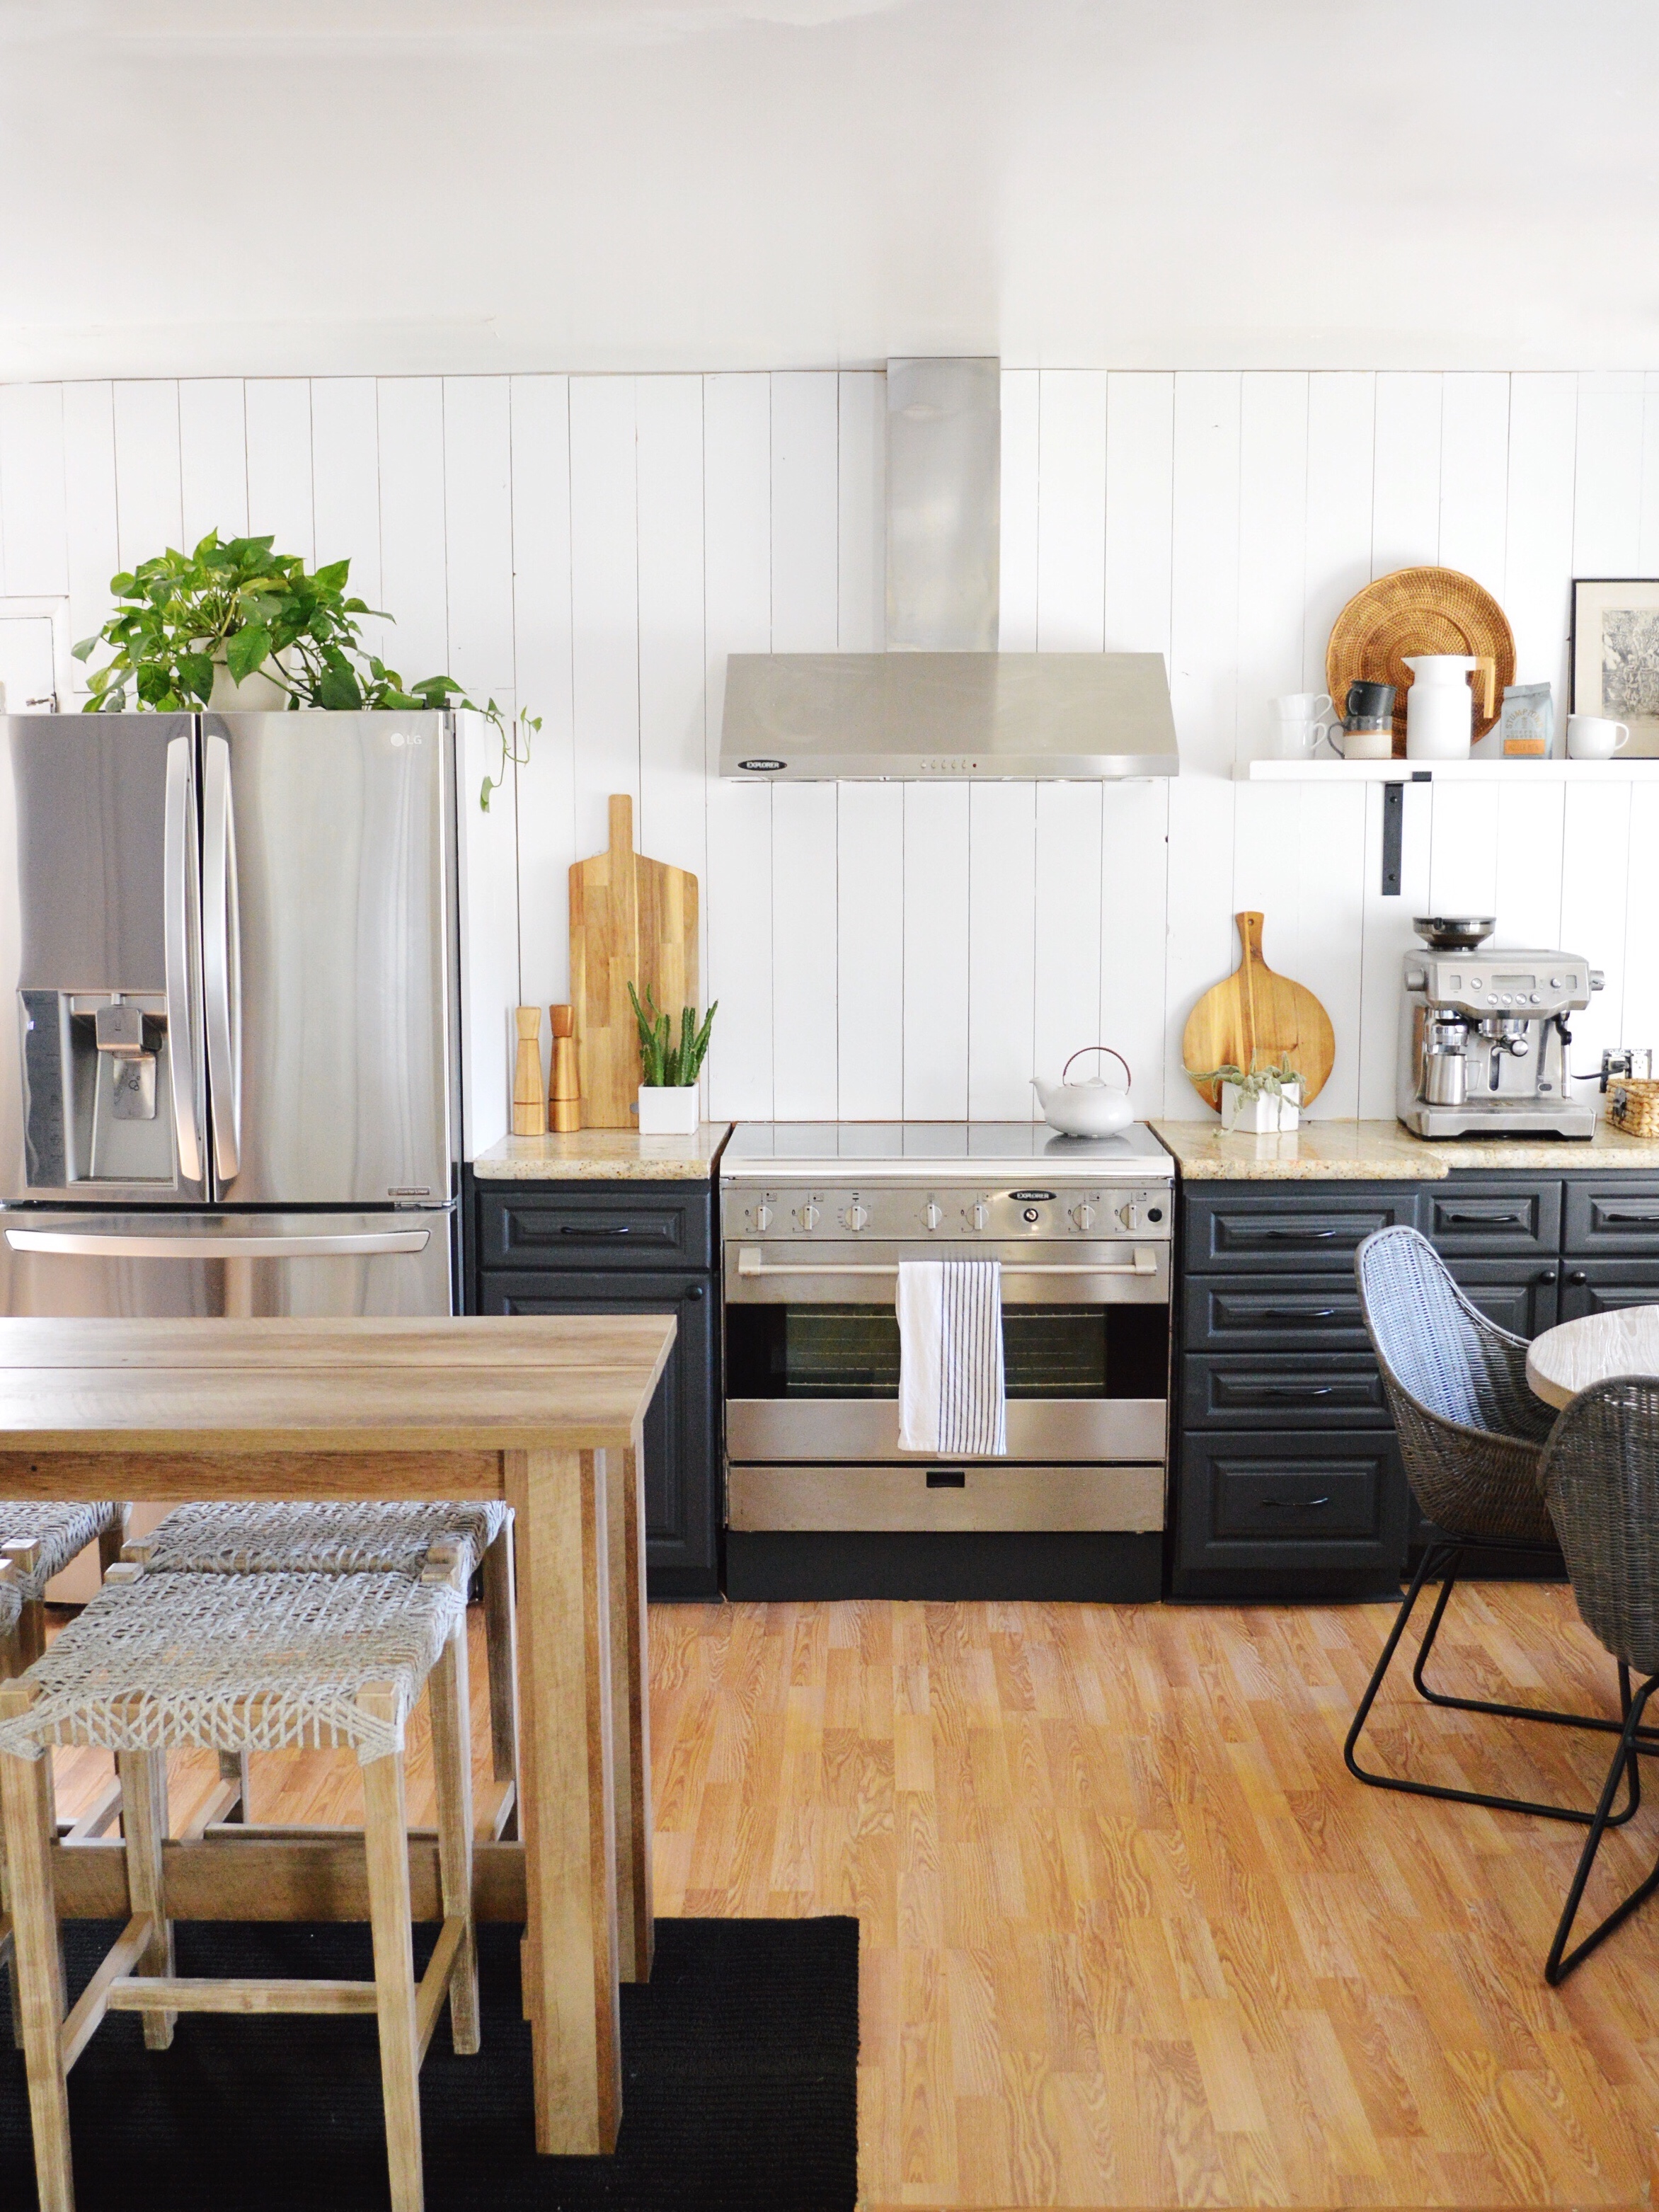
Kristin Dion Kitchen Remodel After Photo

Peninsula and Wall Demo Tutorial
TOTAL TIME: 6 – 8 hours

  • If your house was built before 1980, check the wall materials for asbestos and lead before you go knocking it down and creating dust. We actually did this after the fact (whoops) and thankfully, our walls passed the test – but don’t take the risk and do it before any kind of wall demolition.
  • With the help of my handyman, we took out the lower cabinets (part of the peninsula) and the upper cabinets before taking down the adjacent walls.
  • I let my handyman take down the walls, and luckily we didn’t run into any problems (electrical or structural).
  • Taking out the peninsula, upper cabinets, and adjacent walls REALLY opened up the space but unfortunately left mismatched flooring. We patched it with plywood, and I found the perfect mat from Chiliwich to cover it up.


CABINETS DIY

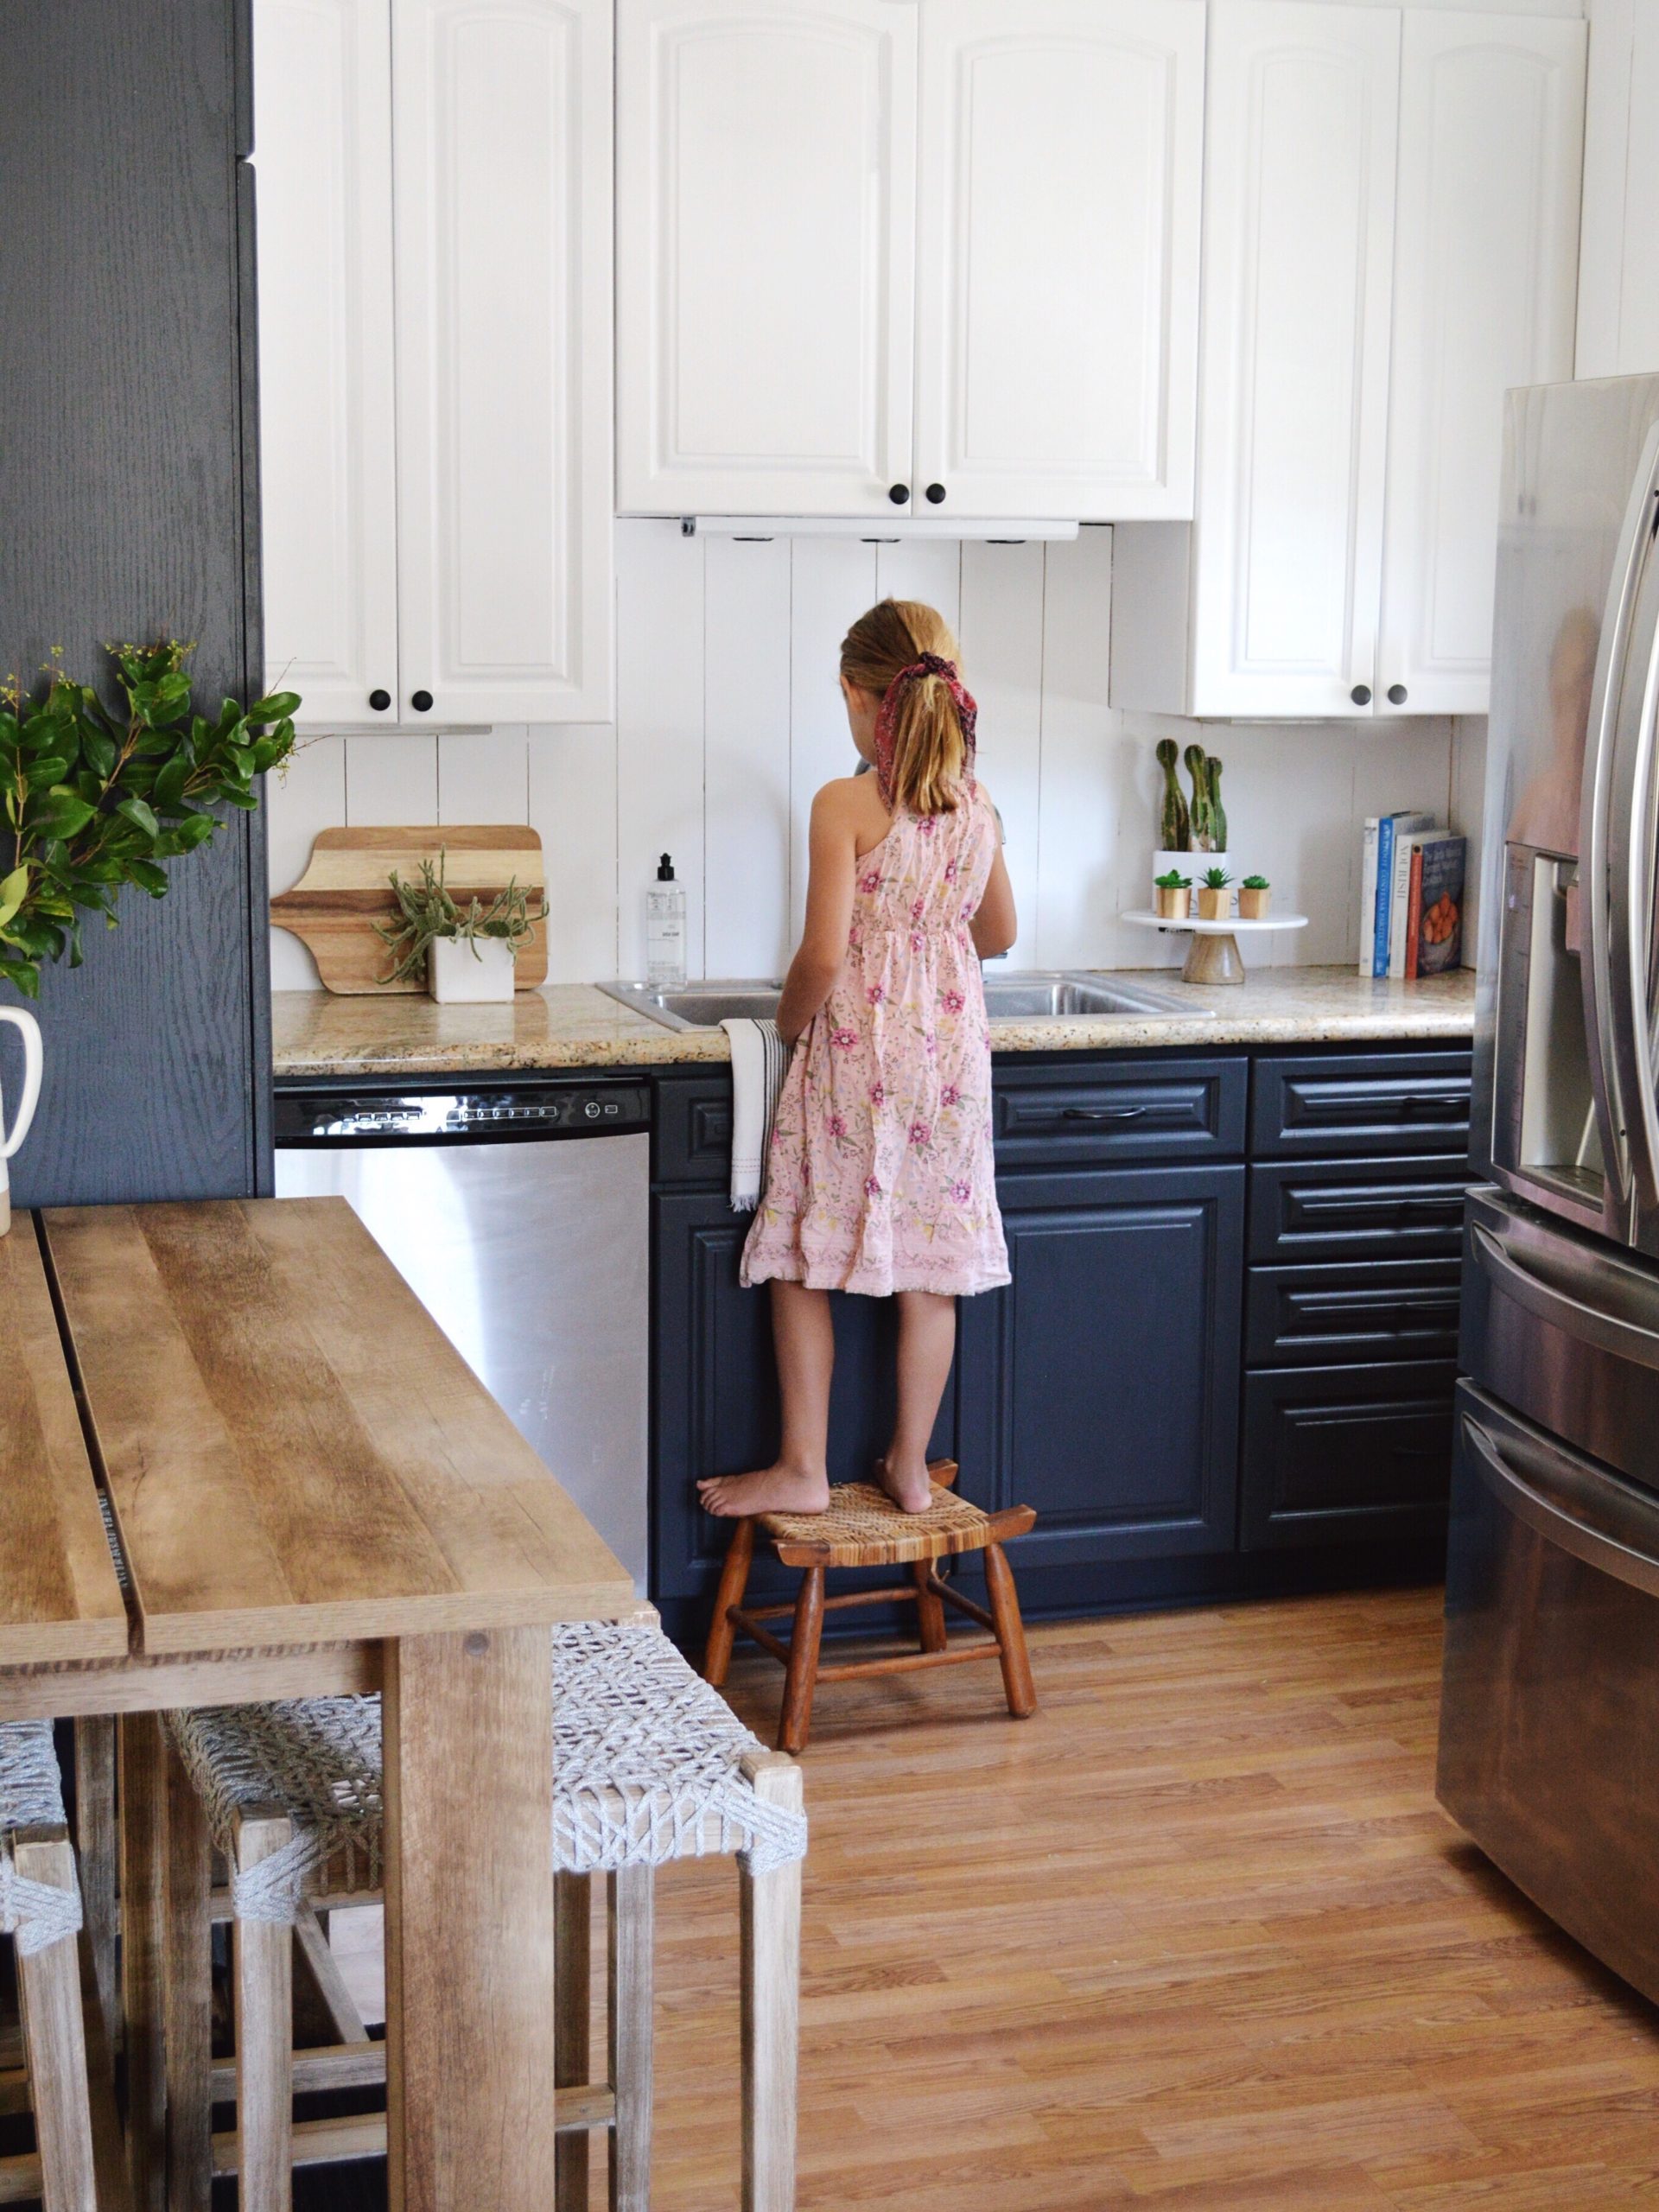
The cabinets needed some serious TLC. I ripped out some of the uppers to open up the space. As for the ones I kept, primer and a couple of coats of paint with a foam roller gave these cabinets a new life! I didn’t sand them since I was short on time (read: motivated to get it done) and it’s a temporary fix, but definitely sand yours if they’re keepers. I love this blackish-gray color from Benjamin Moore named Wrought Iron, because it gives the cabinets and the rest of the kitchen such a modern edge without losing the rustic beachy vibe I was going for. Add on the spray painted hardware, and voila!
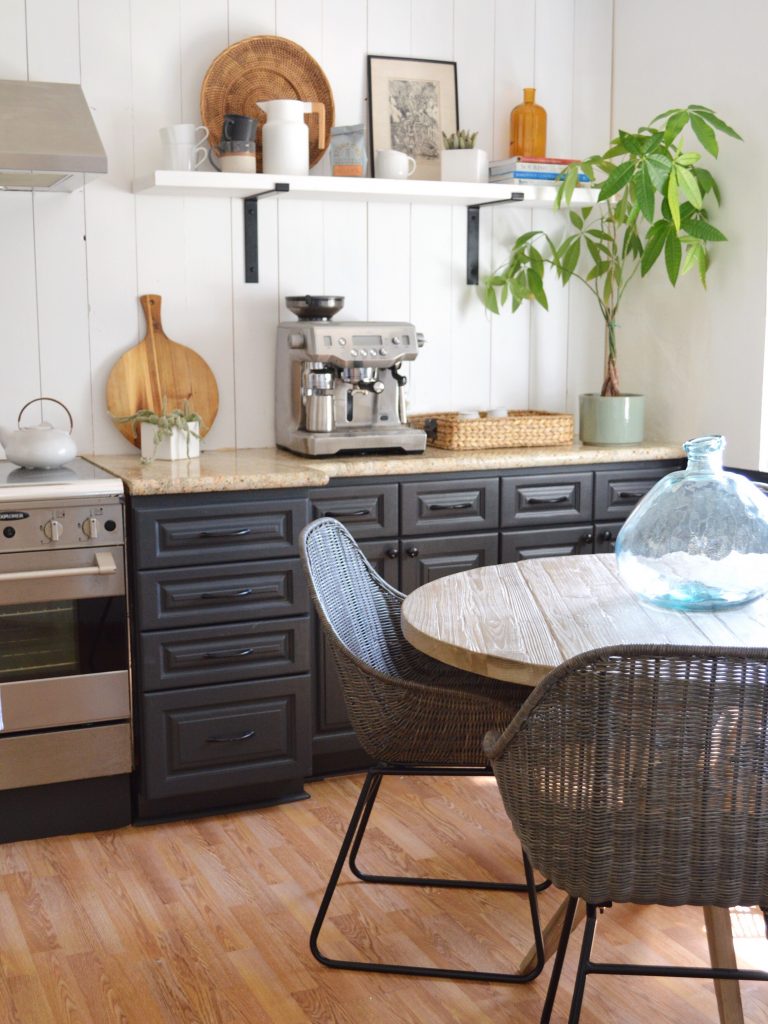
Kristin Dion Kitchen Remodel After Photo Cabinets

How To Paint Your Cabinets
TOTAL TIME: 8-10 hours 

  • I removed each cabinet door using a drill (which makes it go SO much faster) and removed all the hardware, too.
  • I primed each door with a sponge and used this oil-based primer and wore rubber gloves, which I strongly recommend because oil-based primer is a pain to get off, especially your skin! Wait at least a few hours for the primer to dry before starting to paint.
  • I painted the cabinets with a foam roller similar to this foam paint roller, as I found the foam roller to leave the smoothest finish. This is definitely easy enough for a beginner!
  • The painted the cabinets with two coats of the color Wrought Iron by Benjamin Moore in an eggshell finish. This adds a little shine and is easier to clean but is not too shiny.
  • Once they were dry, I screwed the cabinet faces back on. I didn’t bother painting the inside of the cabinet doors, except for the ones we open frequently, which are the pantry and glass cabinets.
  • I spray painted the hardware black, let it dry, and put it back on the cabinets. I used this black matte spray paint.


PLANK WALL DIY

For the plank wall, we used 1×6 common planks and stuck it to the wall with gorilla glue. Because the walls are made of plaster, using nails wouldn’t have been as effective. This is a great inexpensive alternative for tile backsplash, and it is also a unique choice that adds some visual warmth to the space.

Speaking of warmth – if you’re considering doing a plank wall DIY in the kitchen behind your stove, be aware of the clearance between the wall and the stove so that the plank wall is not a fire hazard. Check your local codes.
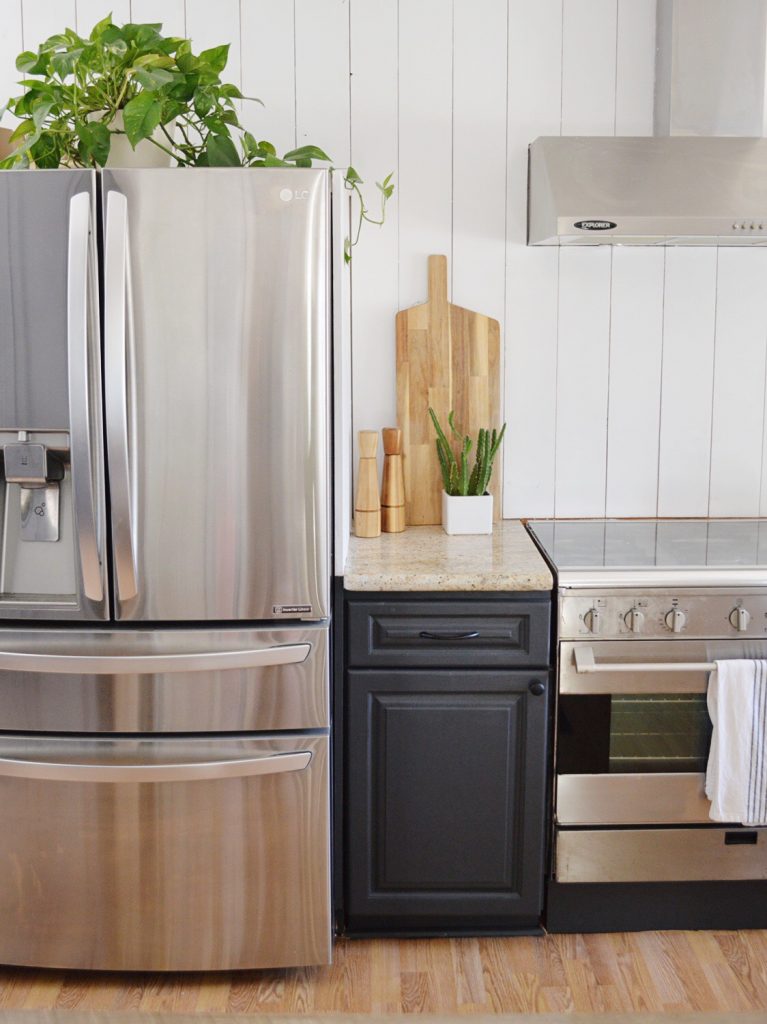
Kristin Dion Kitchen Remodel After Photo Plank Wall

How To Make a Plank Wall Tutorial
TOTAL TIME: 7 hours (shopping, installation and paint)

  • We bought this 1×6 common board from Home Depot. The total cost for all of the wood we needed was $125.
  • My handyman cut it down to size and used gorilla glue to attach it to our plaster walls, as nails would not have held as well because of the plaster, and the planking only went from ceiling to counter and not all the way to the floor.
  • I primed the wall the same way as the cabinets, then painted the wall with a regular roller using Distant Gray by Benjamin Moore, also in an eggshell finish.
  • For safety purposes, check codes about putting it behind your stove!


OPEN SHELVING DIY

Who doesn’t love open shelving? There are many benefits to having open shelving, including the way it makes your kitchen look brighter and feel more spacious – both two things I absolutely needed. This is a simple DIY that only requires brackets, wood, and your stain or paint of choice. Know the measurements of your wood before going to Home Depot, as they will cut if it for FREE! That’s definitely in the budget ? And don’t forget to sand these down before staining or painting.
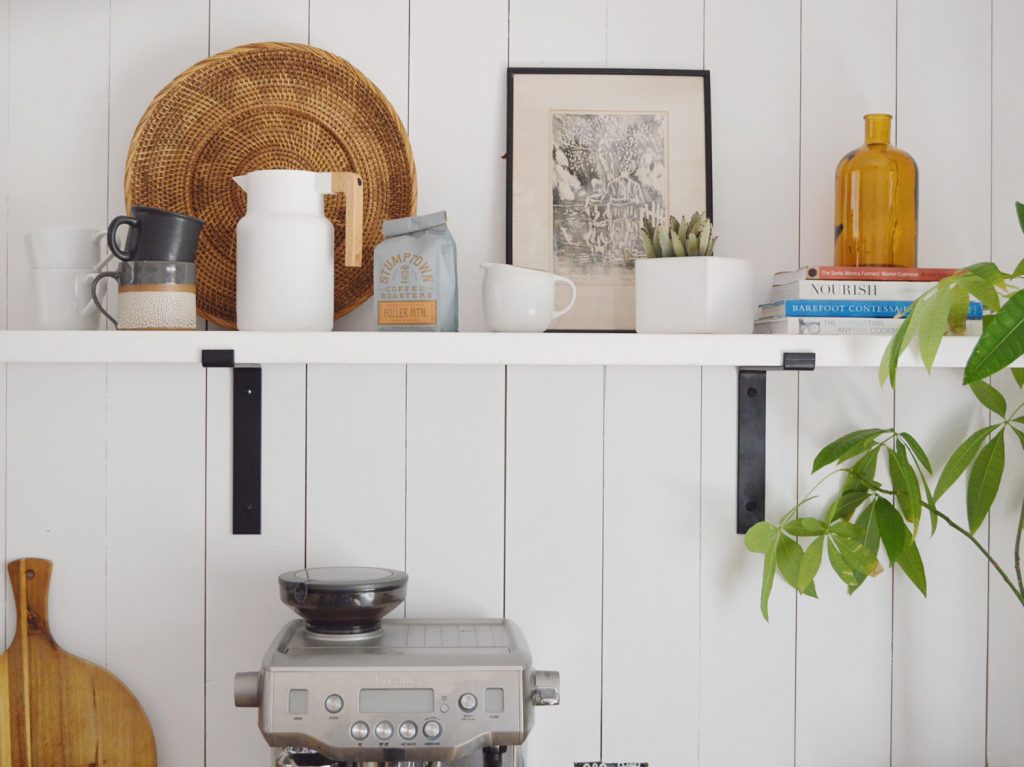
Kristin Dion Kitchen Remodel After Photo Open Shelf

Easy Open Shelf DIY Tutorial
TOTAL TIME: 3 hours

  • I bought this 2×12 wood plank and got it cut to size at home depot for $15. They cut your wood for you for FREE so make sure to arrive with your measurements.
  • I bought these brackets for $13 each. I kept mine black, but spray paint is always an easy fix!
  • I sanded the wood afterward at home with my Dewalt orbital sander.
  • I painted the wood with only one coat of the same Distant Gray by Benjamin Moore paint color as the plank wall.

Yay! I’m so happy with this progress so far. It’s feeling like a totally different space already, and I’m excited to get the styling series of our kitchen update! Coming soon! I hope this gave you some inspiration and helps you with your own kitchen DIY ideas. And don’t think you have to do anything major – every small change and effort counts!
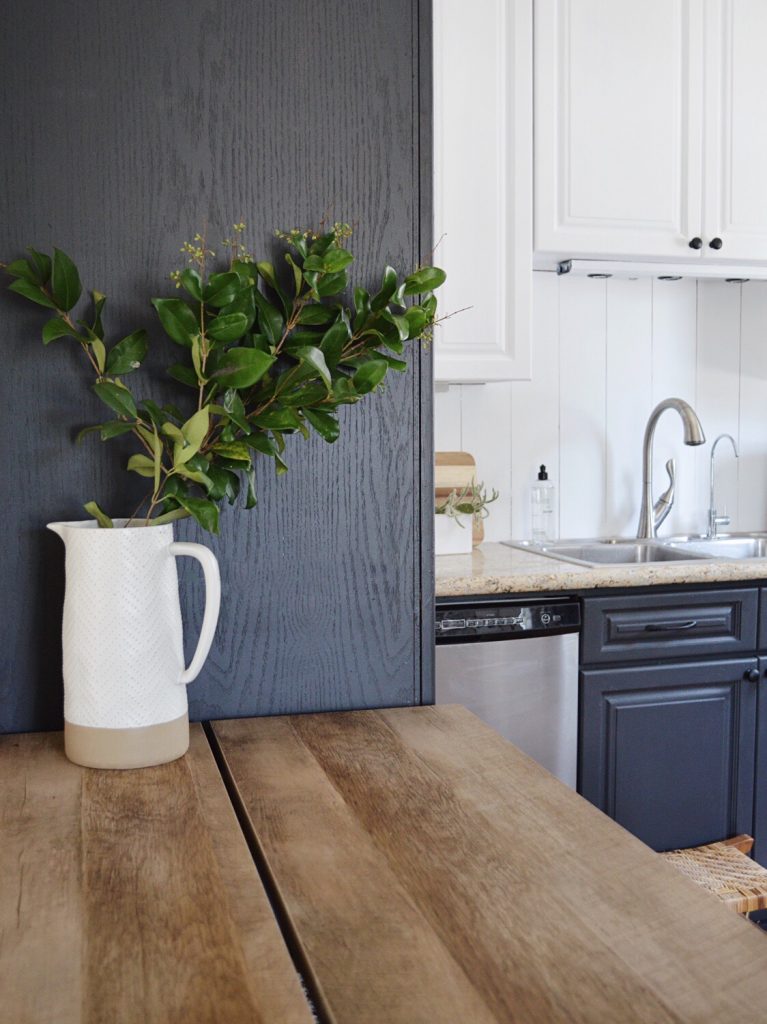
Kristin Dion Kitchen Remodel After Photo

Stay tuned for Part 2 of the kitchen remodel blog, which will focus on how to style a kitchen, kitchen light fixture ideas, and so much more. I can’t wait until it’s all done to share with you! In the meantime, you can find all this and more on my Instagram and Pinterest.
Essentials for Living — high quality furniture at great prices!

Hi guys!  I want to introduce you to Essentials for Living — a beautiful online trade resource offering high-quality pieces at a fantastic price point!  As you guys know, I love decorating with beautiful wood pieces — my dining table, my entry bench, my coffee table, etc are some of my favorite pieces in our home.  In fact, the #1 most requested link for any of my furniture is my dining table!  I am happy to report that Essentials for Living has – in stock – an almost identical table!   I am super excited this company found me so that I can spread the word and start sourcing from here!   Essentials for Living has a dedicated team to work with interior designers and an awesome trade program — you can sign up here.  And you can sign up for their newsletter here to stay in the know!

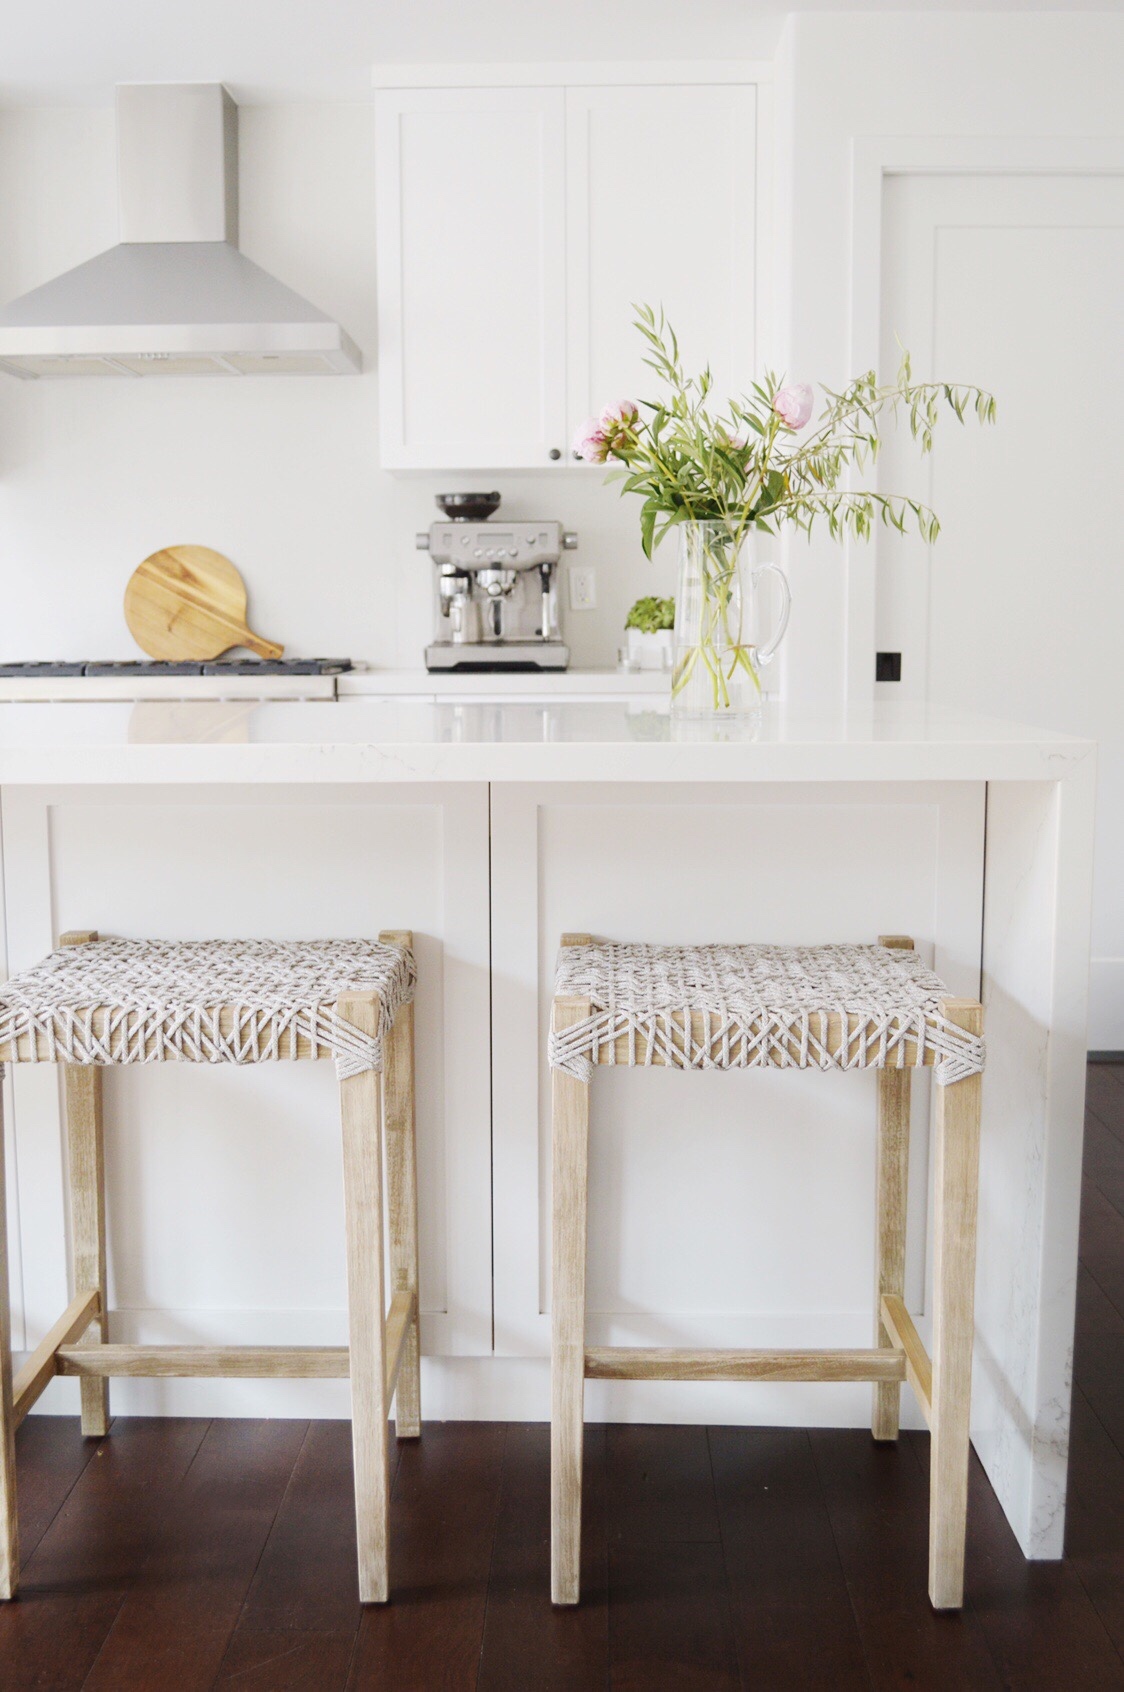
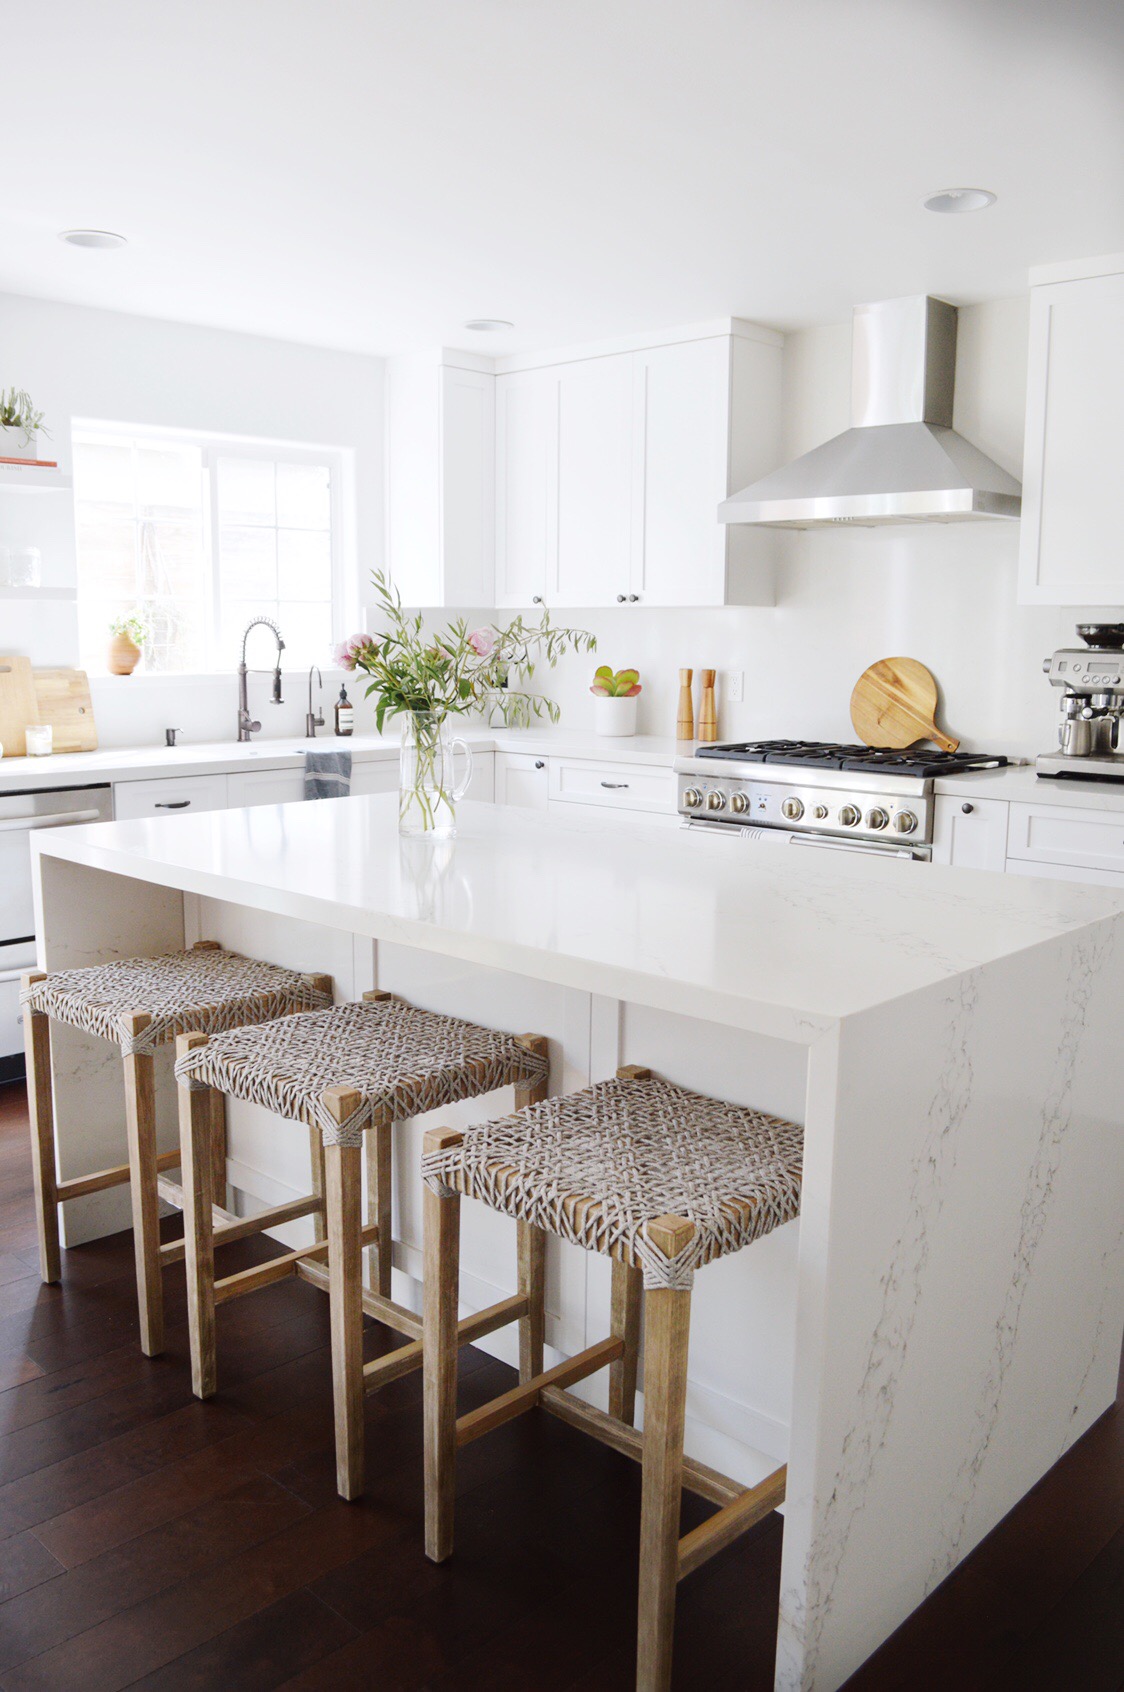
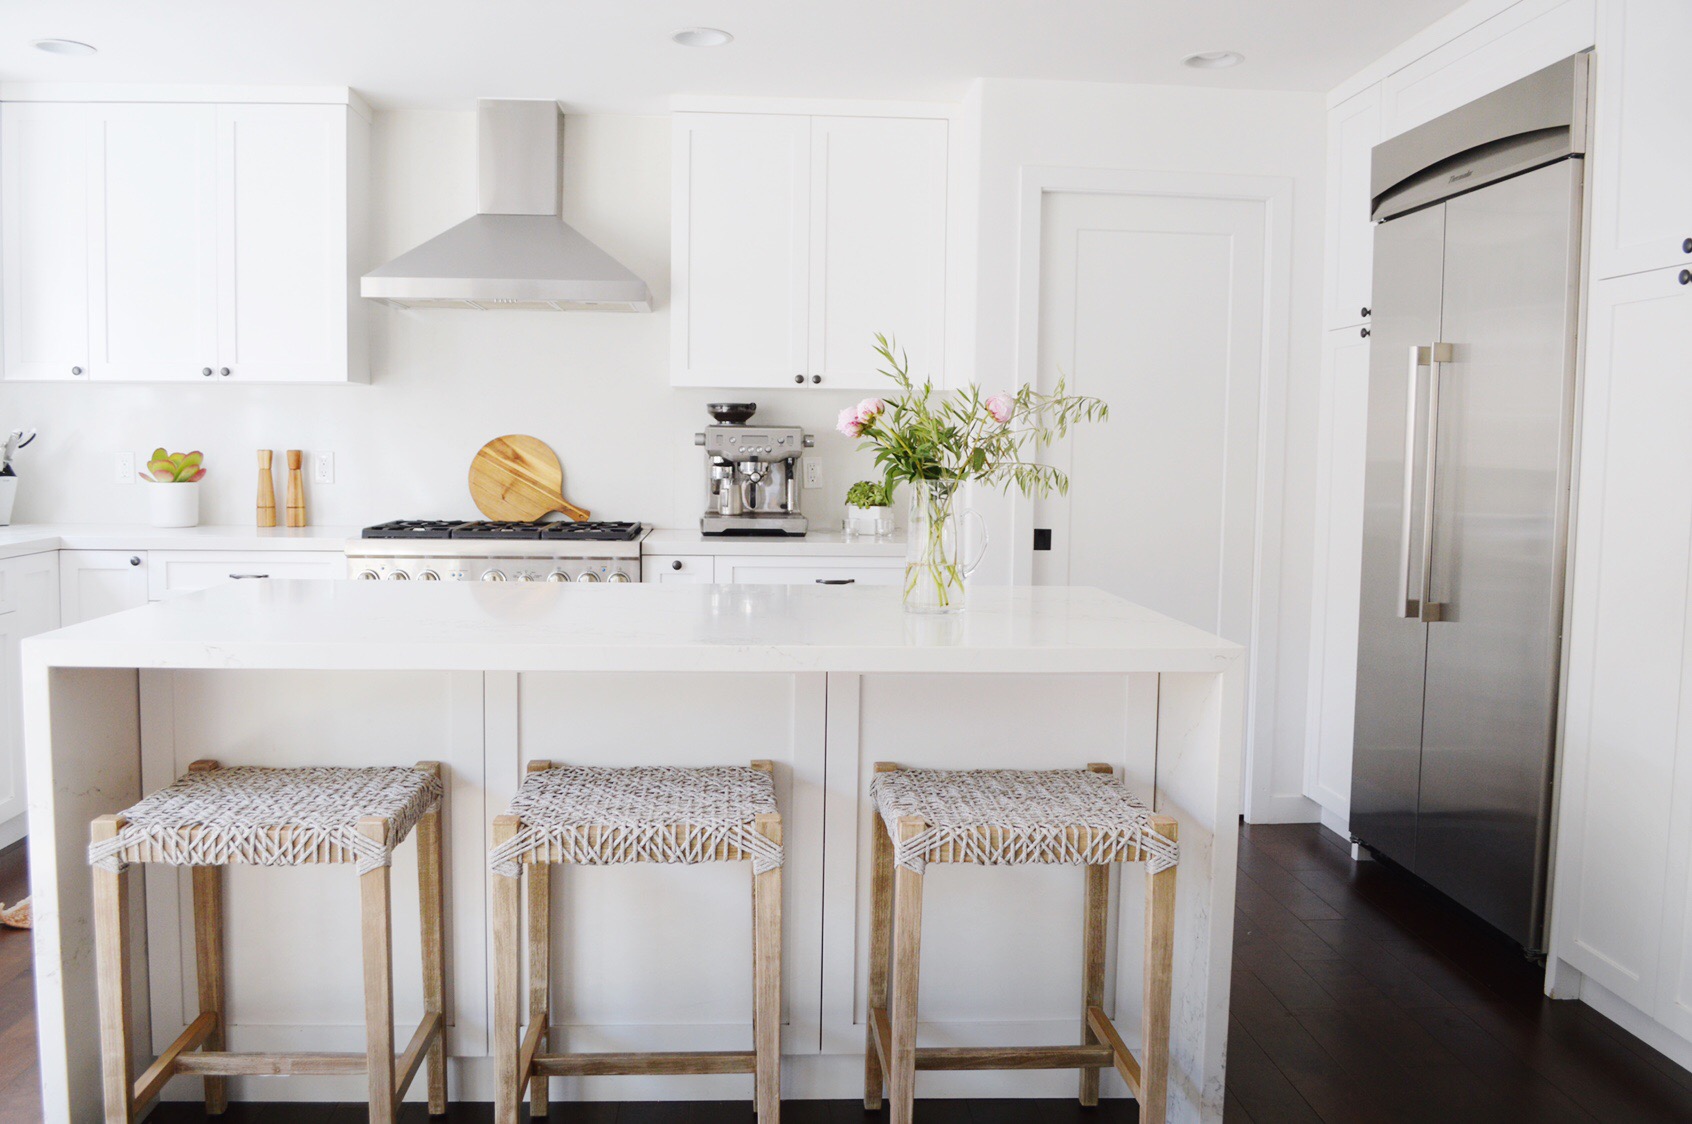
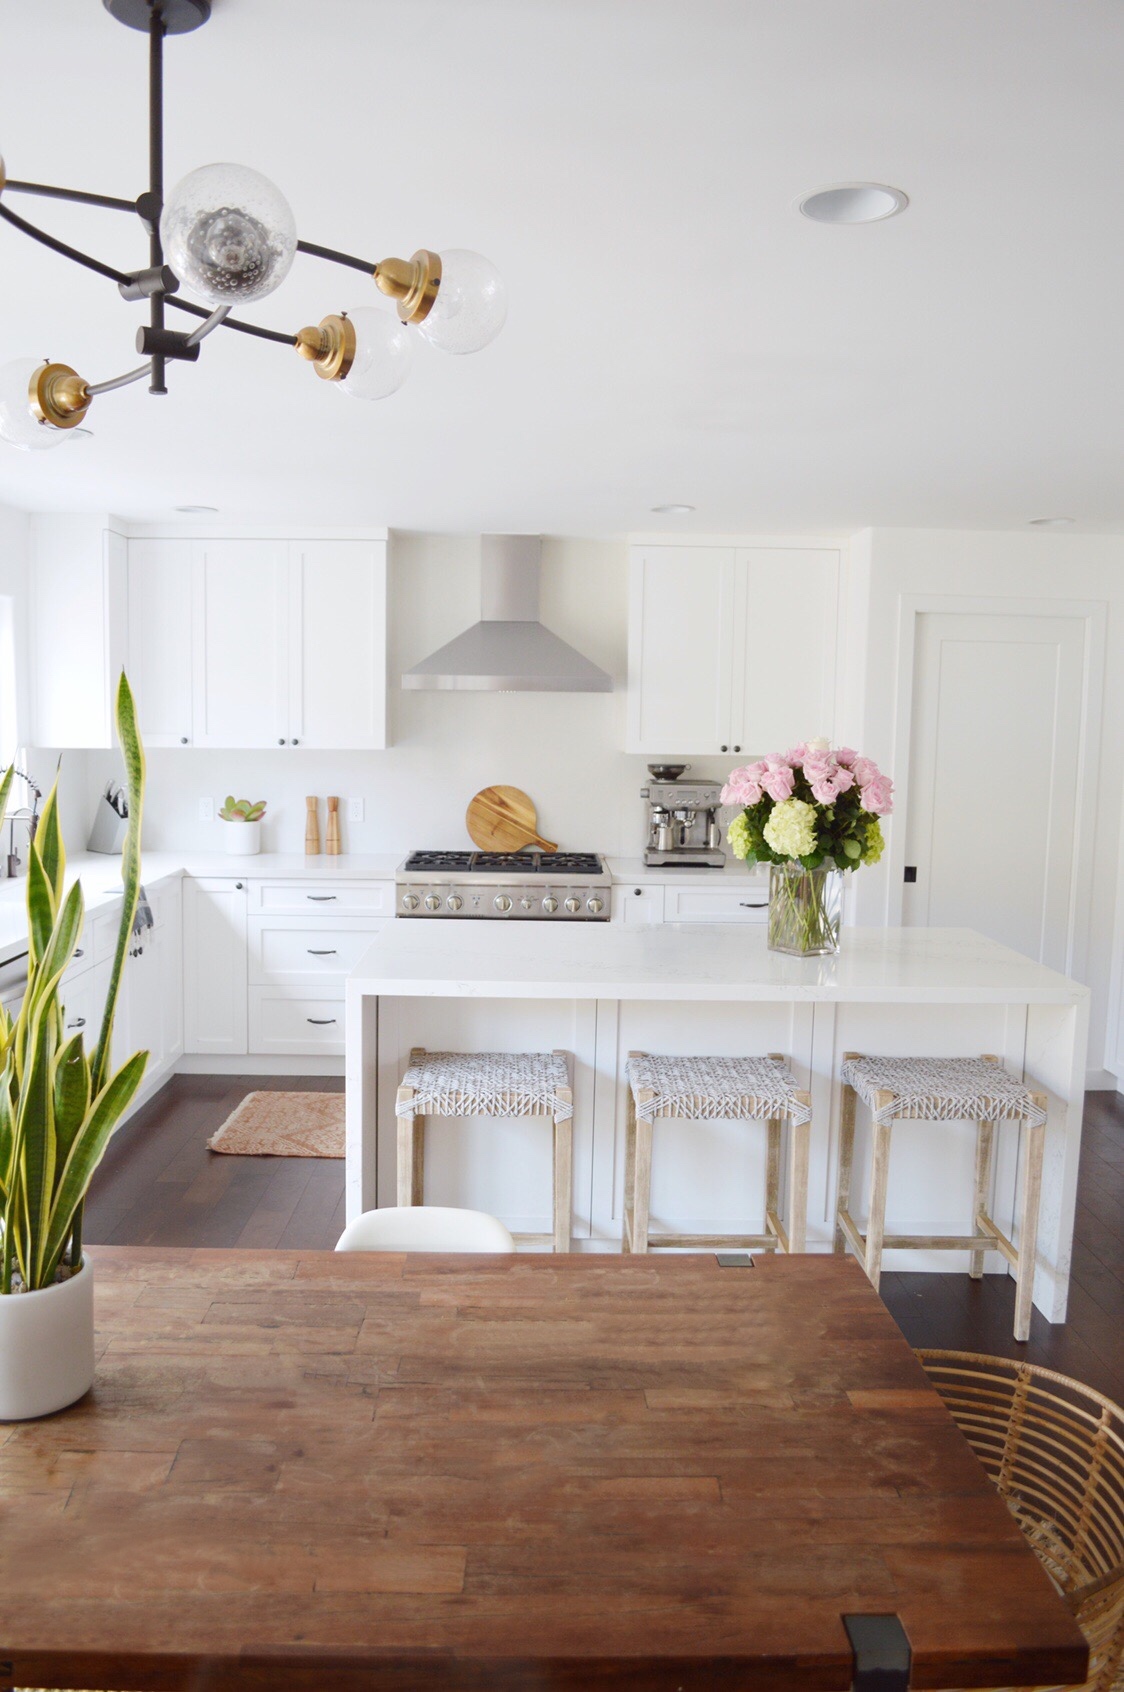
As you know, I do not give shout outs to brands without first testing the quality and experience (customer service, shipping, etc) of the products.  In this case, I thought it would be fun to show you guys how you can change the vibe of a kitchen with just accessories!  I went for a more beachy look and ordered the Costa Counter Stools.  They are super durable, comfortable and look awesome!  It’s amazing how big of an impact you can make by just changing out an accessory!  I am VERY excited about this brand and hope you are too!  🙂

beachy kitchen

beachy kitchen

beachy kitchen

beachy kitchen

Thanks for reading!  It’s sponsored but all of the opinions are my own!

xoxo,

Kristin

Cane chairs… a recent obsession of mine

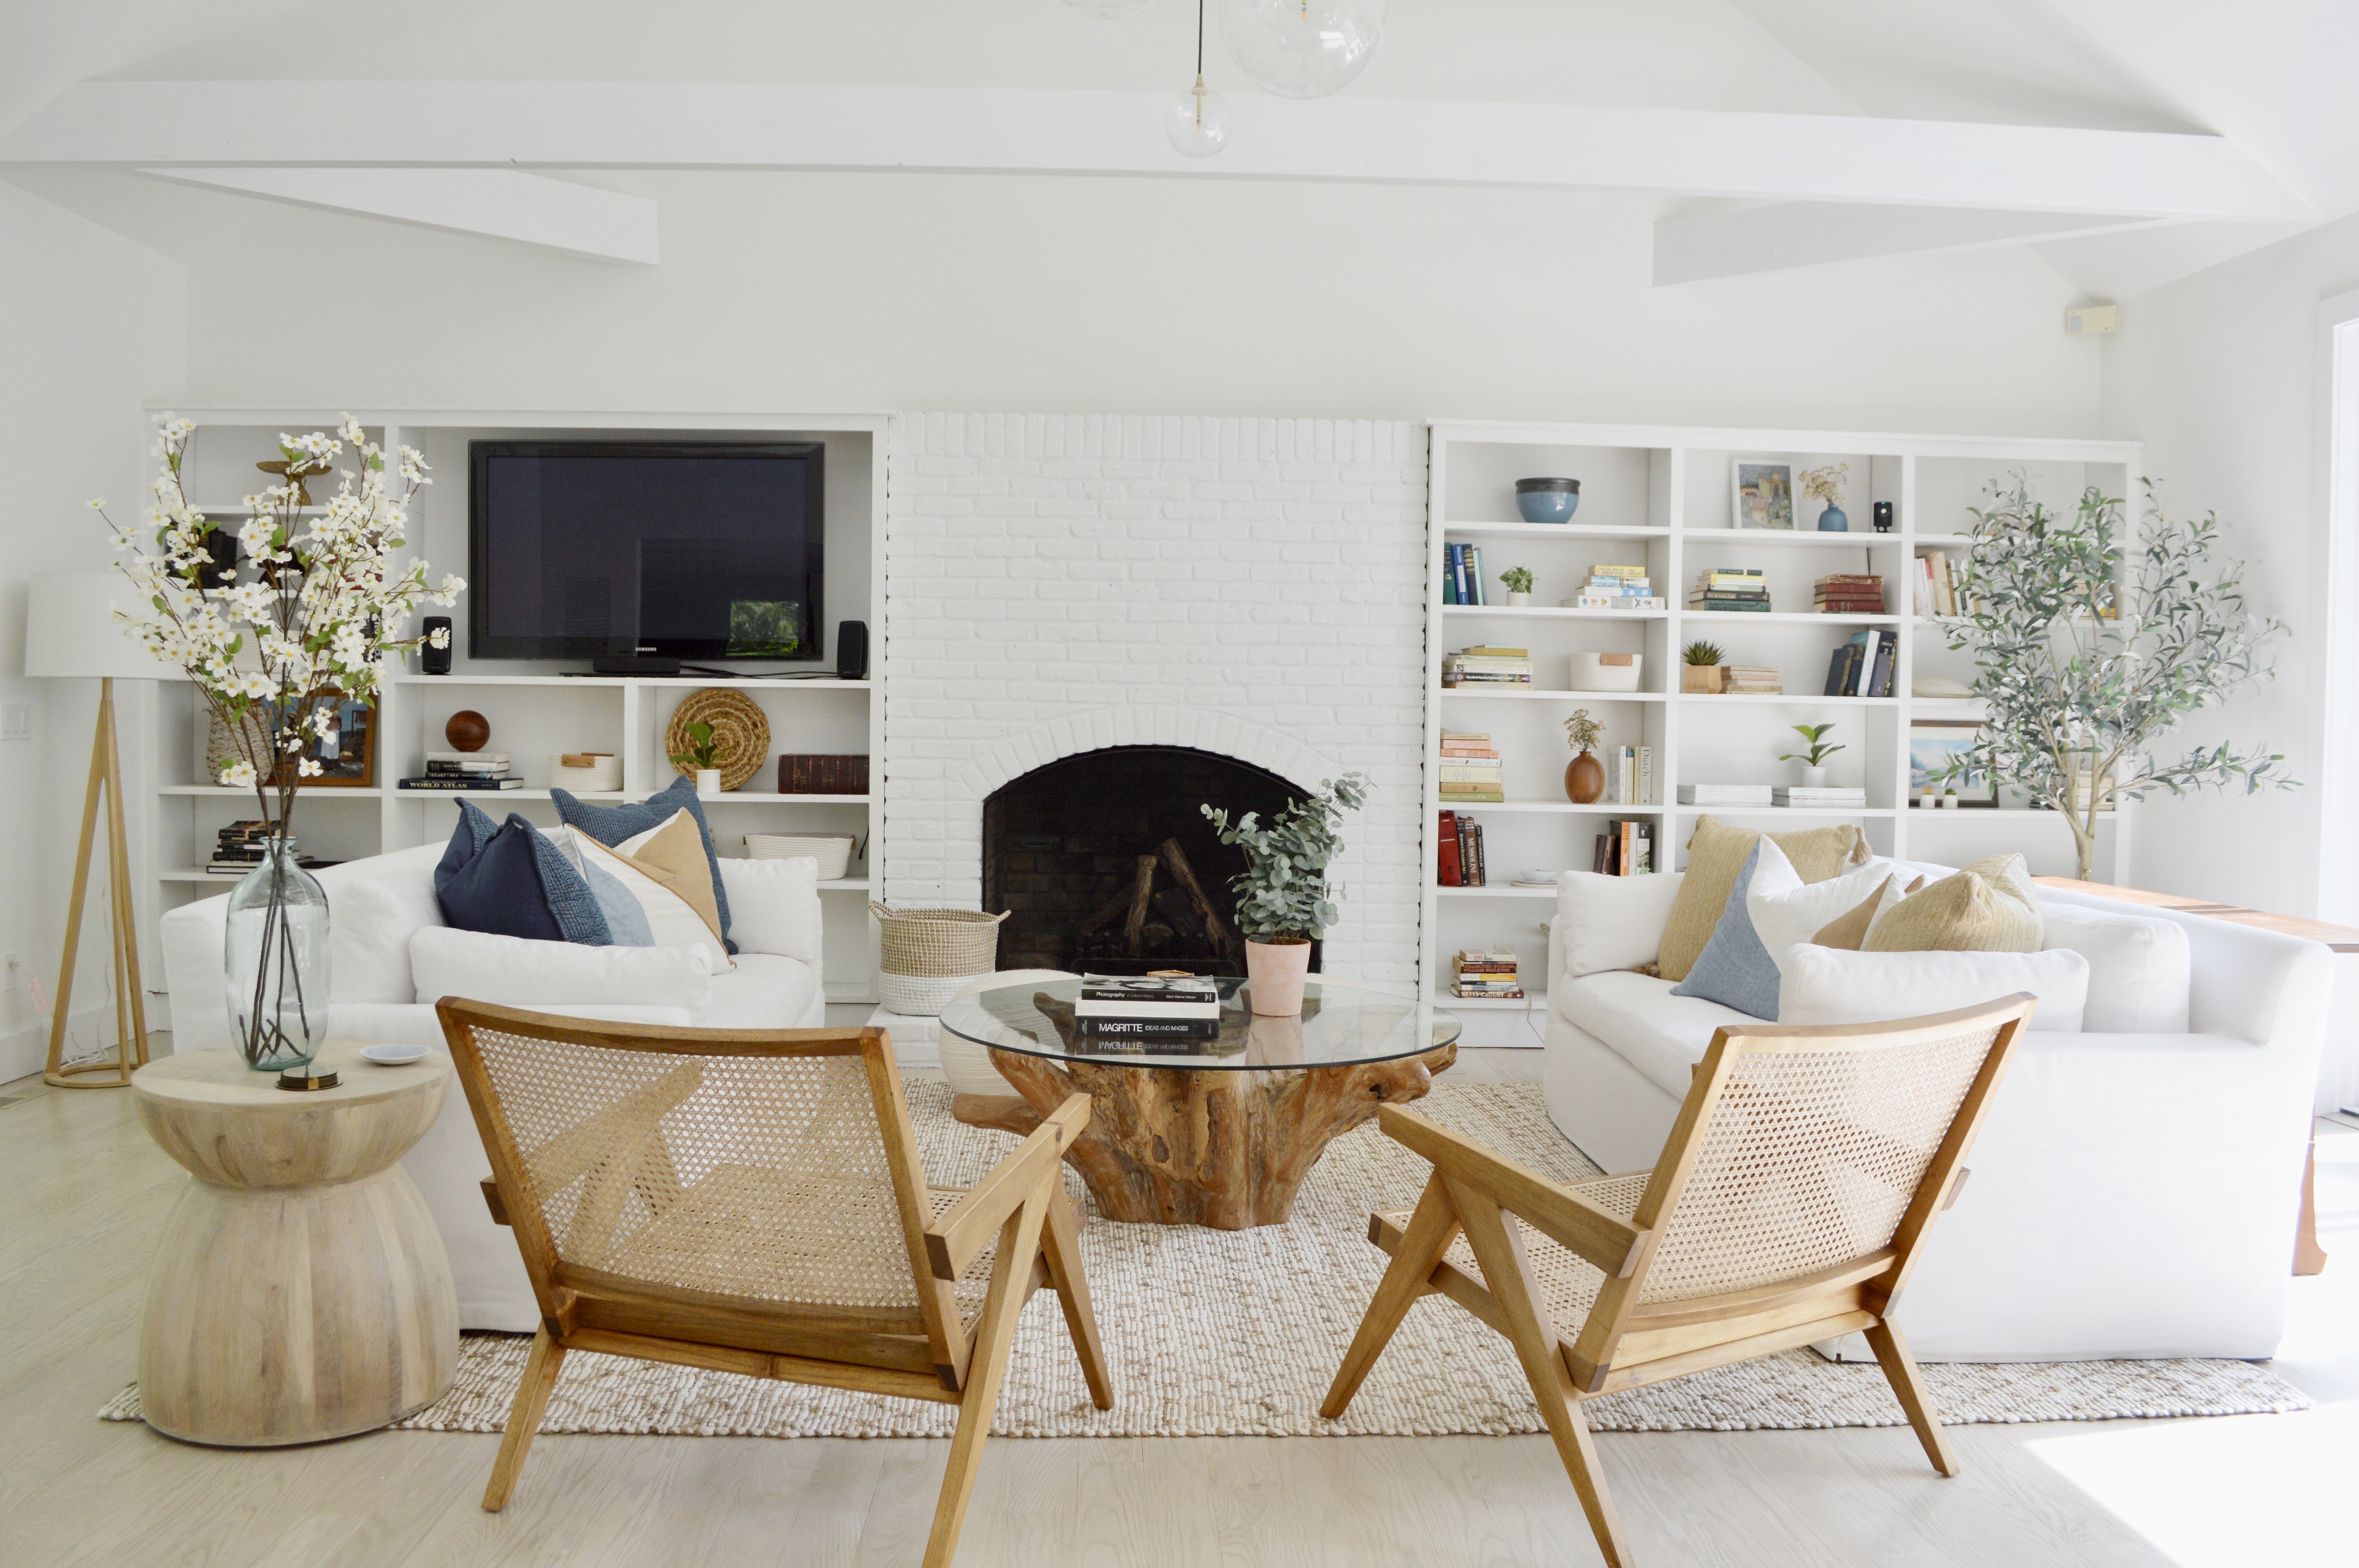
When I posted the Hamptons living room we designed, many of you LOVED the cane chairs!  So do I!  I love the casual sophistication cane chairs add to a room.  So I’m sharing some of my favorites here!

The wood cane chair I used in the Hamptons house is from France and Son.  Click here.

hamptons cane chair

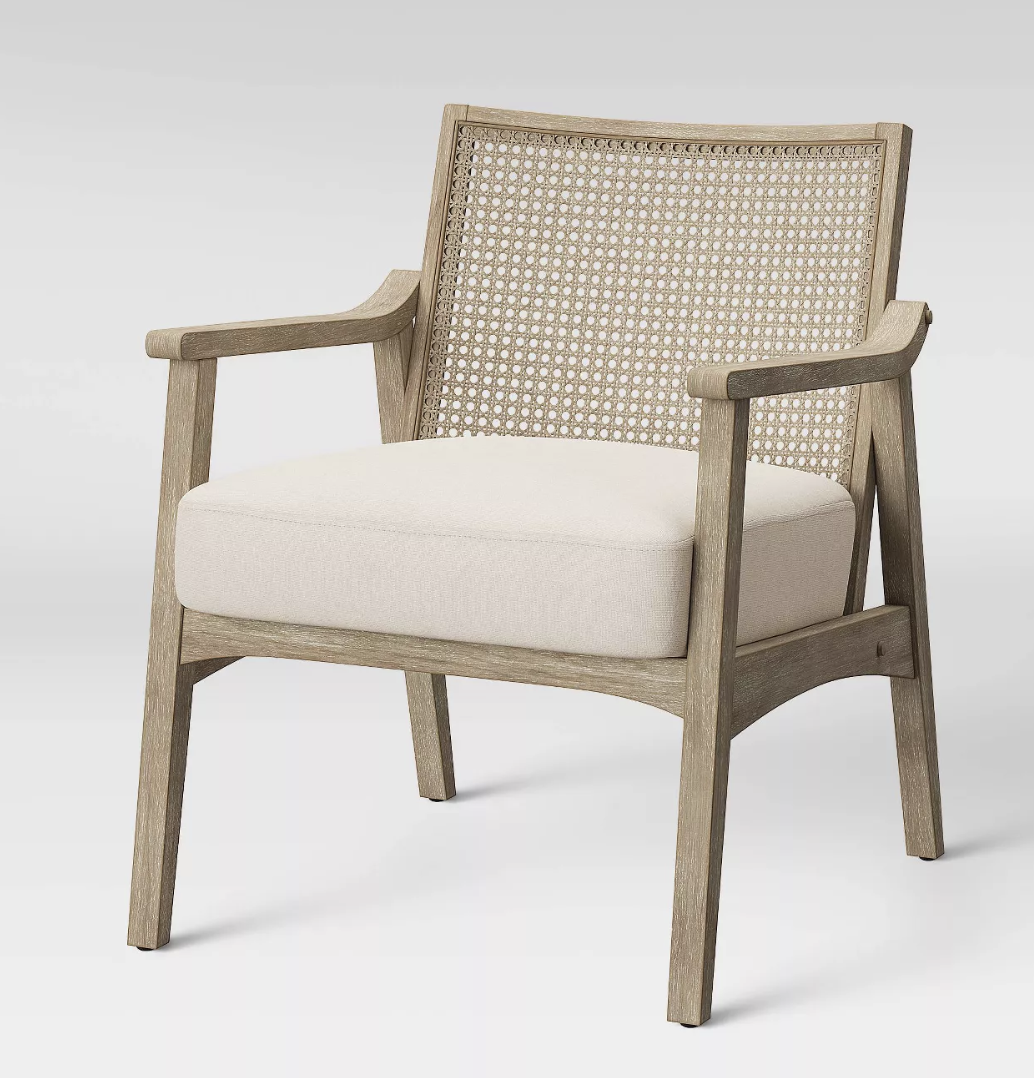
This chair from Target is beautiful, comfortable and easy on the wallet.  Click here.

target cane chair

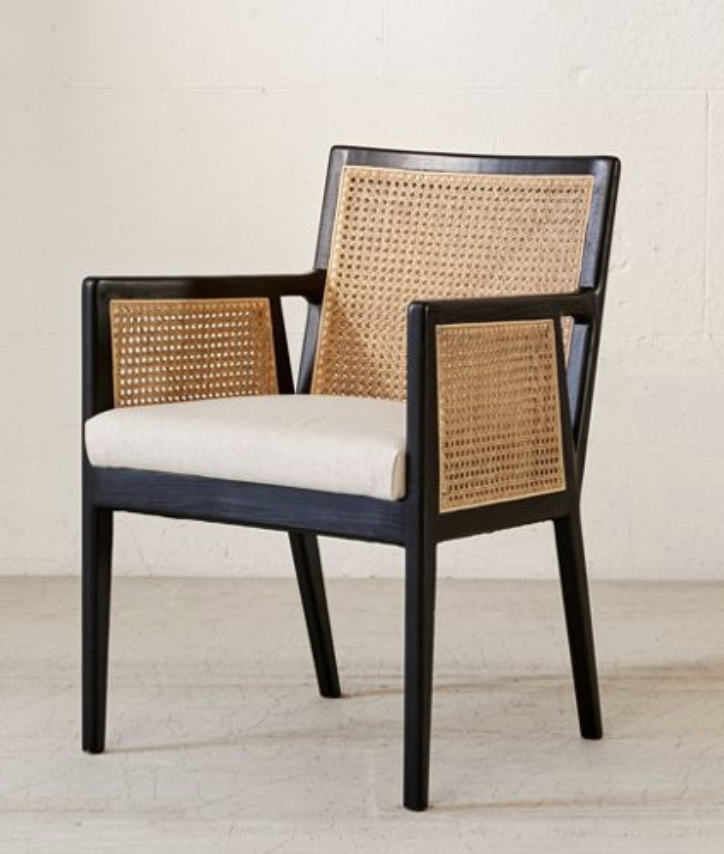
Loving this black arm chair with Cane Paneling as either a living room accent chair or end chairs in a dining room.  Click here.

black cane chair

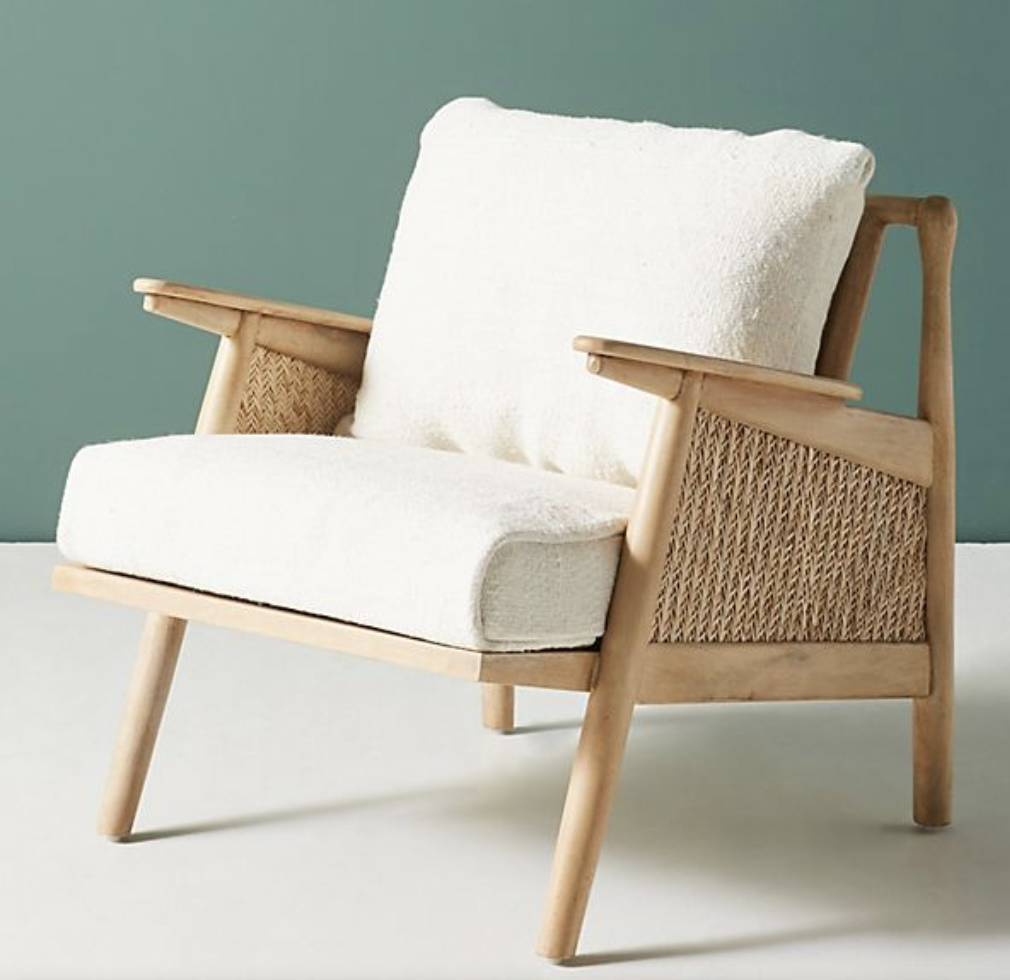
This Anthropologie chair is GOALS.  I recently sourced it for a client and it looks AH-MAZING in her home.  Click here.

Anthropologie cane chait

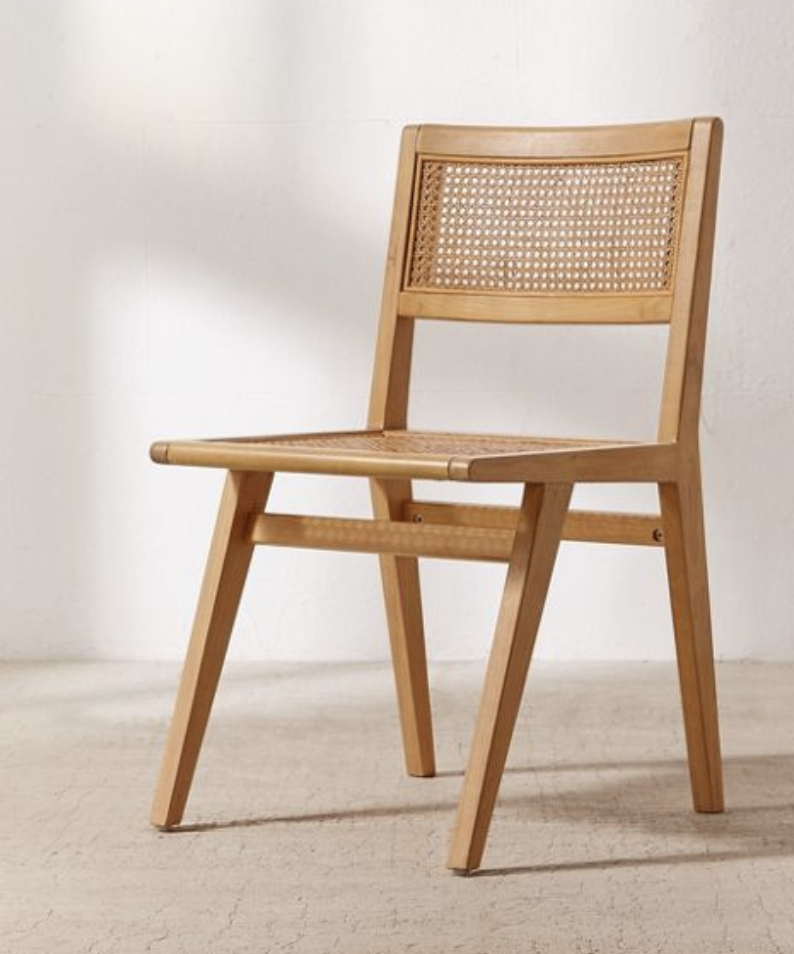
These cane dining chairs are so pretty and really affordable!  Click here.

cane dining chair

If you decided to add a cane chair to your home, I hope some of these options are helpful for you!

xoxo,

Kristin

Bedroom Dreams in the Hamptons Thanks to The Company Store

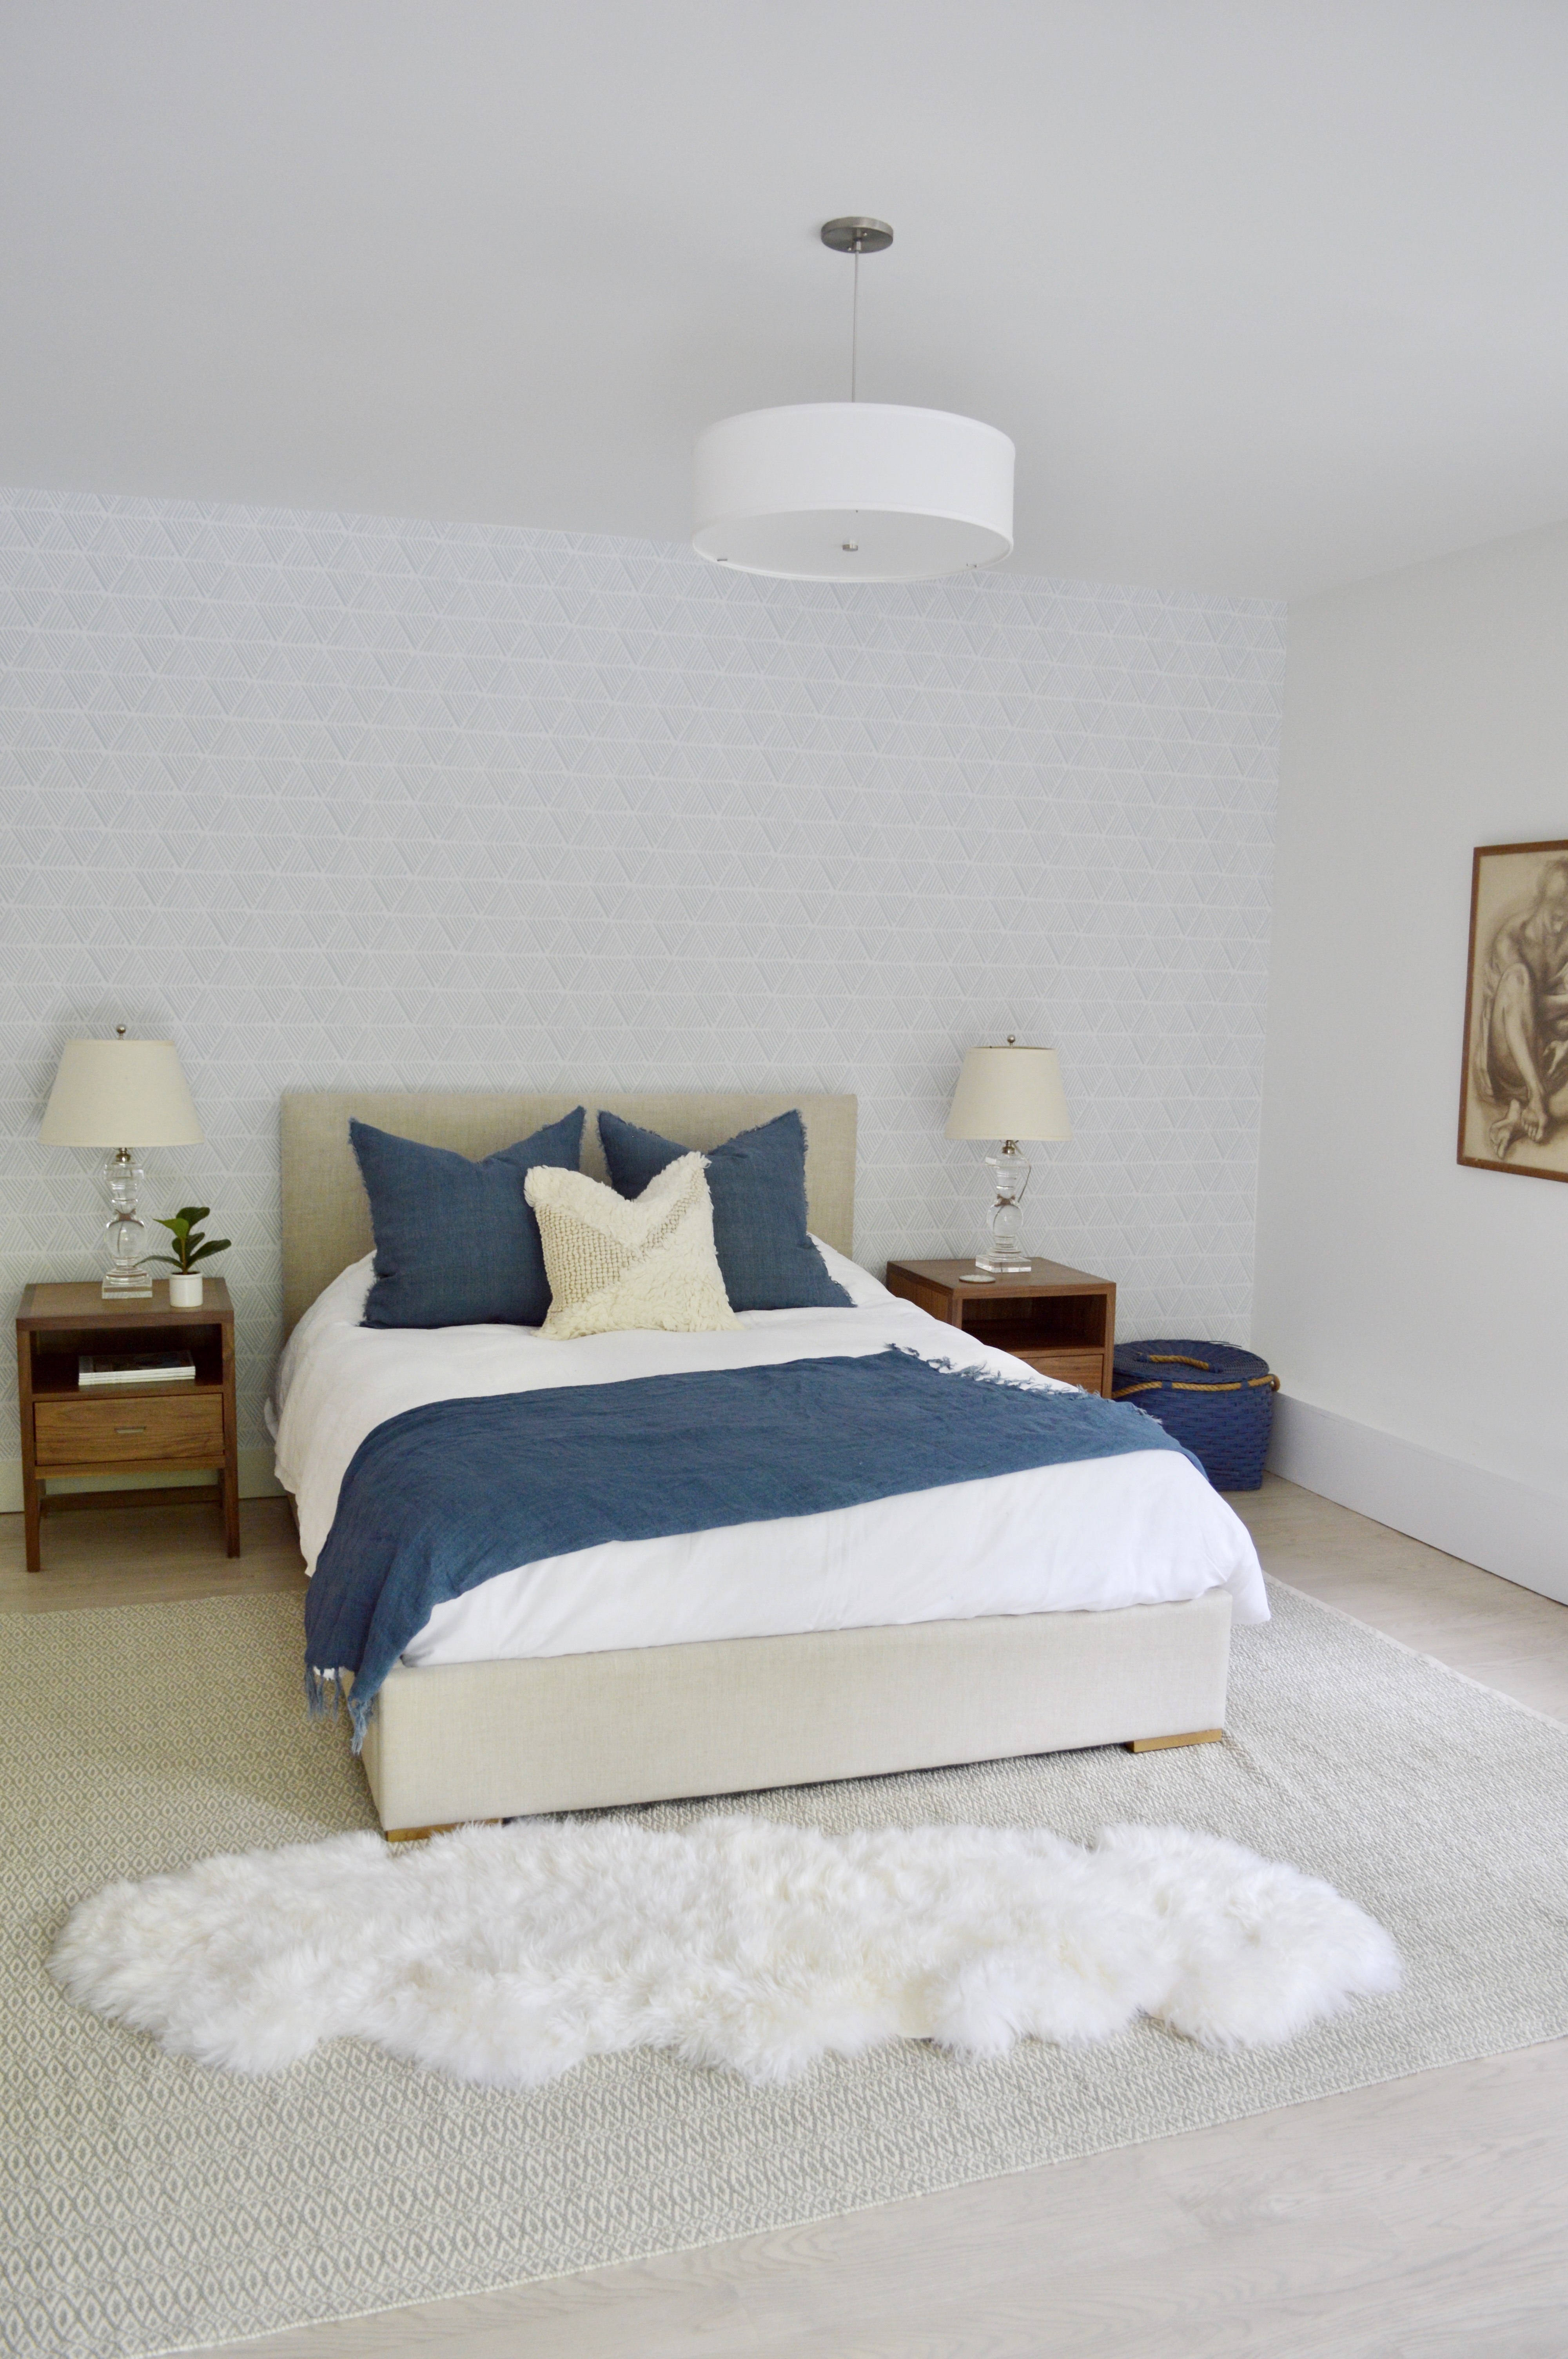
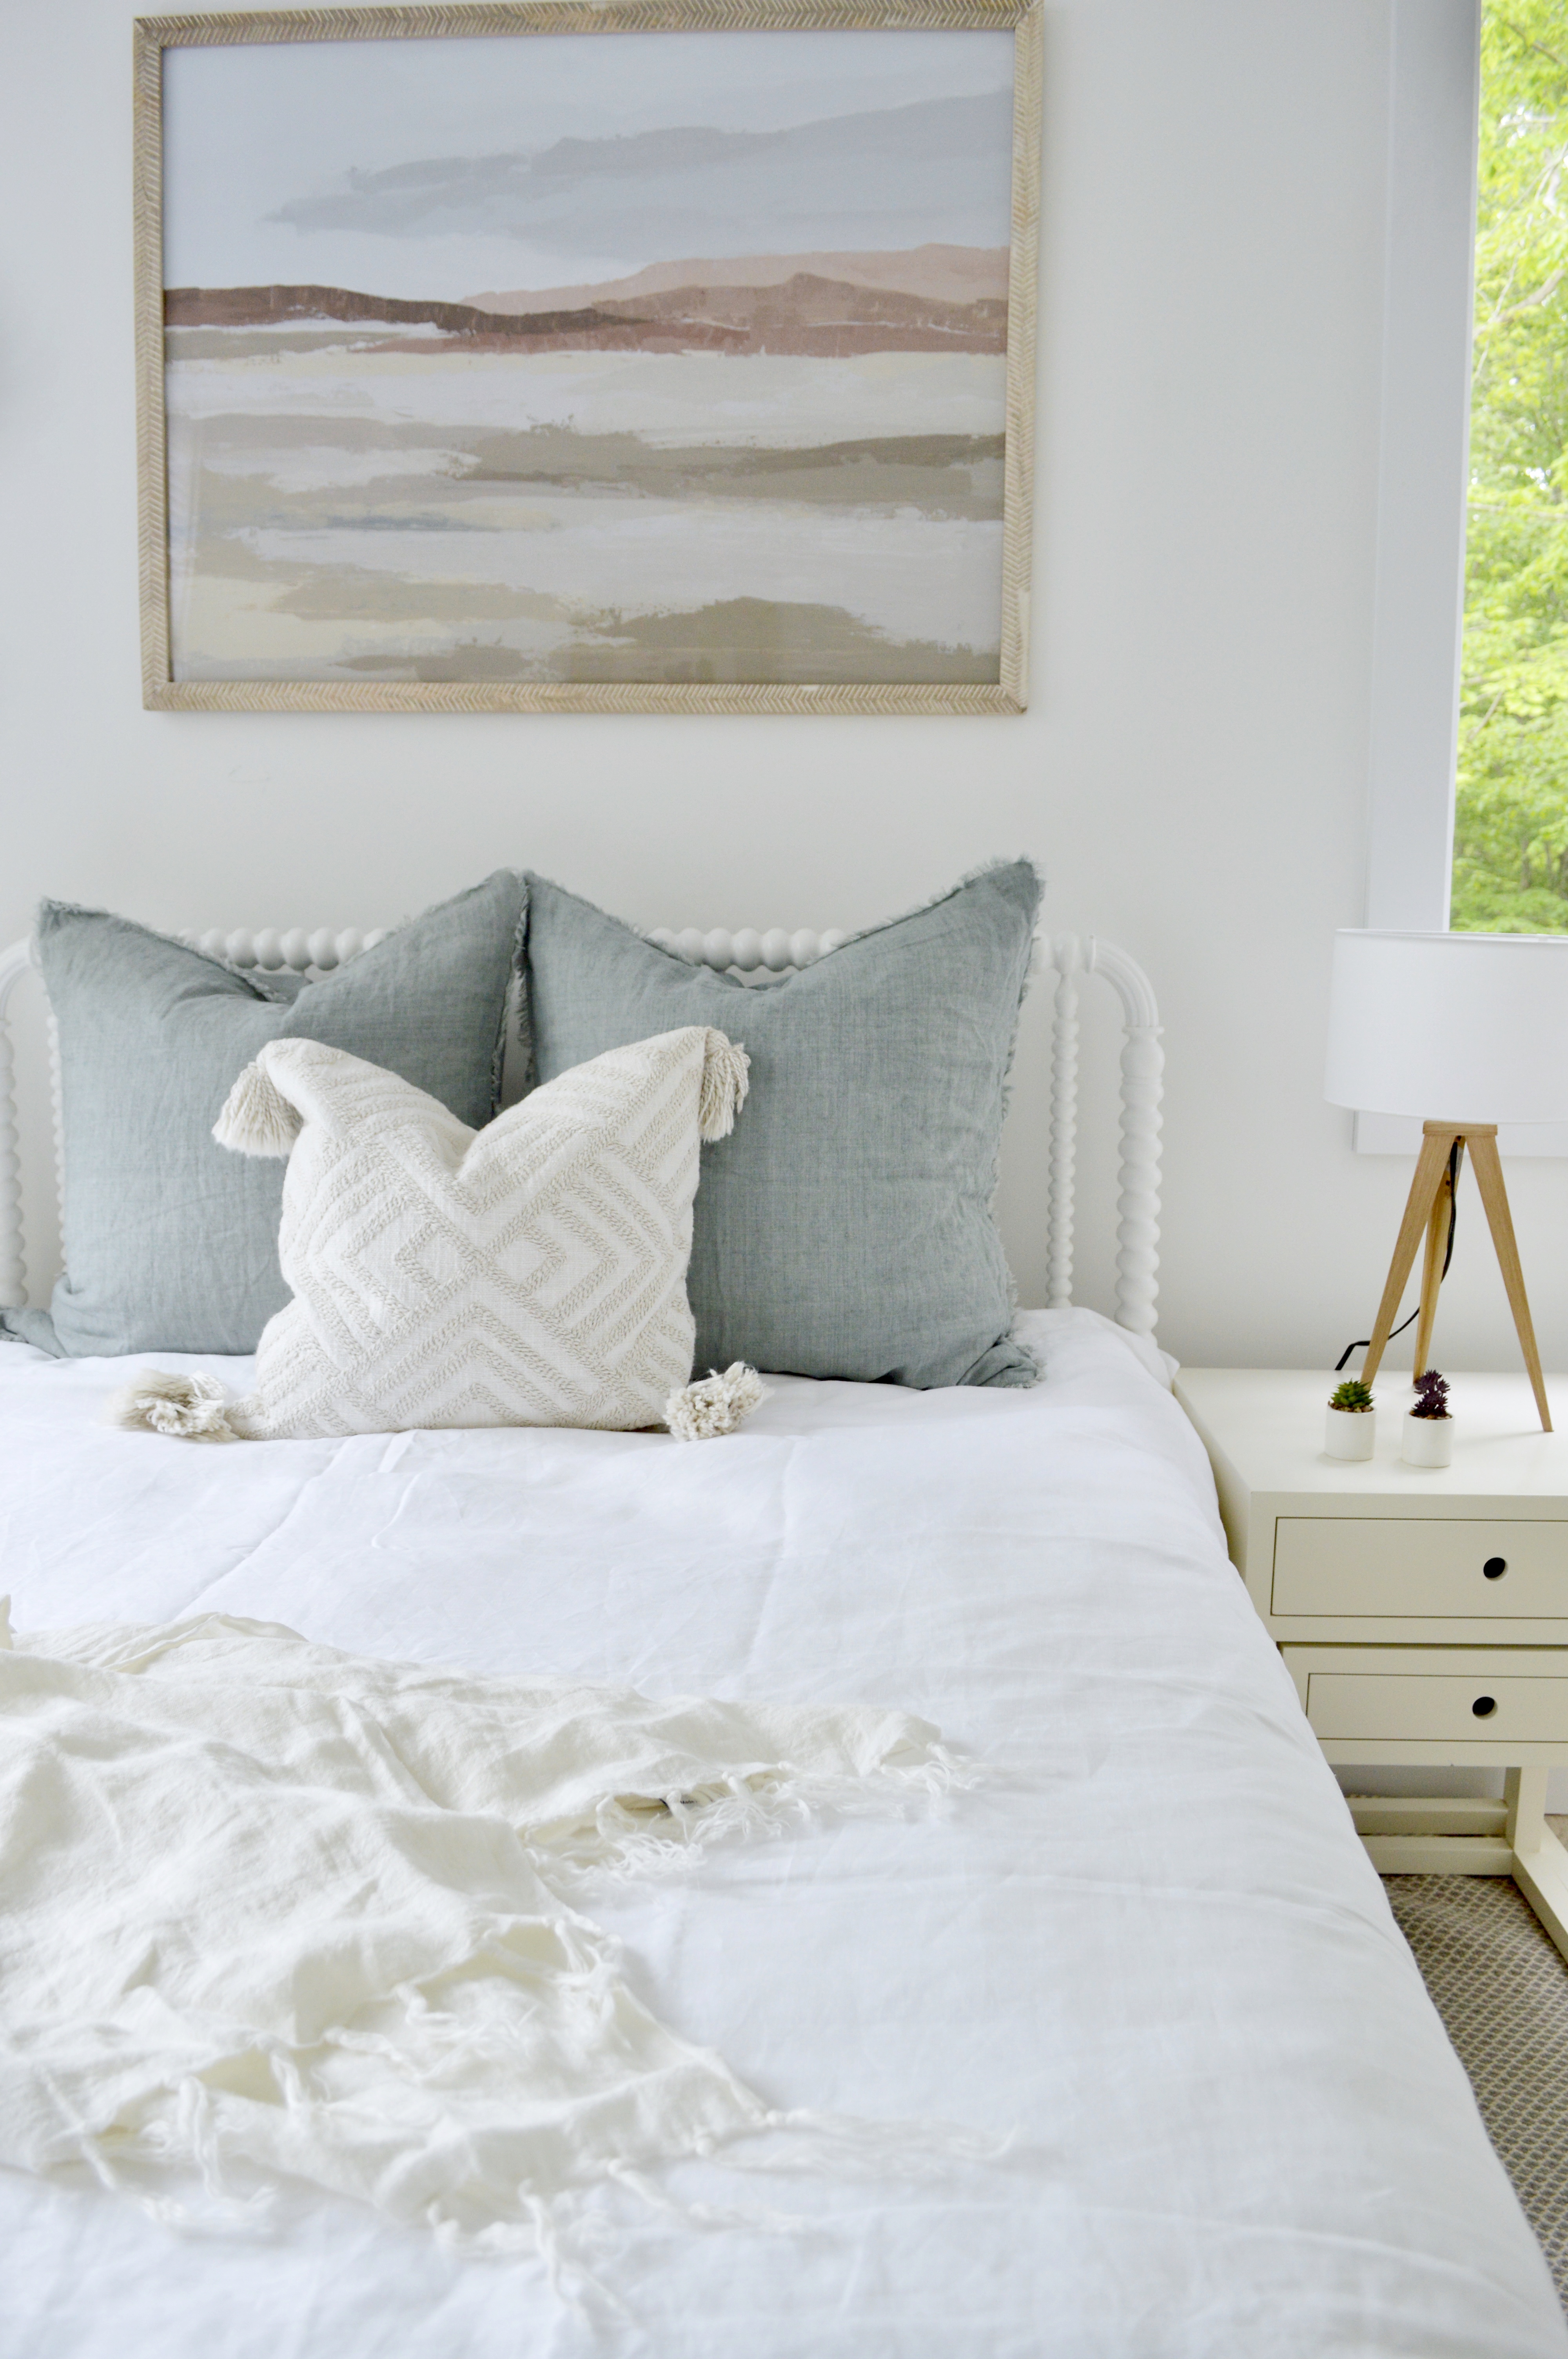
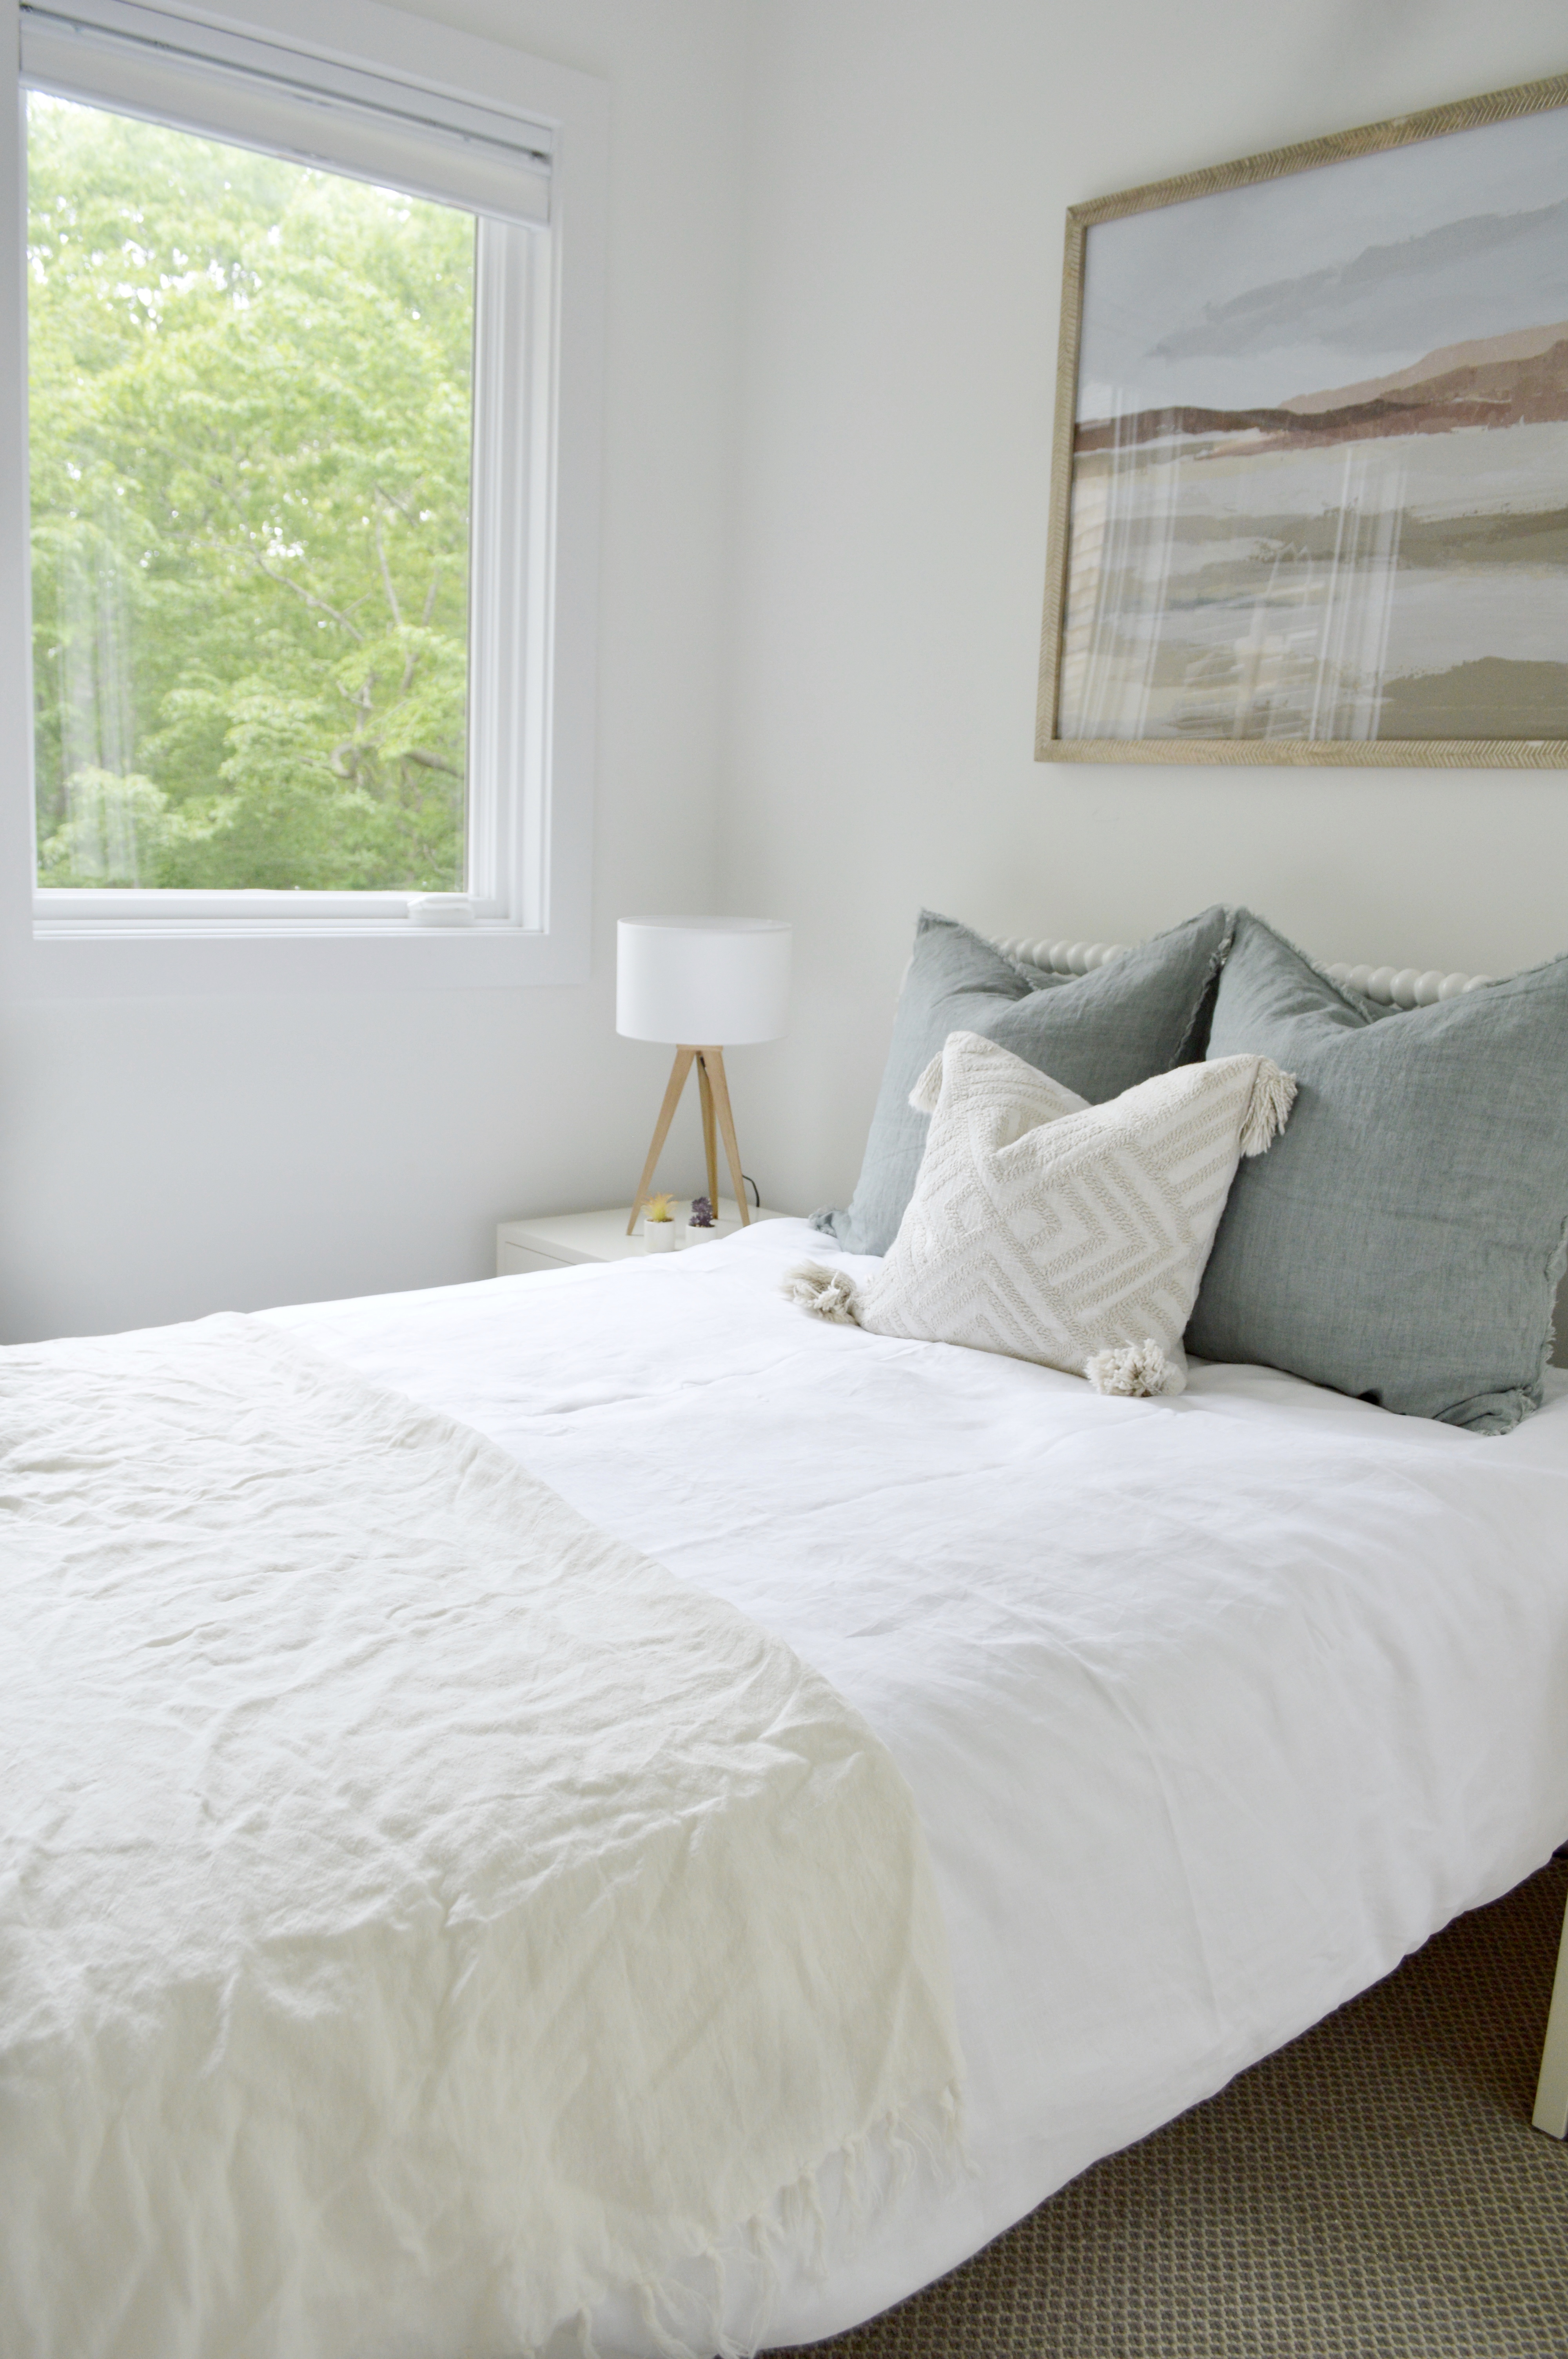
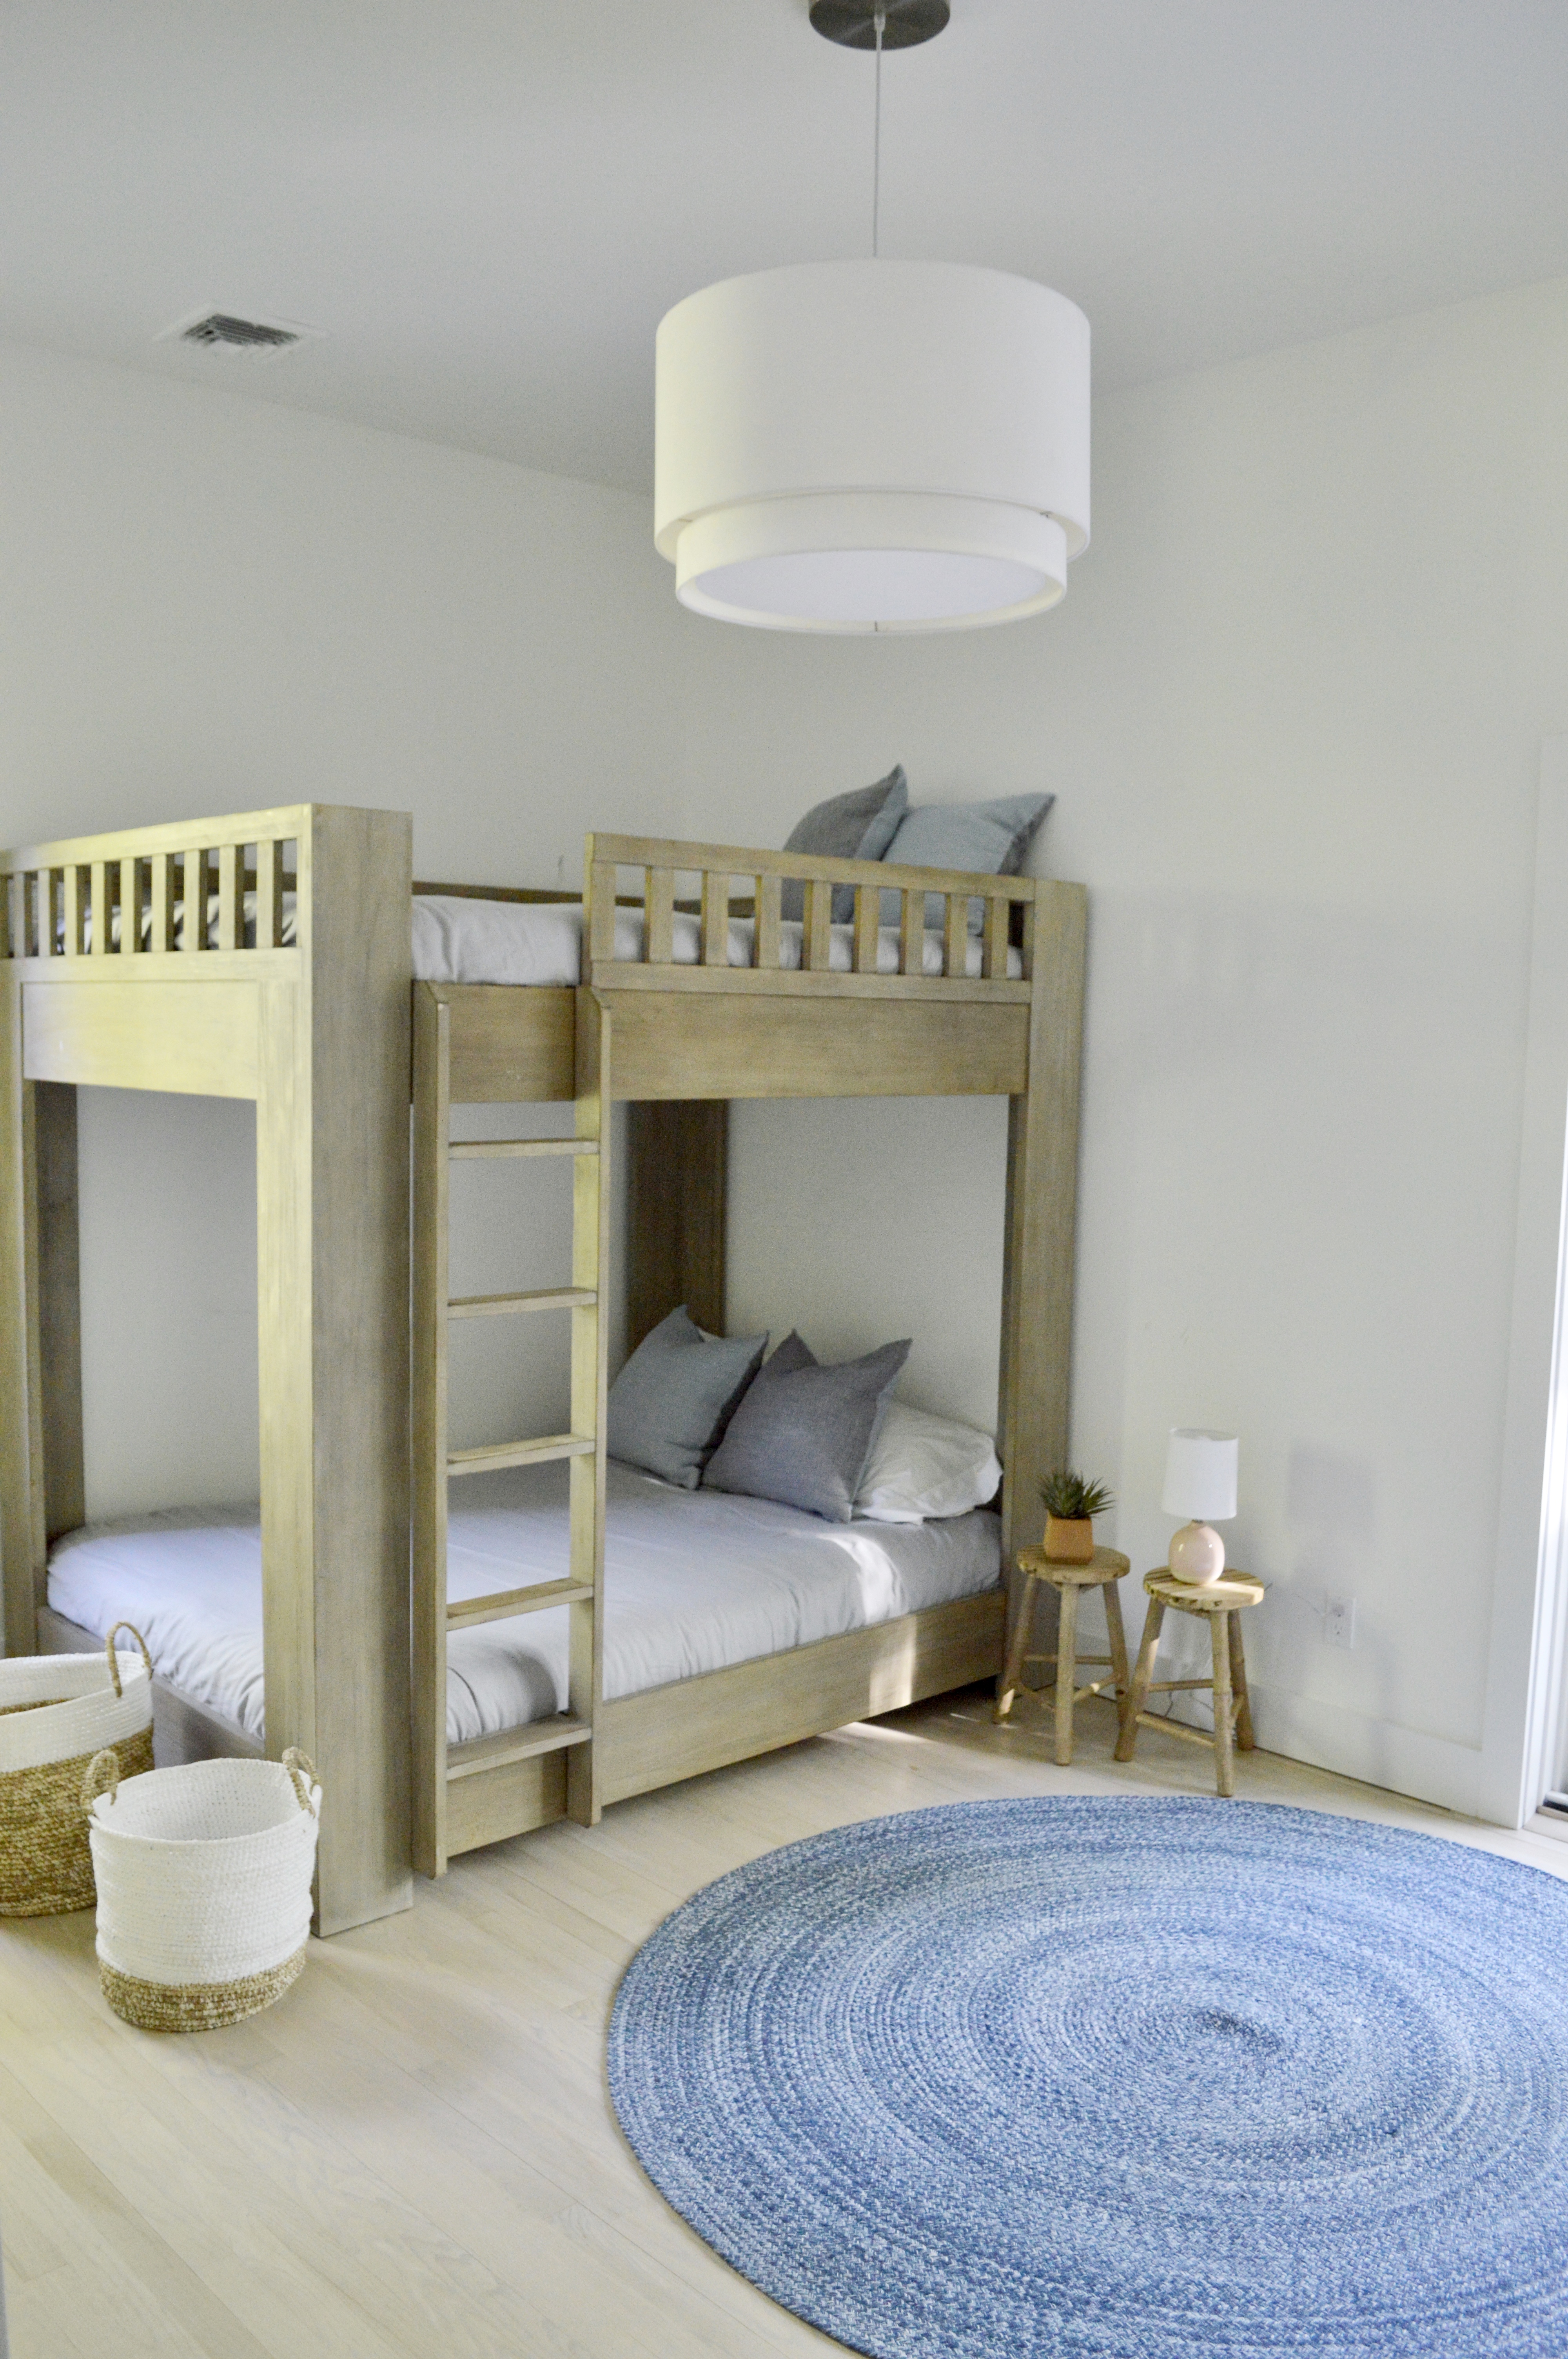
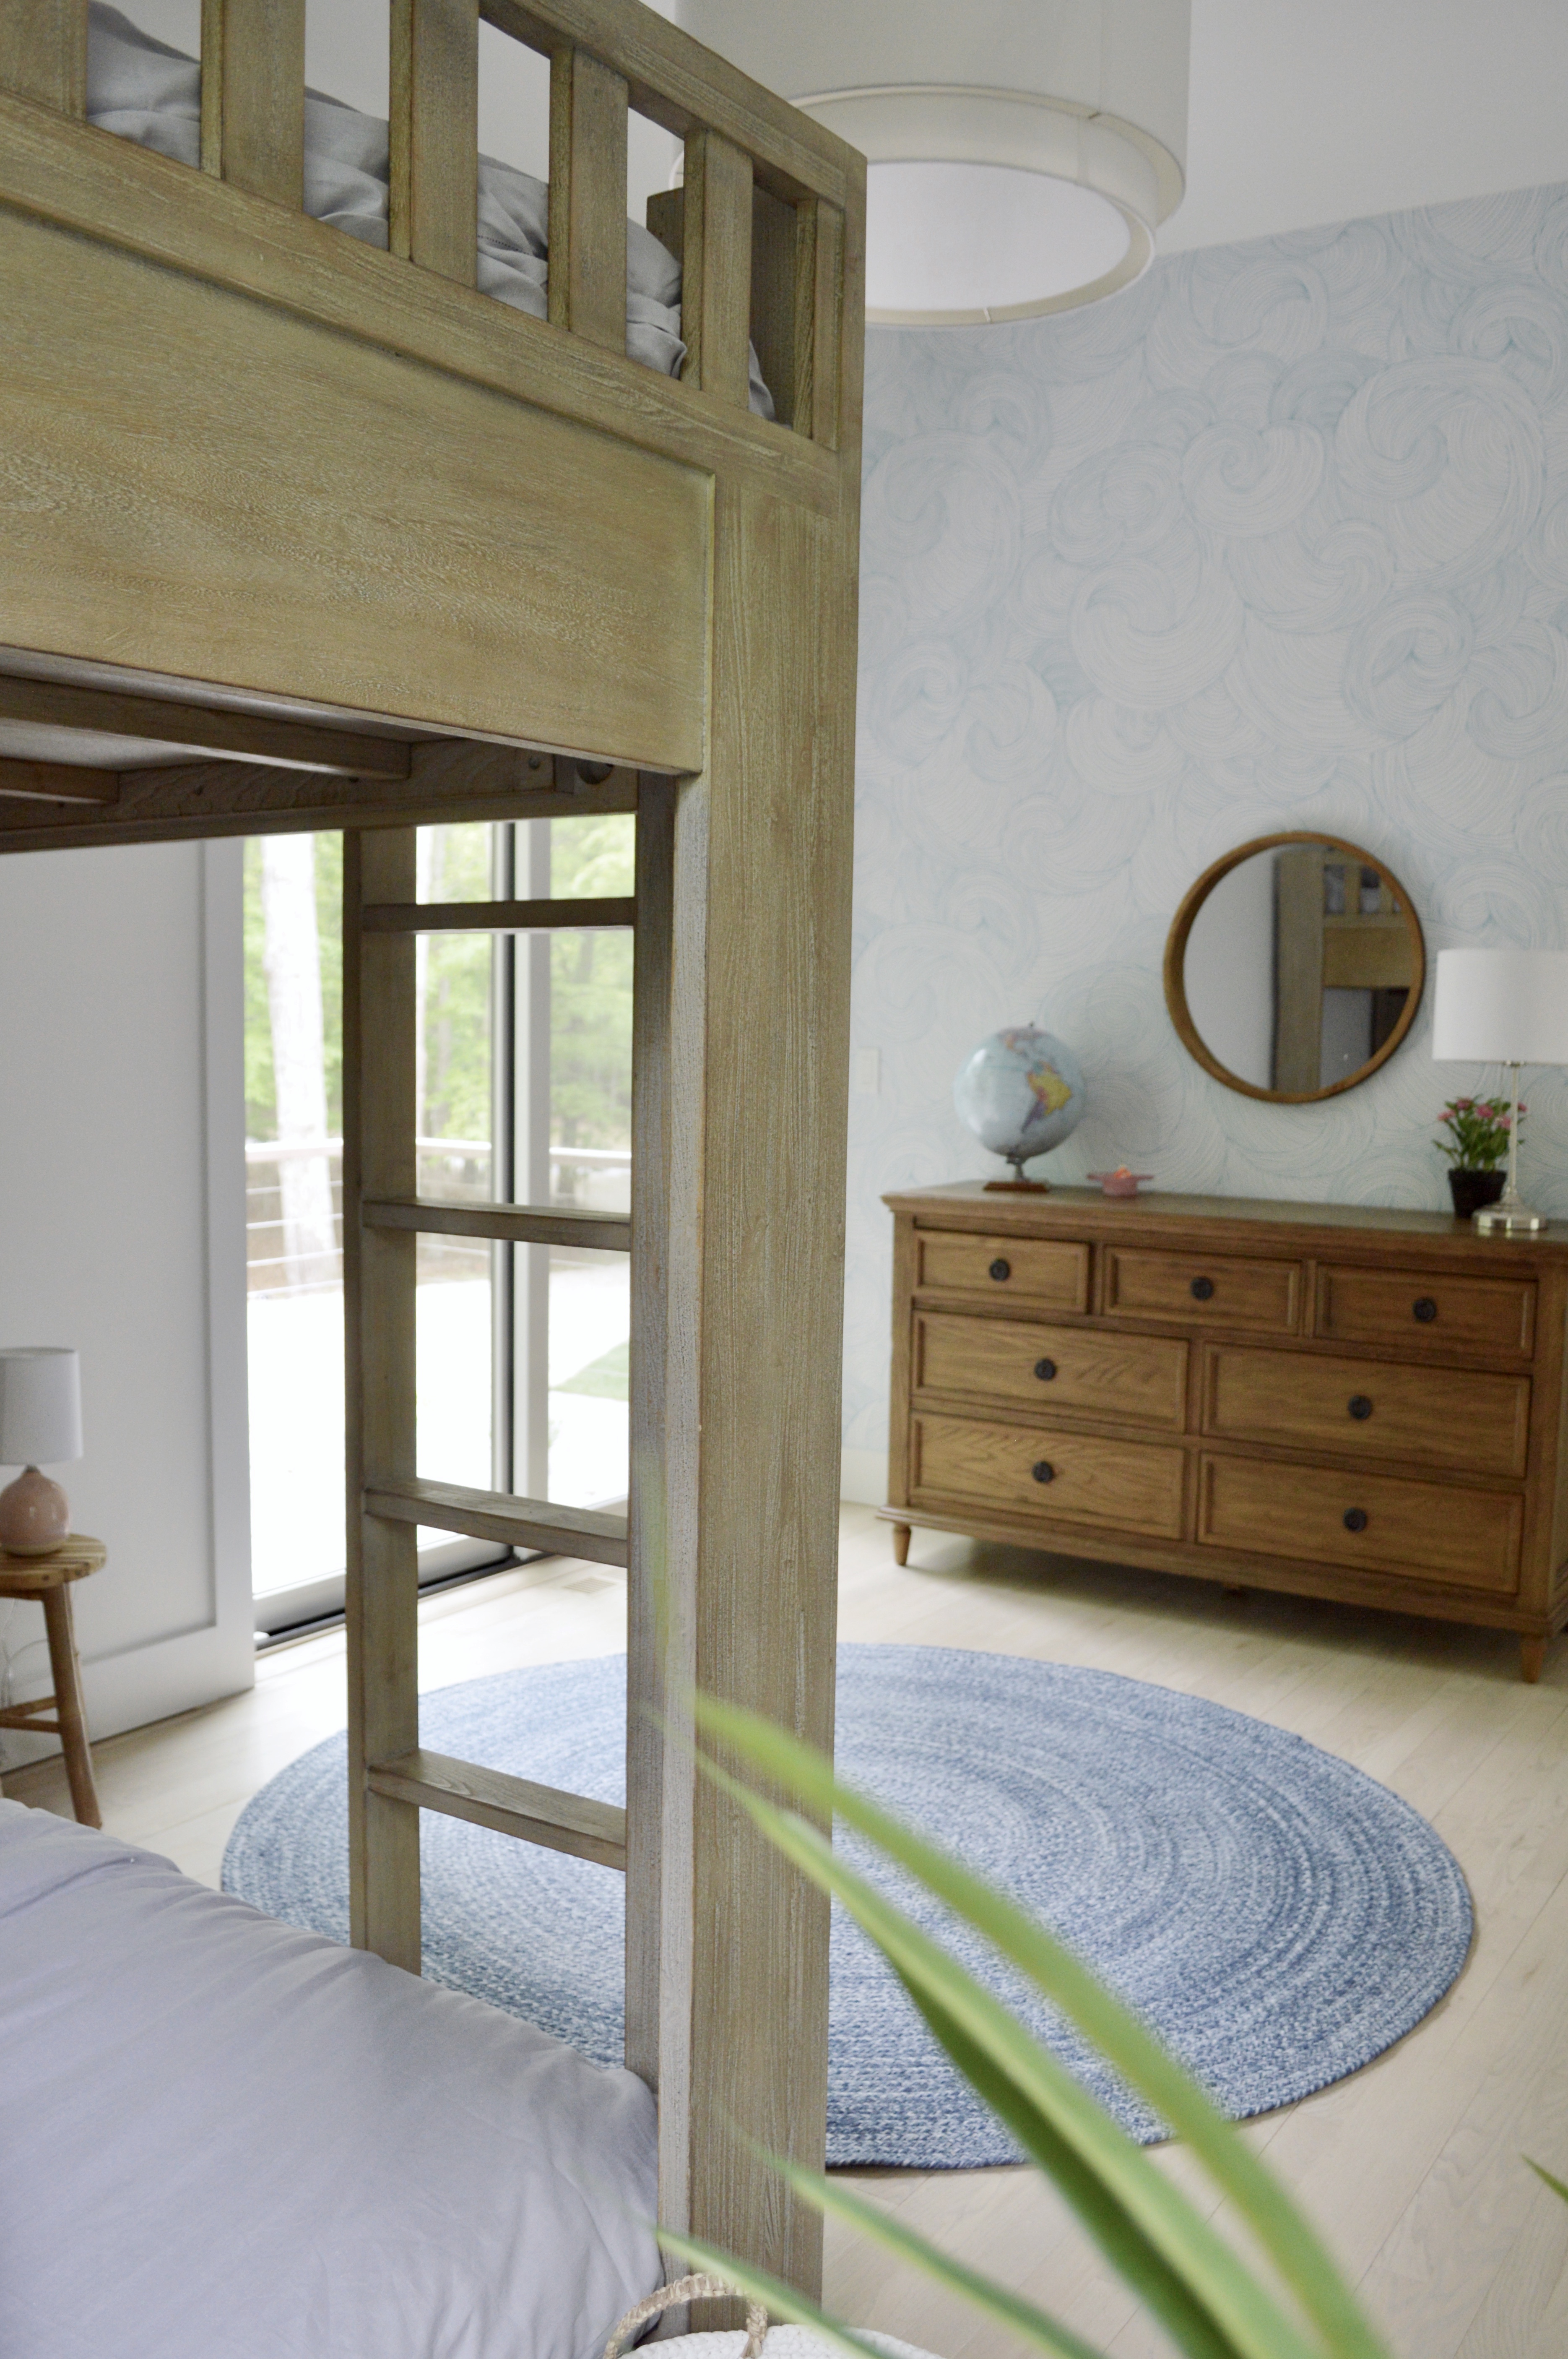
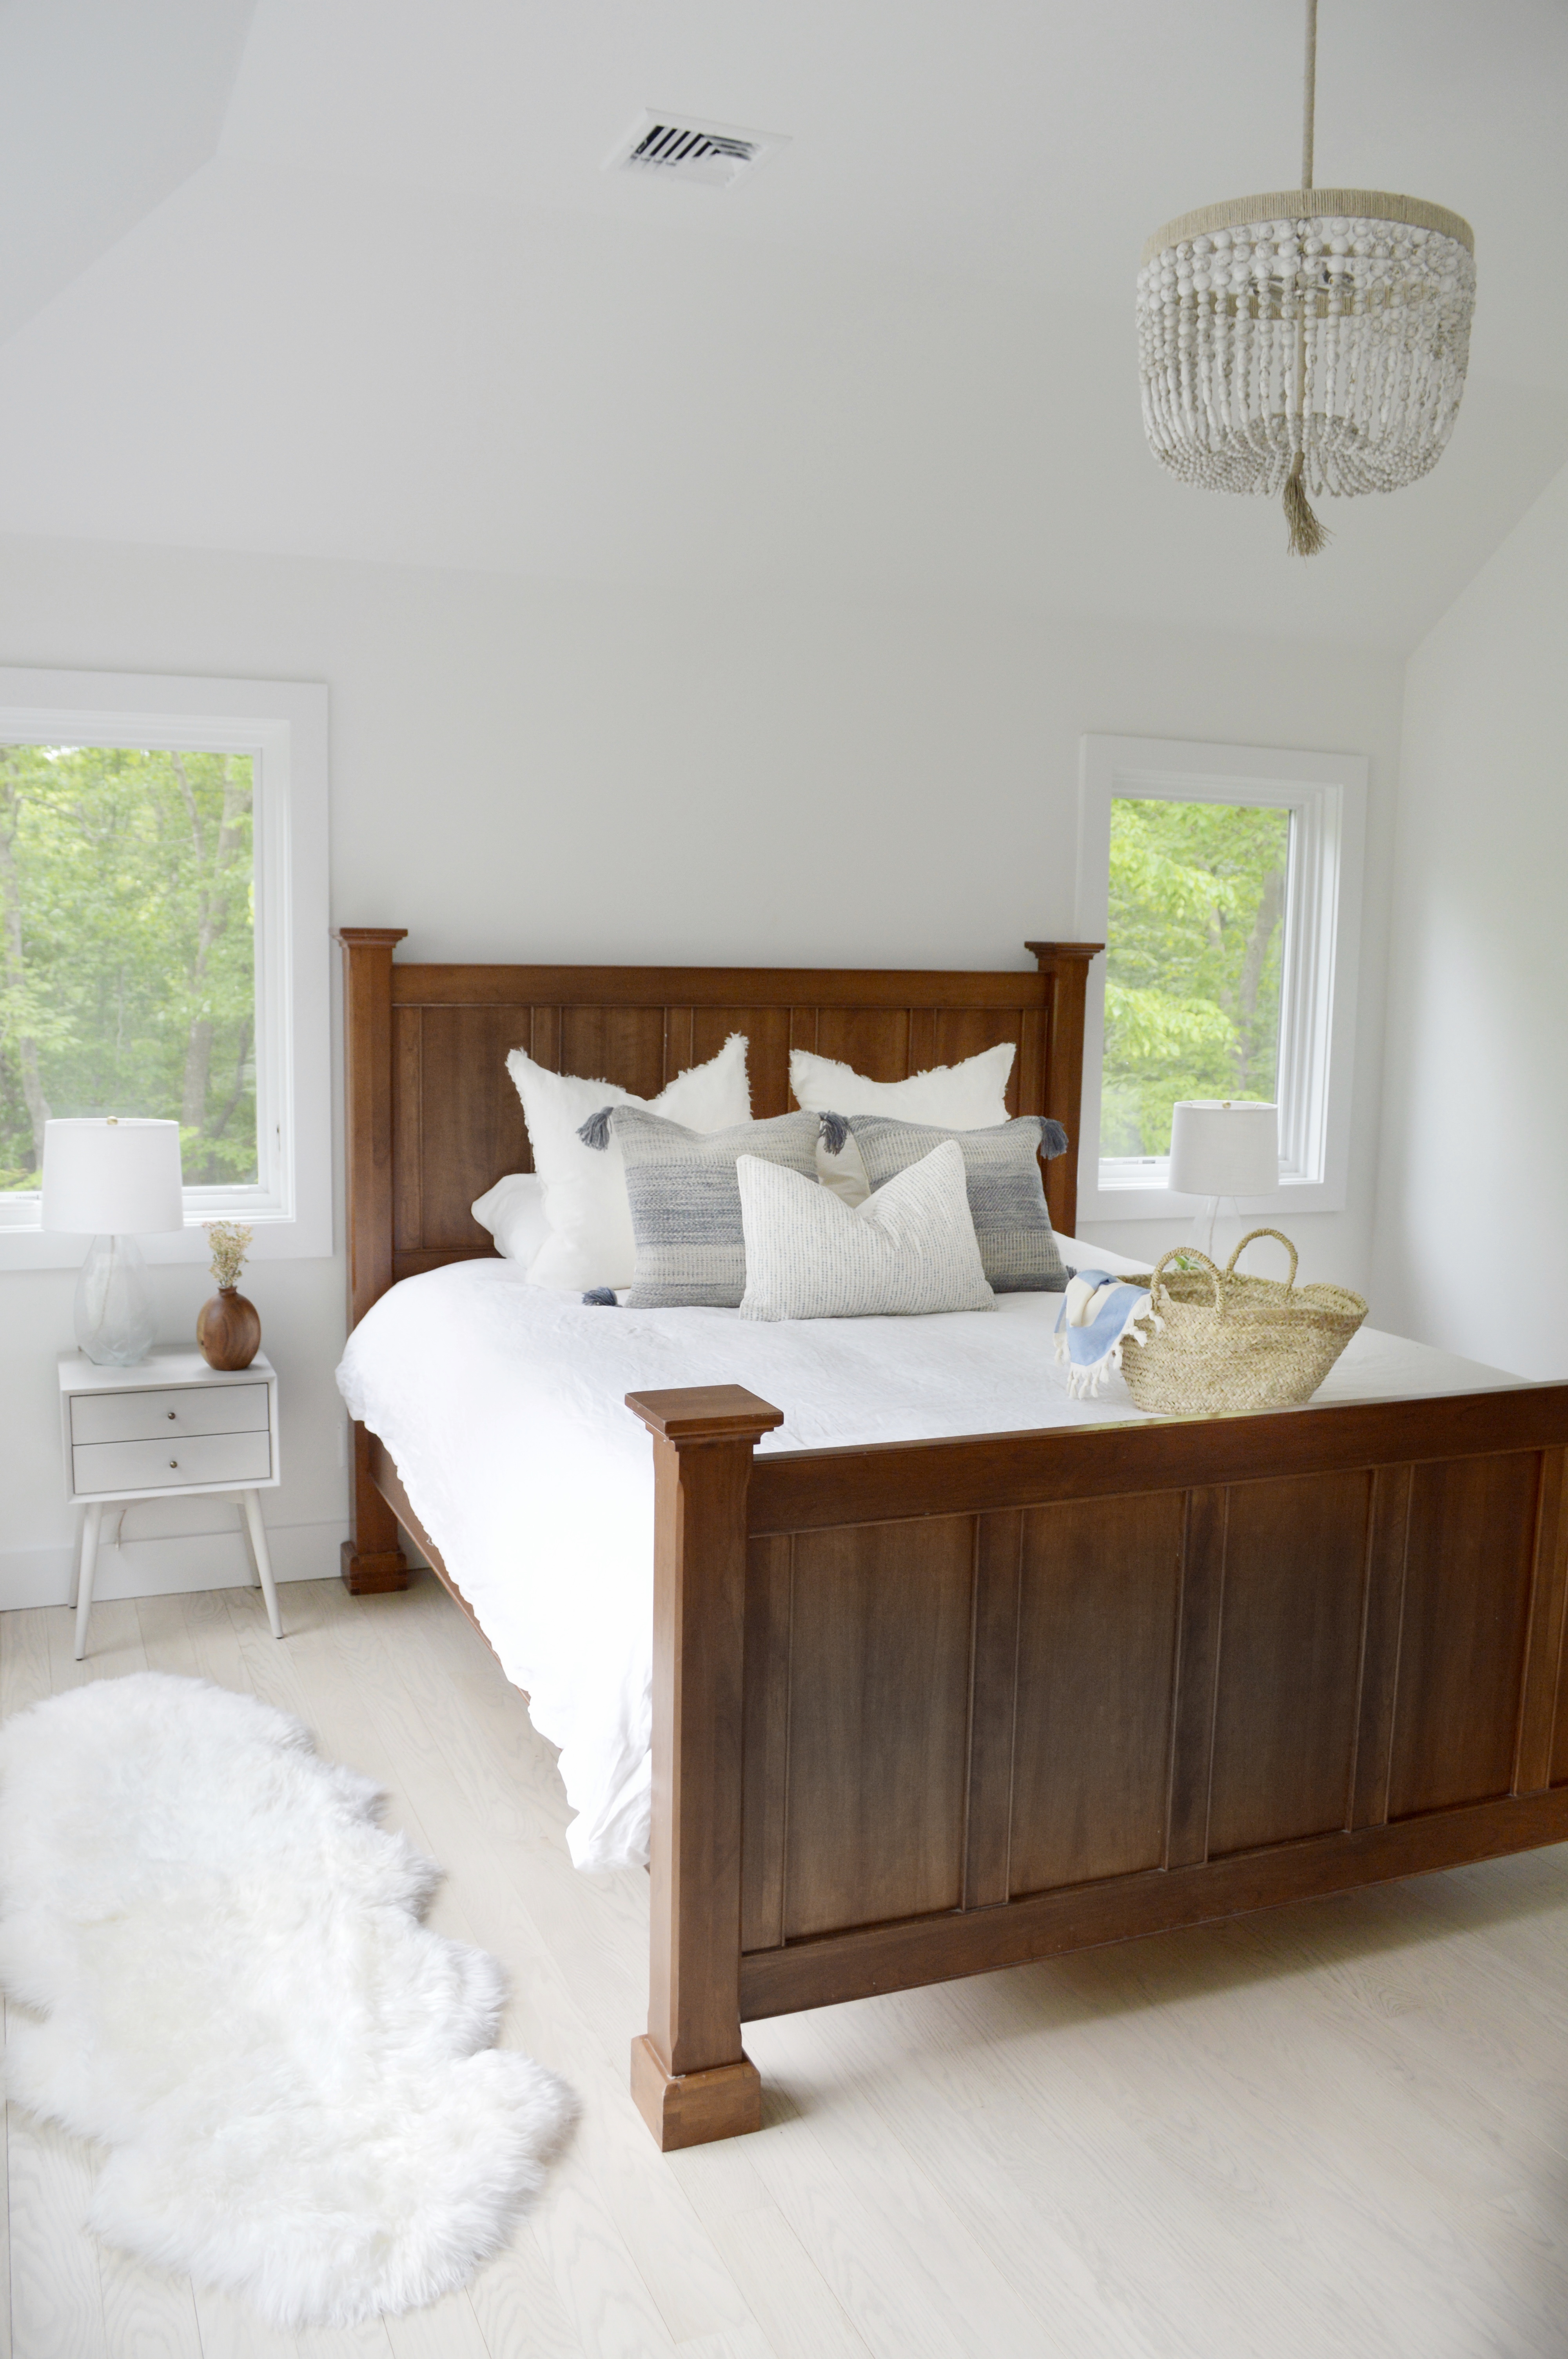
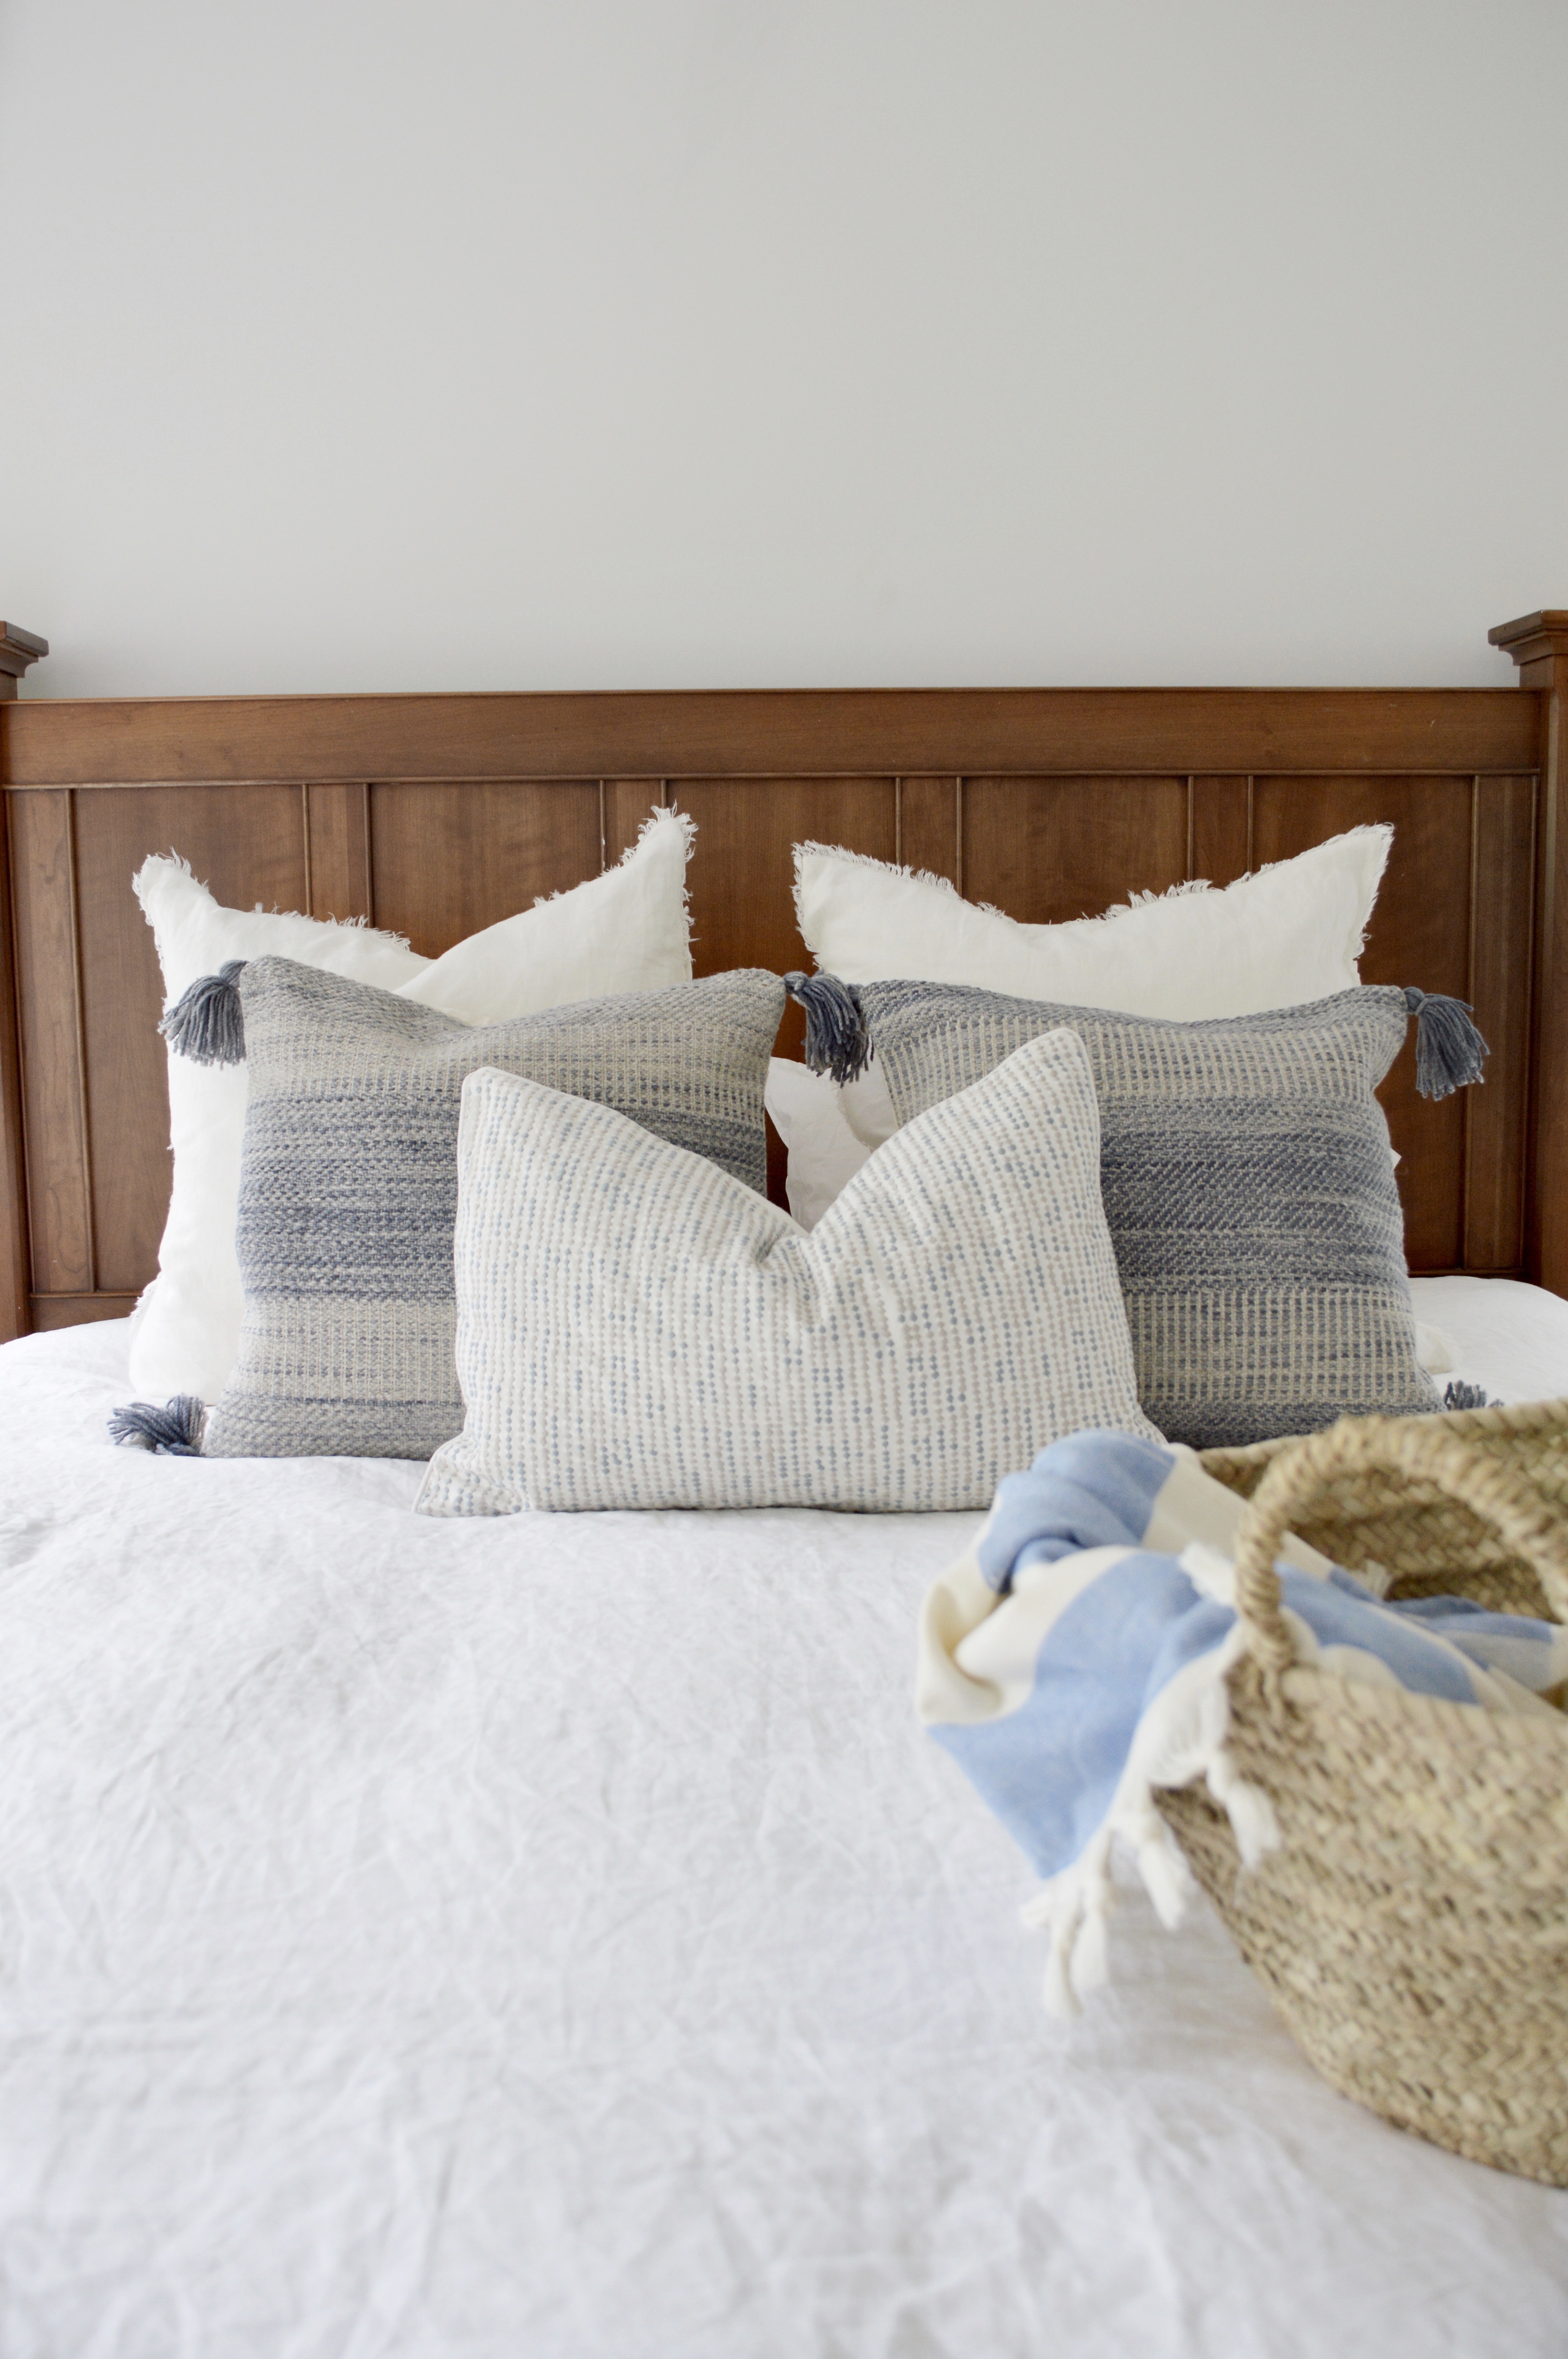
These four bedrooms I designed in the Hamptons are what MY BEDROOM DREAMS are made of — thanks to the Company Store!  As you probably know by now, I’ve partnered with the Company Store several times and I will continue to partner for as long as they will have me because I LOVE THEIR BEDDING!  It’s so luxurious, soft, fresh and high quality.  All of the things I look for in bedding.  And I have really good news folks — there is a white sale going on—up to 25% off solid sheets, bath, and more!!!

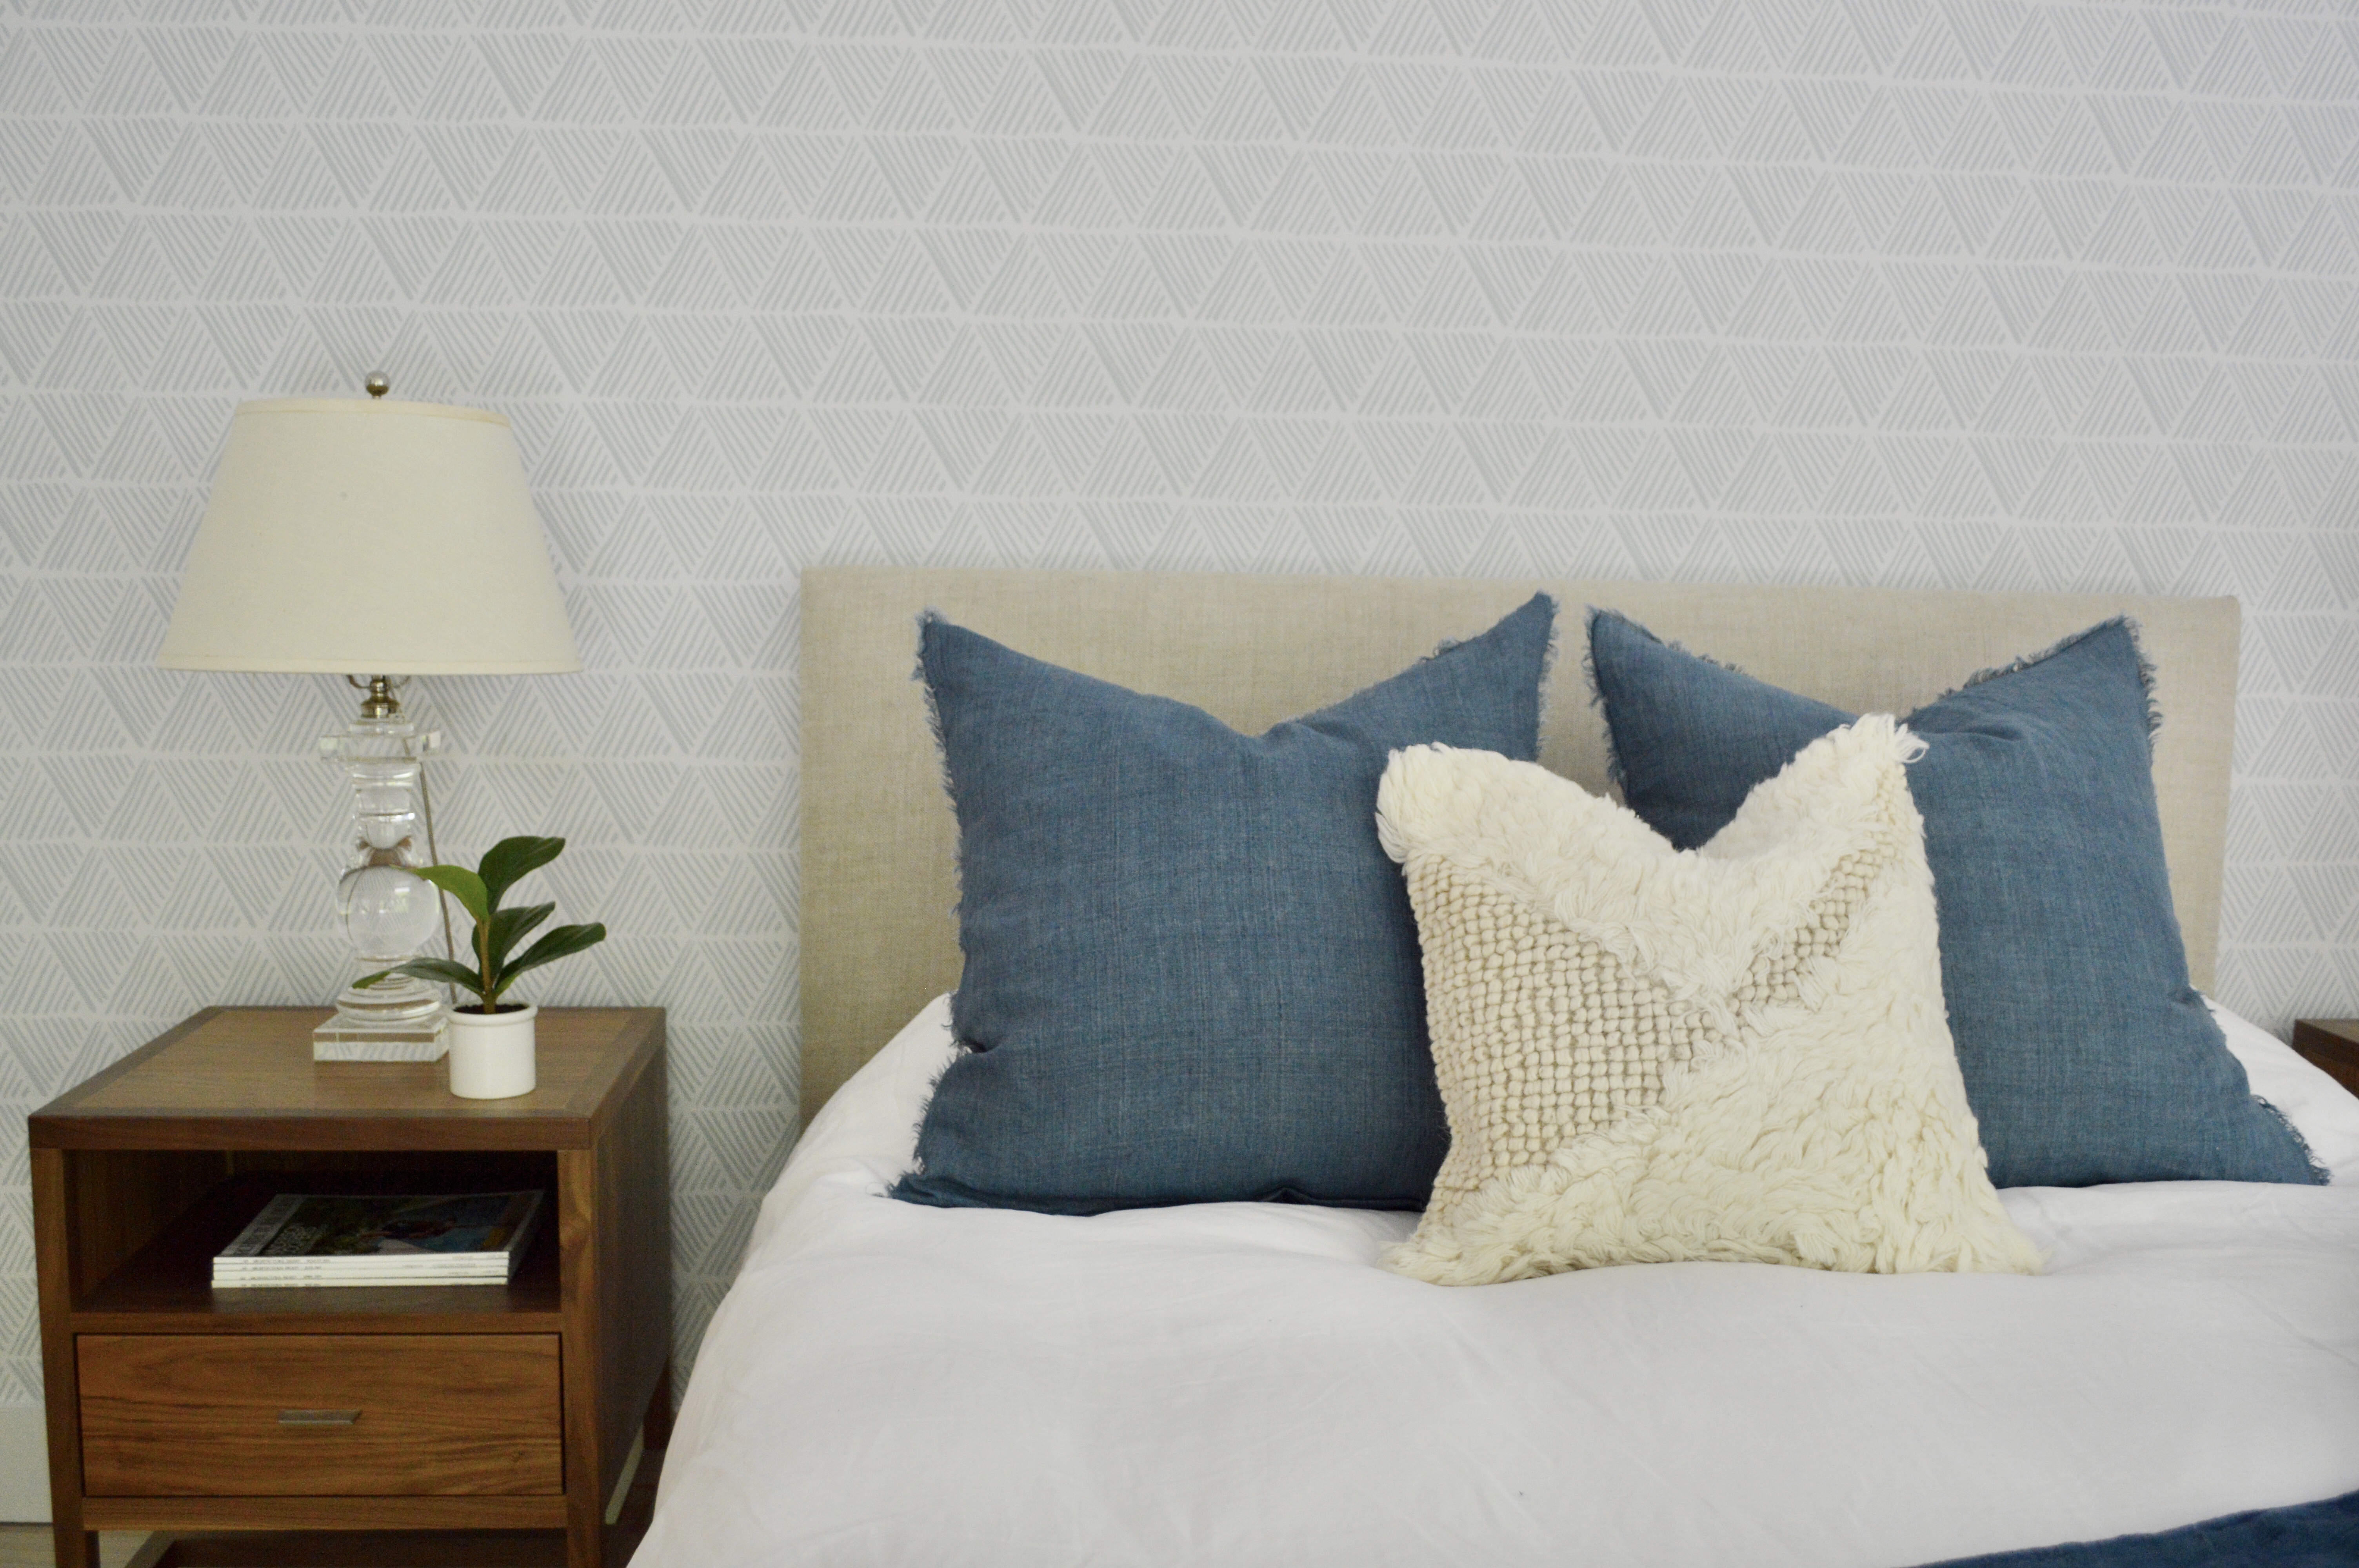
Let me start with the junior master — white linen and indigo accents to pop off the beautiful wallpaper.  When I went to the Hamptons to style the house, this is the bedroom I chose to sleep in.  I love it so much!   You can shop the bedding here: (1) white linen duvet cover; (2) linen indigo pillows; (3) shag throw pillow; (4) indigo linen throw; and (5) white 400 thread count cotton sheets.

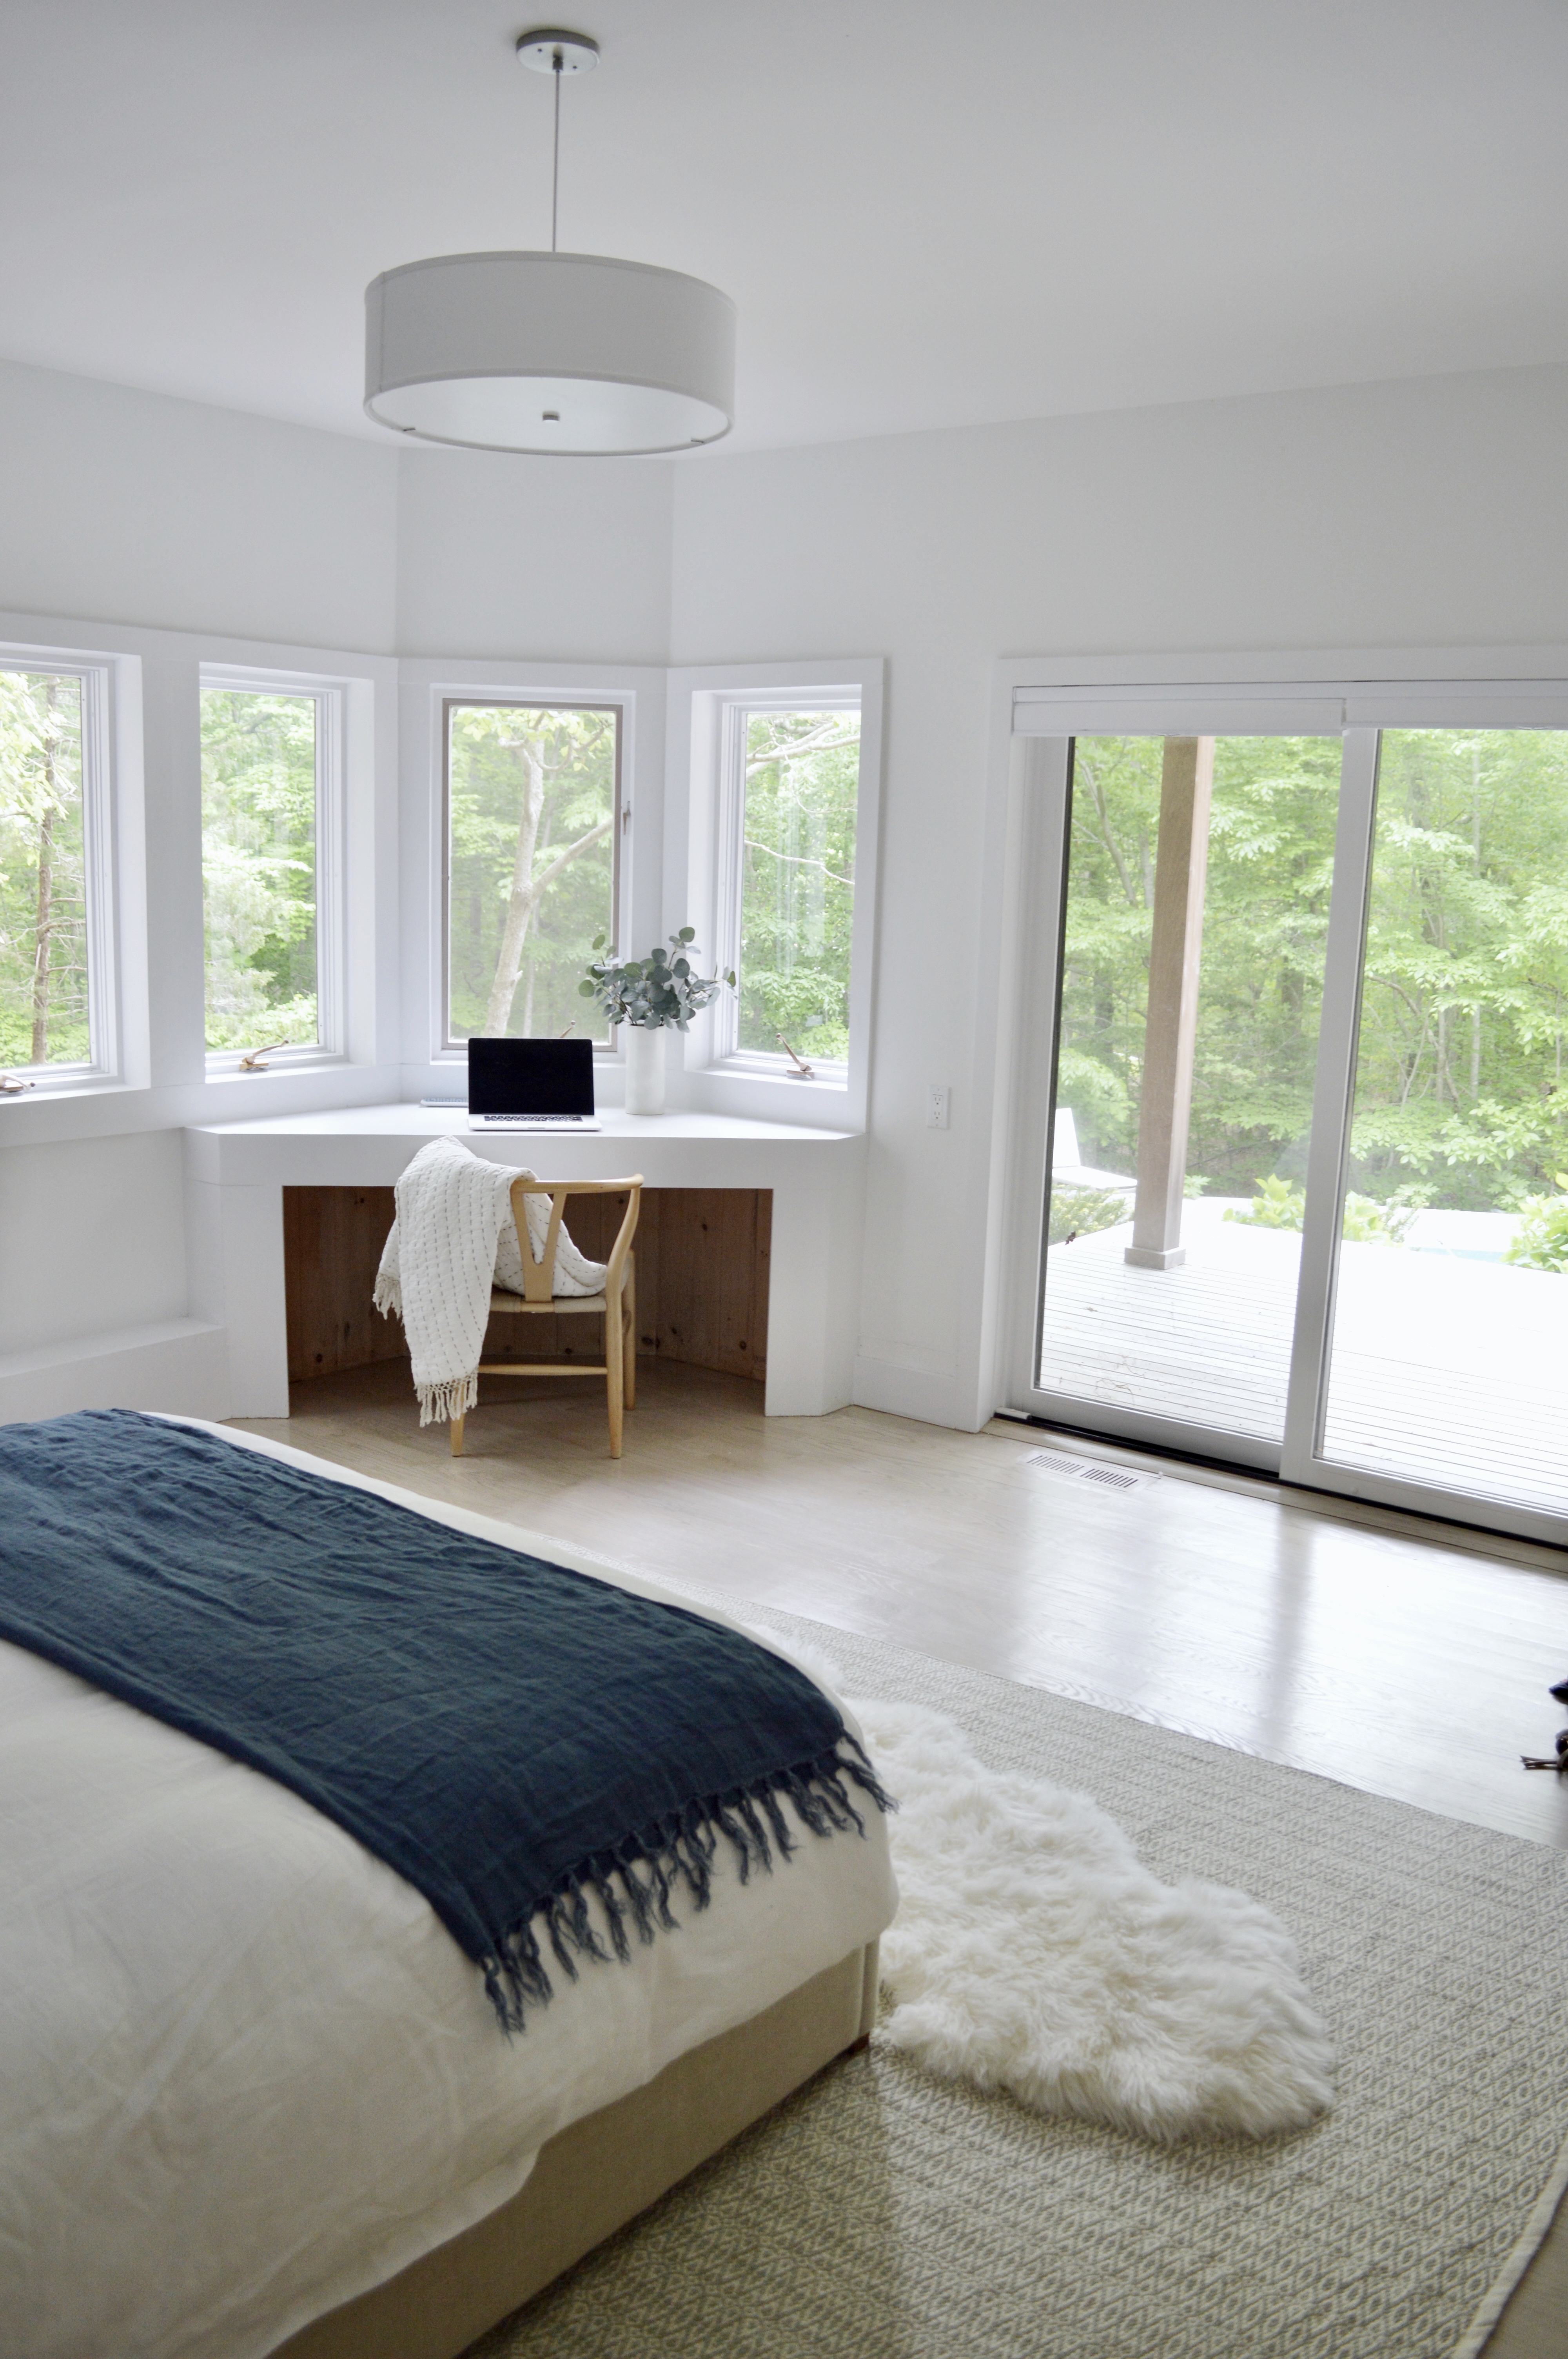
Hamptons bedroom Hamptons bedroom Hamptons bedroom Hamptons bedroom

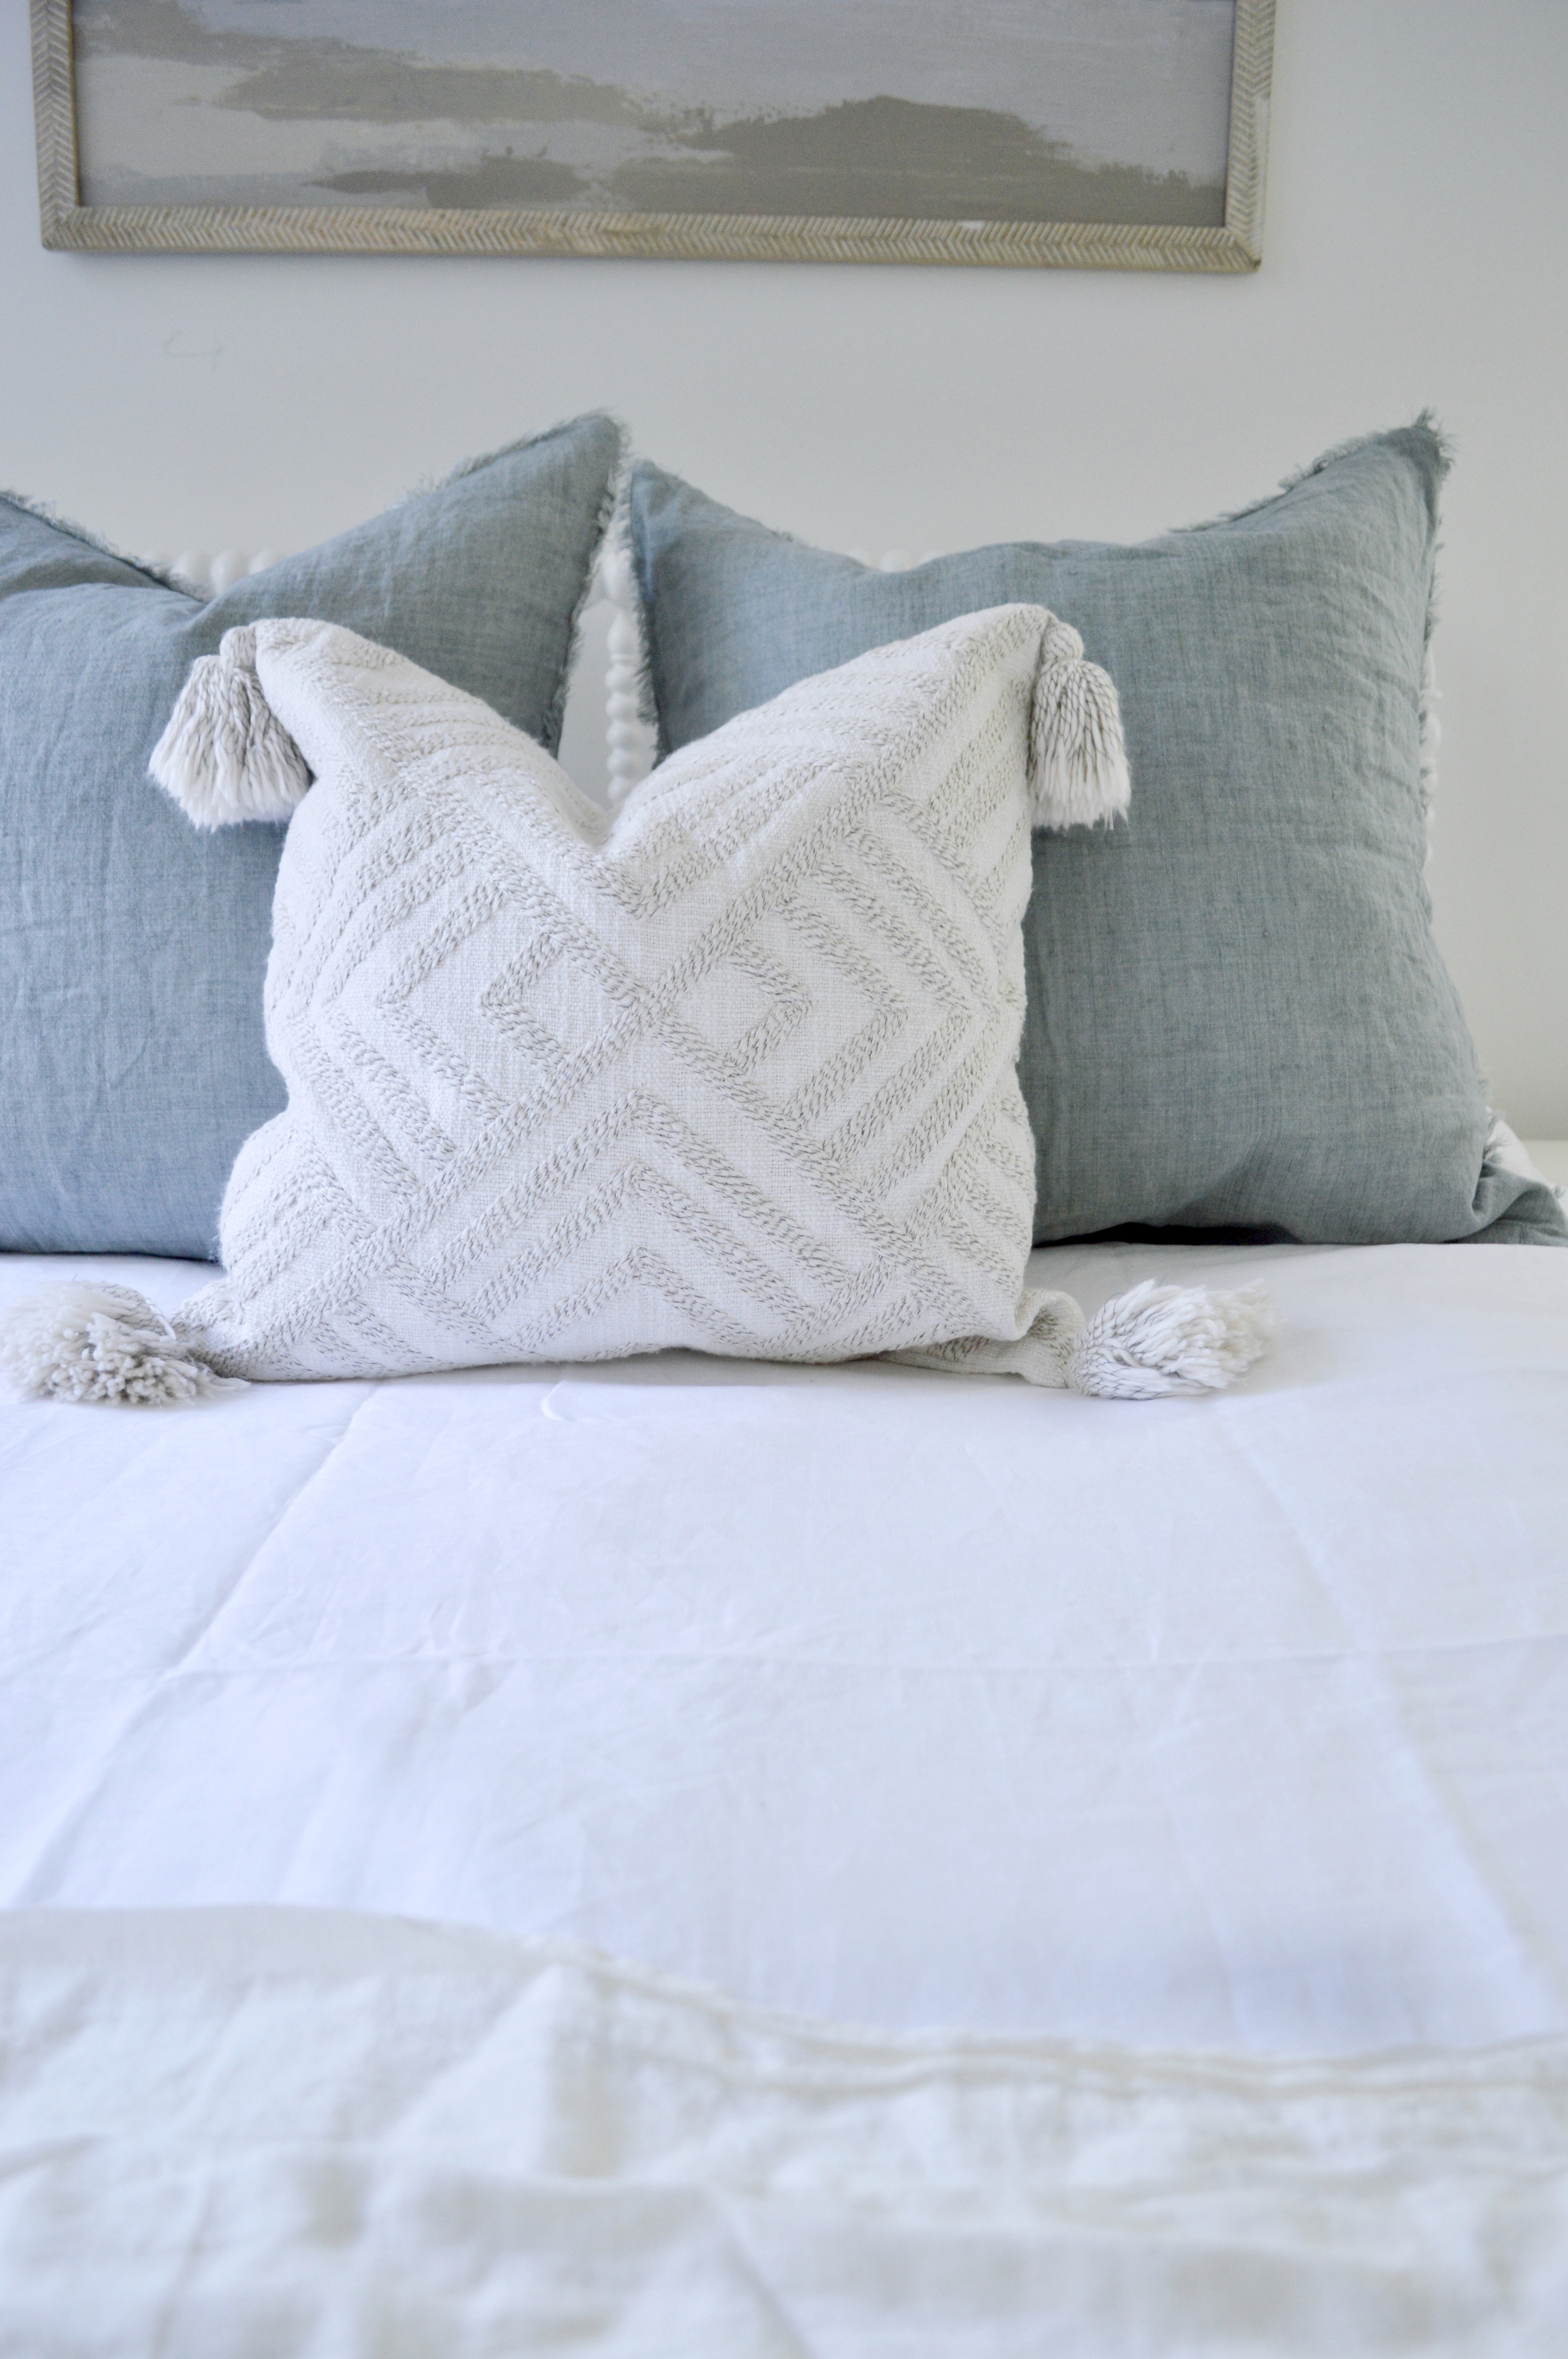
Next, let me show you the other guest room –  it is the smallest bedroom but the most serene in my opinion.  Love how bright and fresh it turned out.  You can shop the look here:  (1) white linen duvet cover; (2) linen sage pillows; (3) tassel throw pillow; (4) ivory linen throw; and (5) white 400 thread count cotton sheets.

hamptons bedroom

hamptons bedroom hamptons bedroom

This huge, bright and playful kid room is also one of my favorites (ok… let’s be honest – I LOVE THEM ALL).  But seriously, how lucky are my client’s kids?!    You can shop the look here: (1) grey linen duvet cover; (2) double sided blue pillows; and (3) white 400 thread count cotton sheets.

hamptons kid bedroom

hamptons kid bedroom

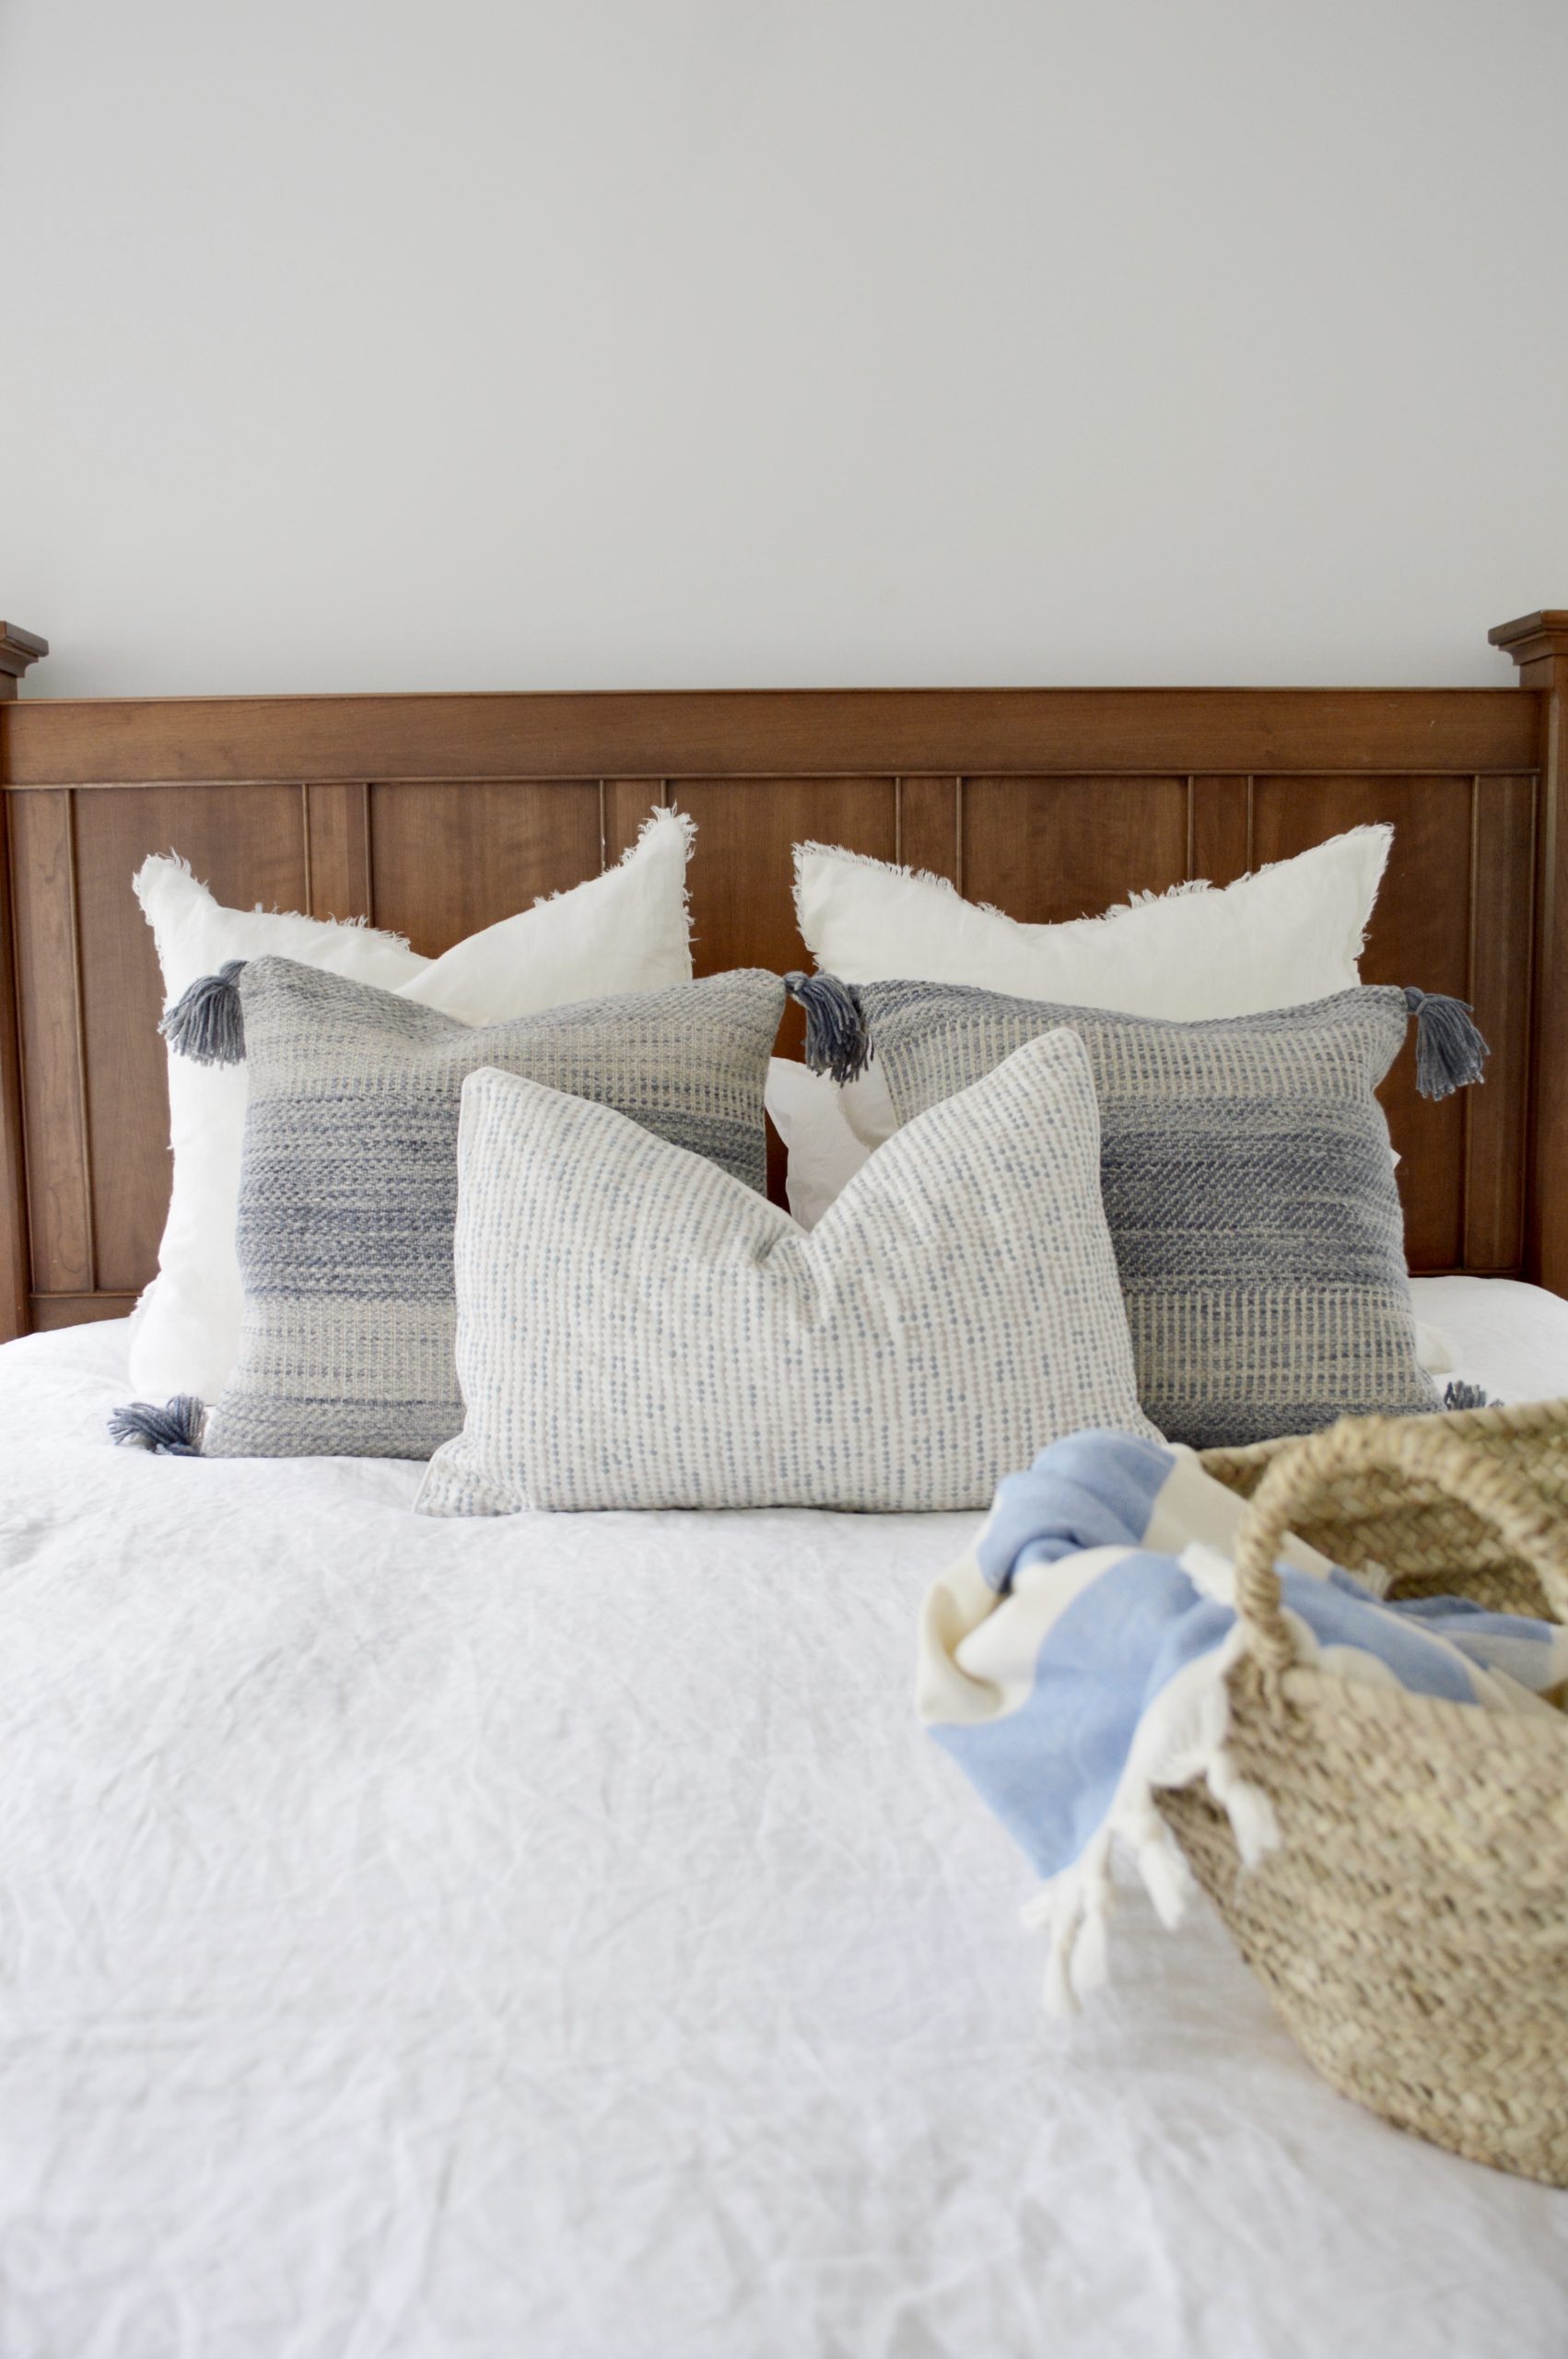
Last but not least, the master bedroom.  It’s so calming and fresh!  You can shop the look here: (1) white linen duvet cover; (2) ivory linen pillows; (3) blue tassel pillows; (4) lumbar pillow; and (5) white 400 thread count cotton sheets.

hamptons master bedroom

hamptons master bedroom

I hope you guys like these bedrooms and bedding as much as I do!

xoxo,

Kristin


Gargage TURNED Guesthouse REVEAL

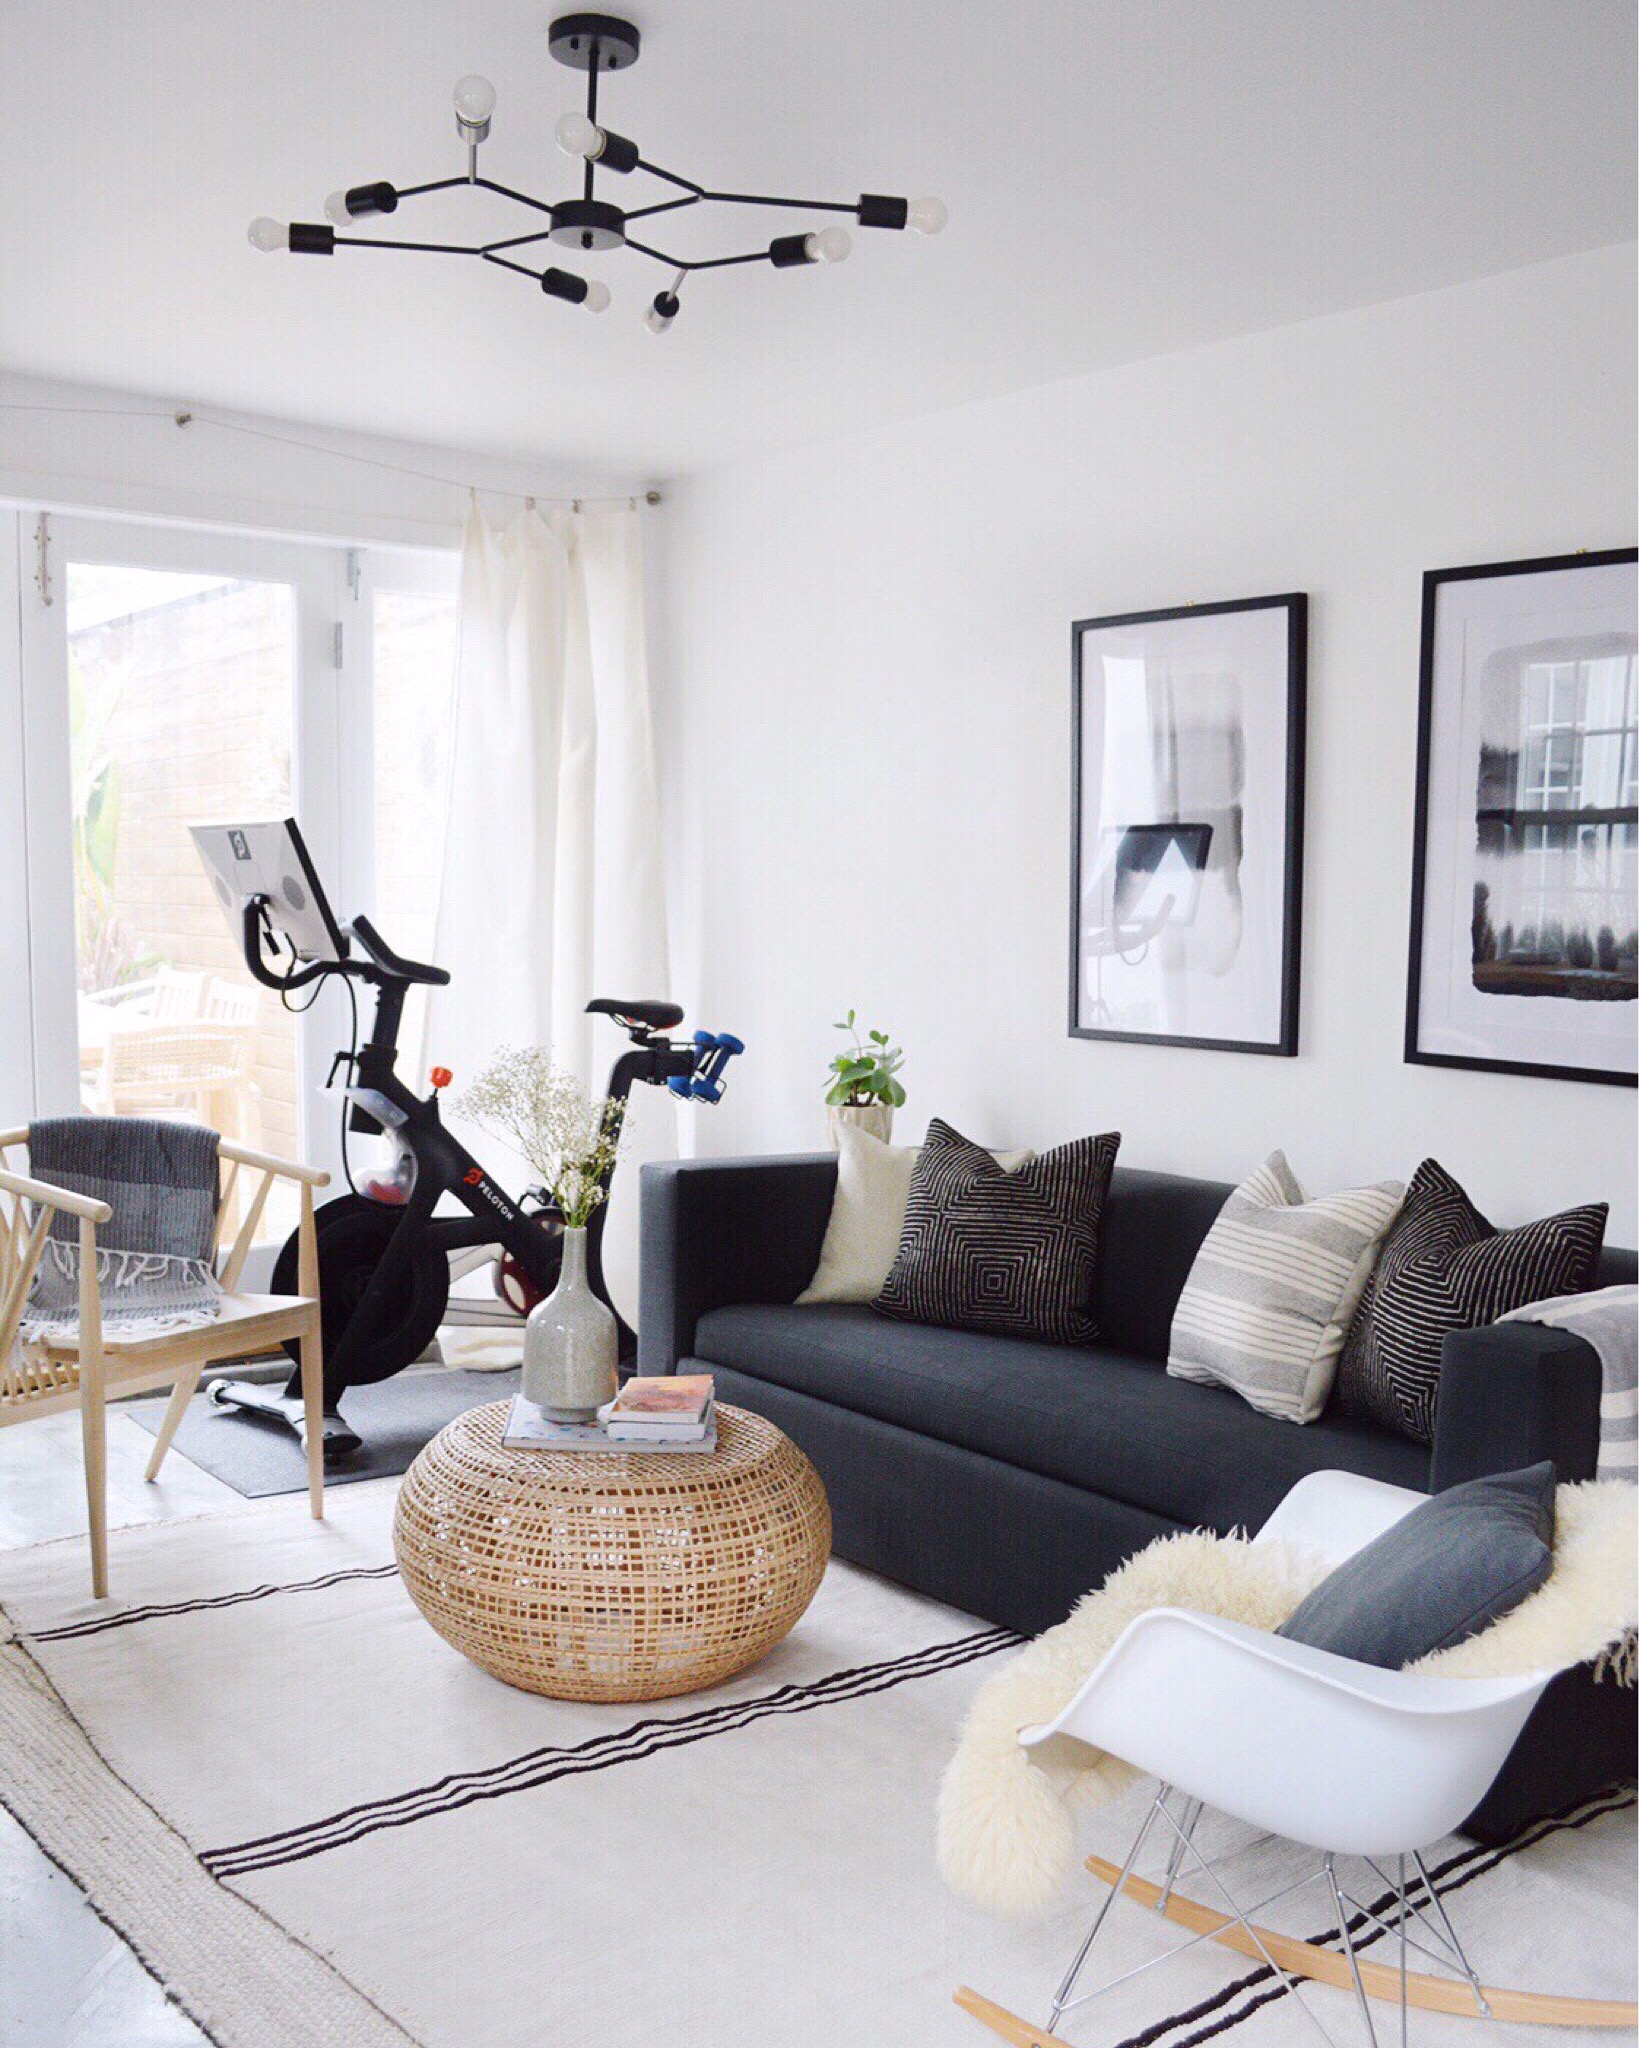
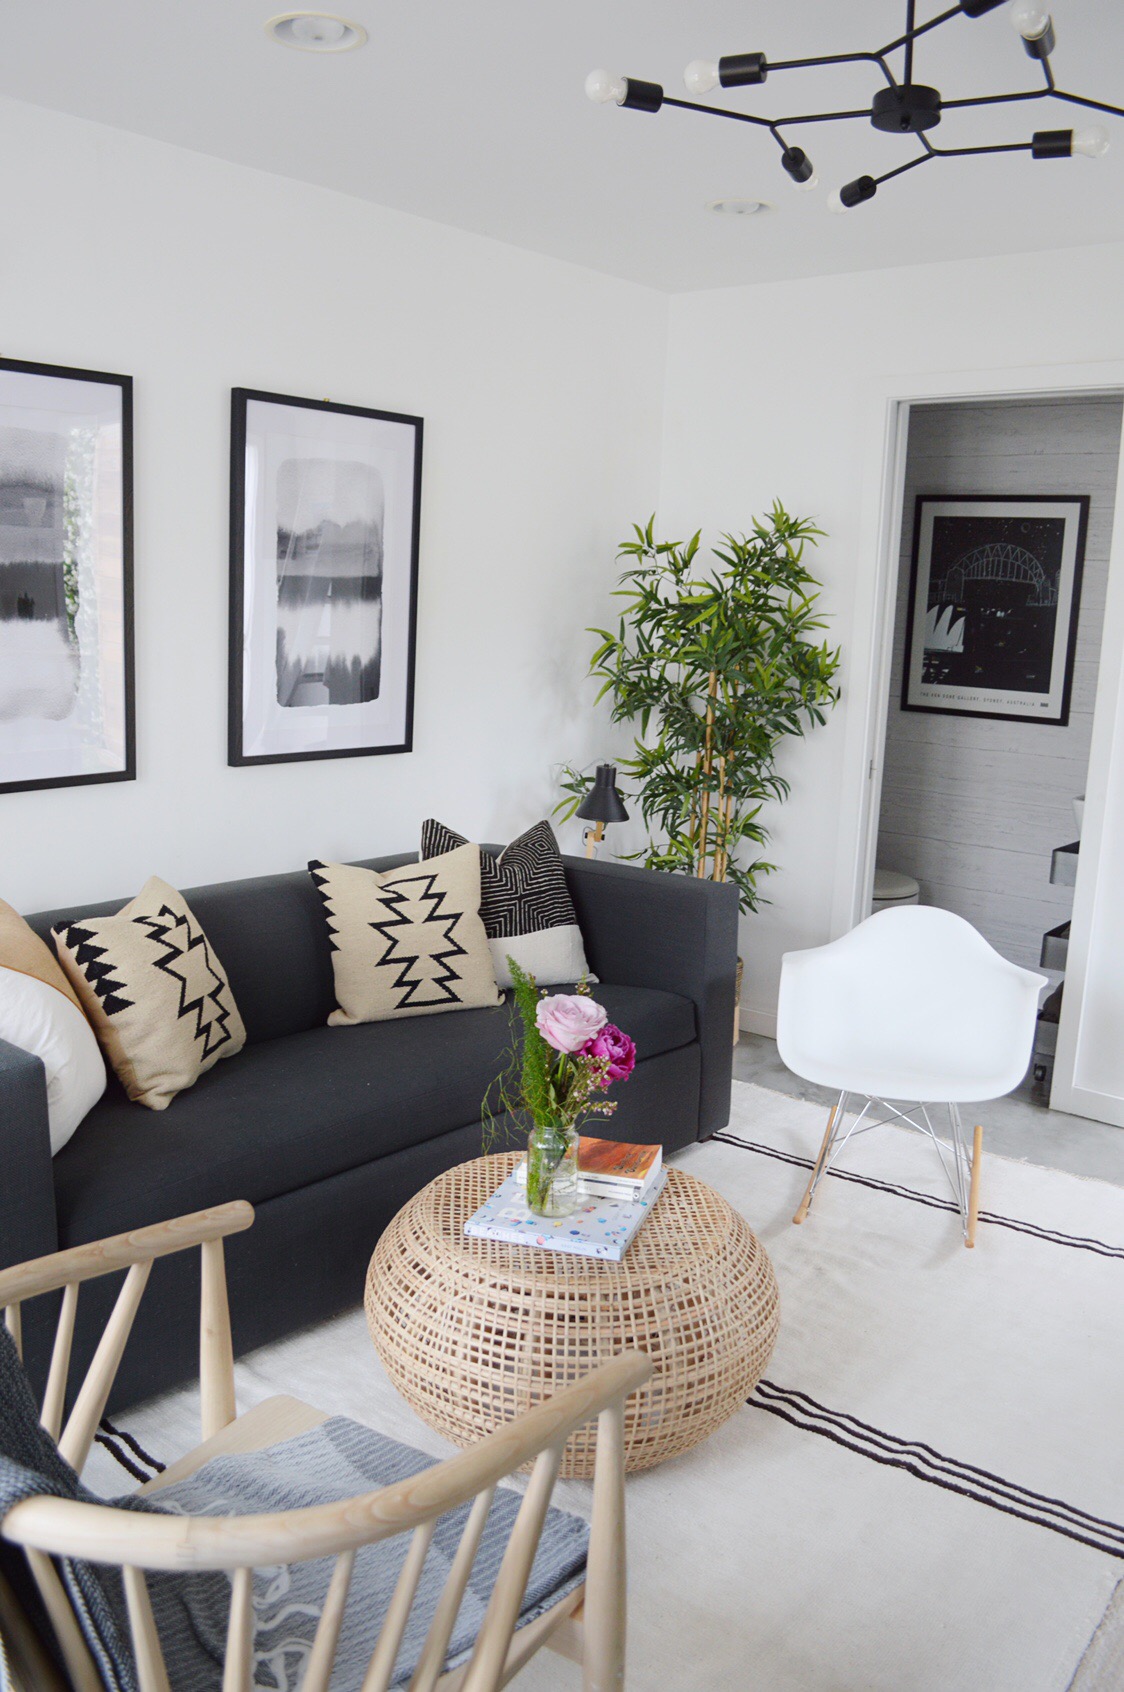
I am FINALLY revealing my “garage turned guesthouse”!  This project took longer than expected because of busy contractors, the rain we had this winter, and because other projects were higher on the priority list.  I am so excited it is finally done and I could not be happier with how this turned out!  This “garage” is now our gym, extra family room, guest bedroom AND office — all in one!  The upstairs has tons of storage for all the stuff we would ordinarily put in a garage (our cars sit in our driveway and on the street – we don’t really have weather here in SoCal, so street parking works fine).  I am so thankful for my partners: AllModern, Bedrosians Tile & Stone, IkeaShelfology,  and GE Appliances!  Scroll down for pictures and scroll to the end for ALL of the links.
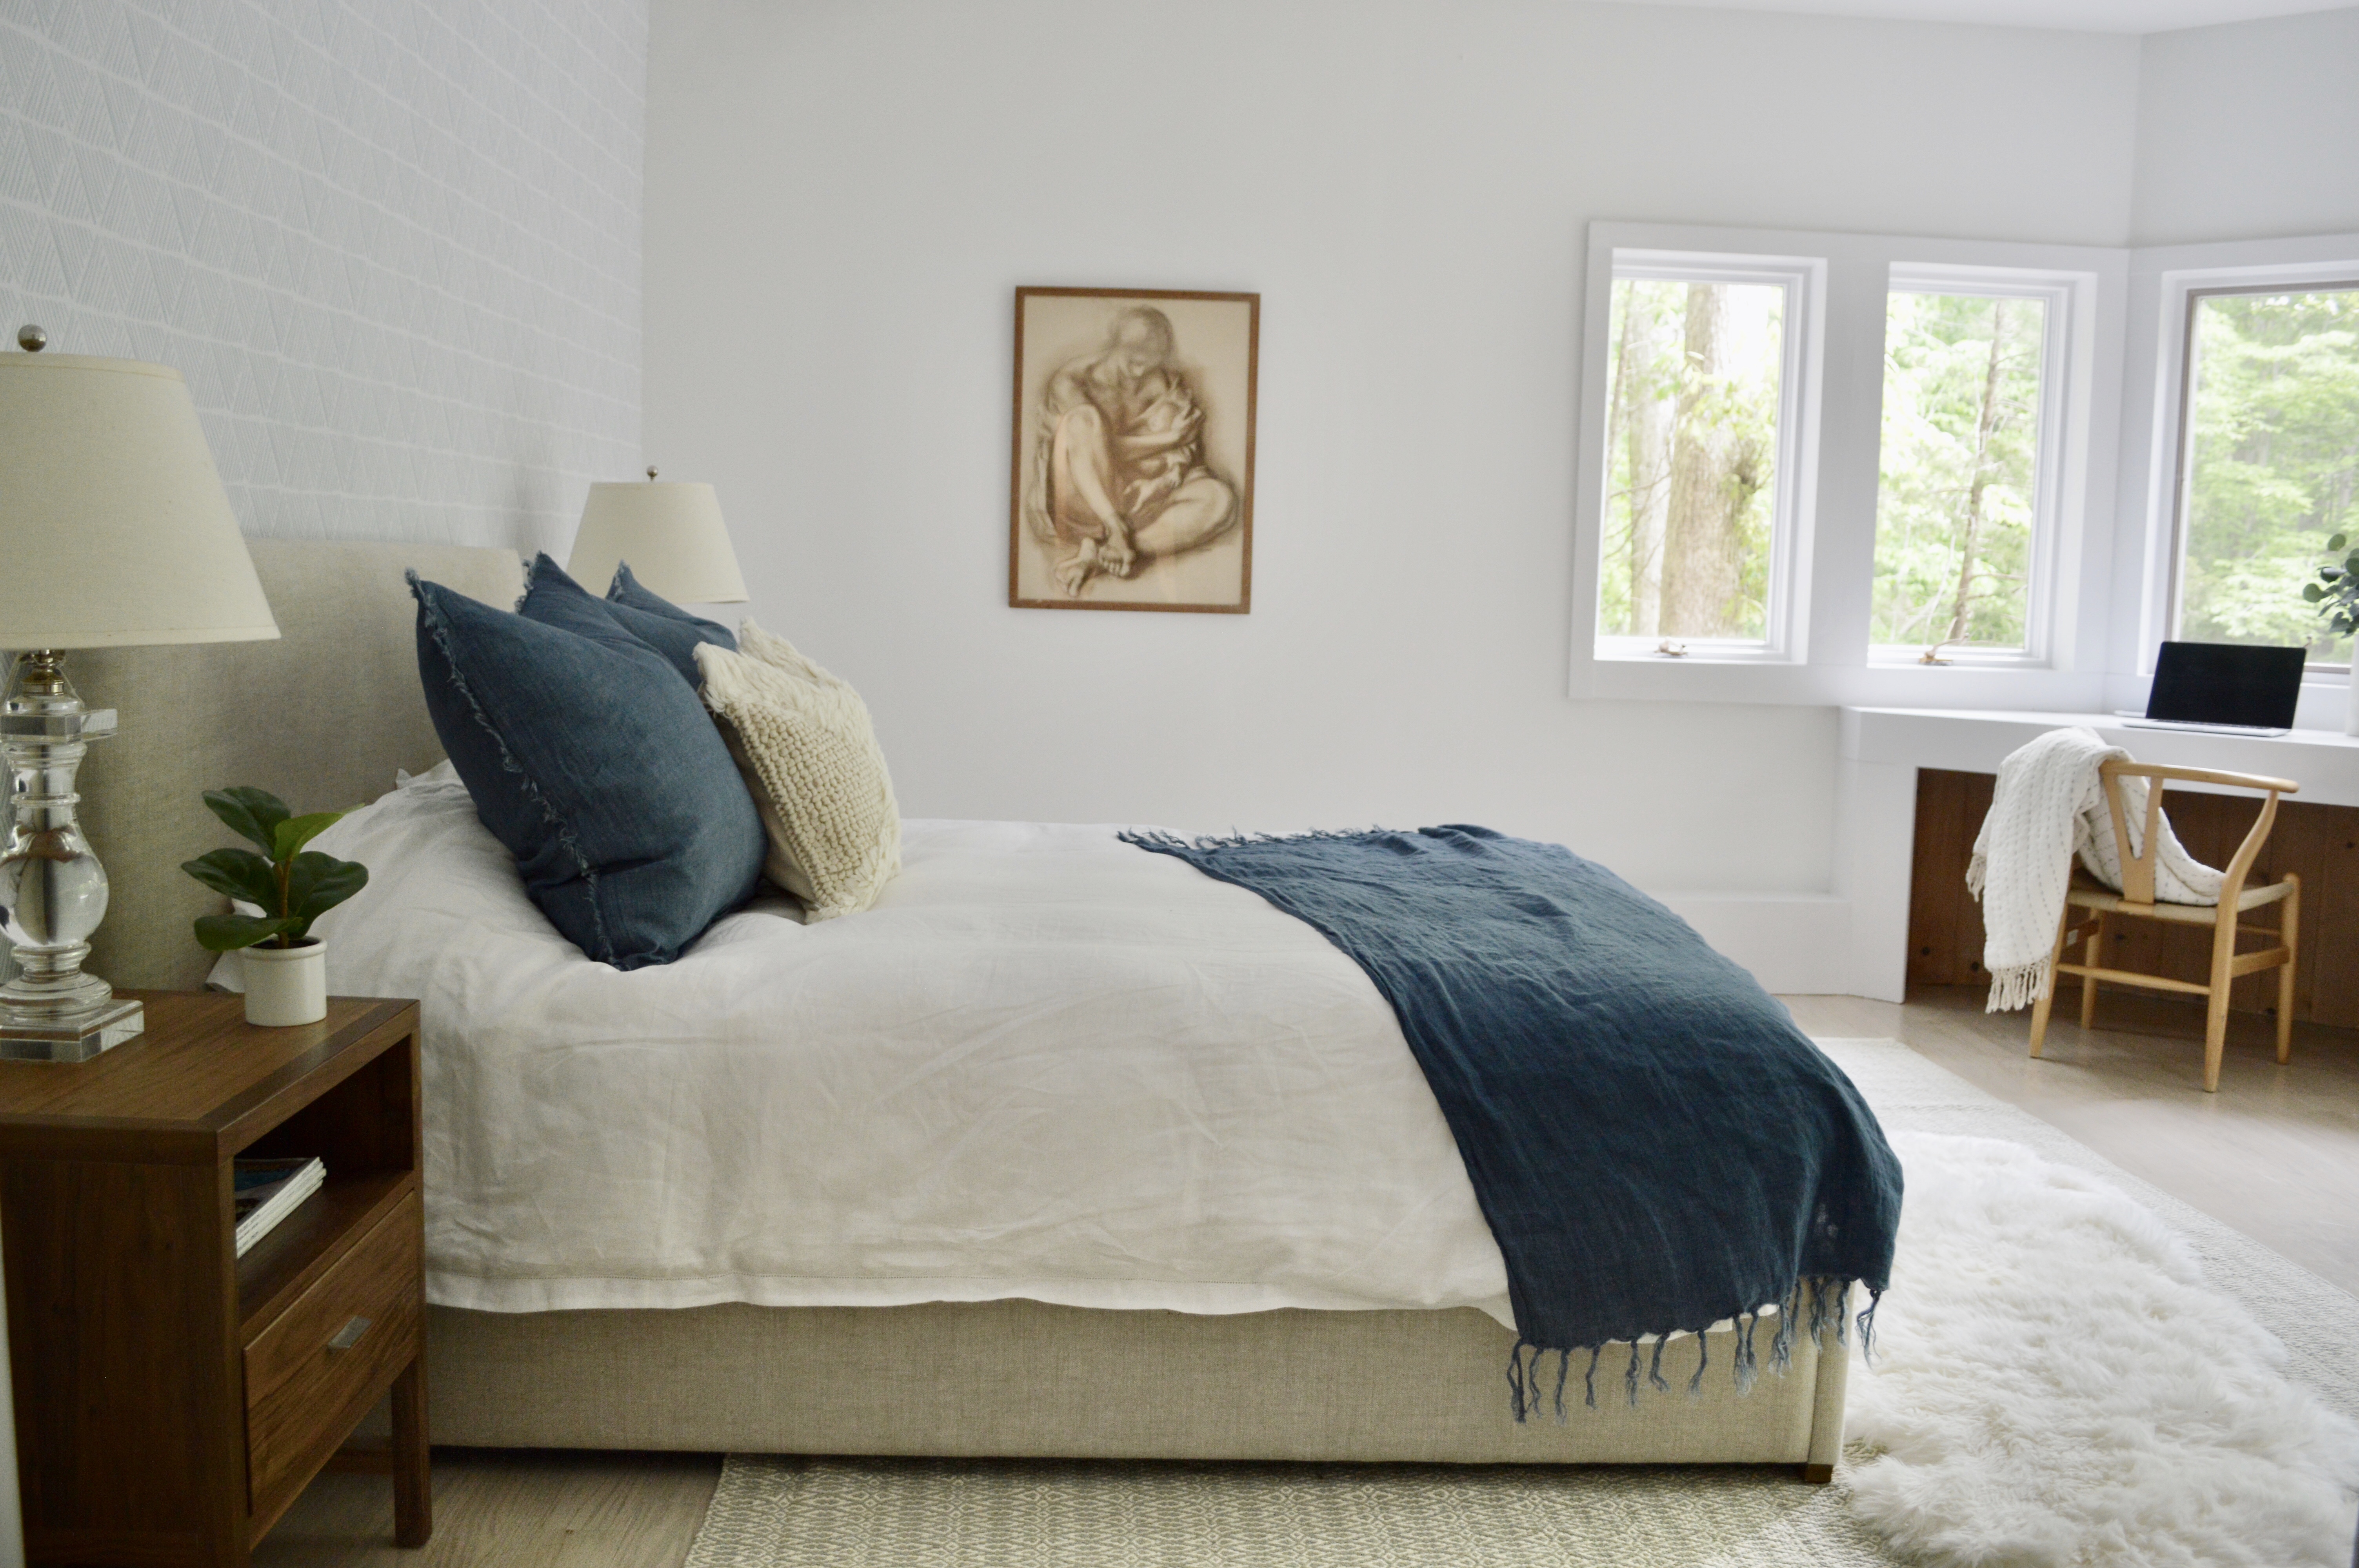
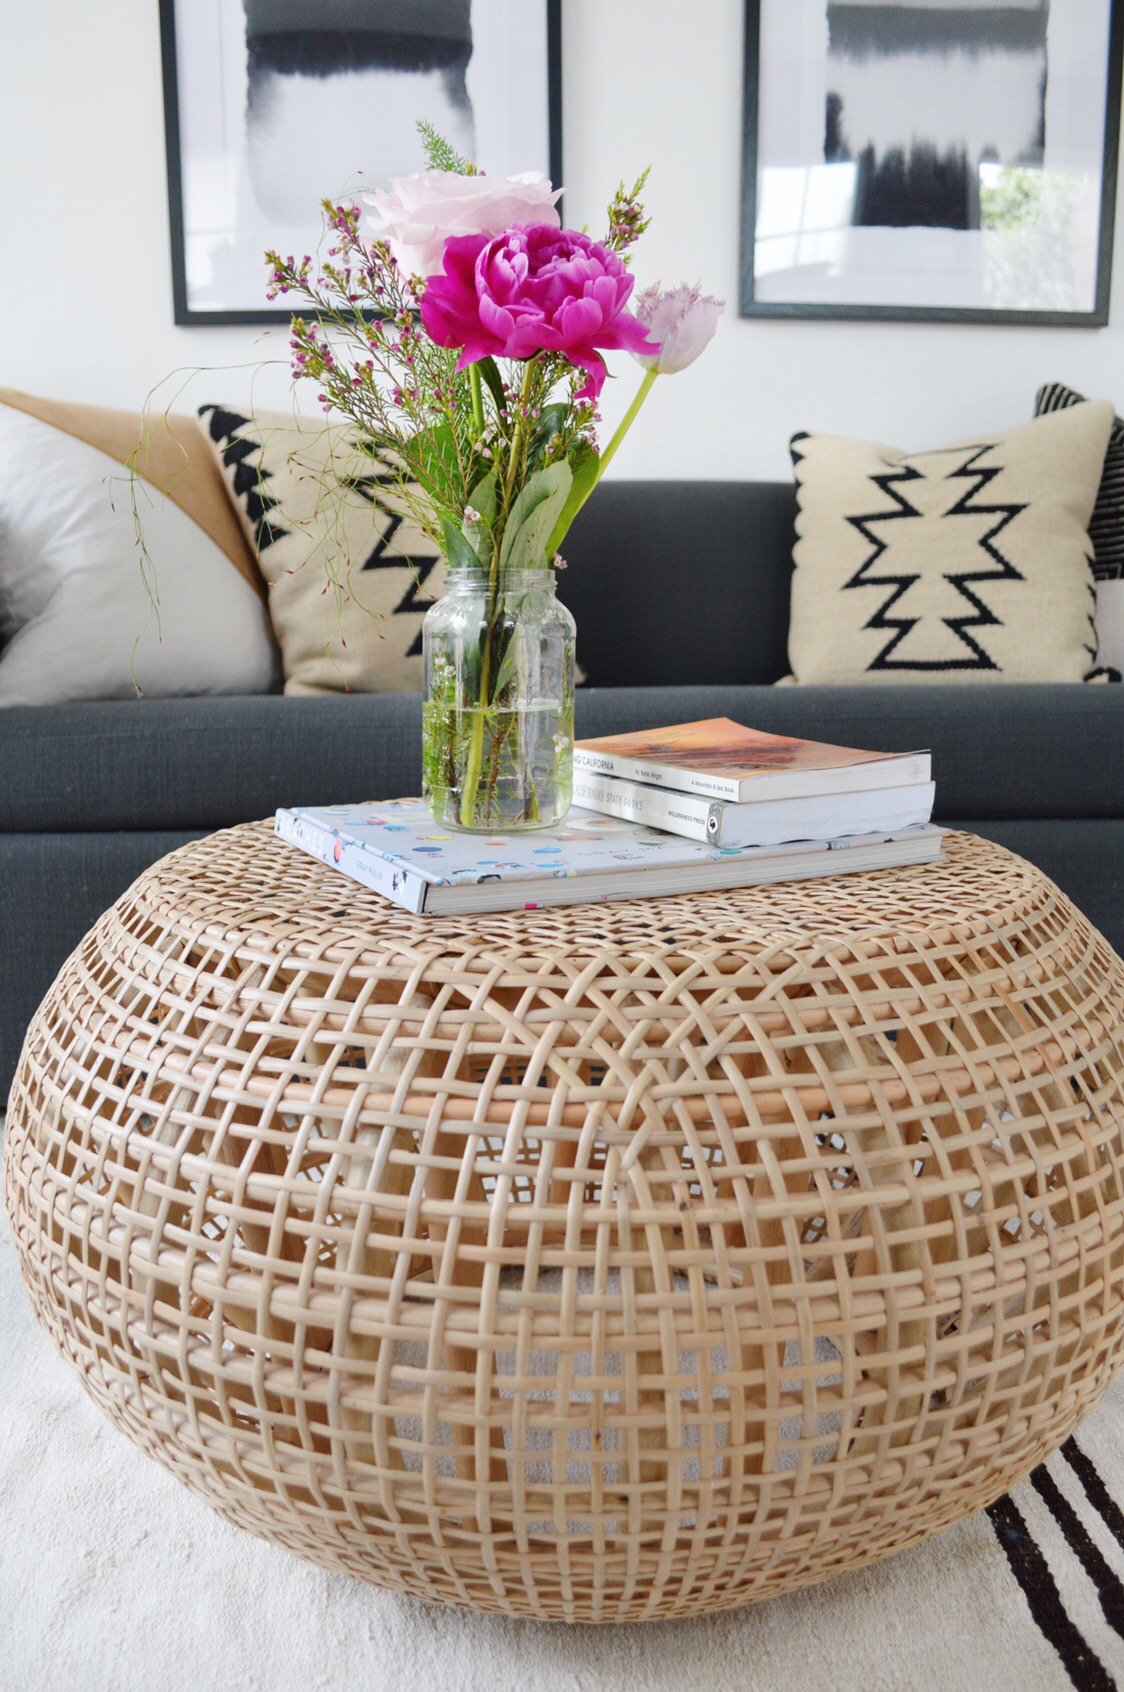
The guest room (sleeper sofa – comfy!), gym, hang out:

garage guesthouse and gym

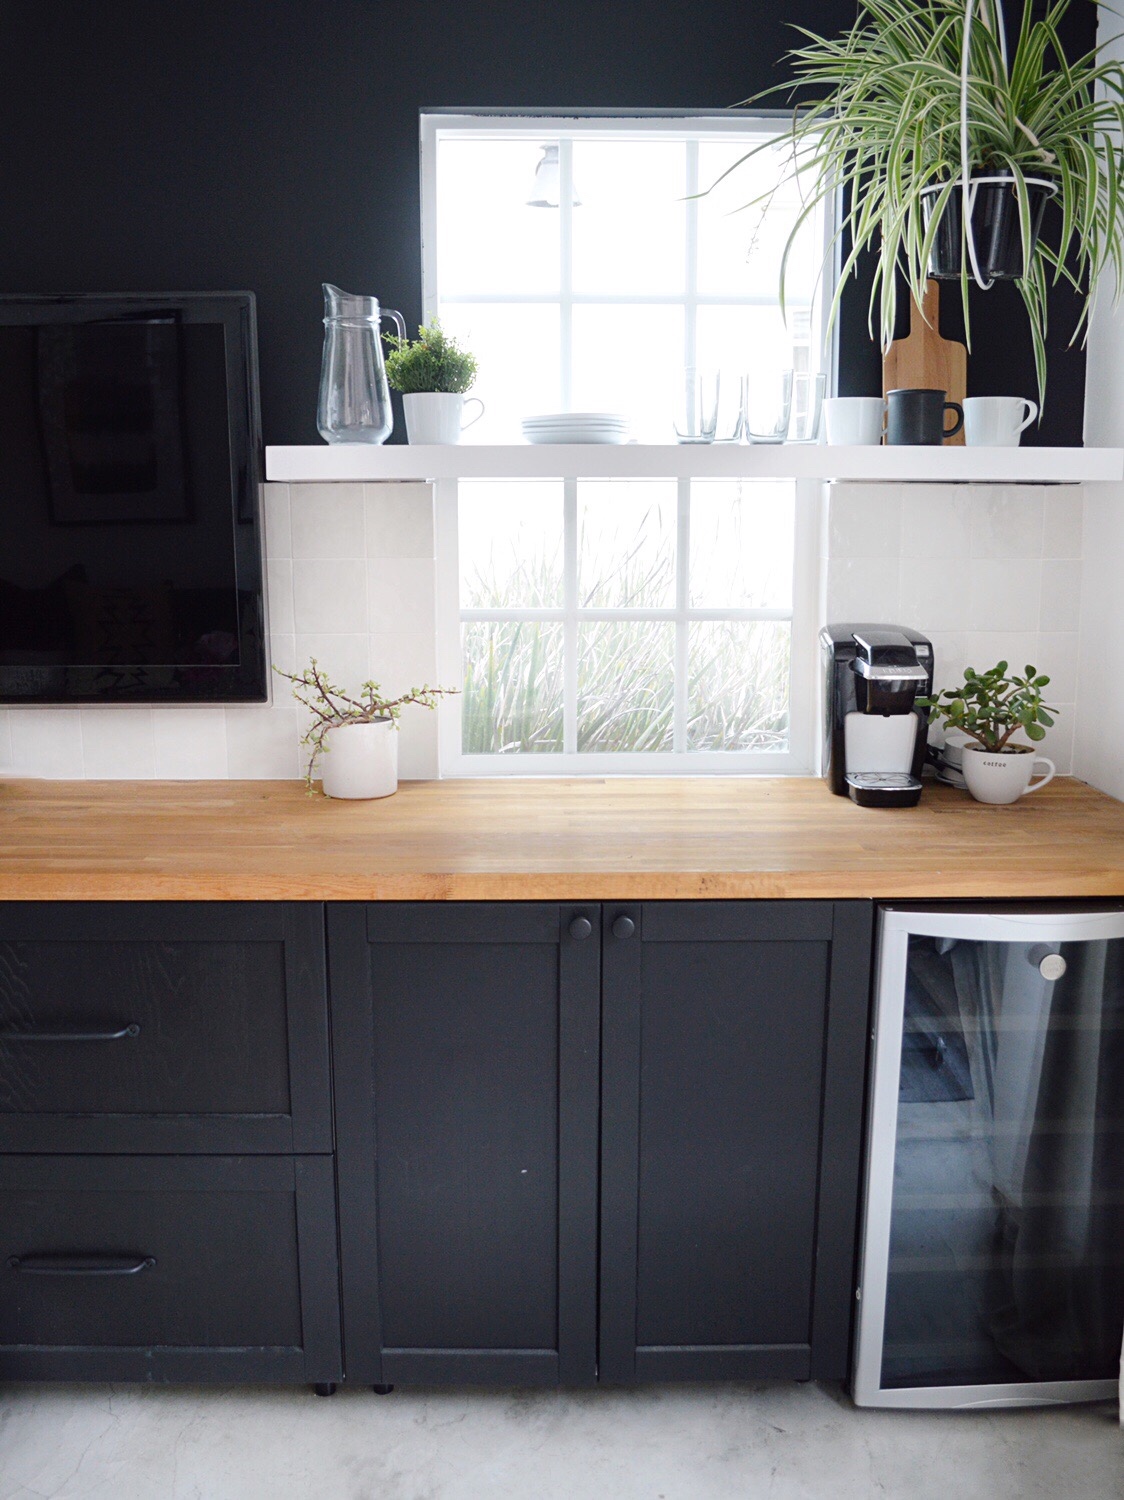
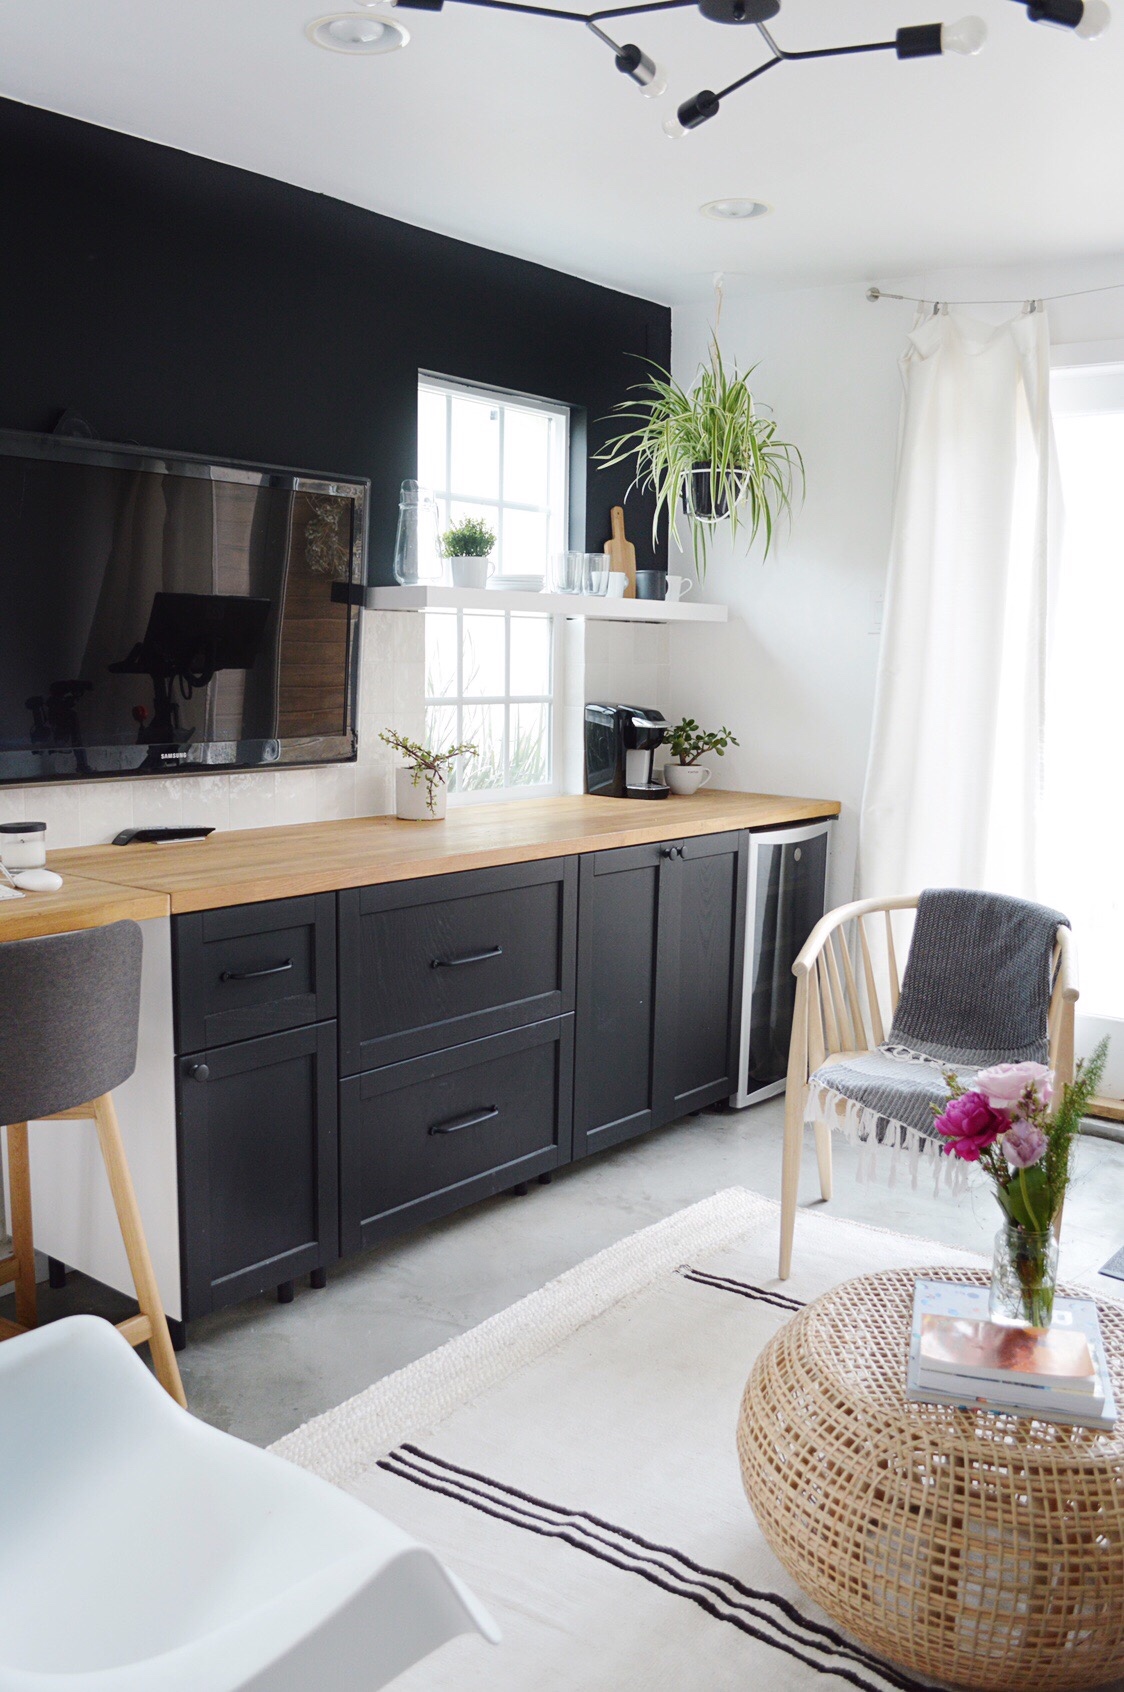
The coffee bar/beverage fridge area.  I hung the shelfology open shelving across the windows and couldn’t be happier with the Bedosians Tile and the Ikea cabinets!

garage guesthouse open shelving

The office part of the room:

garage guest house office

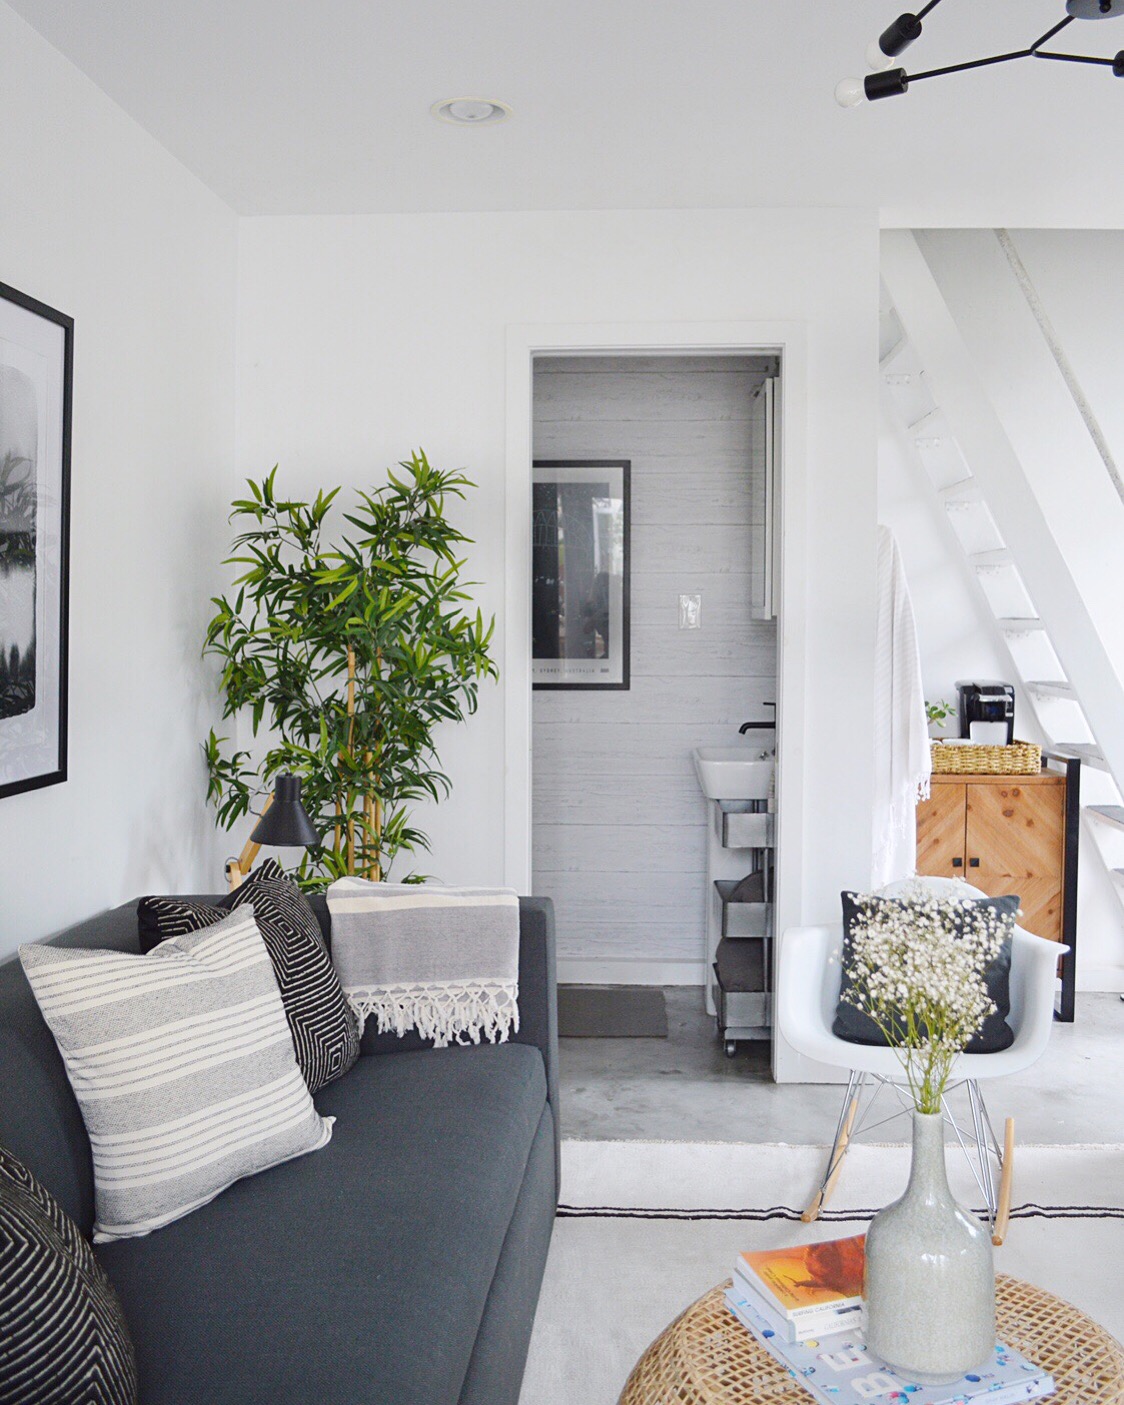
A glimpse into the bathroom with the shiplap peel and stick wallpaper (WAY cheaper than tile and so easy to install!) — I saved a video of me installing it in my guesthouse highlight story.  And these cool wool pilllows are from AllModern and linked below (all others are from my shop).

garage guest house

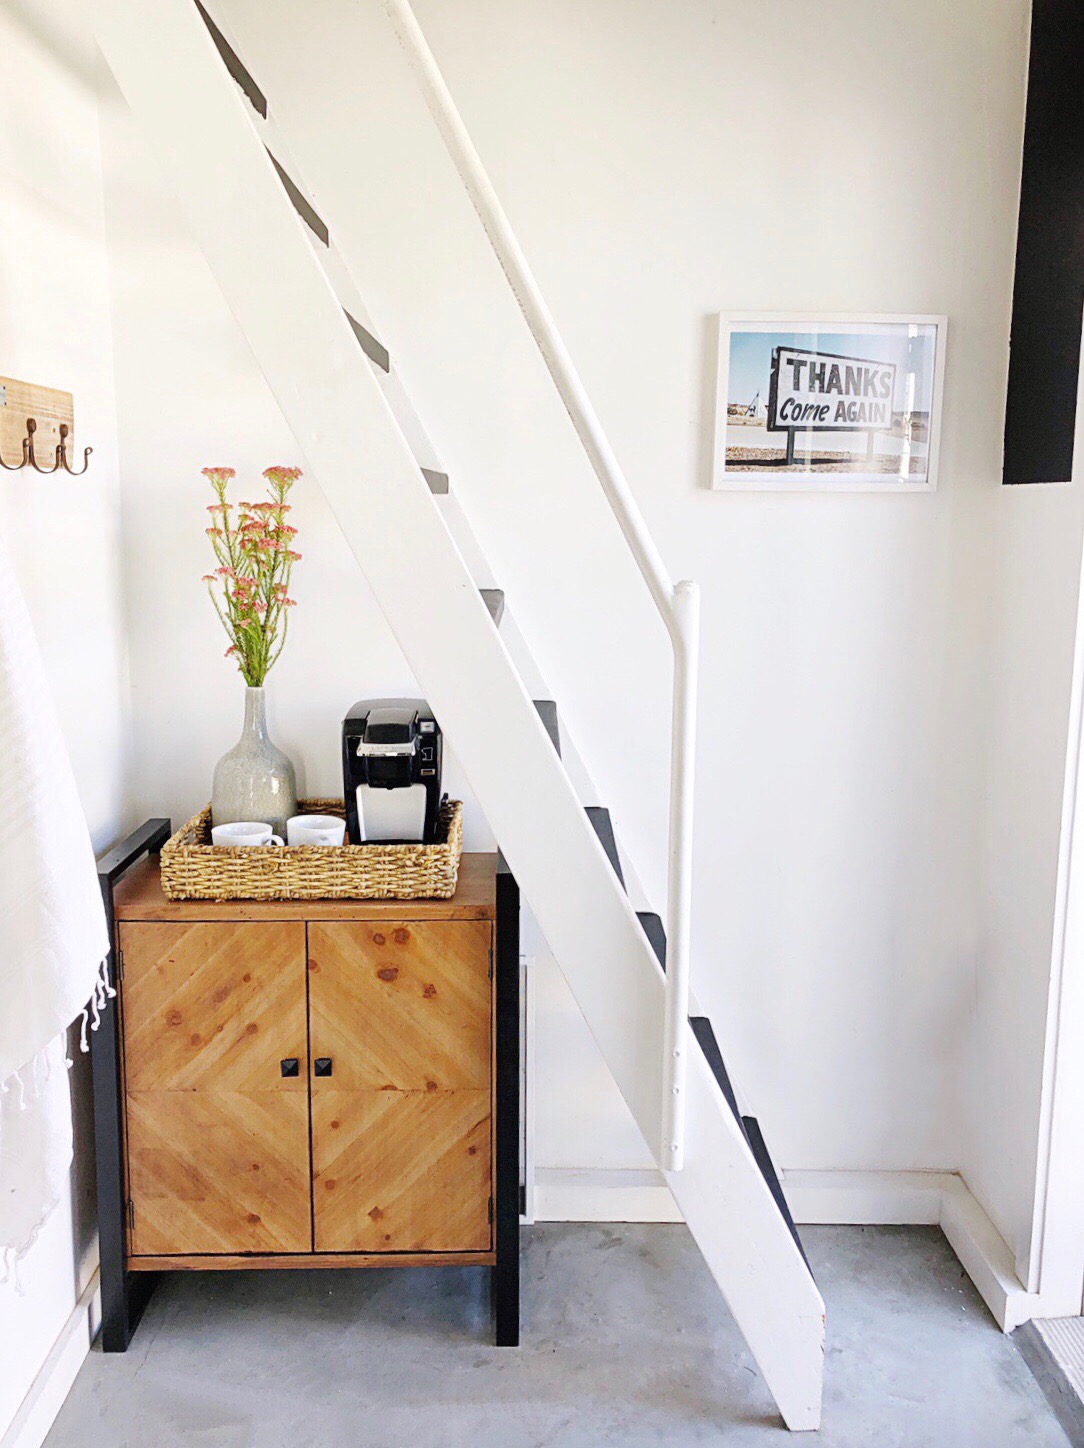
The storage cabinet and the stairs up to additional storage:

storage cabinet

another view of garage guest house

I’m linking everything here: (1) Bedrosians Tile; (2) sleep sofa; (3) rocking chair; (4) larger rug; (5) vintage rug (link to seller); (6) wood chair; (7) art prints (8) coffee table; (9) wallpaper in bathroom; (10) open shelving; (11) stool; (12) IKEA black cabinets; (13) hardware; (14) hanging plant holder; (15) side table; (16) storage cabinet; (17) black chandelier; (18) GE Beverage Fridge ;(19) AllModern Pillows (other pillows are from my shop)

I hope you guys like it!  We LOVE it!  I will definitely have to re-create this room in our next house!

xoxo,

Kristin

Mother’s Day Gift Guide

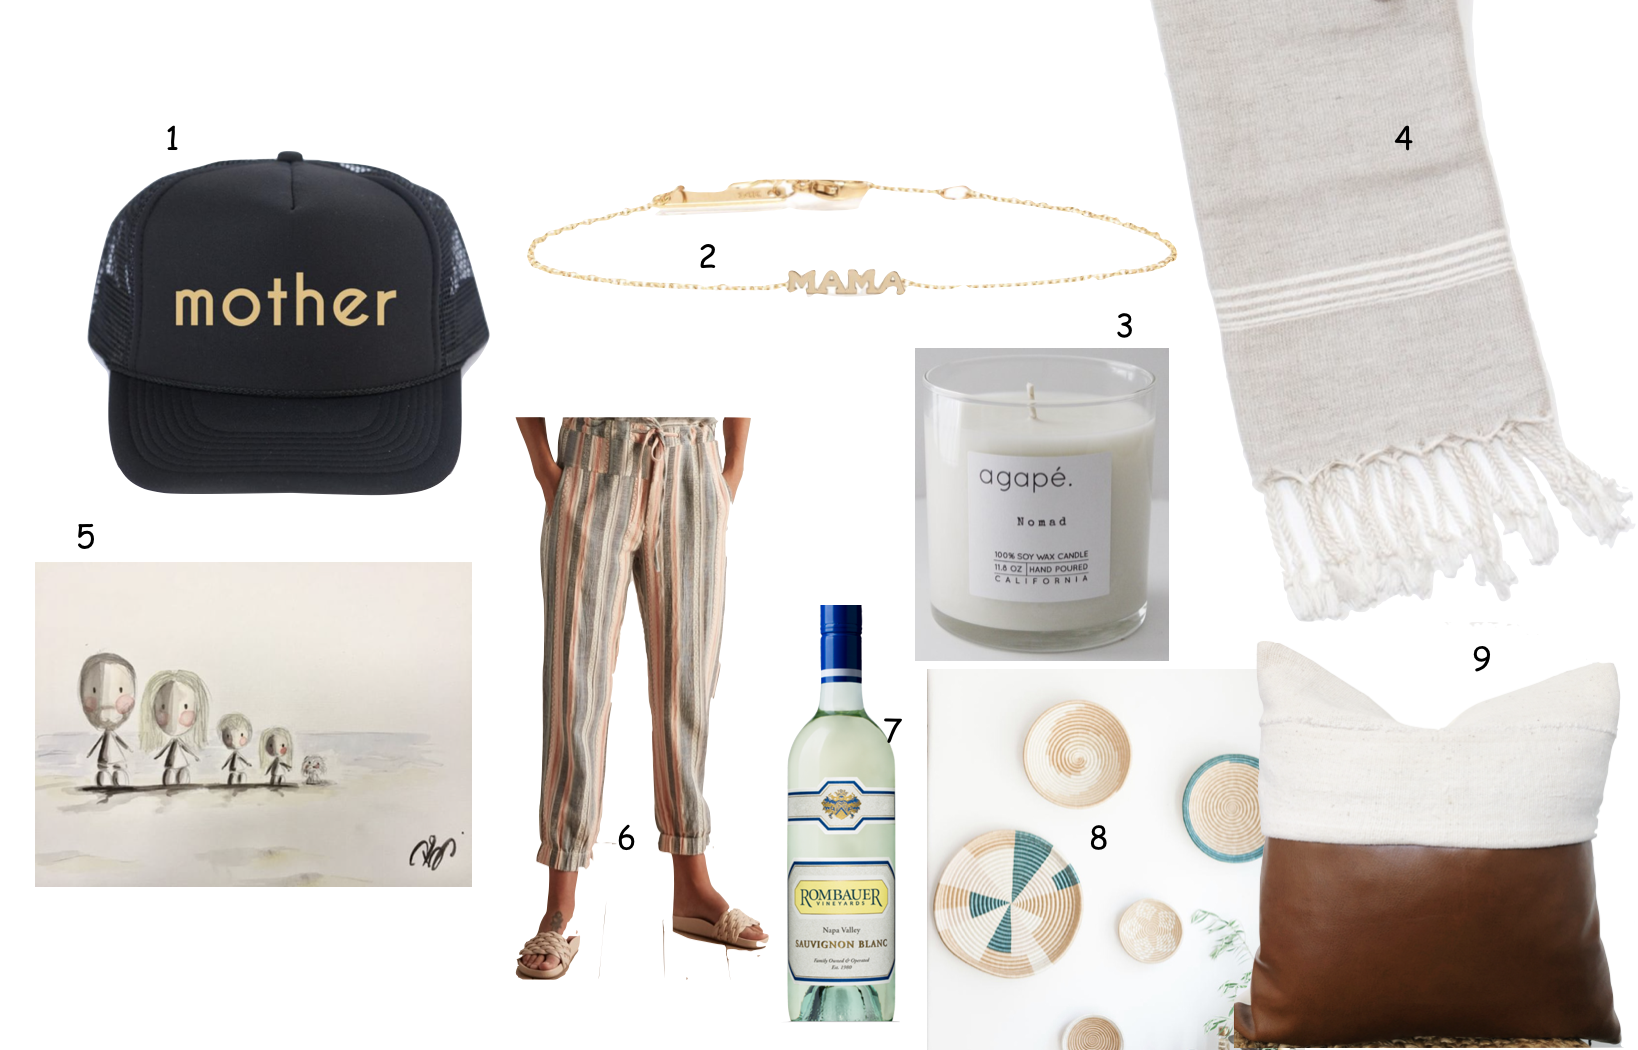
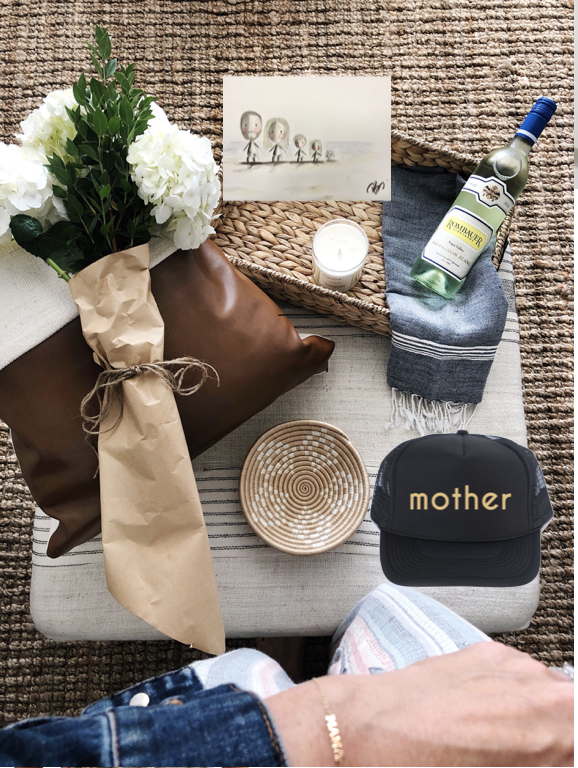
Mother’s Day is in just 6 DAYS!  Still need a gift for your wife, mom, sister, friend?  Or need hints to give your husband?  I got you!  I’ve put together a curated guide of my favorite products — all from beautiful small shops.  I own all of them and truly love them and these small shops!  They all make excellent gifts (at least for me… haha).

Here is the link for each: (1) Mother Trucker Hat;  (2) MAMA bracelet; (3) candle; (4) Tea towel; (5) Painted family portrait; (6) Odells Shop Striped Pants; (7) Sauvignon Blanc; (8) Baskets; (9) pillow

I love spreading the word about other small shops.  I personally shop at all of them and below have included a little blurb about each.  I love all of them!  I’ve linked their instagram (all inspirational) — just click on the name of the shop.

Mother Sun and the Captain:  Owned by a beautiful mama, Lindsey Mickelson, who’s goal is to inspire women to manifest their dreams and to never settle.  Her products are gorgeous and motivating.  LOVE this little shop!  Her trucker hats have the PERFECT fit and I always get compliments whenever I wear one.  I also love her tank tops – especially the Mother Magic one — it is a nursing friendly organic cotton tank.  I’m no longer nursing but would have LOVED this tank when I was and I still love it now.   Use the code KDDmom for 15% off your purchase!

Zoe Chicco: A mama herself and talented designer.  Located in downtown Los Angeles, she creates personal, yet classic pieces that are elegant but durable enough to wear everyday.  Such a talent!

Agape Candles: Woman-owned and hand poured in California, using only the finest fragrance and essential oils. You won’t find any dyes or wax additives in them, just 100% pure, soy bean wax that is derived from American soil.  They smell and look gorgeous!

The Garage Collective: Curated BEAUTIFUL textiles, home goods and clothing.  Created and owned by Kristin Miracle-Lewis — a mama and a sweetheart.  Earn 10% off if you sign up for the mailing list.
Rachael Darby Paintings:  Rachael is so talented!  She paints the cutest family portraits (or dog, or house, or whatever you want!).  All I did was DM’ed her a family pic and she sent me the cutest painting of us.  All paintings are framed and mounted in white wooden frames.

The Odells Shop:  I recently discovered this shop and I LOVE their clothing!  Seriously guys – everything fits perfectly and is so comfortable and stylish.  It’s quickly becoming my go-to shop.  I’m super busy these days, so it’s nice to know I can order their clothes online and they will fit.  Receive 15% off your first order!

Rombauer Vineyards:  Well… I’m a mama and I like wine!  And this vineyard has produced an amazing Sauvignon Blanc (one of my favs).  This is a beautiful family-owned Napa winery with a lovely tasting if you ever make it to Napa!

Local and Lejos:    A women-owned AMAZING modern home decor company bridging communities near and far.  The baskets I have from this store were all made by different women in Rwanda and each women signed their name on the tag.  So special!  Use discount code “KRISTIN” for 20% off.

My shop:  Just a passion project and owned by me — mostly handmade vintage pillows and happy to offer you 15% off your purchase with code “mom2019” good through Mother’s Day.

mother's day gift guide


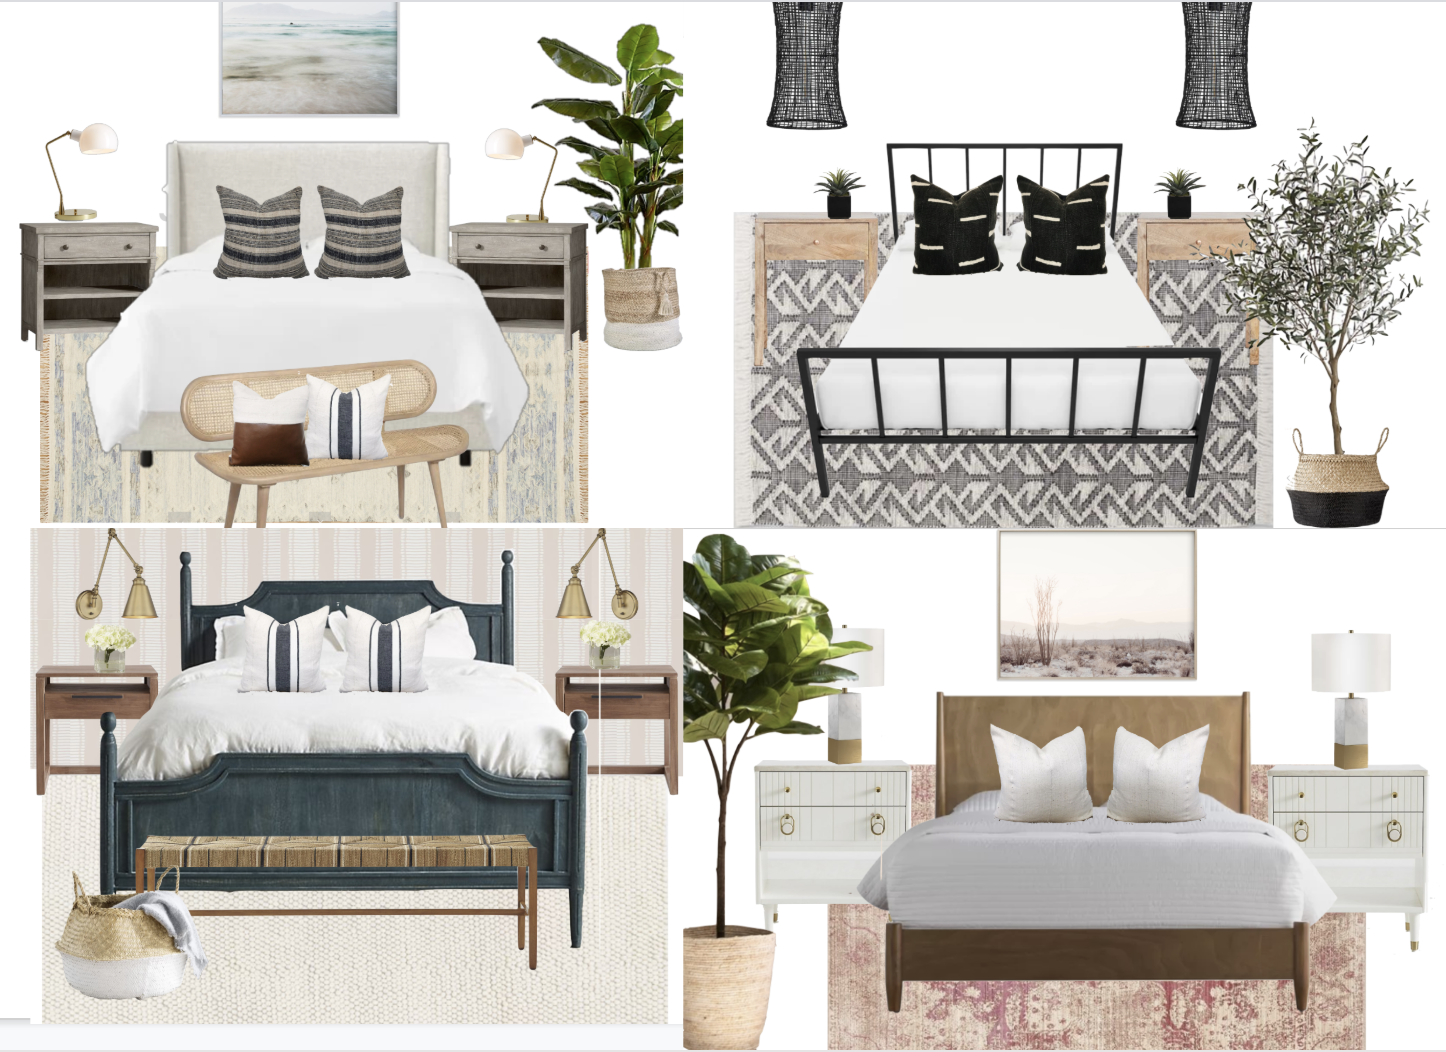
Four Attainable Bedroom Designs

Hi friends!

We are constantly designing bedrooms over here at Kristin Dion Design . . . so we thought it would be fun to share a few designs!  We all spend half of our lives in our bedroom, so make your bedroom a special place!  I’ve linked everything in each design, in case you are inspired to purchase some of these products!  🙂

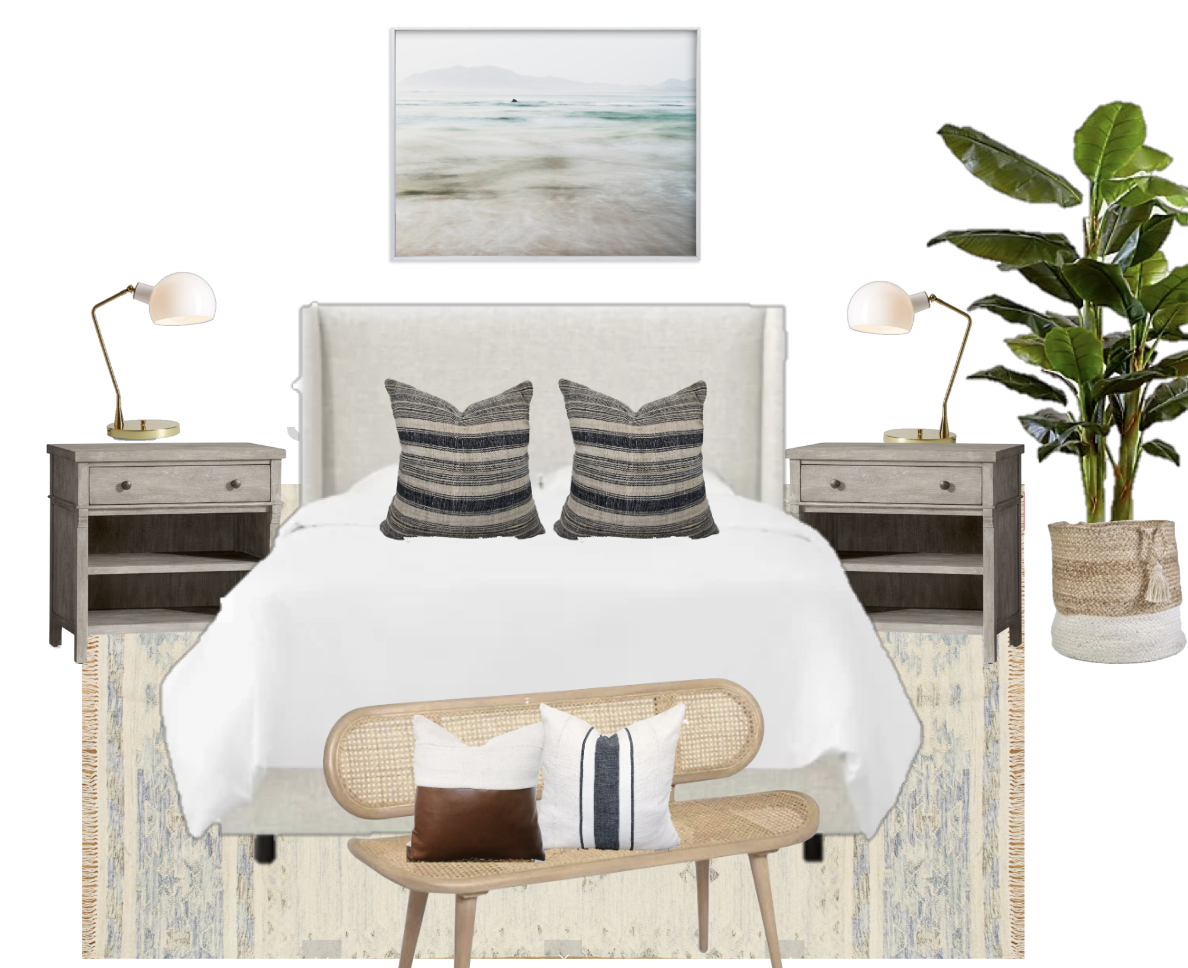
Design 1:  Beachy Modern 

Beachy Modern Bedroom Design

Click on product description for link: (1) art (2) bed (3) bedside tables (4) lamps (5) plant (6) basket (7) rug (8) pillows (9) bench

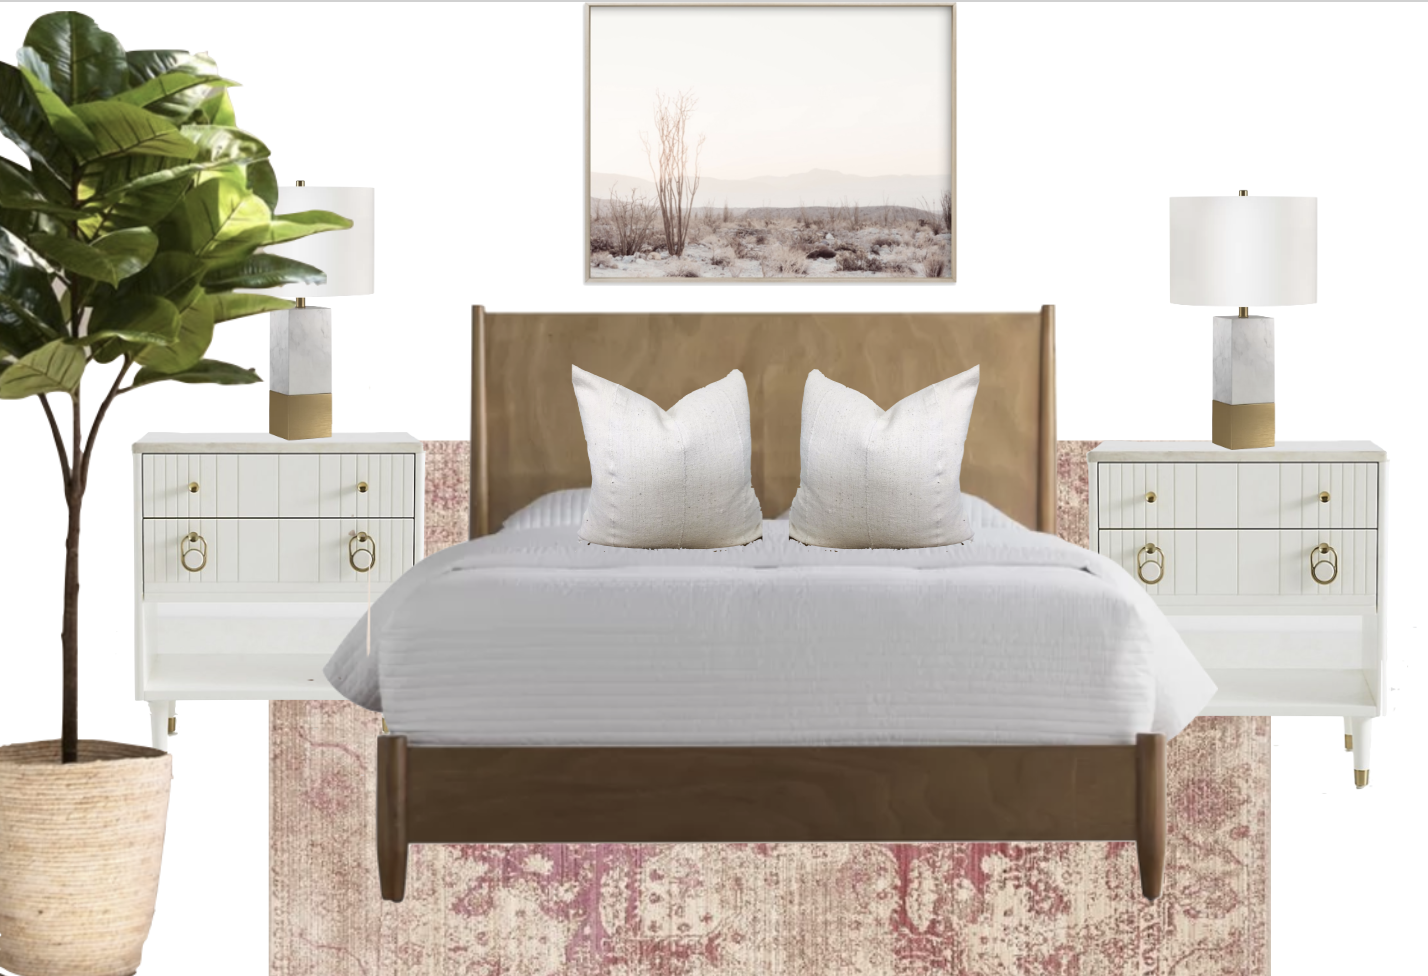
Design 2: Feminine Chic 

Feminine Chic Bedroom Design

Click on product description for link: (1) Art (2) Bedside Tables (3) Bed (4) Lamps (5) Rug (6) Faux Plant (7) Pillows

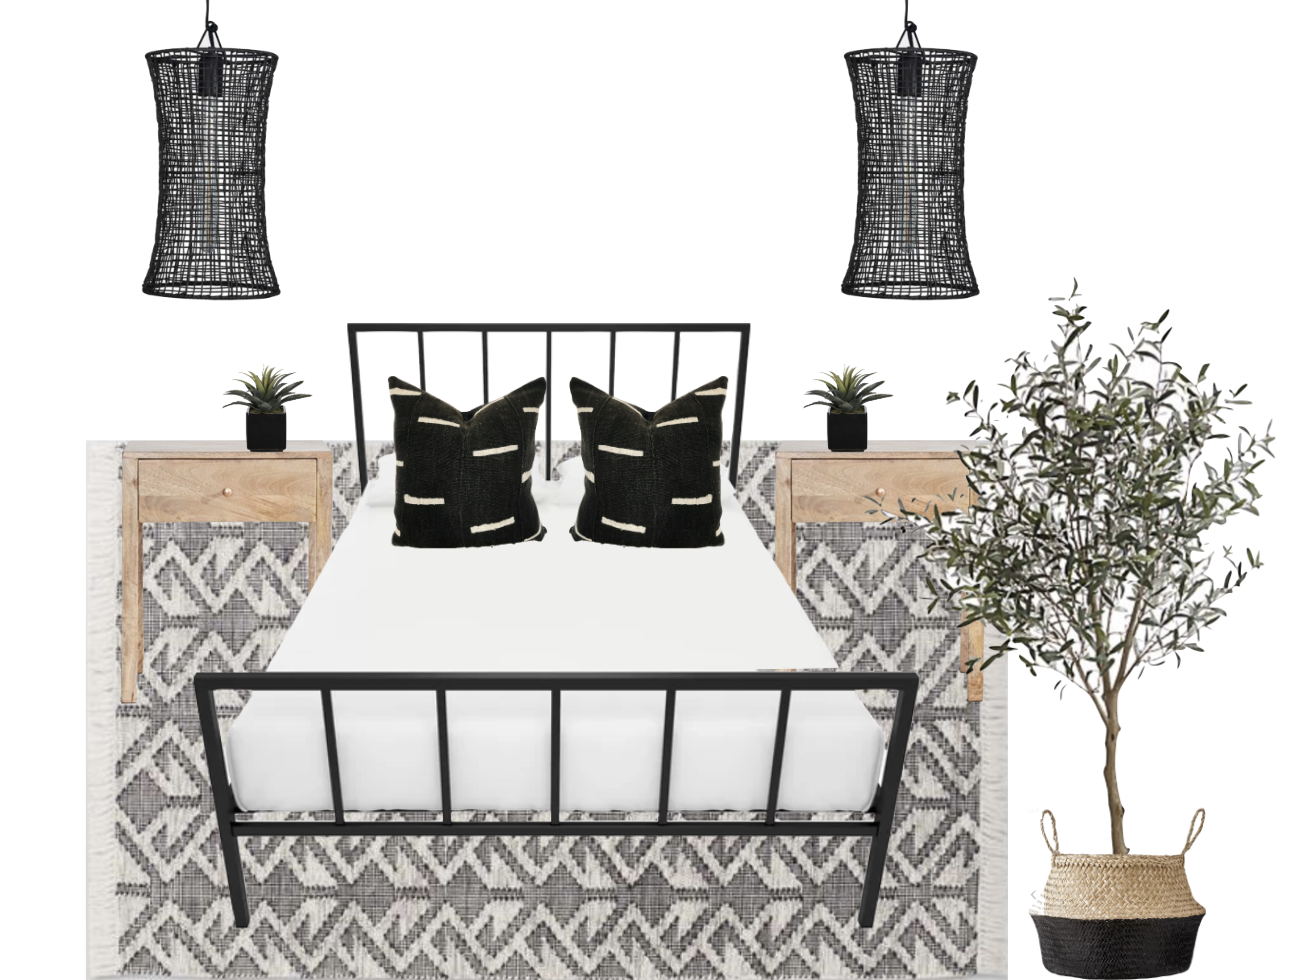
Design 3: Modern Boho with Edge 

Modern Boho with Edge

Click on product description for link: (1) Pendant Lights (2) Bed (3) Bedside tables (4) Pillows (5) Rug (6) Basket (7) Faux Olive Tree (8) Little succulents 

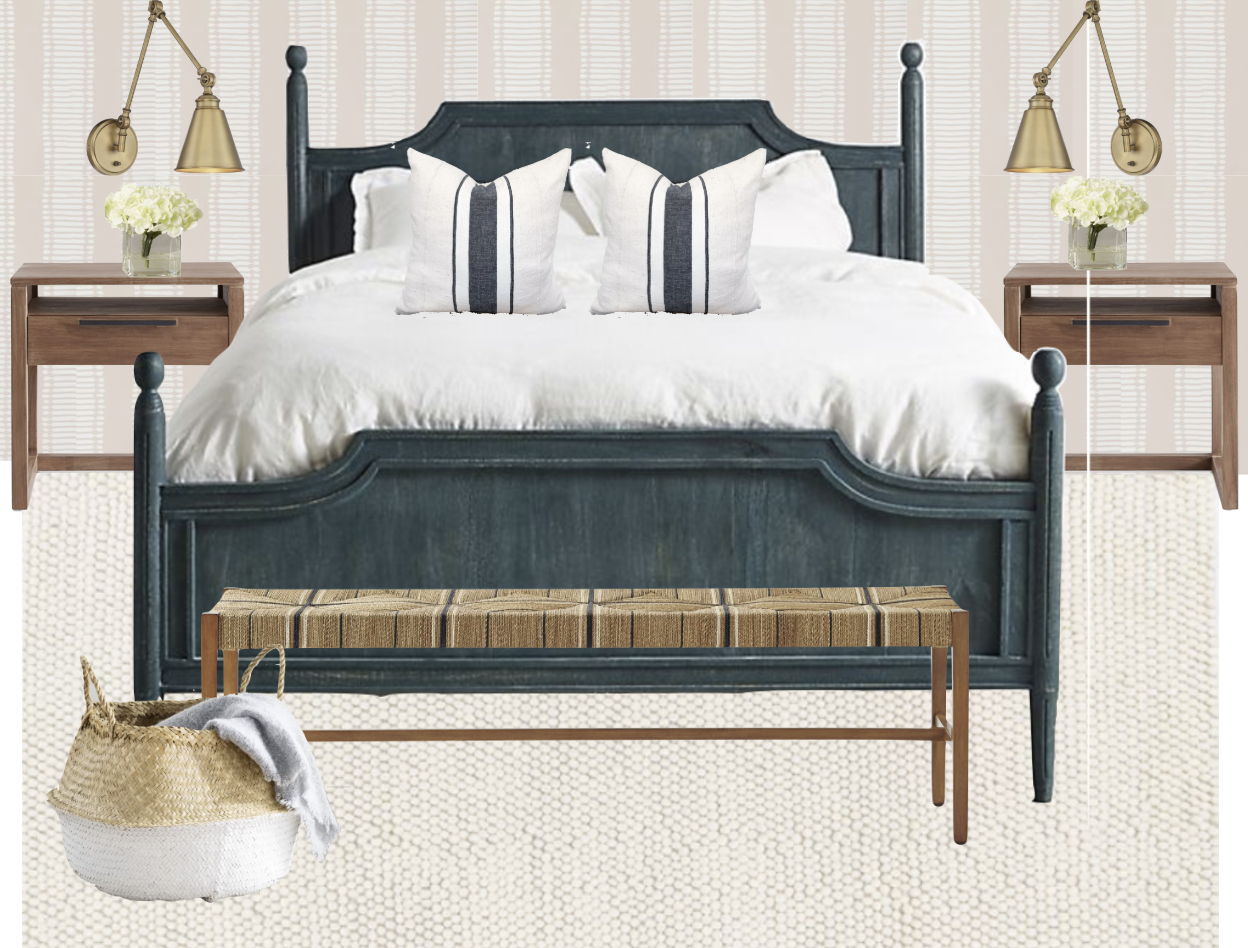
Design 4: Traditional Cool 

Traditional Cool Bedroom Design

Click on product description for link: (1) Bed (2) Wallpaper (3) Sconces (4) Bedside tables (5) rug (6) Bench (7) Faux Hydrangea (8) Basket (9) Pillows

I hope these designs help!  And we are always here for you to help with your design needs.  We offer e-design services too (we chat, you send pics and dimensions, and we send you designs and product links).  Easy!

xoxo,

Kristin


It’s WAY DAY! SUCH a HUGE SALE! What should you buy? I got you!

Here are my favorite AllModern and Wayfair items* in each room in my house!  HAPPY SHOPPING!  I hope you LOVE these products as much as I do!  And this SALE is the best it gets guys — better than black friday sales AND INCLUDES FREE SHIPPING!!!!!! 

My LIVING ROOM:

My AllModern/Wayfair items (click on pic for link):

MY KITCHEN/DINING ROOM:

Sop my dining/kitchen looks (click on pic for link):

MY OUTDOOR FURNITURE:

Shop my outdoor looks (click on pic for link):

MY FAMILY/OFFICE ROOM: 

Shop my family room (and office decor) (click on pic for link):

MY MASTER BATHROOM Tub and Cabinet Hardware:

shop tub & hardware:

I HOPE THIS HELPS AND HAPPY SHOPPING FRIENDS!!!! 

xoxo, 

Kristin 

*The links are affiliate links, which means you pay the sale price and I get a small kick back for bringing them to your attention.  🙂

white paint choices and answers

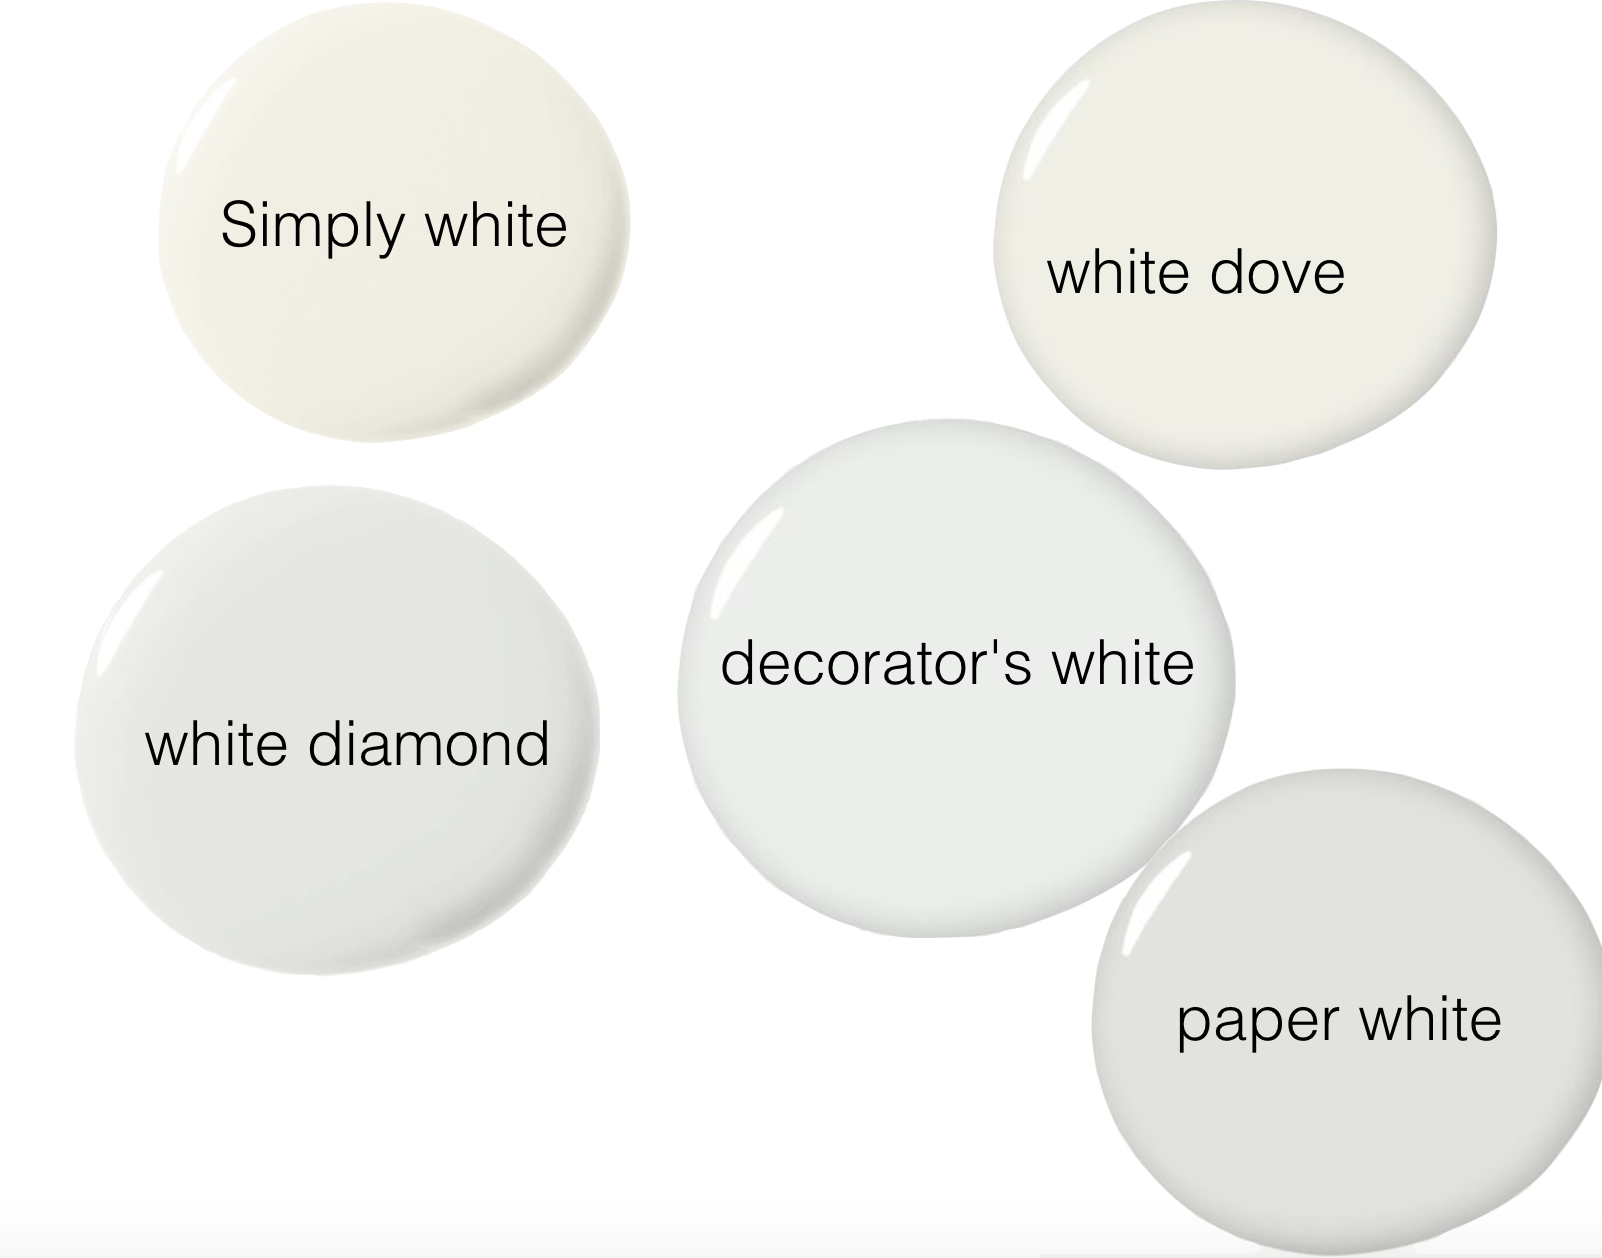
At least once a day I get asked about my white paint.  Isn’t it funny that white paint is such a dilemma.  There are SO many different brands of paints and SO many different shades of white paints.  I personally love Benjamin Moore because they have eco-friendly zero VOC paint for the environmentally conscious . . . and, in my experience, it is possible to paint and move in the next day.  There is no smell.  So, here are some of my favorite Benjamin Moore “whites” and why I like them.  I use Benjamin Moore’s “Aura” brand because it has zero VOC and no smell.

white paints


(1) “Simply White” by Benjamin Moore
We painted our entire house with this paint.  I love that it looks white — not too cool and not too warm (no yellow undertones).  But at the same time, it doesn’t feel sterile.  For us, it is the “just right” white.
(2) “White Dove” by Benjamin Moore
This is also a crisp white that isn’t too cold or too modern and used a lot in more traditional settings.  It is a timeless white paint color.
(3) “White Diamond” by Benjamin Moore 
This white seems to have a slight blue undertone, which is perfect for a beachy feel or for someone who likes to use pops of blue in their decor.  For example, I read on Emily Henderson’s blog that her old living room was this color… she said it went more cool than warm with no yellow or cream tones but had a slight blue undertone, which clearly worked well especially since a lot of her pops of color in her decor were some shade of blue.
 
(4) “Decorator’s White” by Benjamin Moore
A true white that lots of designers use because it’s crisp and another true white.
(5) “Paper White” by Benjamin Moore
This is a white with a slight grey undertone that would look nice with a home with black, dark wood and marble accents.
I recommend getting all of the above samples of white (and whatever other white paint samples look good to you) and testing them on a wall in your brightest room and your darkest room.  Choose the one that looks the best in both of those rooms.   I hope this helps!
xoxo,
Kristin

transforming a rental from drab to fab with new bedding from The Company Store

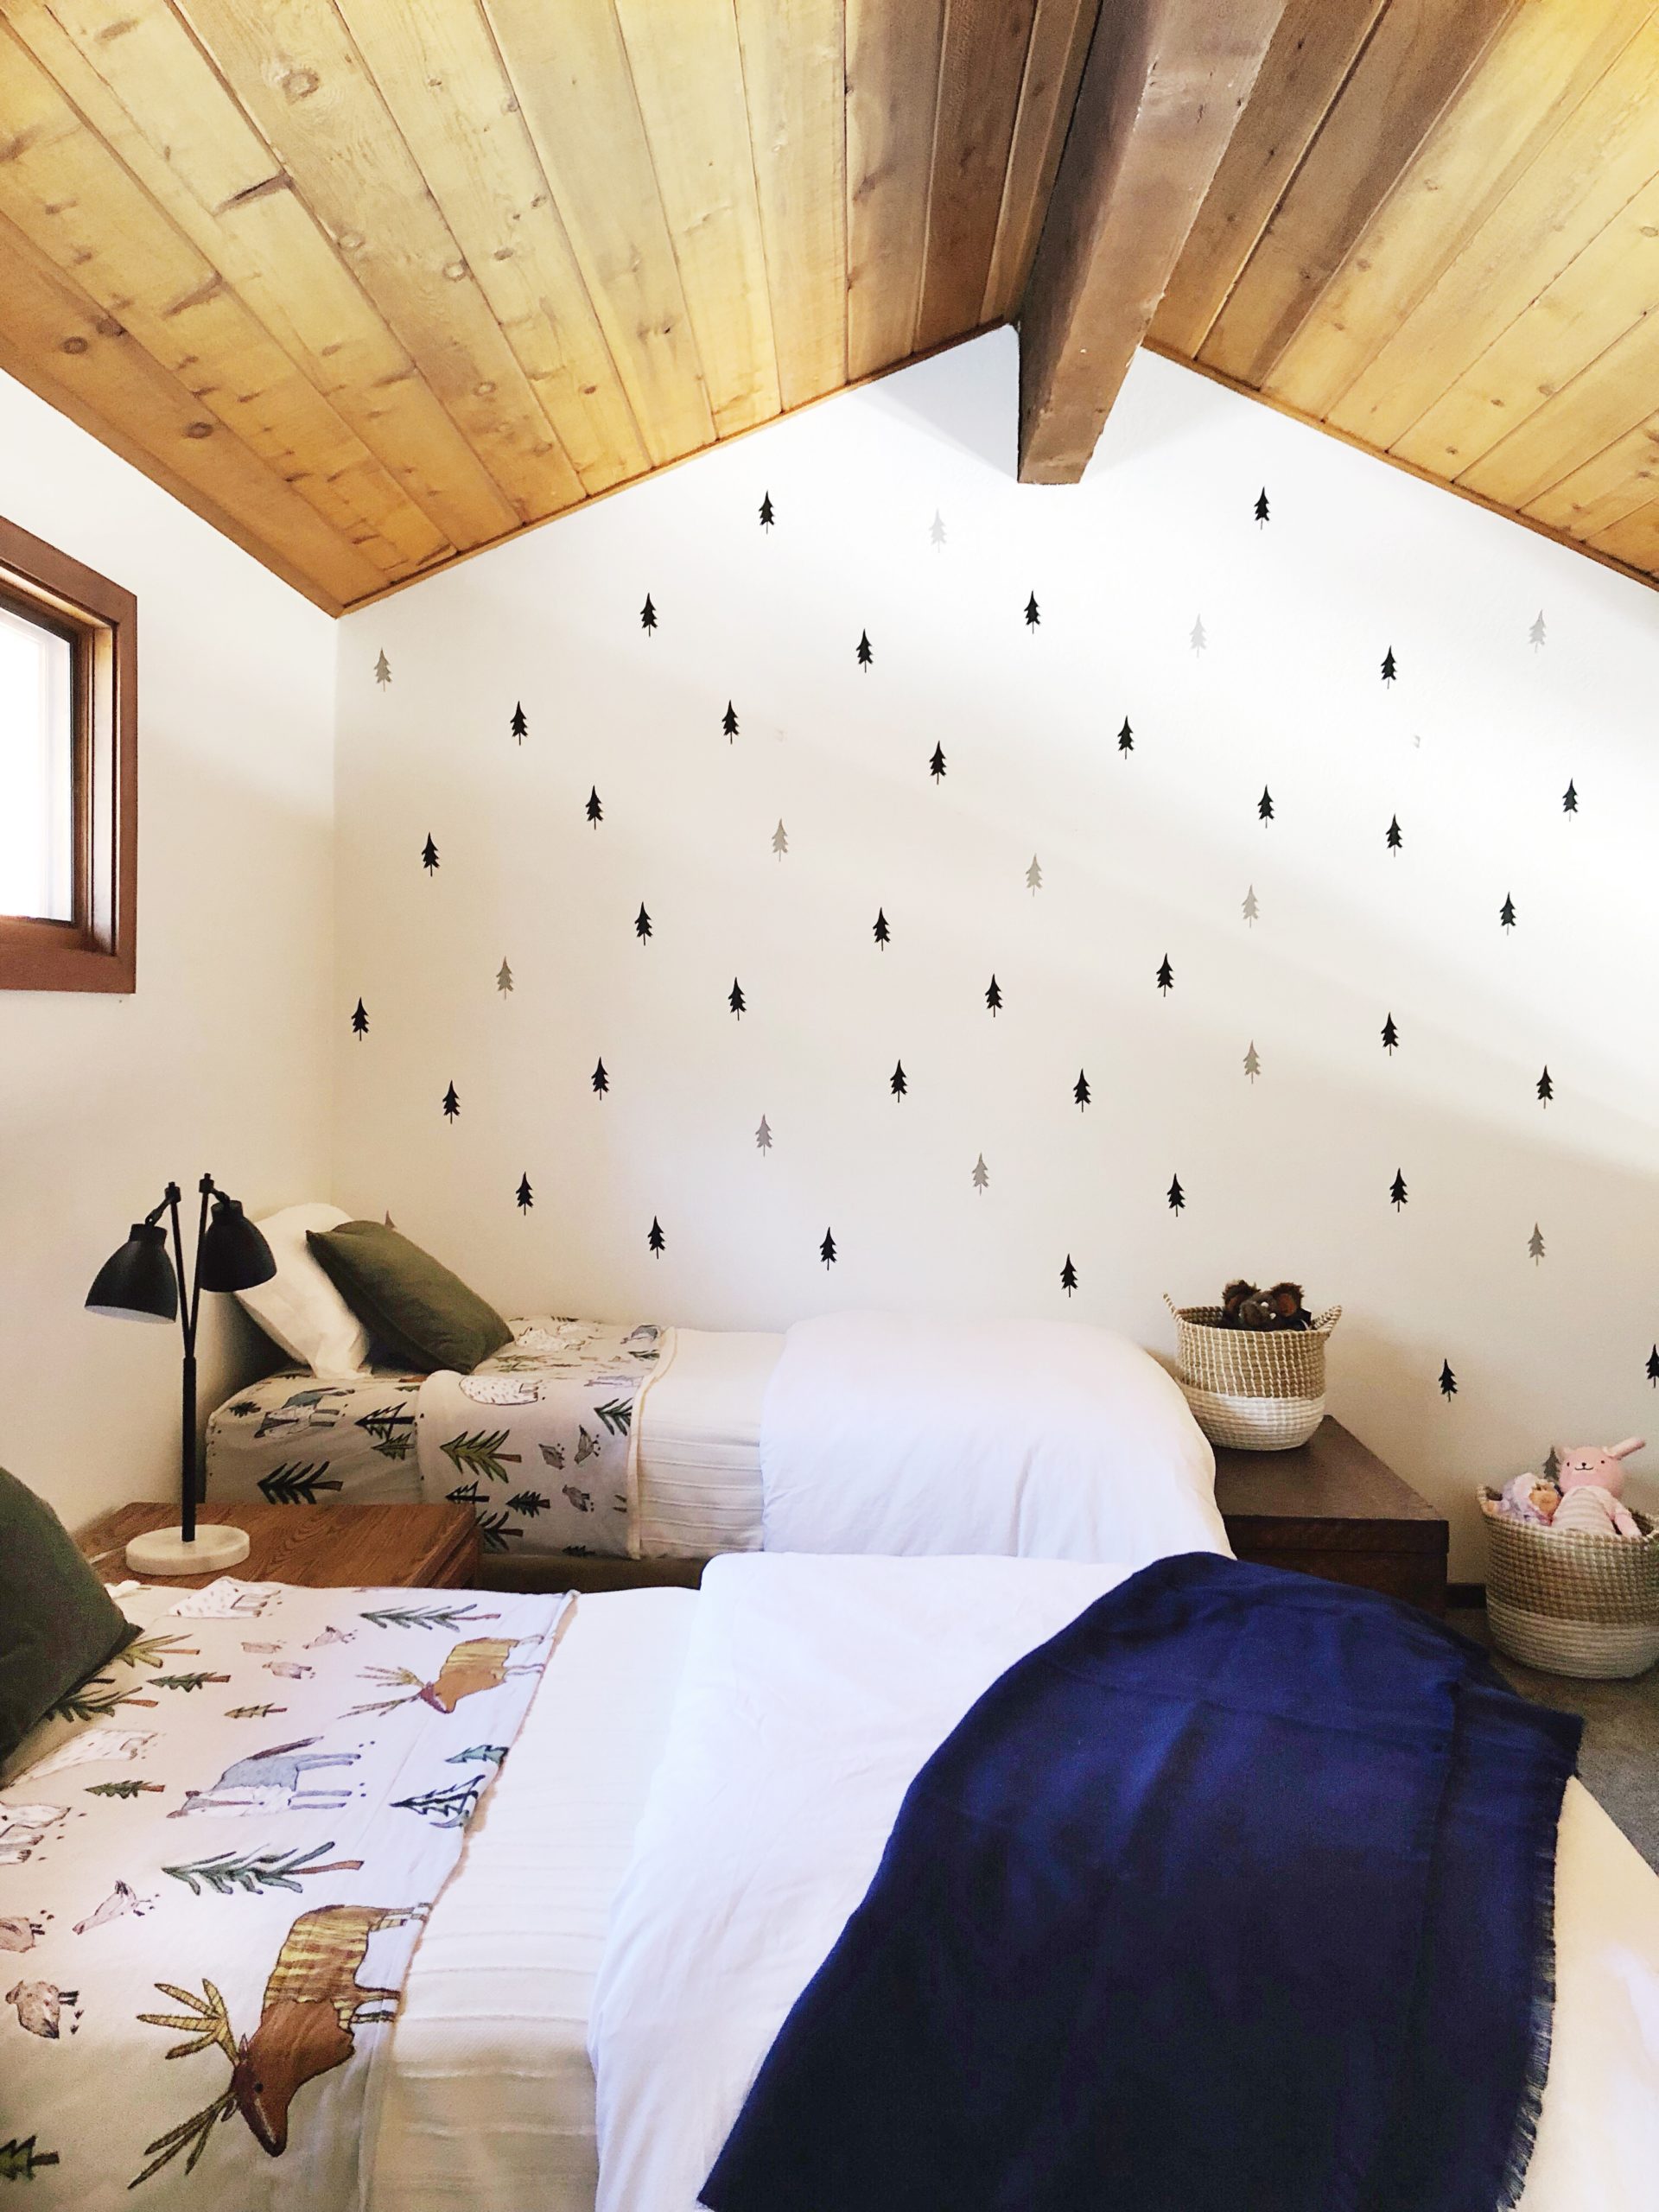
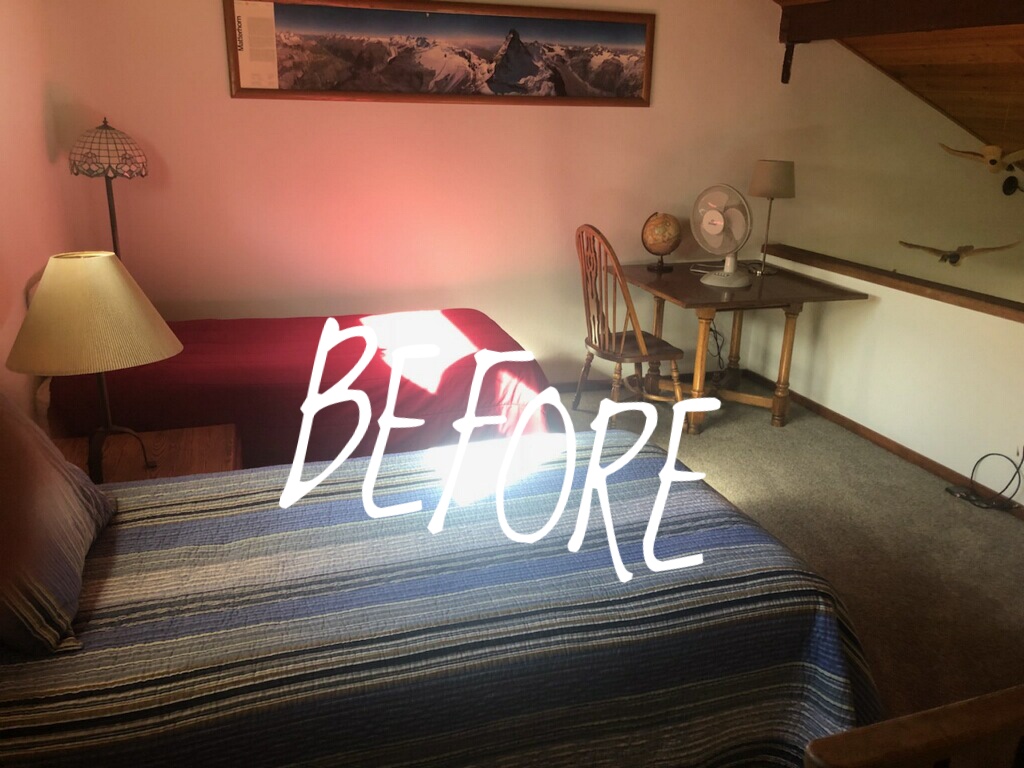
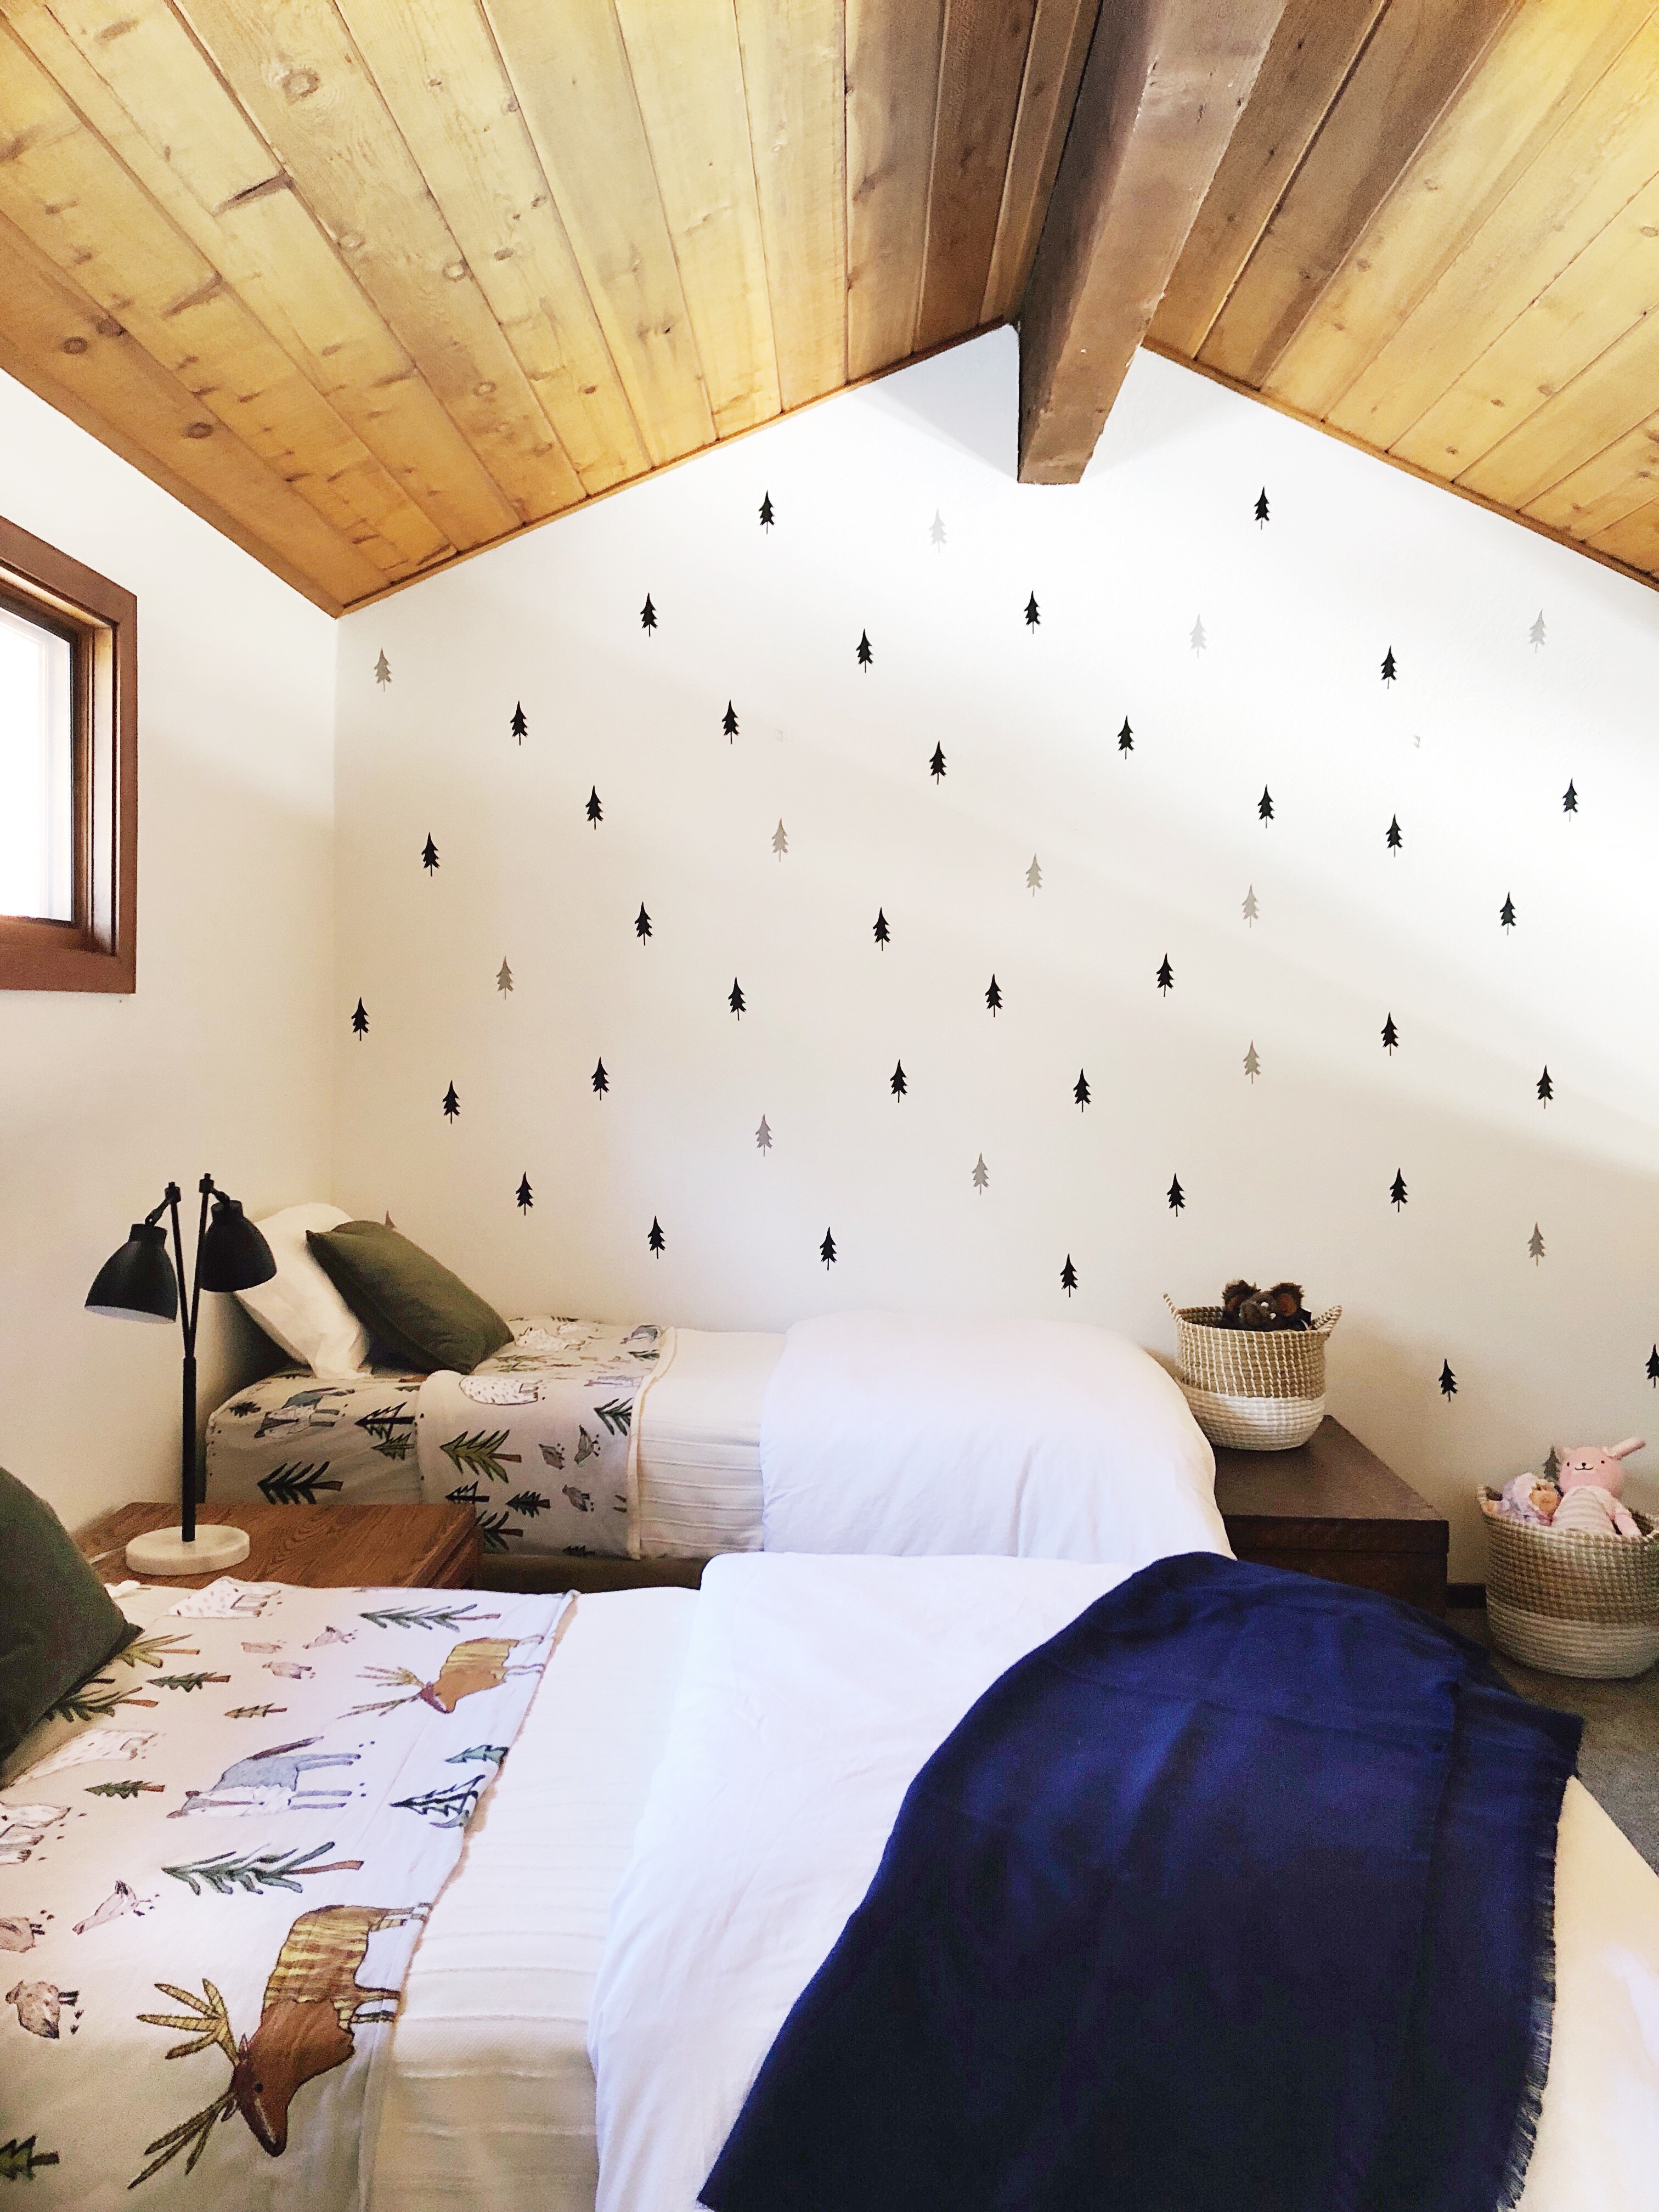
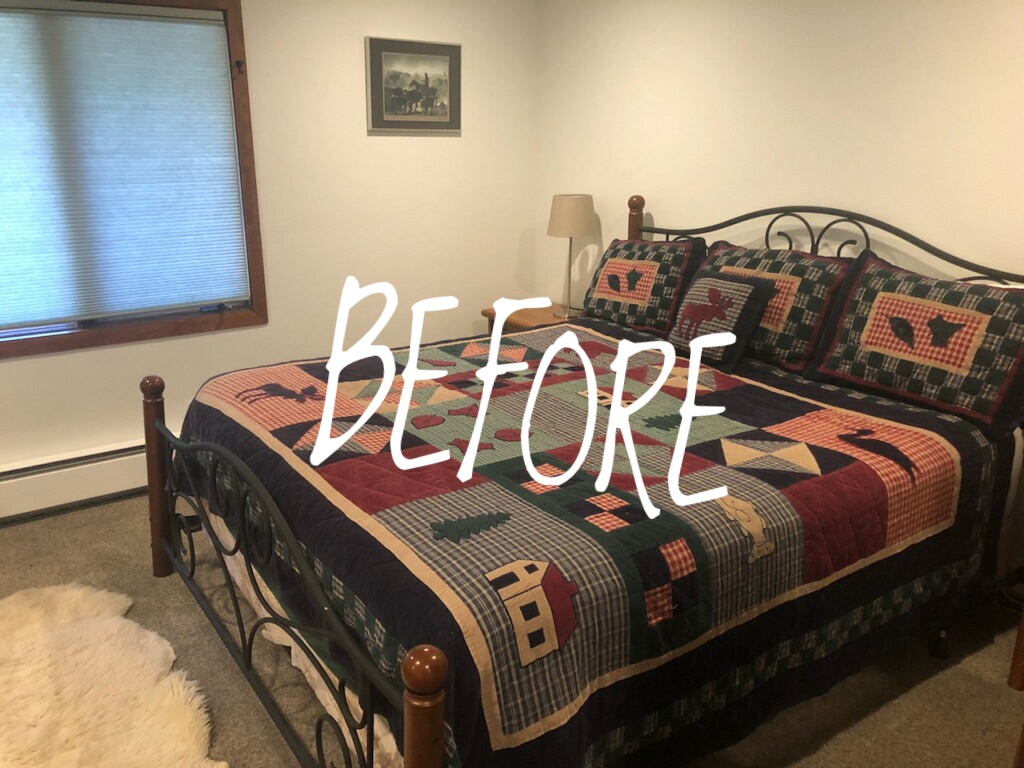
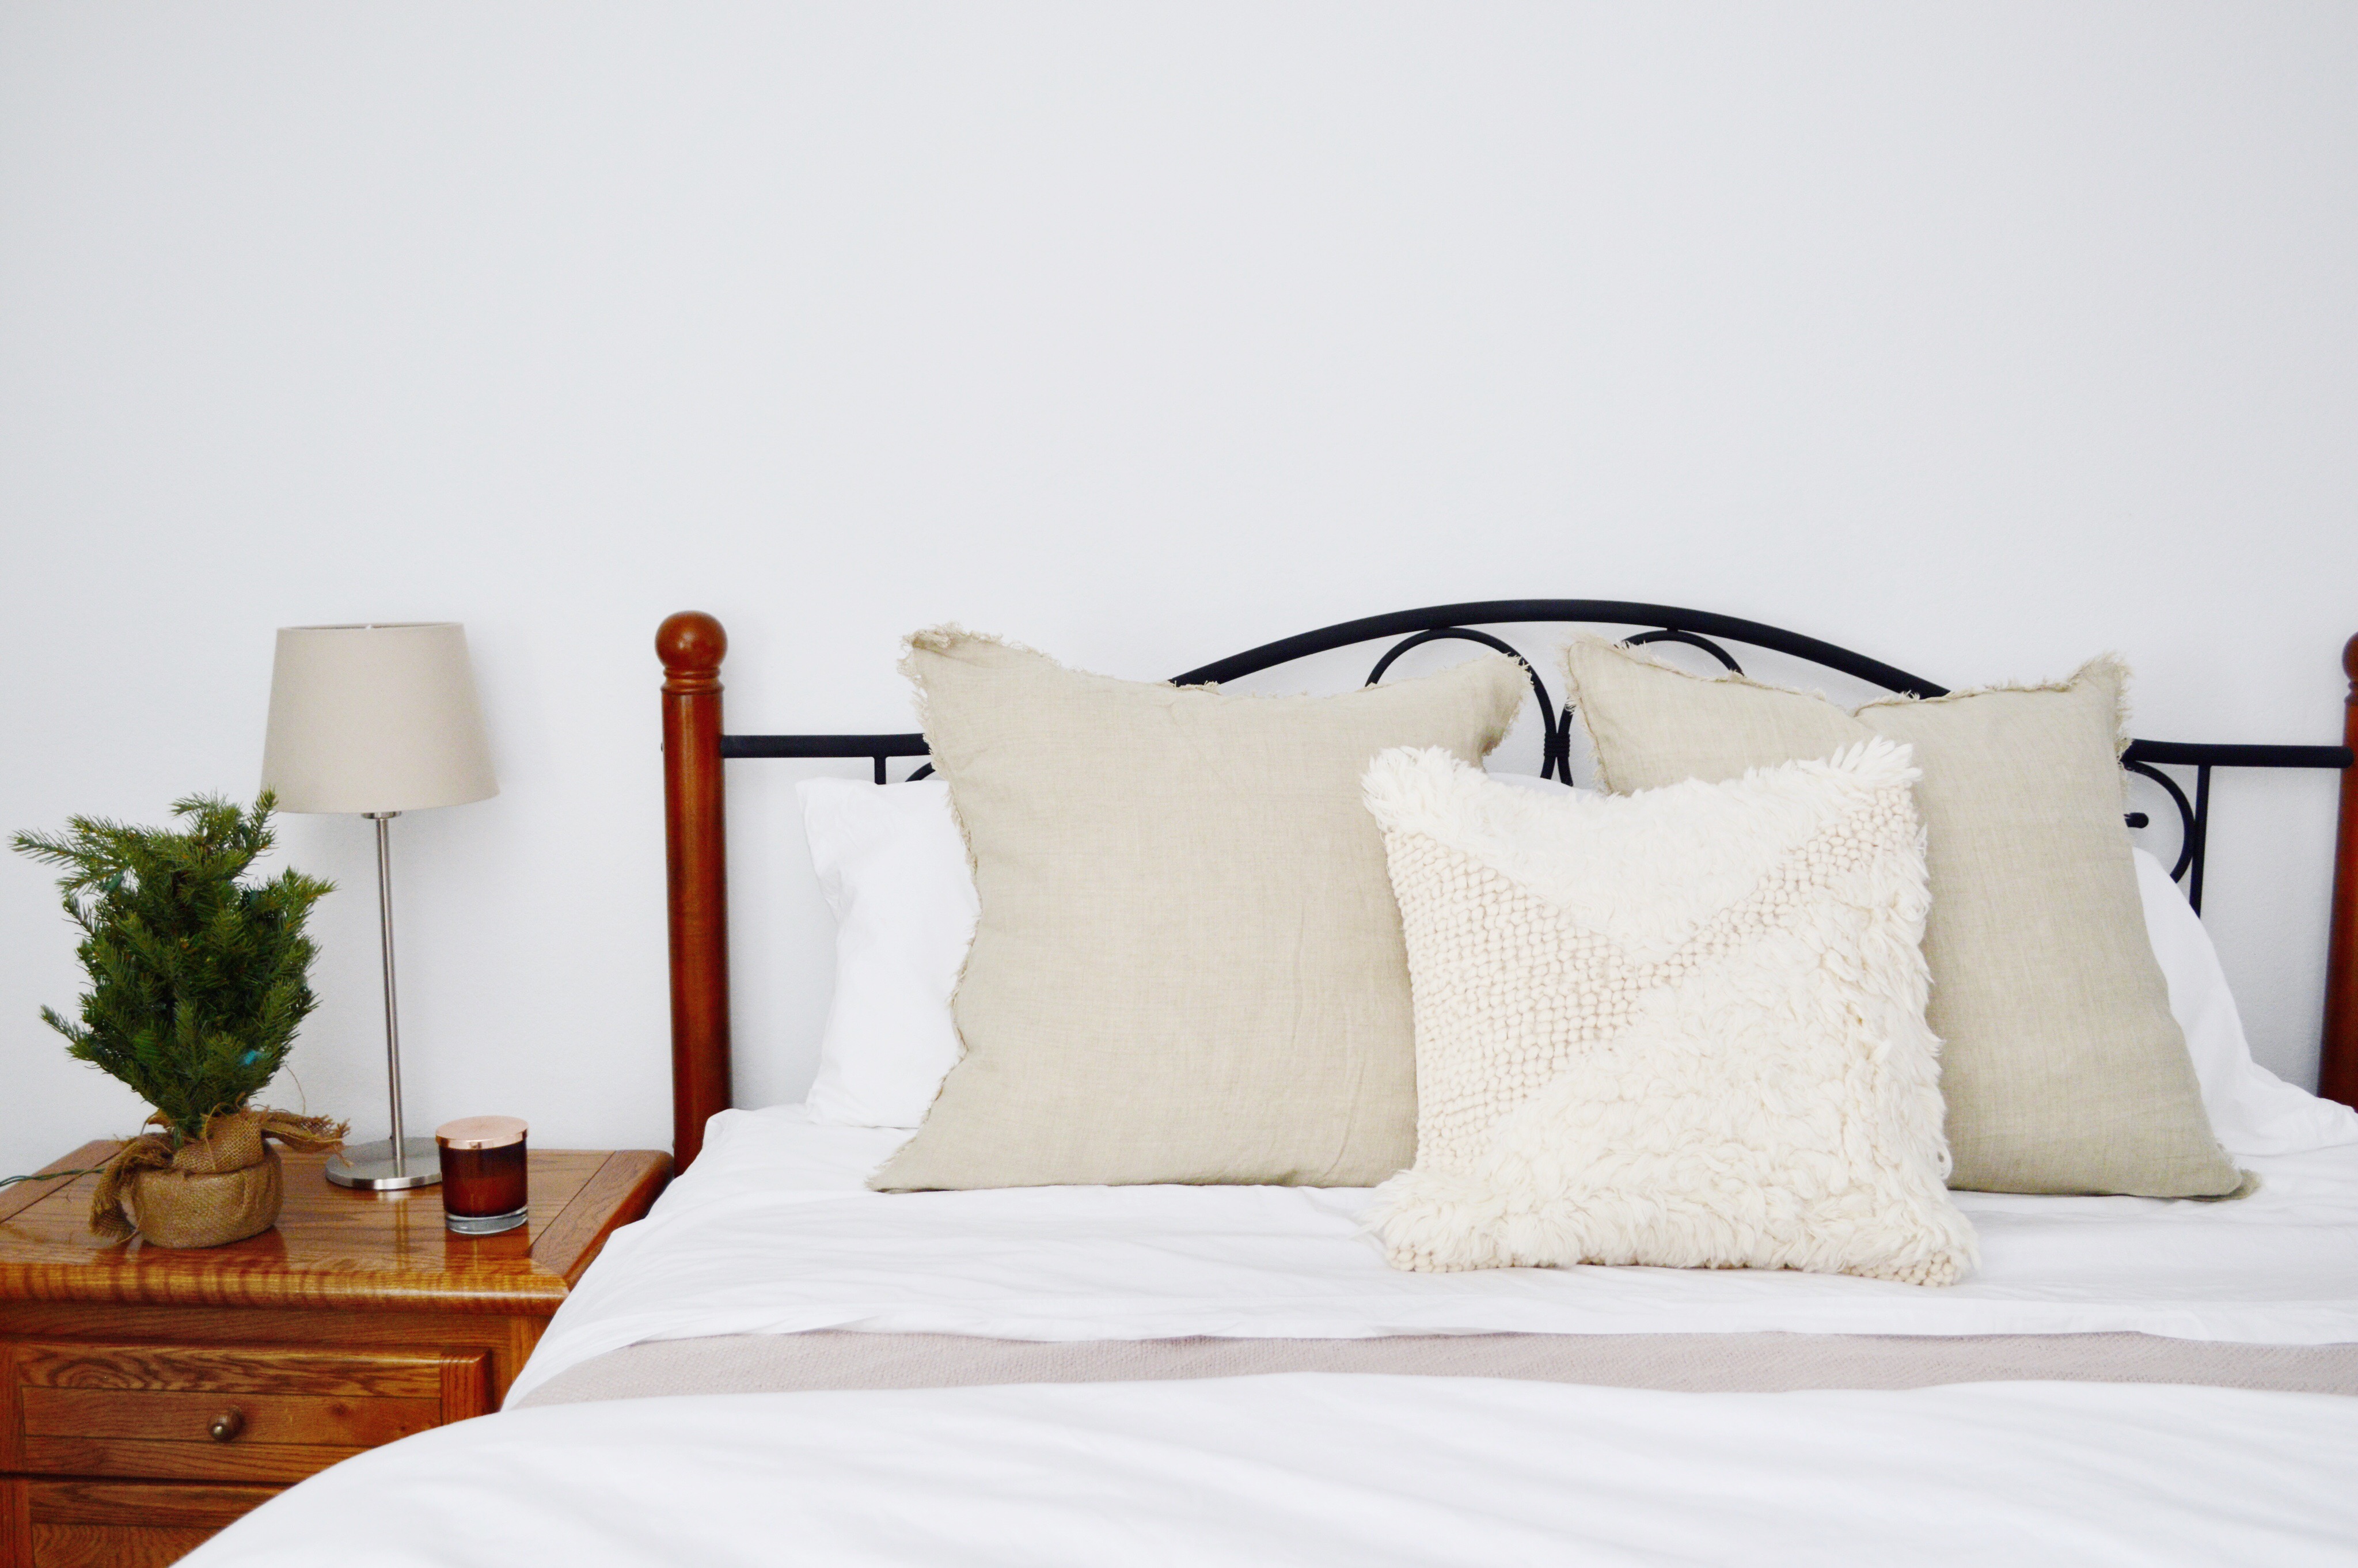
We rented a ski condo in Mammoth Lakes, CA for the winter months (Dec – March).  We drive up there most weekends because our kids are enrolled in a ski program and we LOVE to ski.  Our rental is perfect for our needs but the bedrooms were a little blah.   Thanks to the Company Store (click here), and sponsored by the Company Store, we transformed the bedrooms by changing the bedding to make them feel fresh and clean.   Pictured here is a before and after of the kid’s loft:

Before picture of the loft
After transformed by bedding (and decals)

I don’t know about you guys, but when I stay in an airbnb or a hotel, I prefer if the bed has a duvet cover that is washed in between guests.  When I see a quilt, I assume it wasn’t washed and strip it off the bed immediately.  I guess I’m a bit snobby when it comes to bedding and potential germs.  So, here is what I chose and why:

(1) I picked out duvets and duvet covers for each bed.  For our condo, I chose white because we will have a lot of guests in and out and white is easy to clean and bleach if necessary.  Plus, it feels so fresh and brightens up any room!

(2) I chose white sheets for the master and guest bedroom for the same reasons as above.  GOOD choice because my dad has already spilled coffee on his sheets twice and it was easy to detect and get rid of on the white sheets.  For each bed, I also chose a blanket for added warmth and texture.

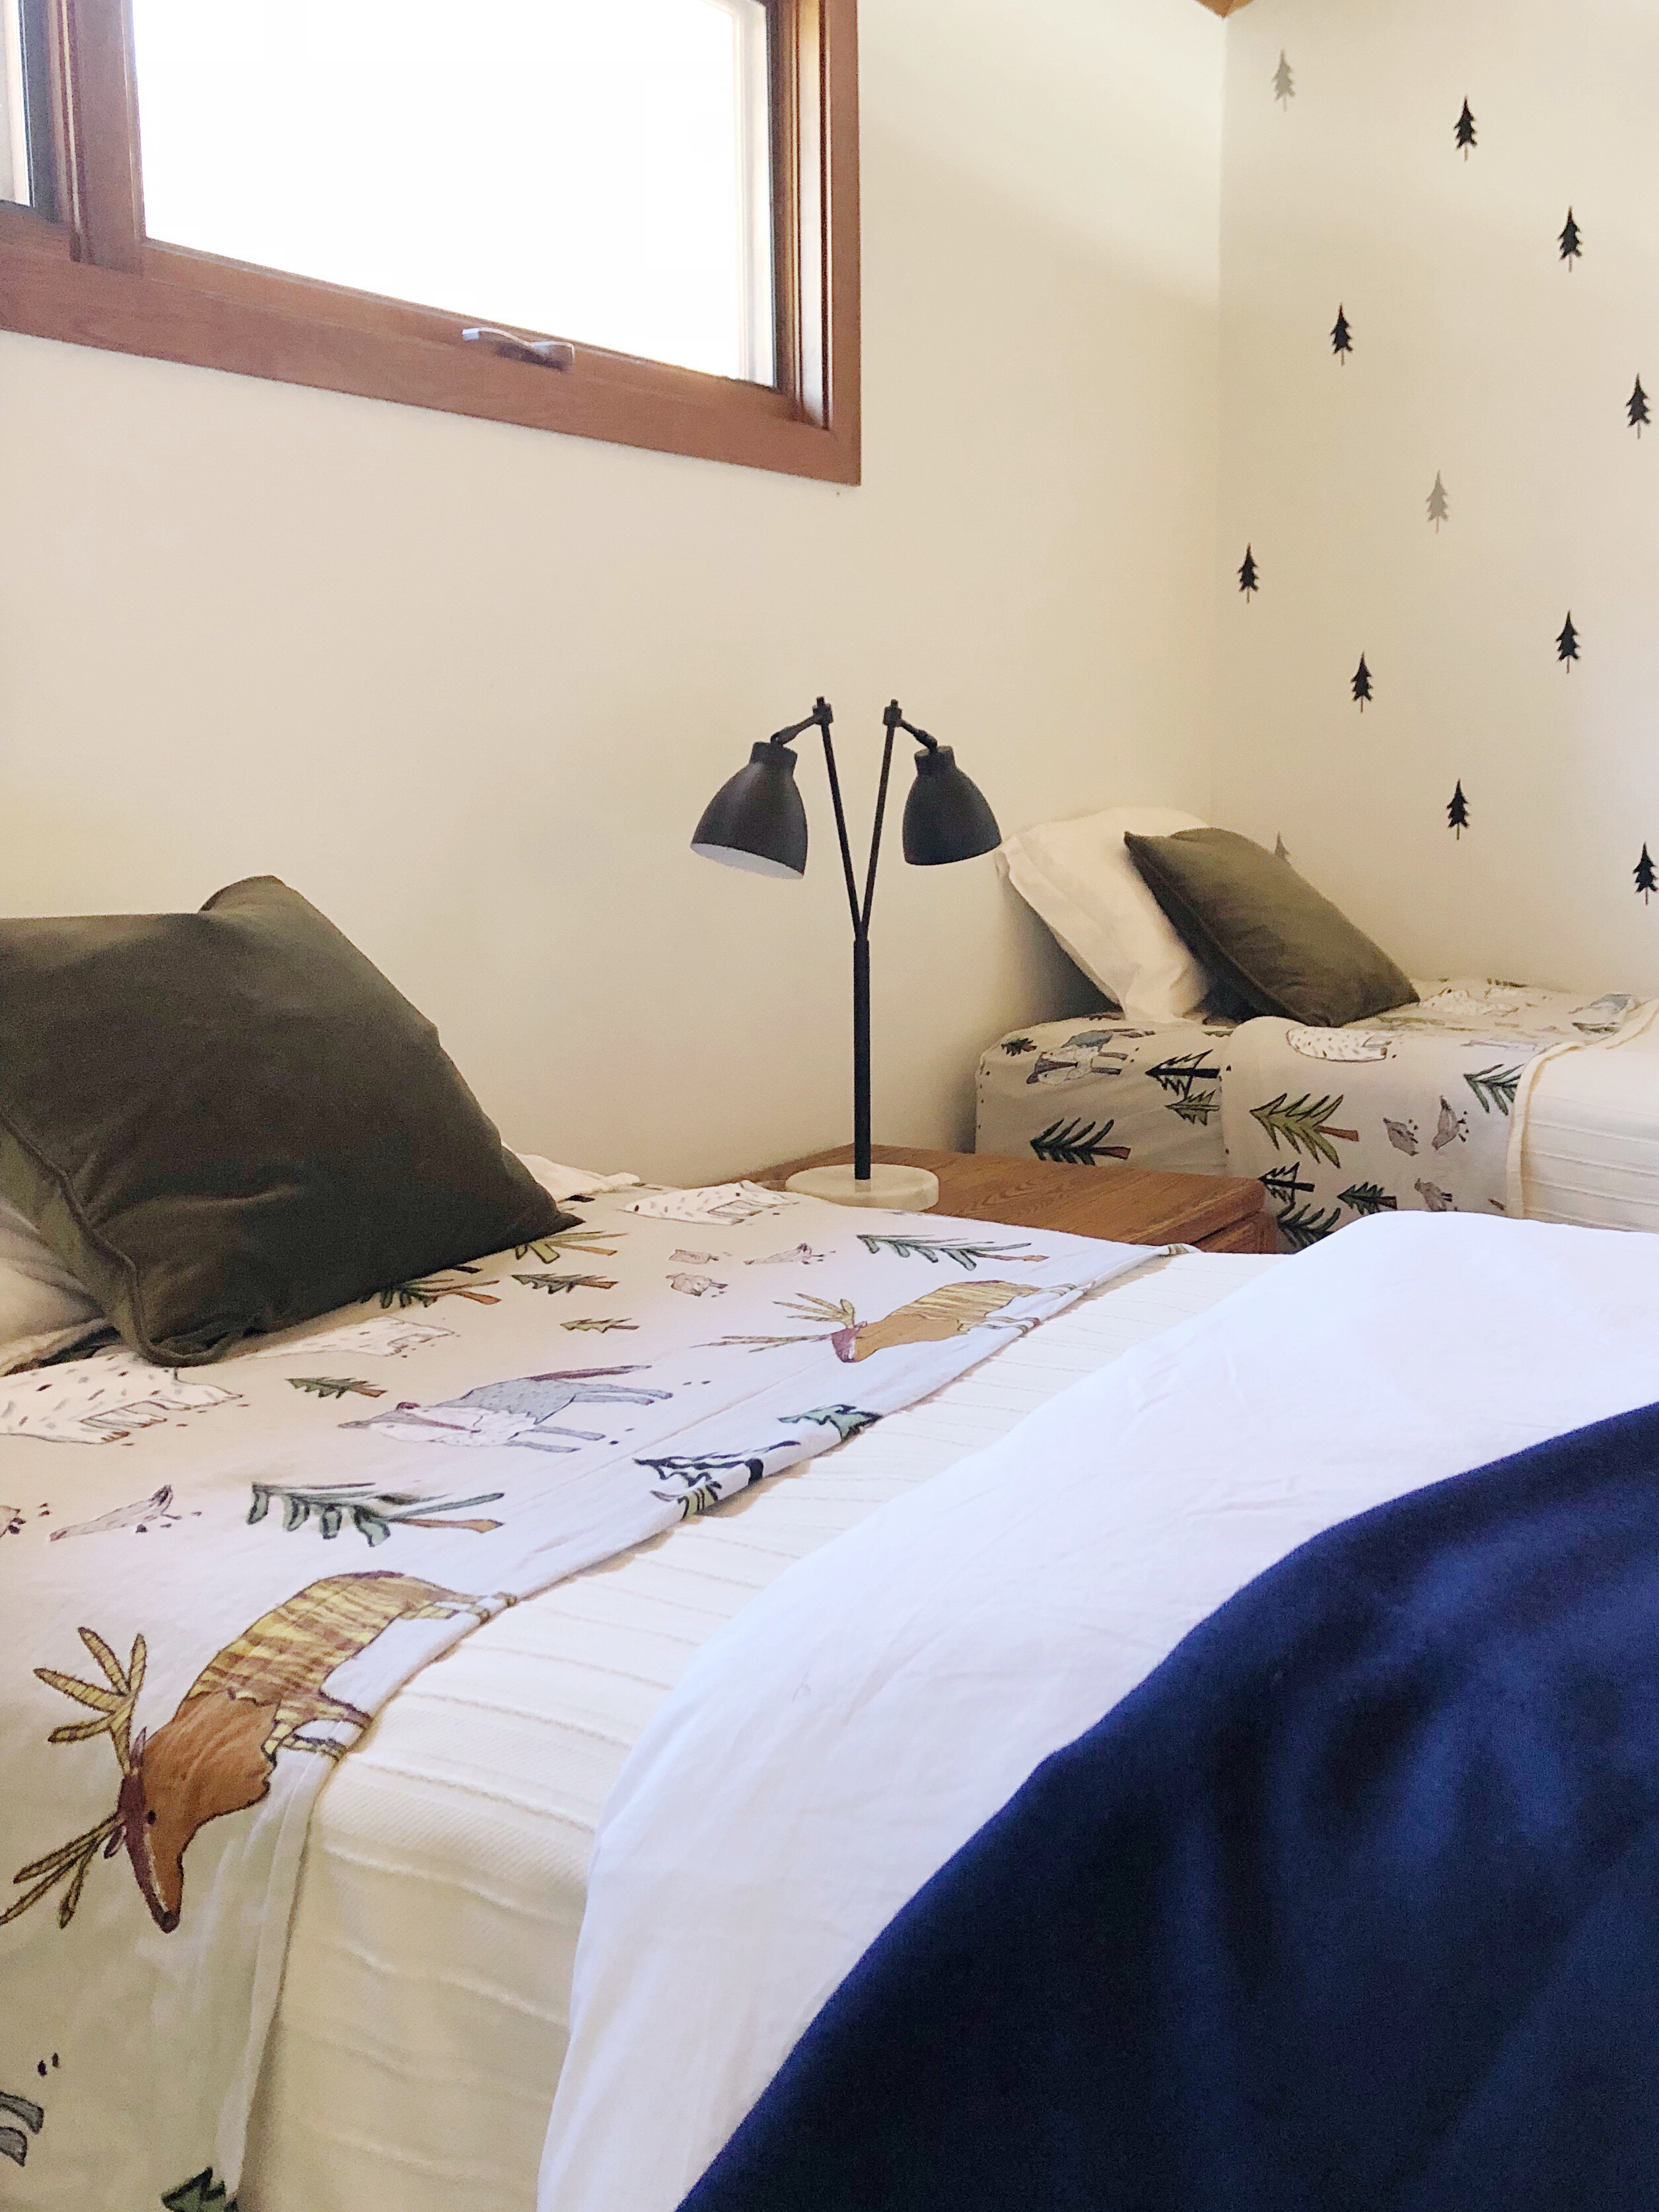
(3) For the kids’ loft, I chose flannel mountain/animal themed sheets because they will keep them warm and they are fun.  Kids love a theme!  I also bought cheap pine tree decals on amazon to brighten up the wall in their room.  I also added a lamp — from the Company Store (yes they sell more than just bedding).  I will include all links below.

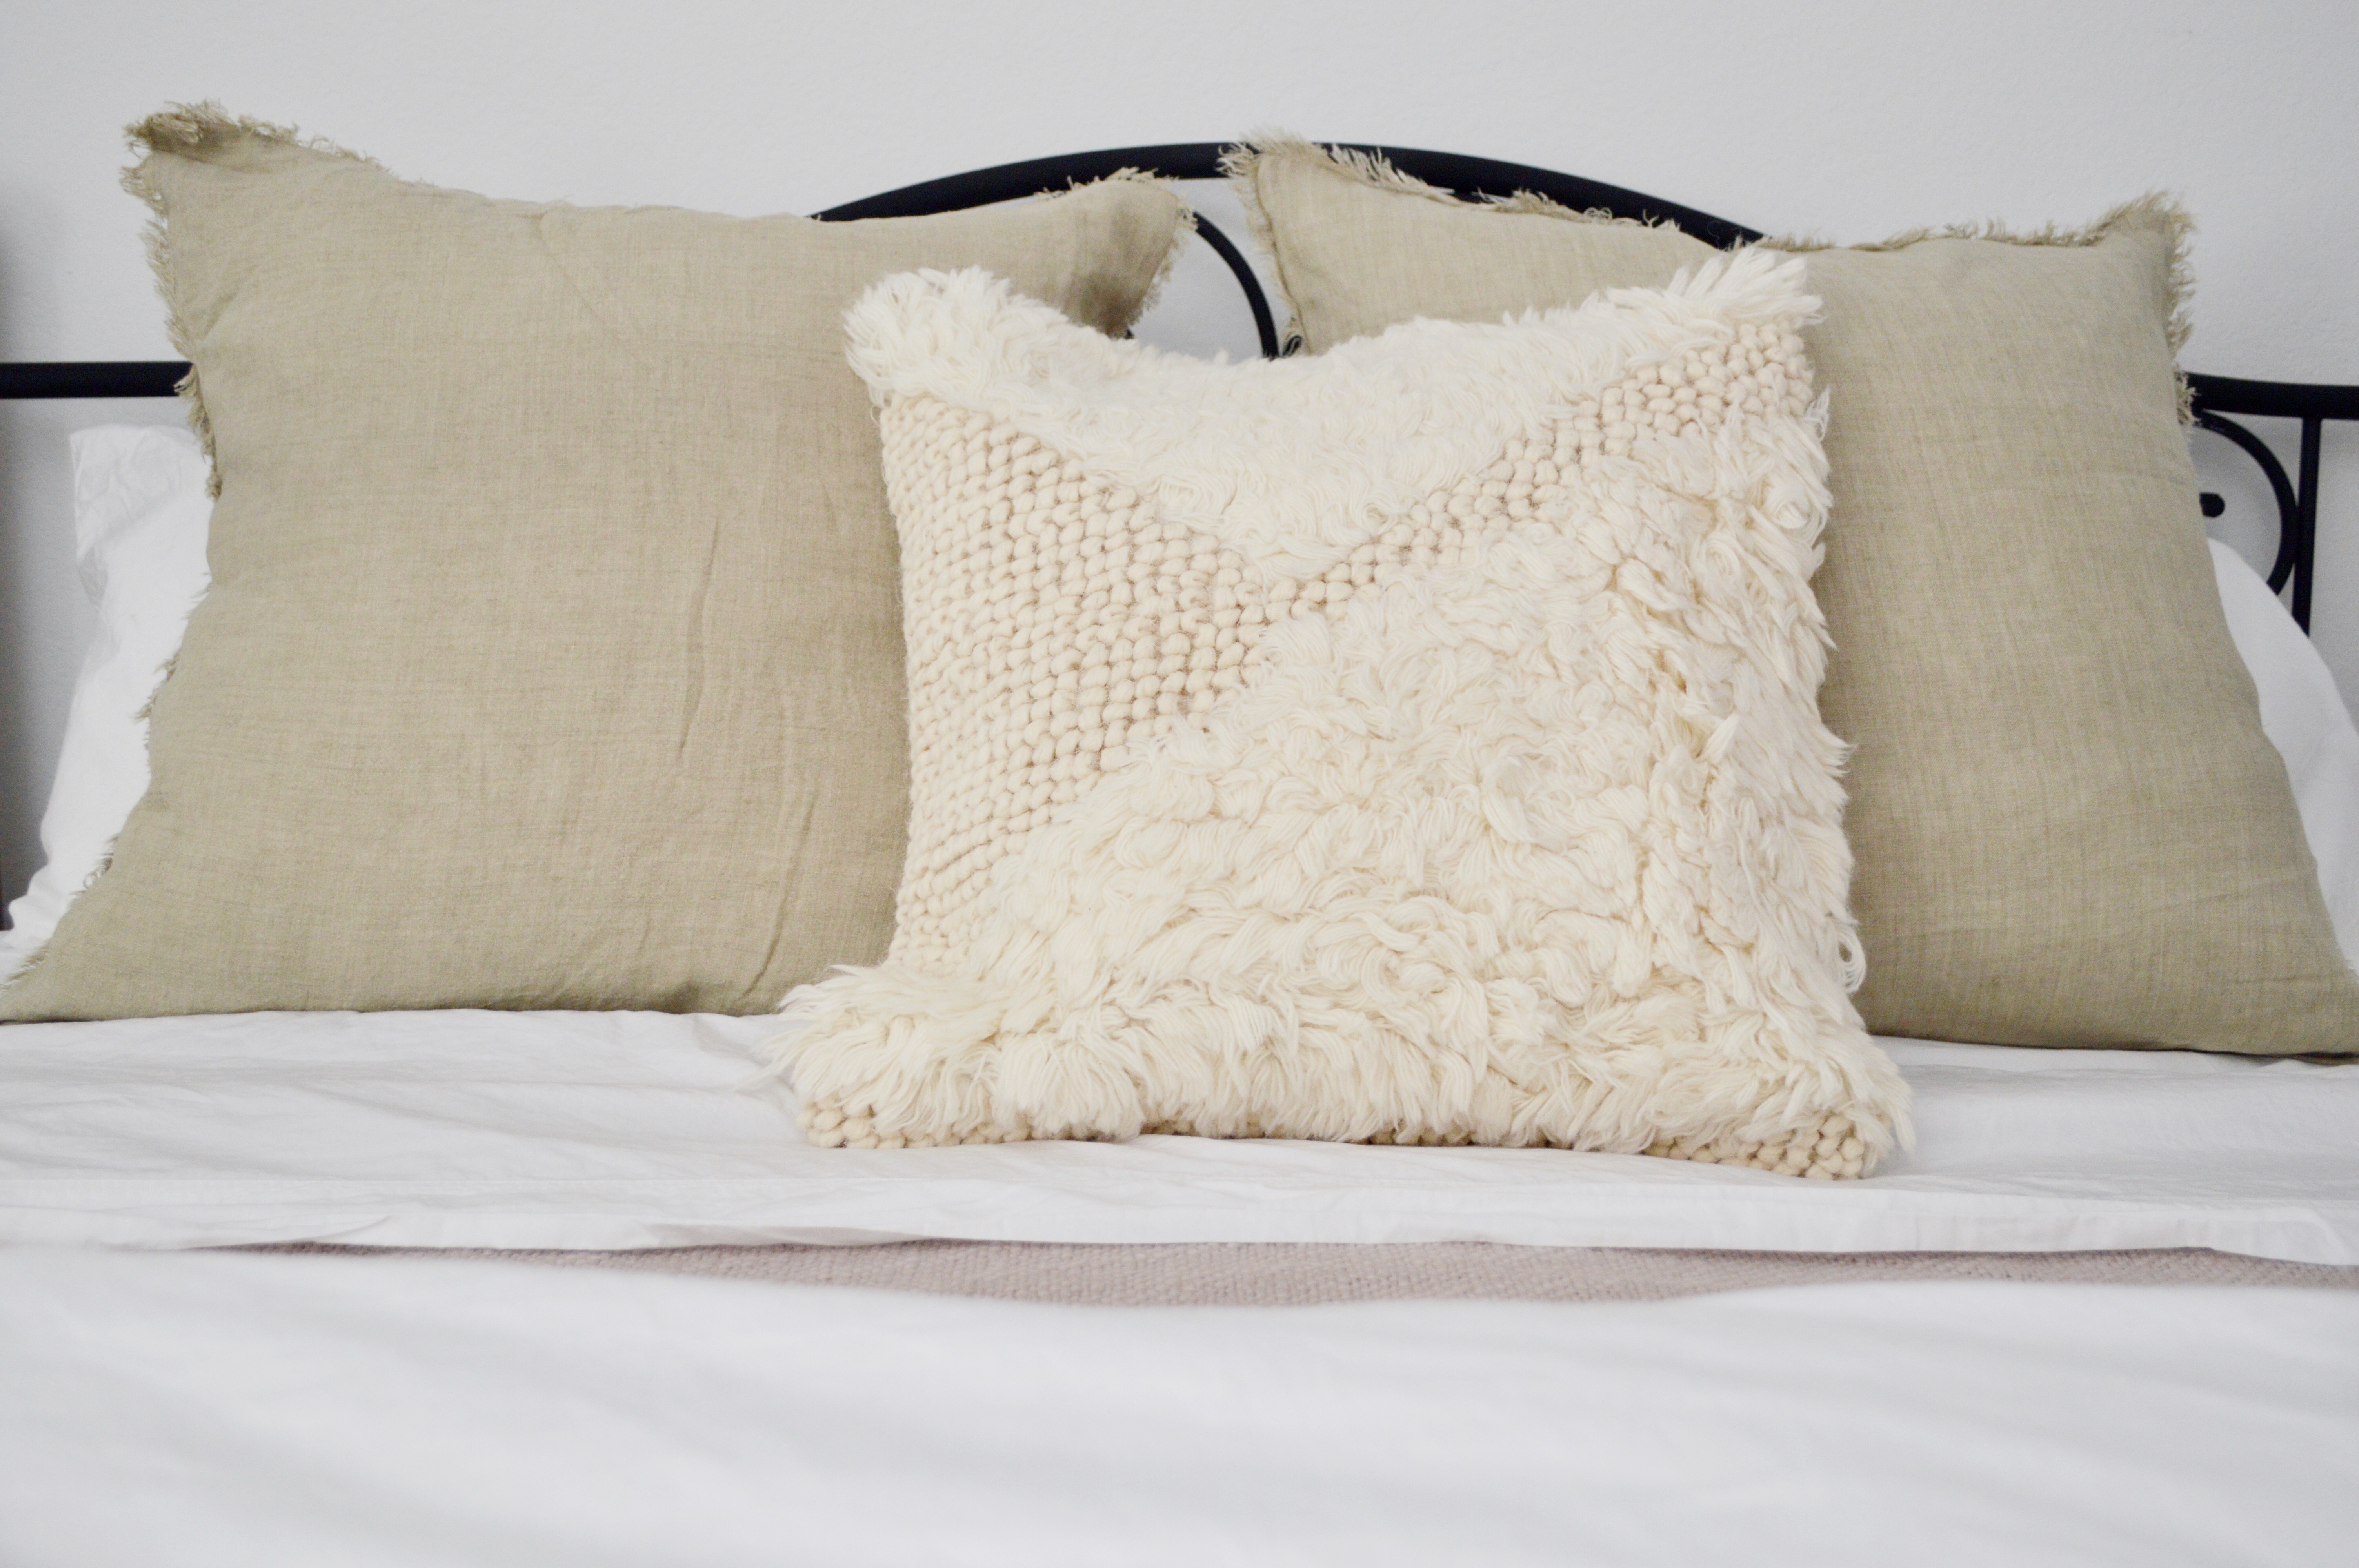
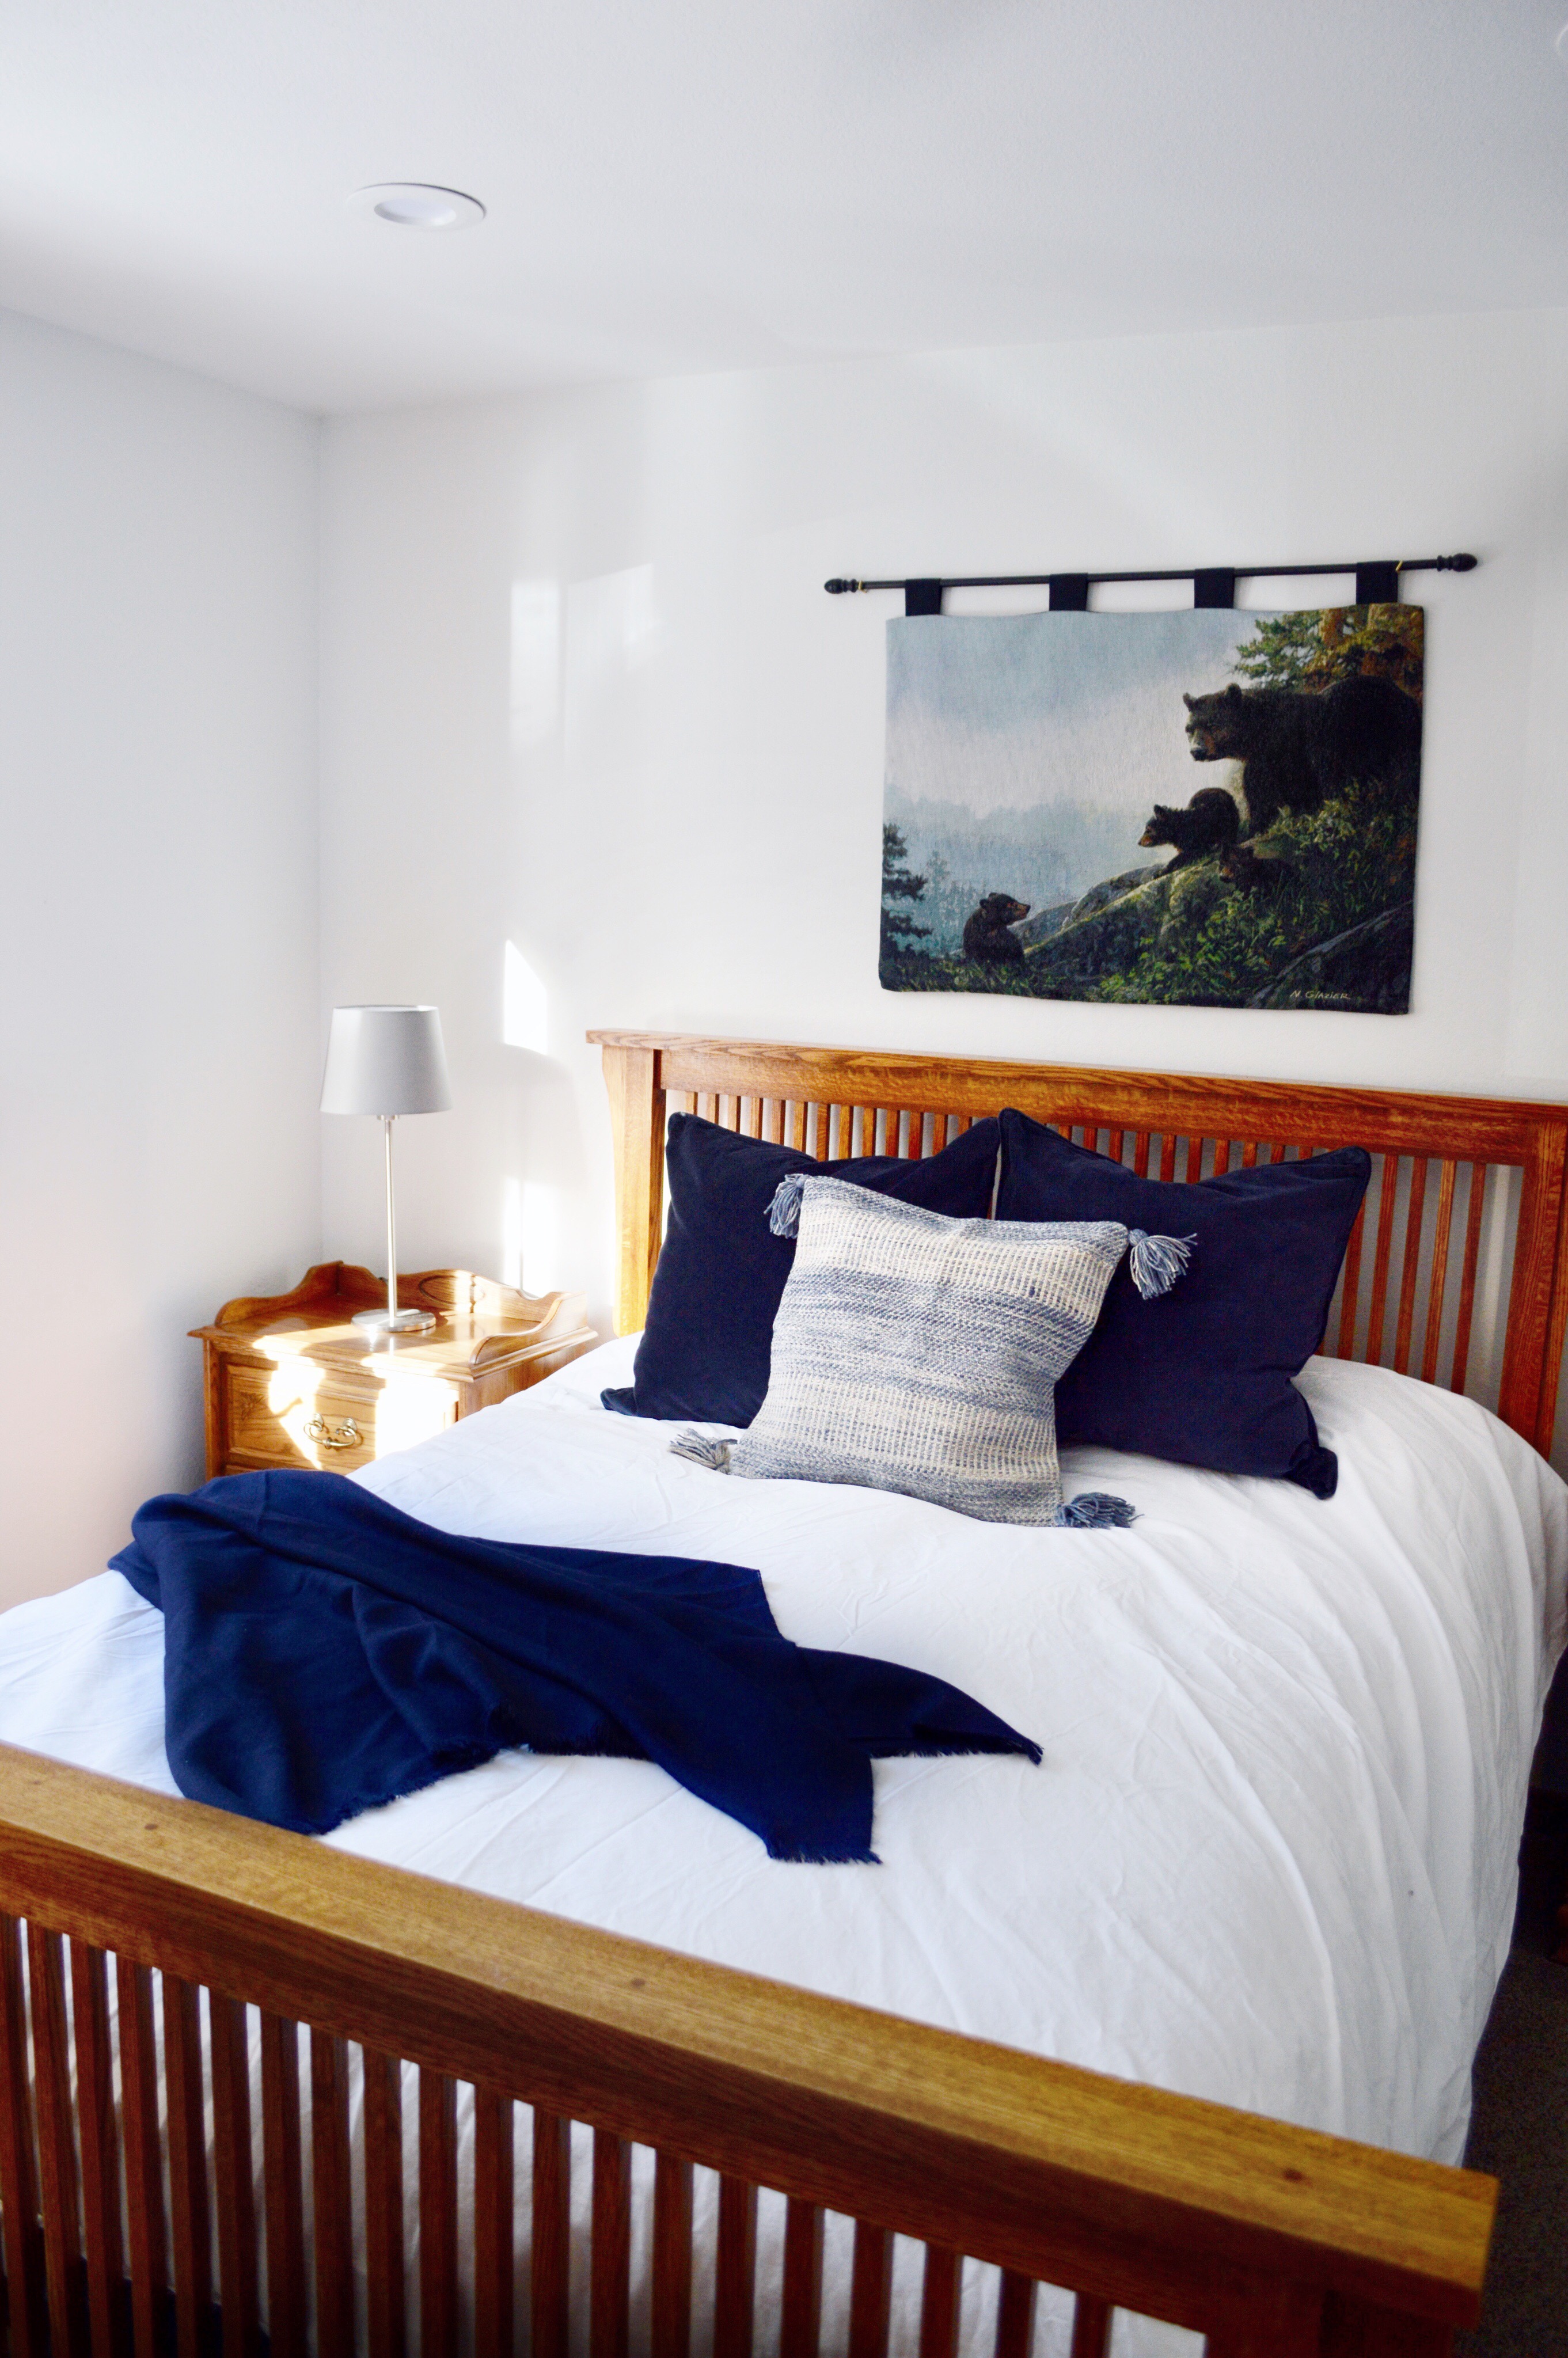
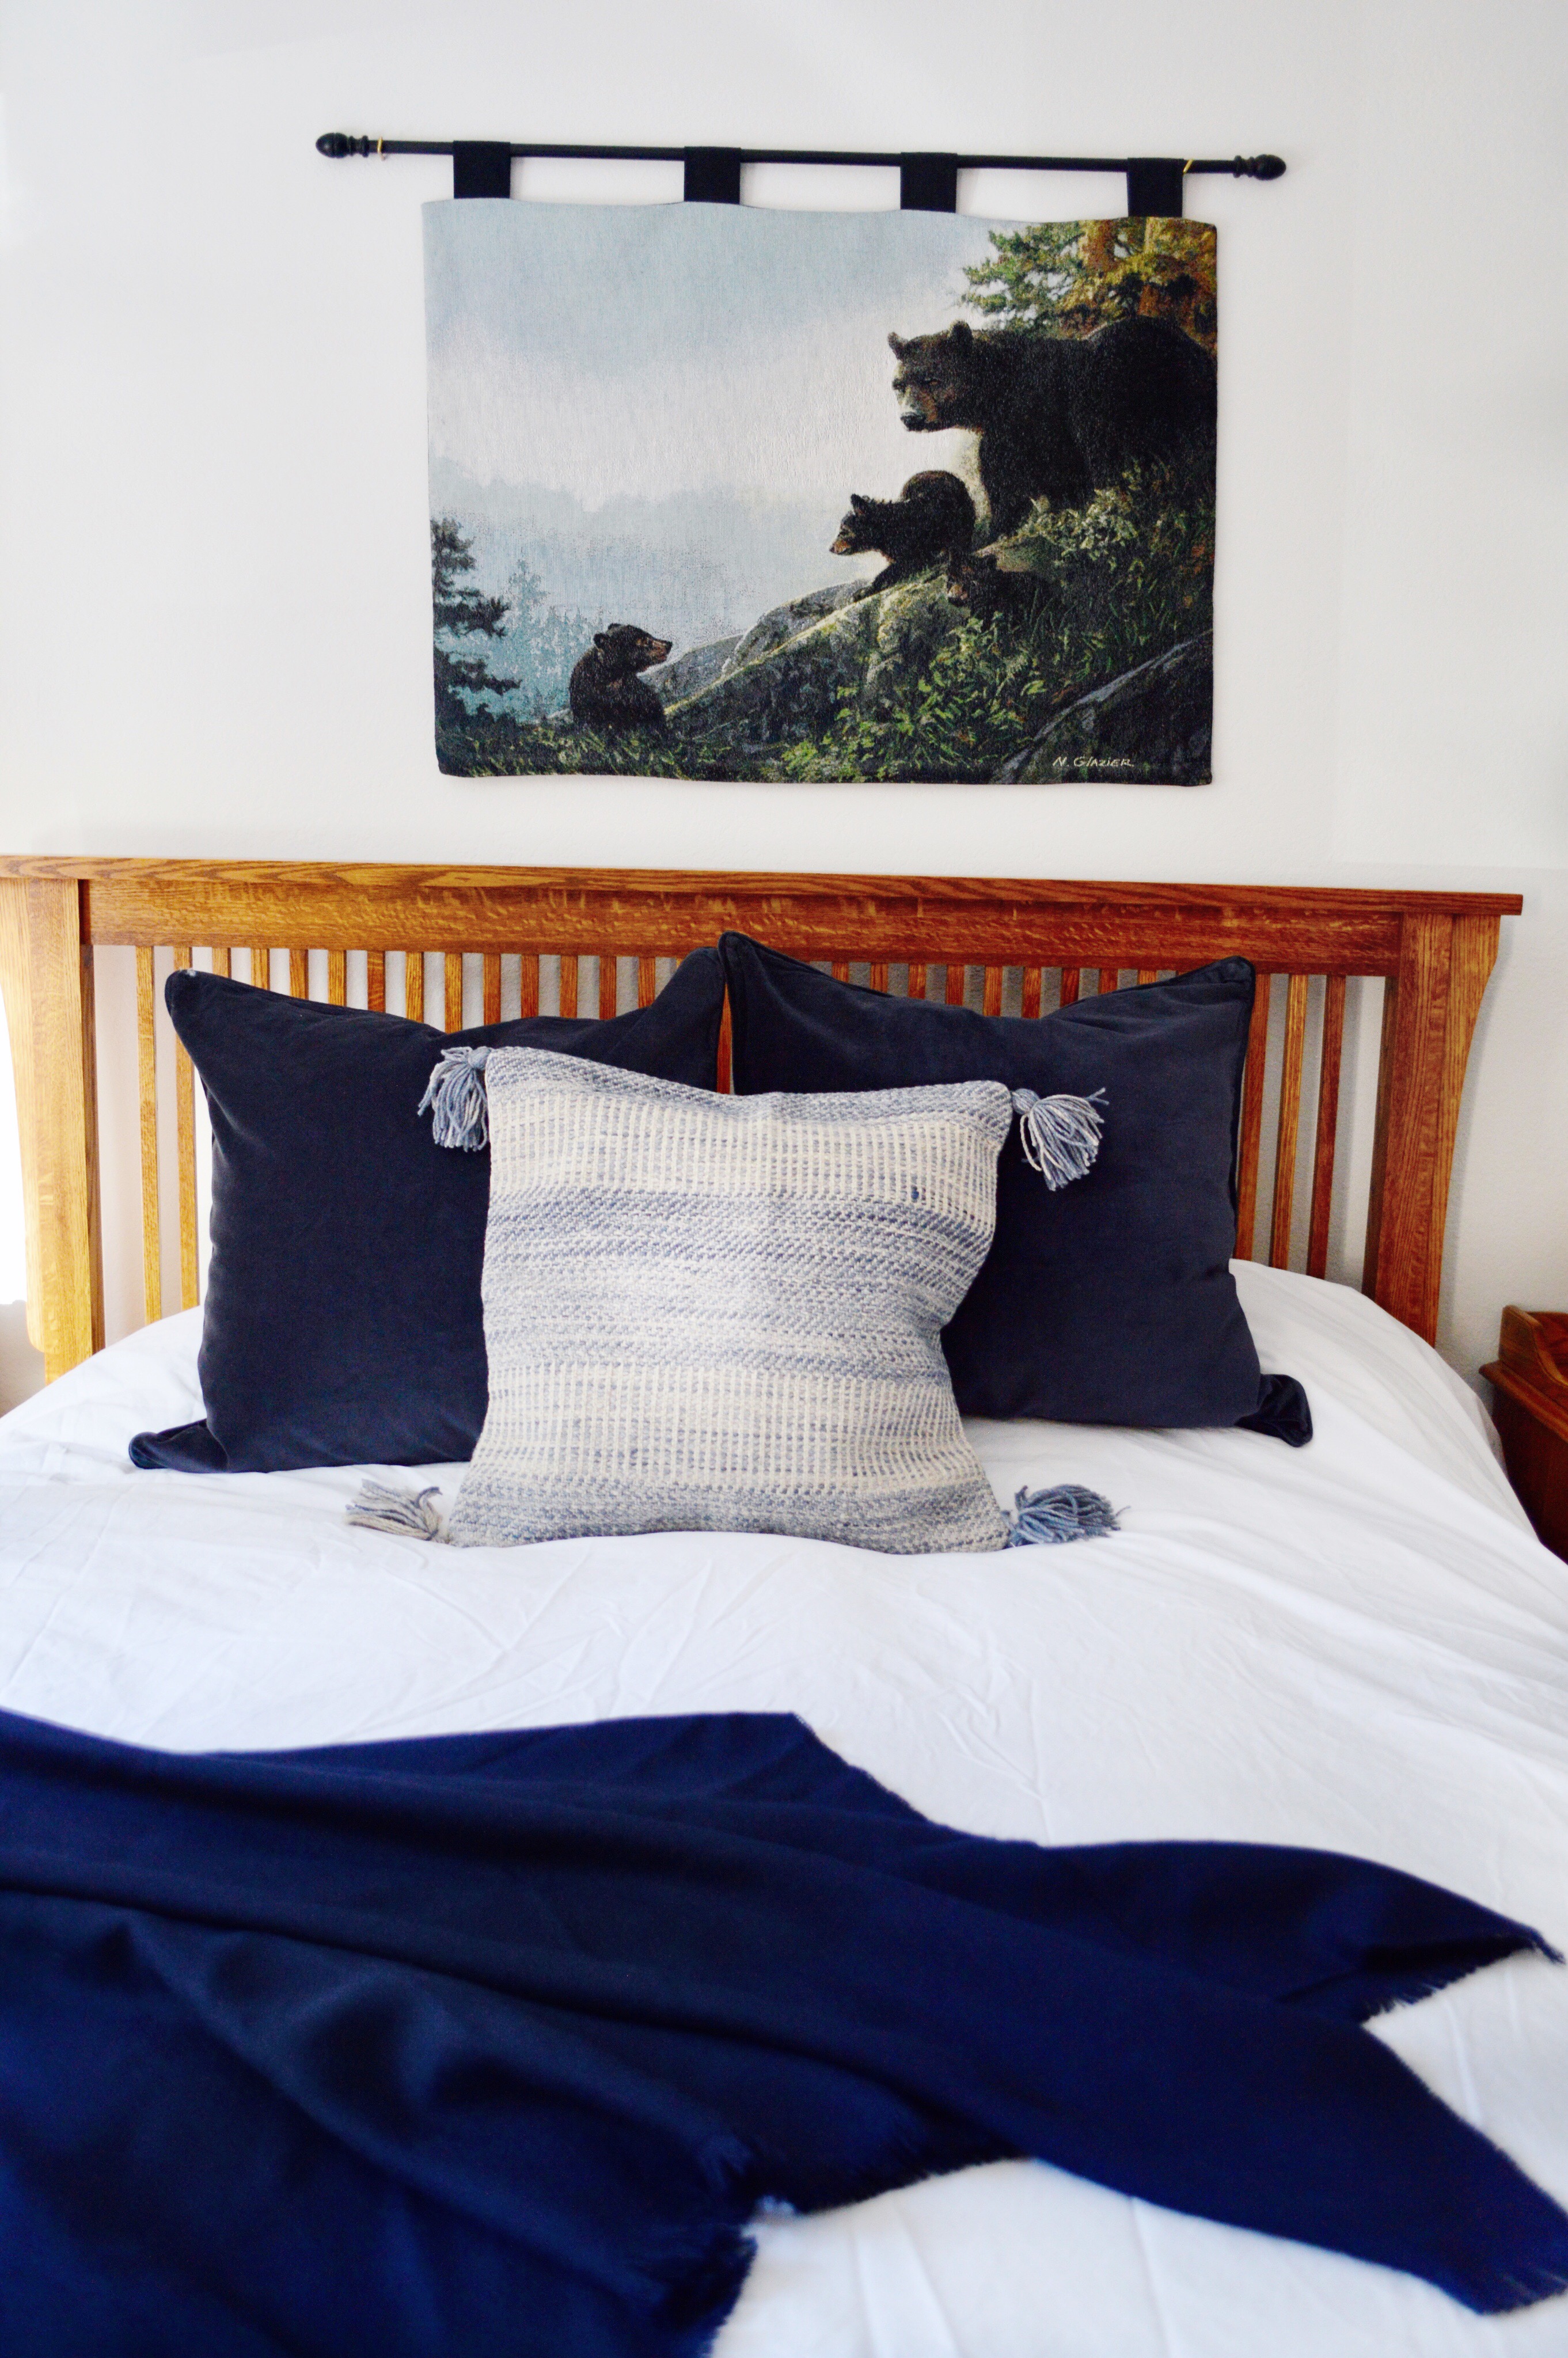
(4) I picked accent pillows to compliment each room.  The master already had a sheepskin rug on the floor, so I chose neutral pillows and a shaggy pillow to compliment the look.  The guest room seemed like blue would be a good complimentary color so I picked out navy velvet pillows (to add some texture) and a tassel pillow for contrast.
Before/after of the master bed with a bedding refresh:

after bedding refresh

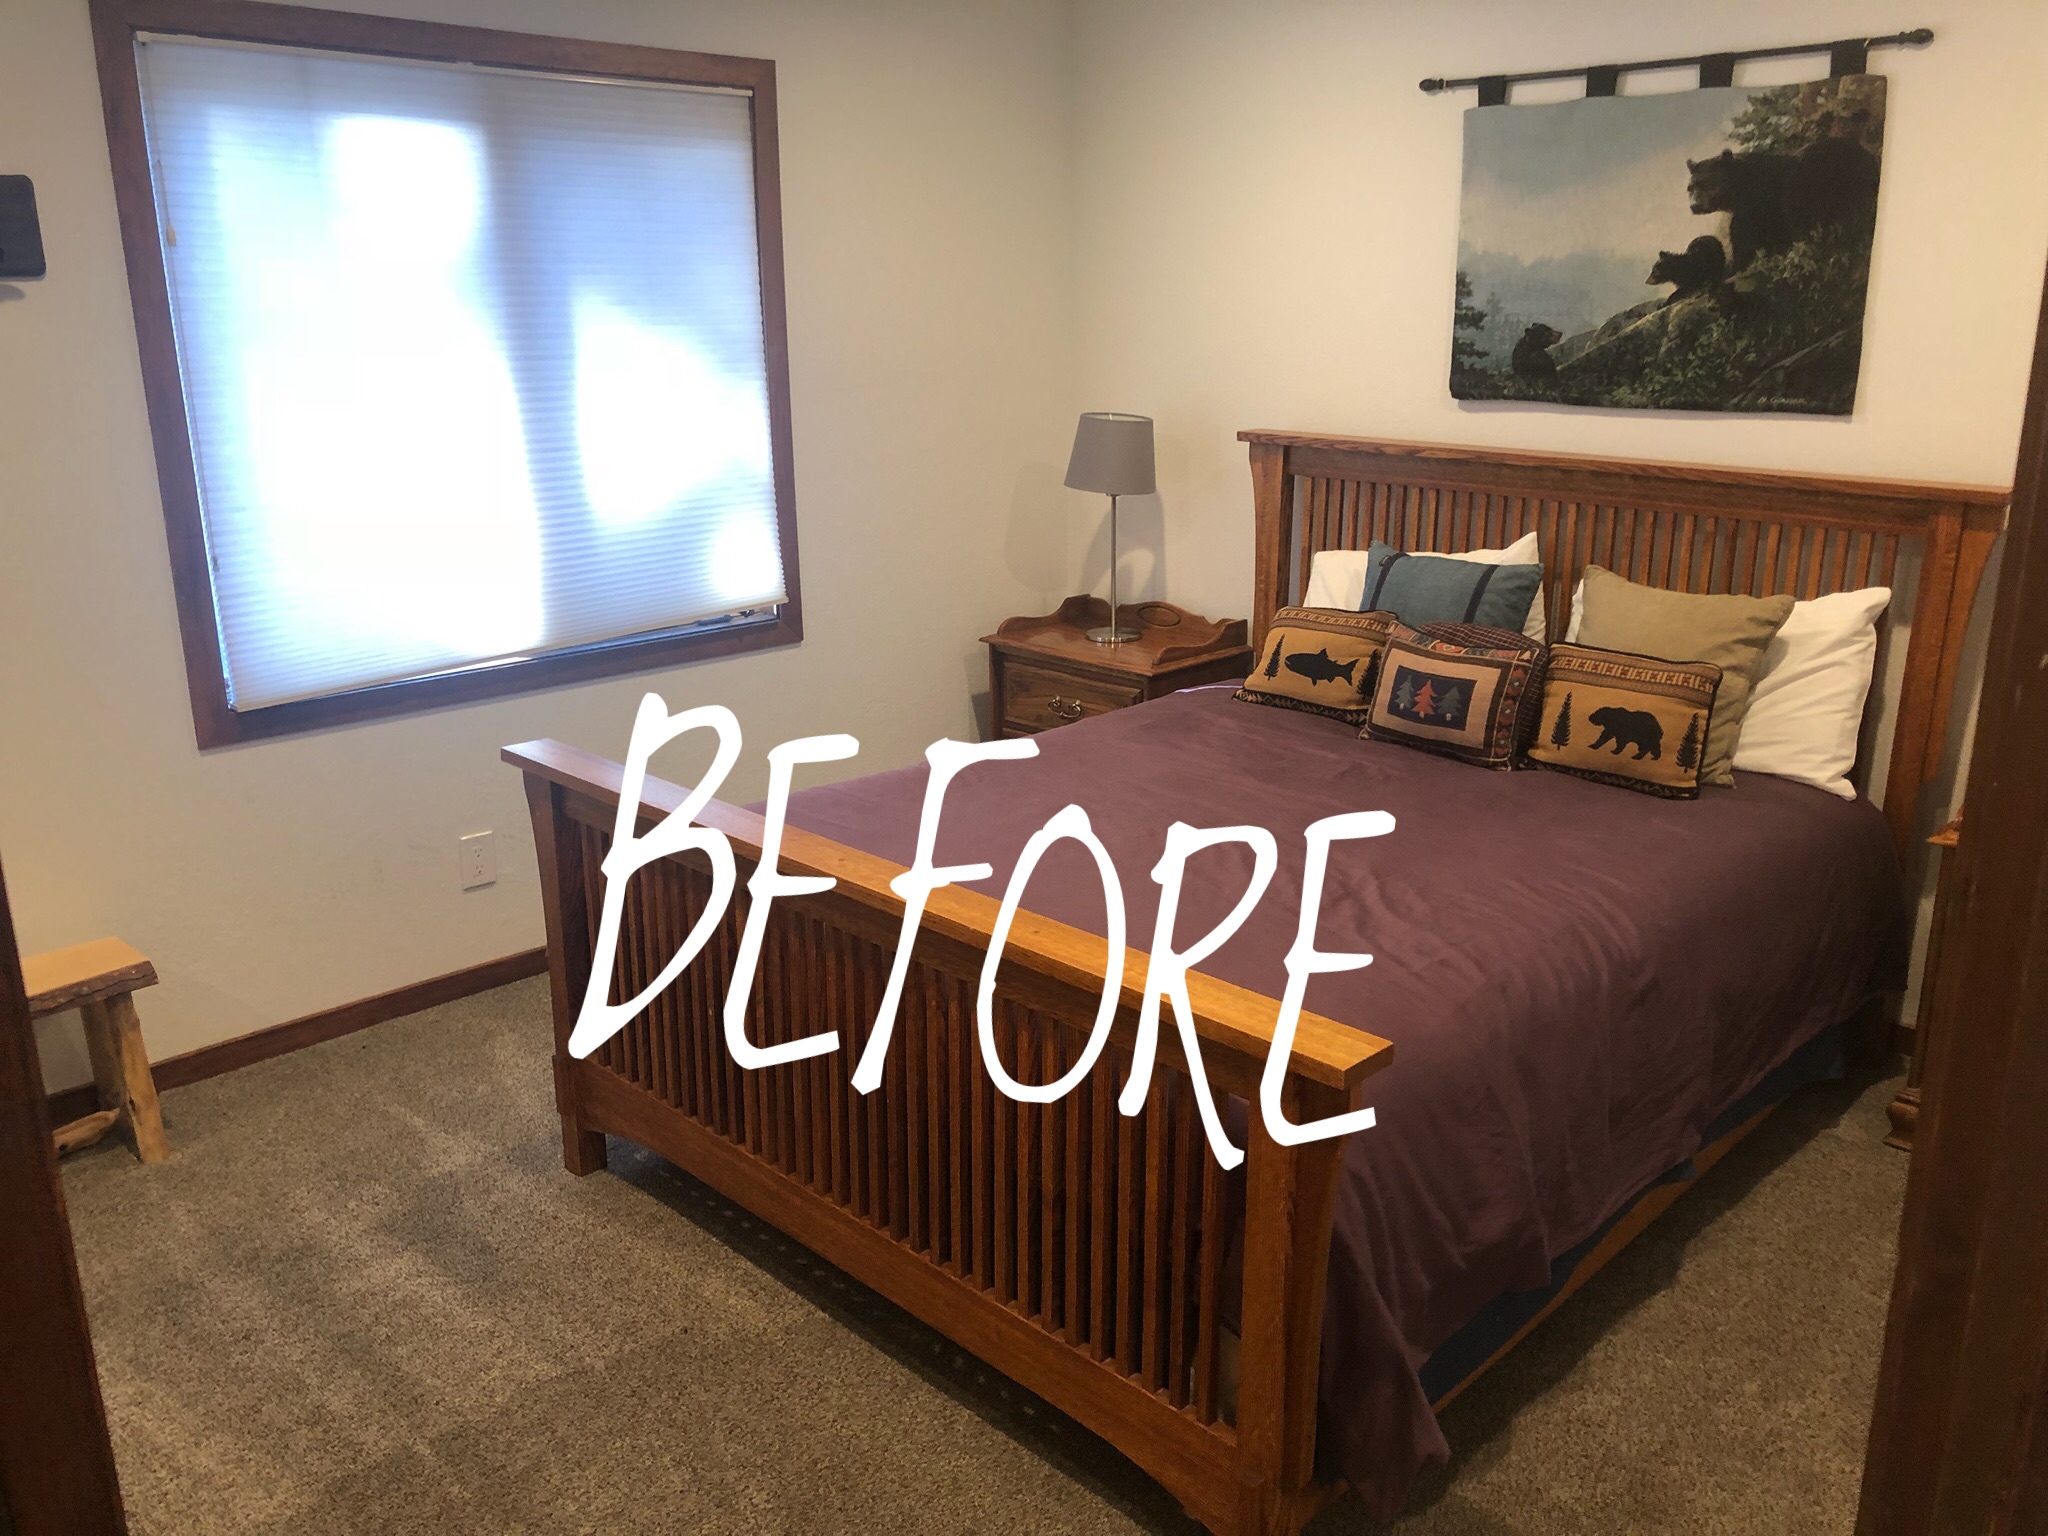
Here is the guest room before and after the bedding refresh:

guest room bedding
guest room bedding transformation
decorative pillows
decorative pillows

LINKS!!!!
Here are all of the products organized by room (click on any for direct link):

Kids Loft:
winter animal flannel bedding
blanket
duvet cover
duvet
green velvet pillow
lamp
decals

Master:
linen throw pillows
shaggy throw pillow
white sheets
blanket
duvet
white duvet cover

Guest bedroom:
velvet pillows
tassel pillow
white sheets
white duvet cover
duvet
navy blanket

Thanks for reading!

xoxo,

Kristin