Hit enter to search of ESC to exit

The Details of Our Backyard Transformation

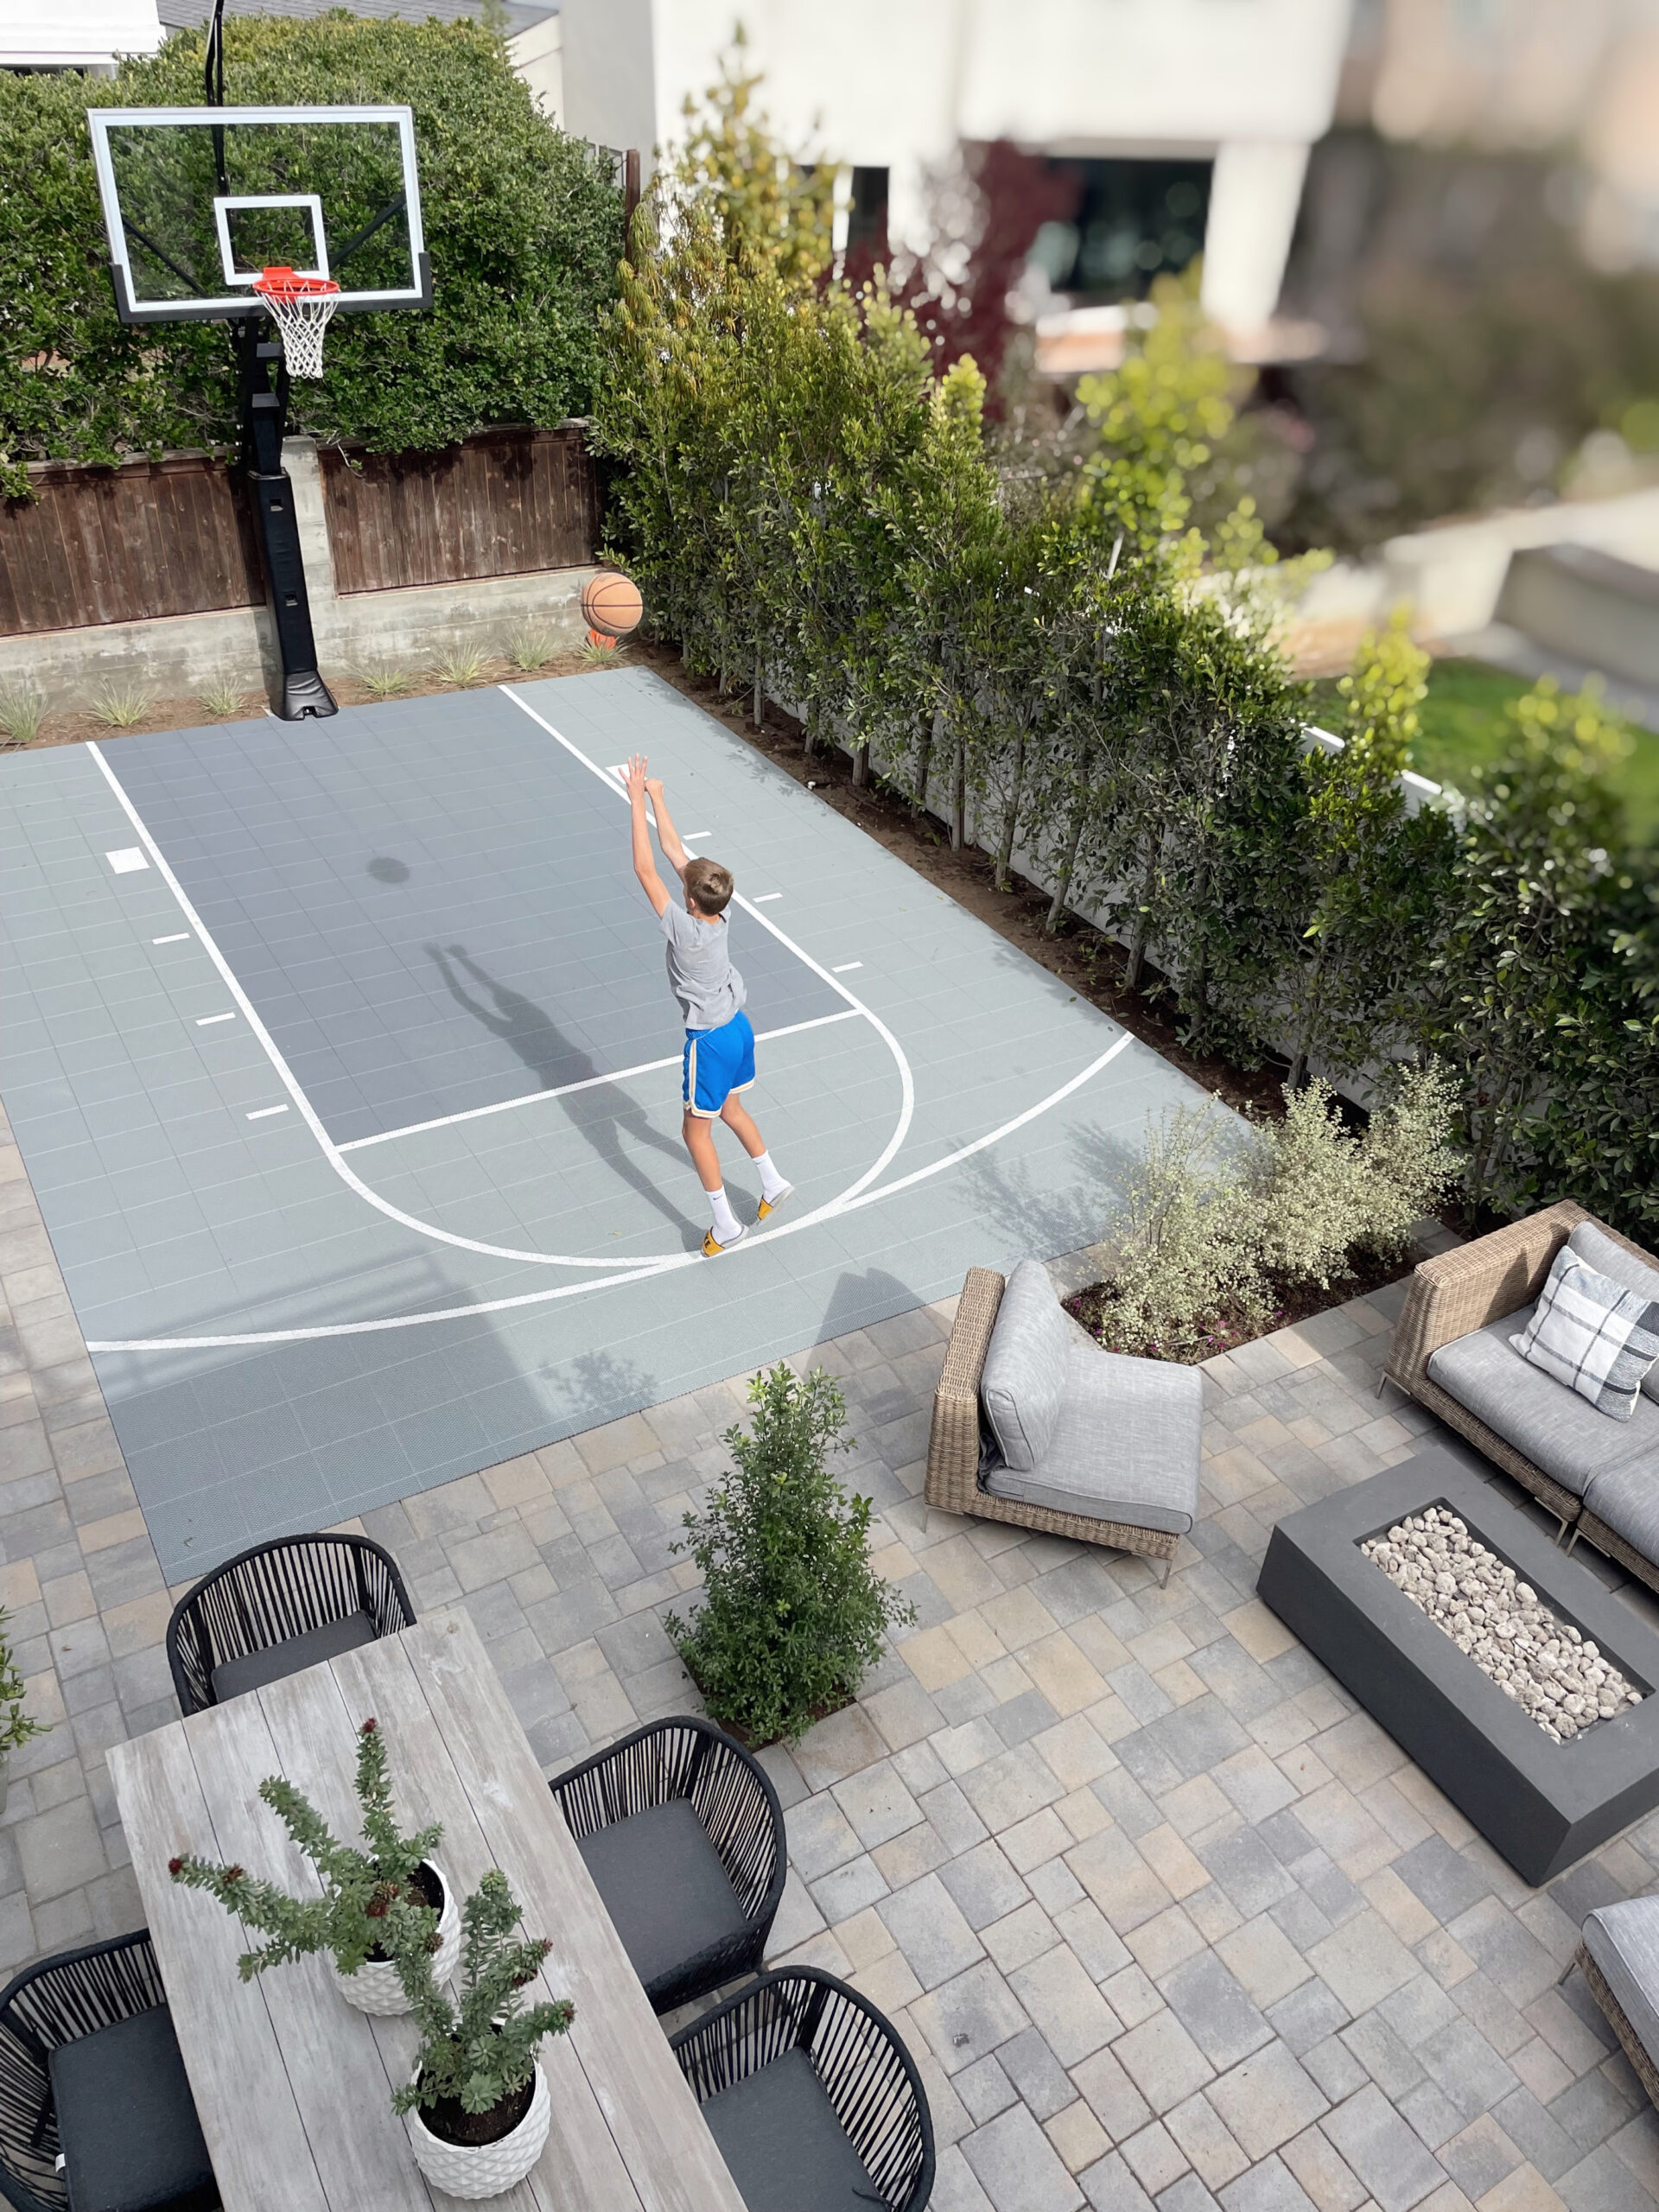
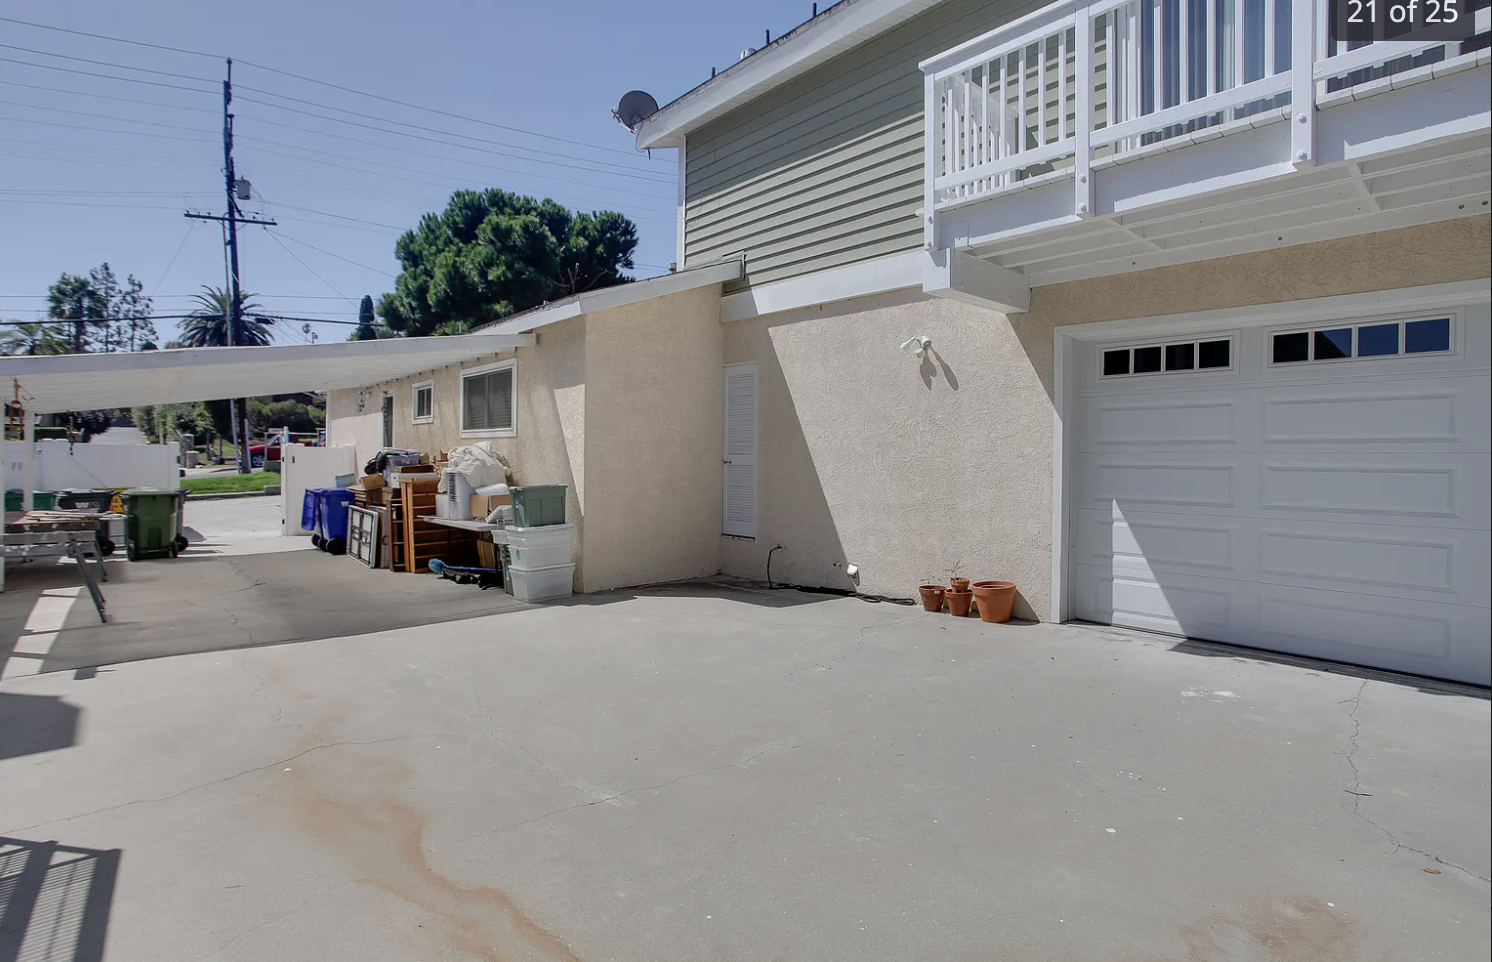
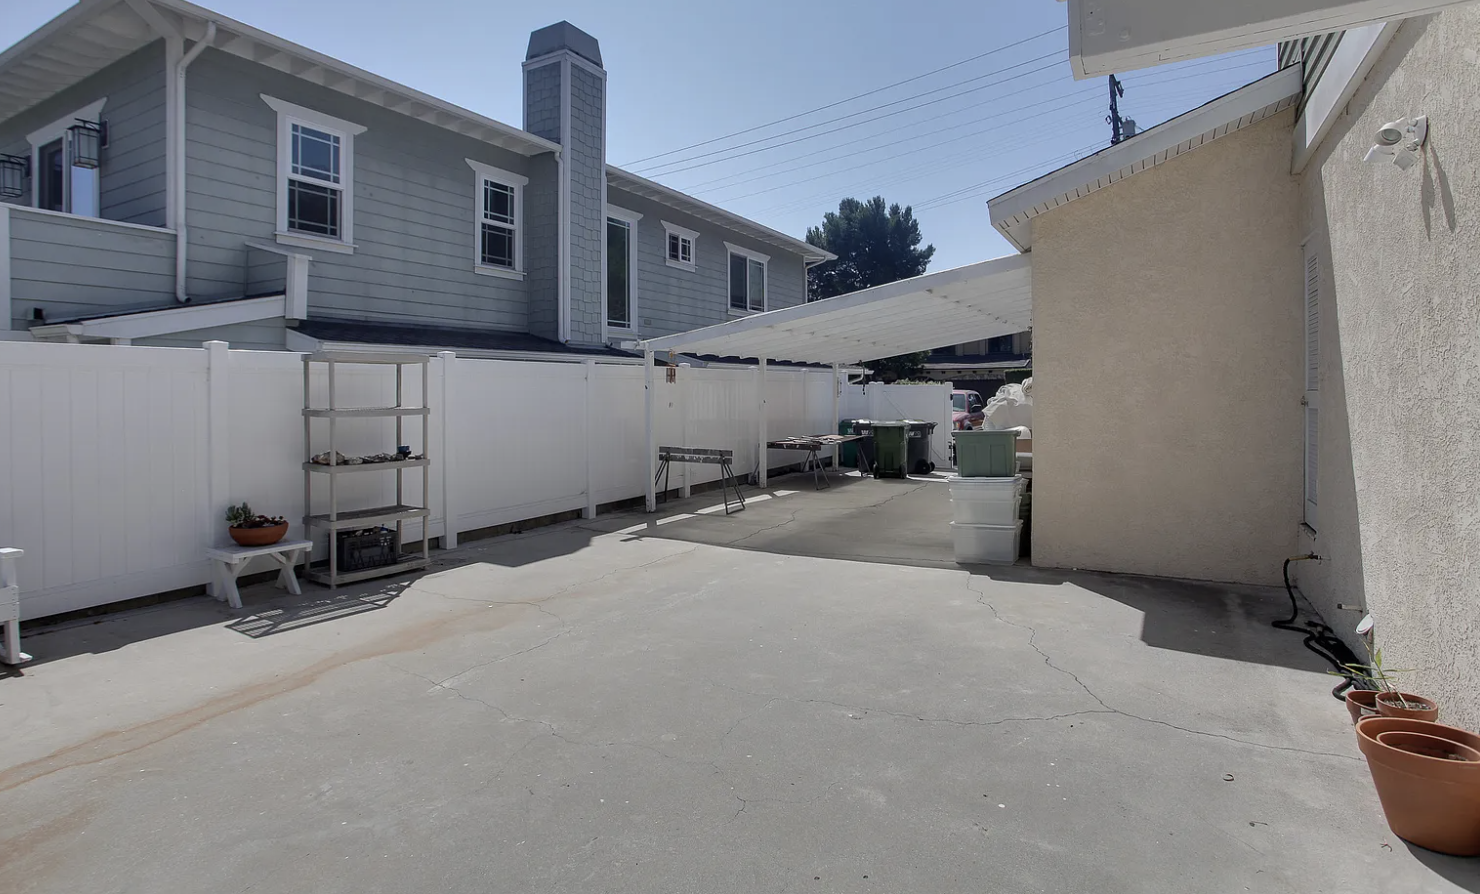
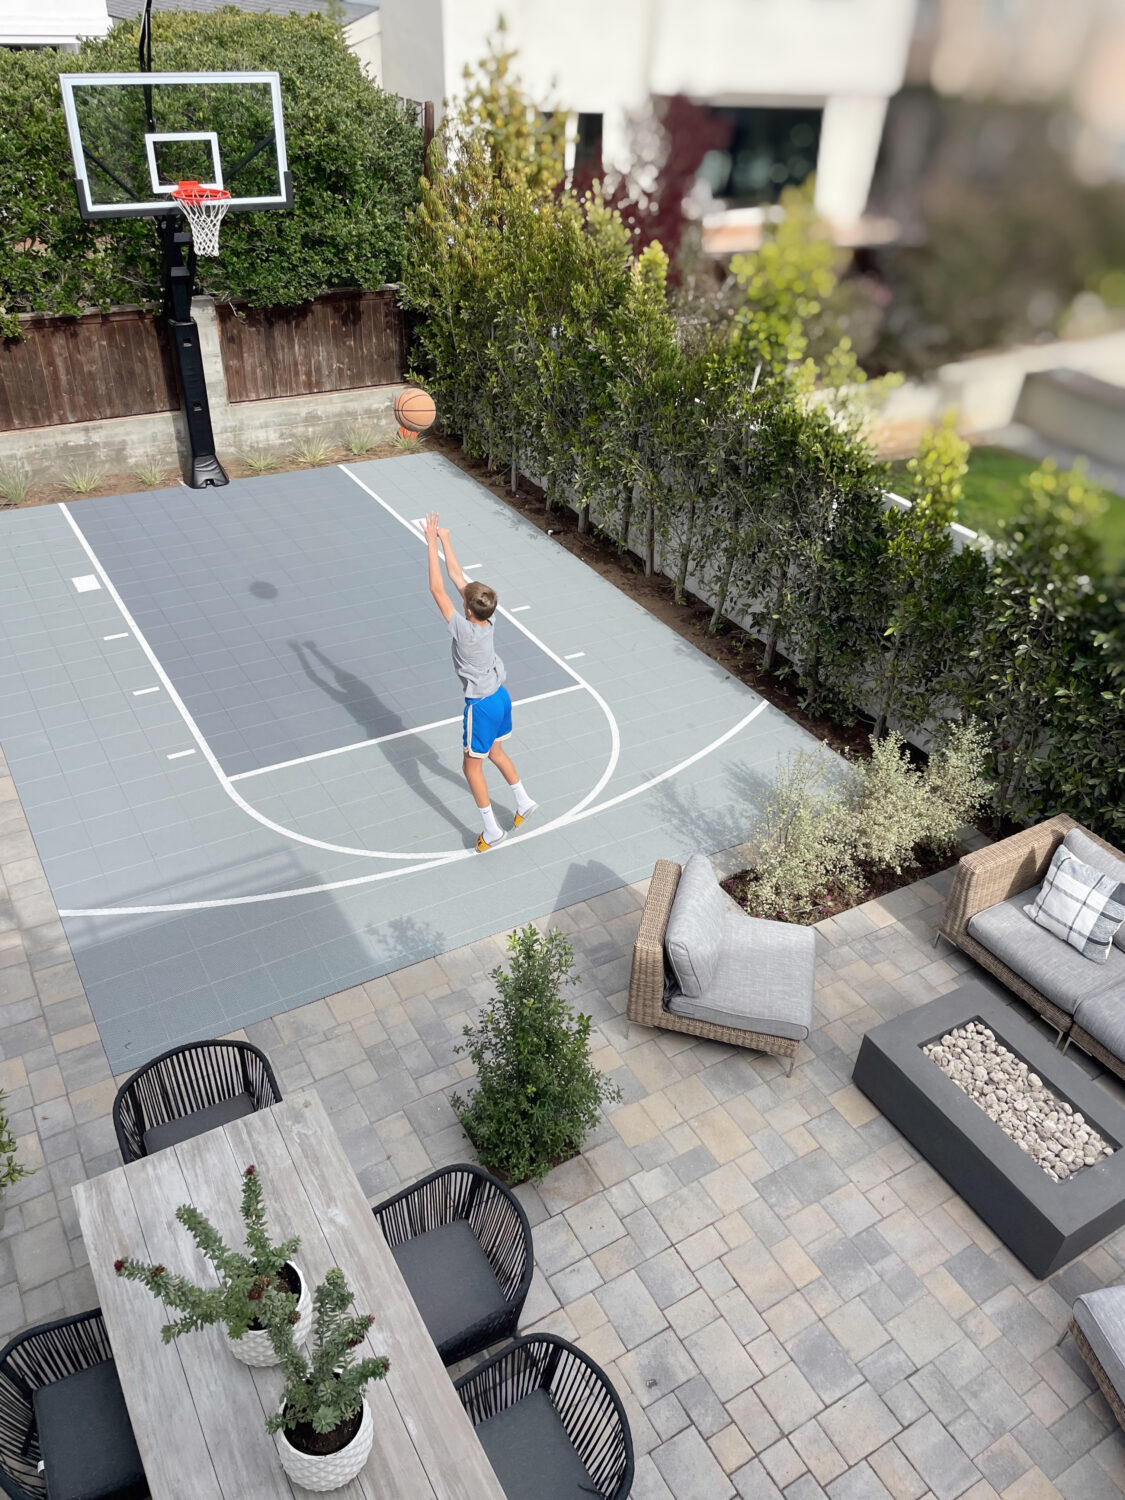
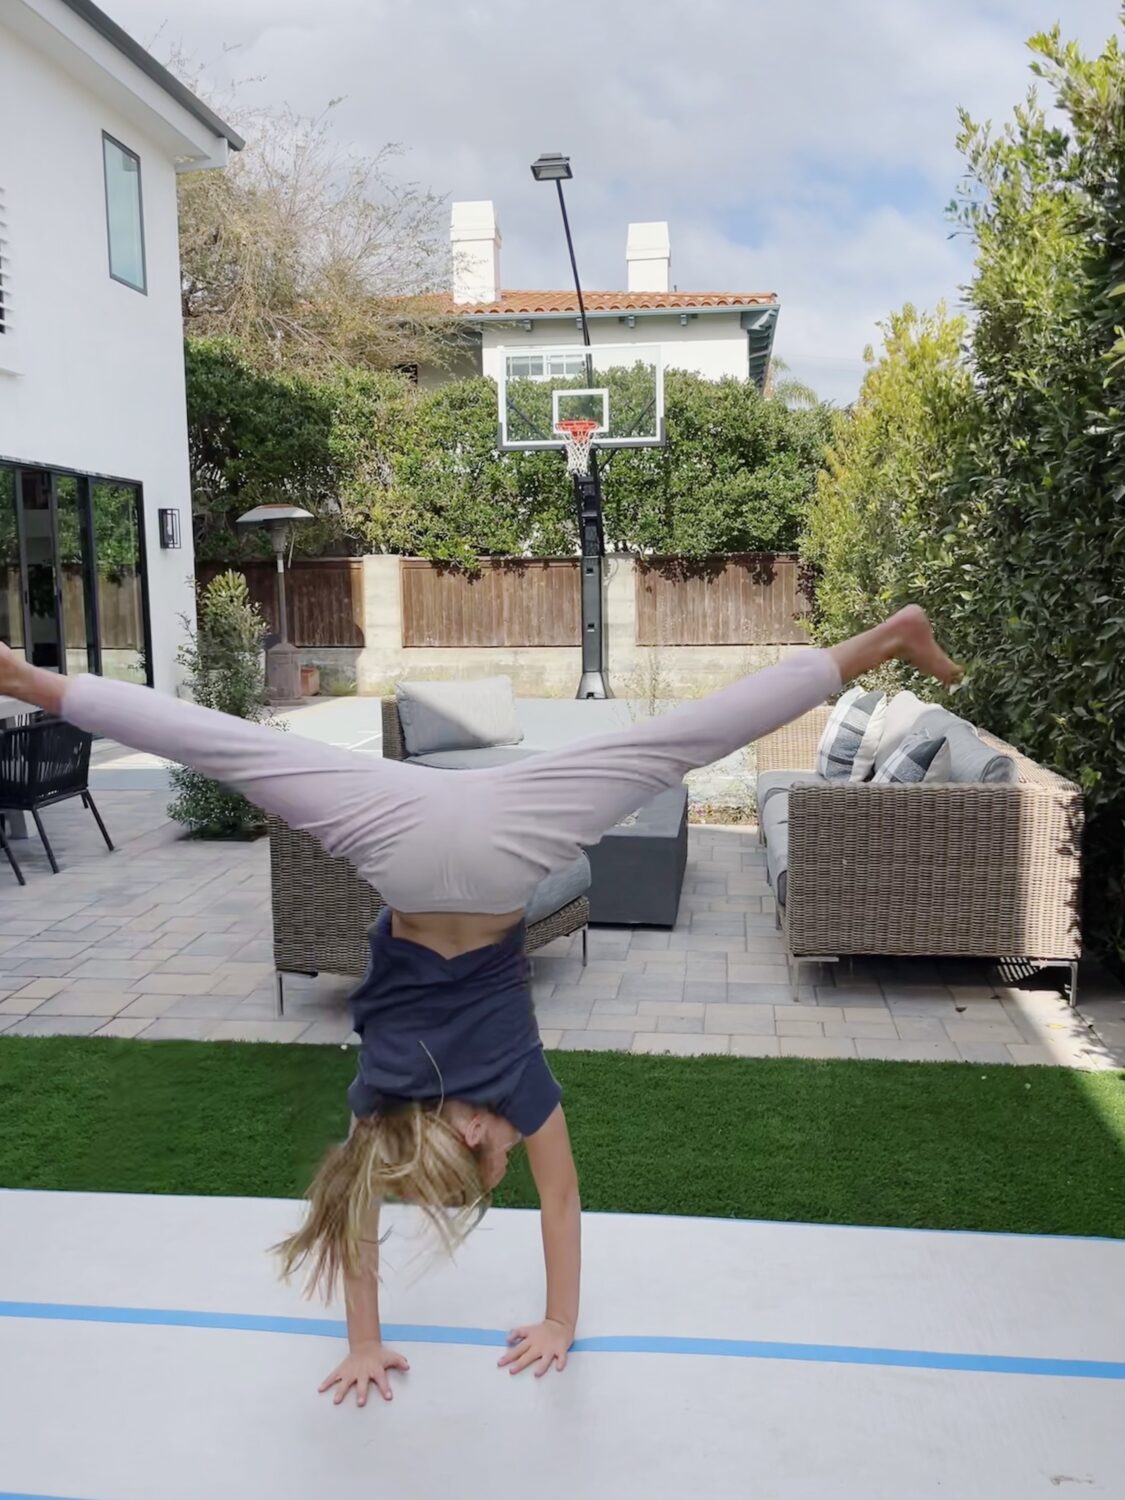
We recently completed an incredible home renovation that not only transformed our house but also redefined our backyard, now featuring a brand-new basketball court! When we first purchased the property, the backyard was essentially a driveway because the garage was situated there. Our major renovation involved converting the old garage into a modern open-concept kitchen and family room, and relocating the garage to the front of the house. This renovation has given us a spacious and functional backyard, perfect for adding a basketball court. In this post, we’ll share all the details of our backyard transformation, including the design elements, plants, furniture, and how you can add a basketball court to your own backyard.

BEFORE PICS:

As a family, we decided to add a sport court for basketball games and a large enough patch of artificial grass for tumbling.   And I definitely wanted a hang out space with a fire pit and dining space.  We worked with Yardzen to make our dream our reality.  Yardzen gave us the plans years ago and now it finally and truly is a reality!   I played the contractor role and hired various sub-contractors to get the work done.

We started by pouring the concrete for the sport court.  The concrete guys leveled our yard (at a slight slant for water) but making sure the sport court area was completely level.   It is important to finish it with a medium broom finish on the concrete, so that the sport court tiles can be properly installed on top.     We painstakingly measured the space to make sure we had room for a 3 point line and to ensure that the free throw line was regulation.  Our court is 18′ wide and 25′ 3″ long with the hoop anchored right in front of the court (allowing 2 ft total to the fence to leave room for the hoop crank).  We purchased our hoop from this company.  We purchased the multi-sport 72/36 with pro rim.   If you order from them (the best hoop for the price – please let them know I referred you).

We hired a sport court expert to order and install our tiles , which includes cutting, anchoring and painting the lines.   Please let me know if you want his number!

After our concrete was poured, we started with the artificial grass.  We had our gardener install the grass, which involves leveling, gravel and decomposed granite for proper drainage.  We installed a 15′ by 15′ square of grass.   It is right off our garage, which is perfect and easily accessible for my daughter’s gymnastics equipment.   It is kid/pet friendly and adds a nice pop of grass without requiring water or causing mud.  🙂

Lastly, we hired a company to install pavers.   We decided on Courtyard stone combo pavers in the dark gray/copper/charcoal color.   They came in and finished in a week – we had over 300 sq ft total.  If you install pavers near your sport court, make sure they are level to the court.  Our pavers were installed before the sport court tiles, so we had the pavers 5/8in above the concrete to ensure they were level to the court once the 5/8in sport court tiles were installed.

AFTER:

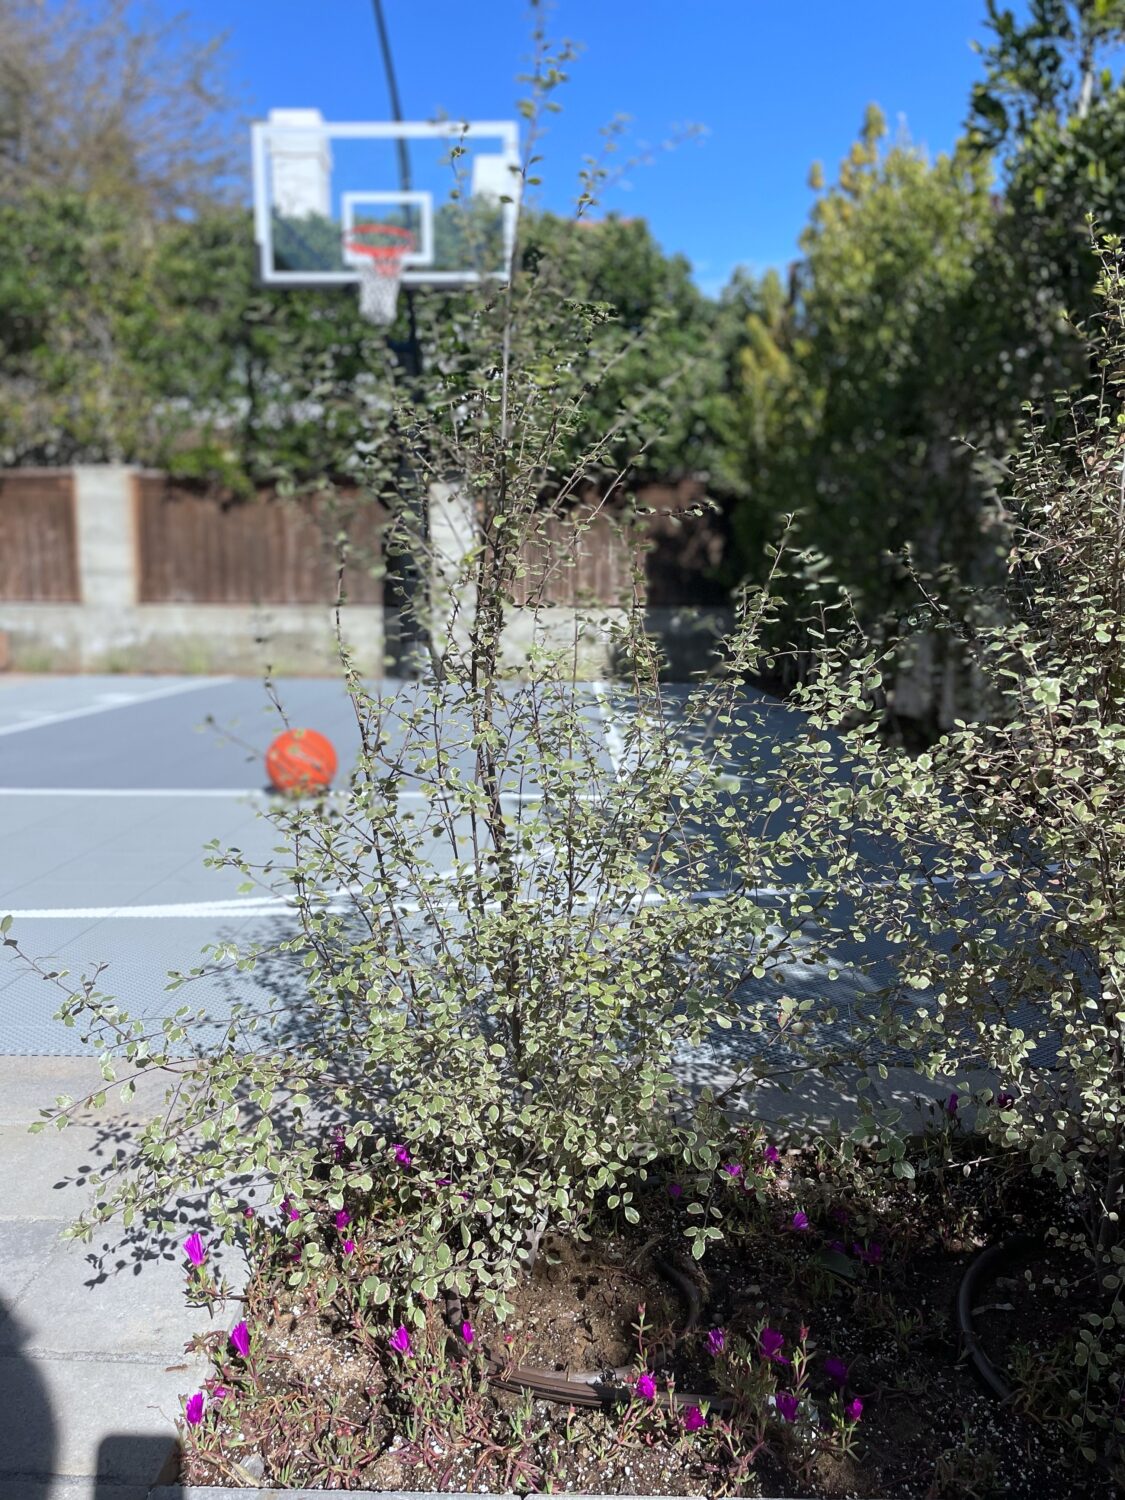
Plant sources: Our privacy hedge is ficus.  For the other plants, I purchased and planted a combination of grasses, ground cover and silver sheen bushes/trees.

Furniture:
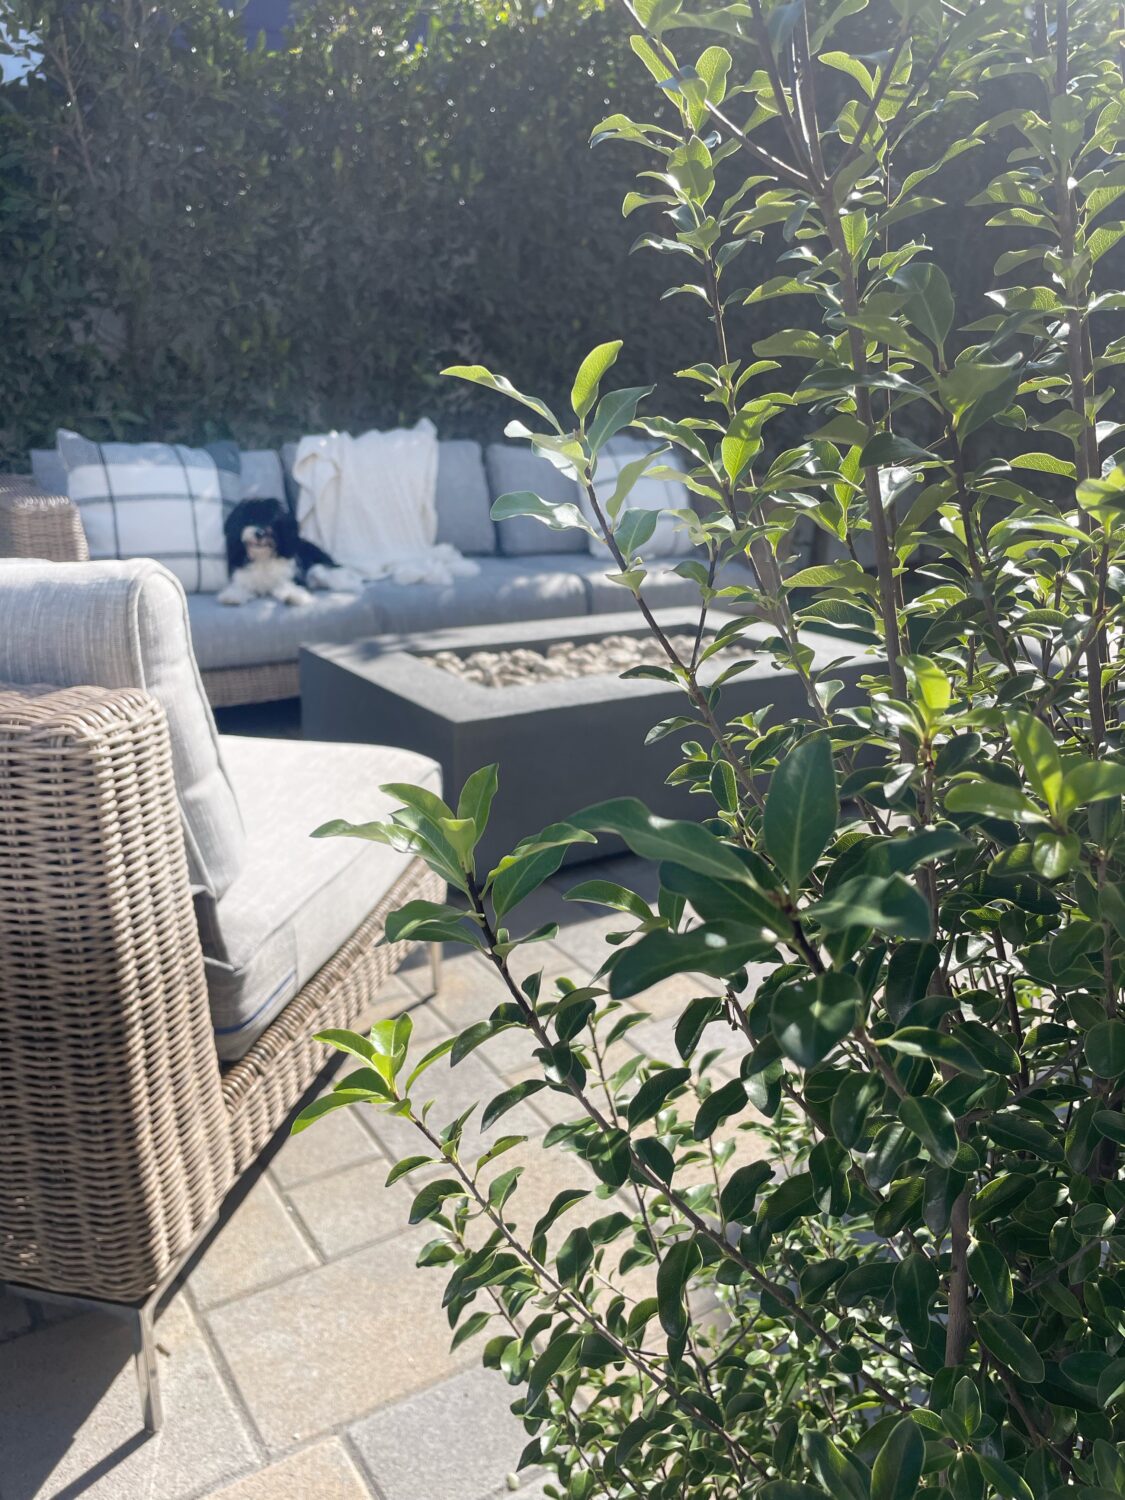
The fire pit is from Terra Outdoor  
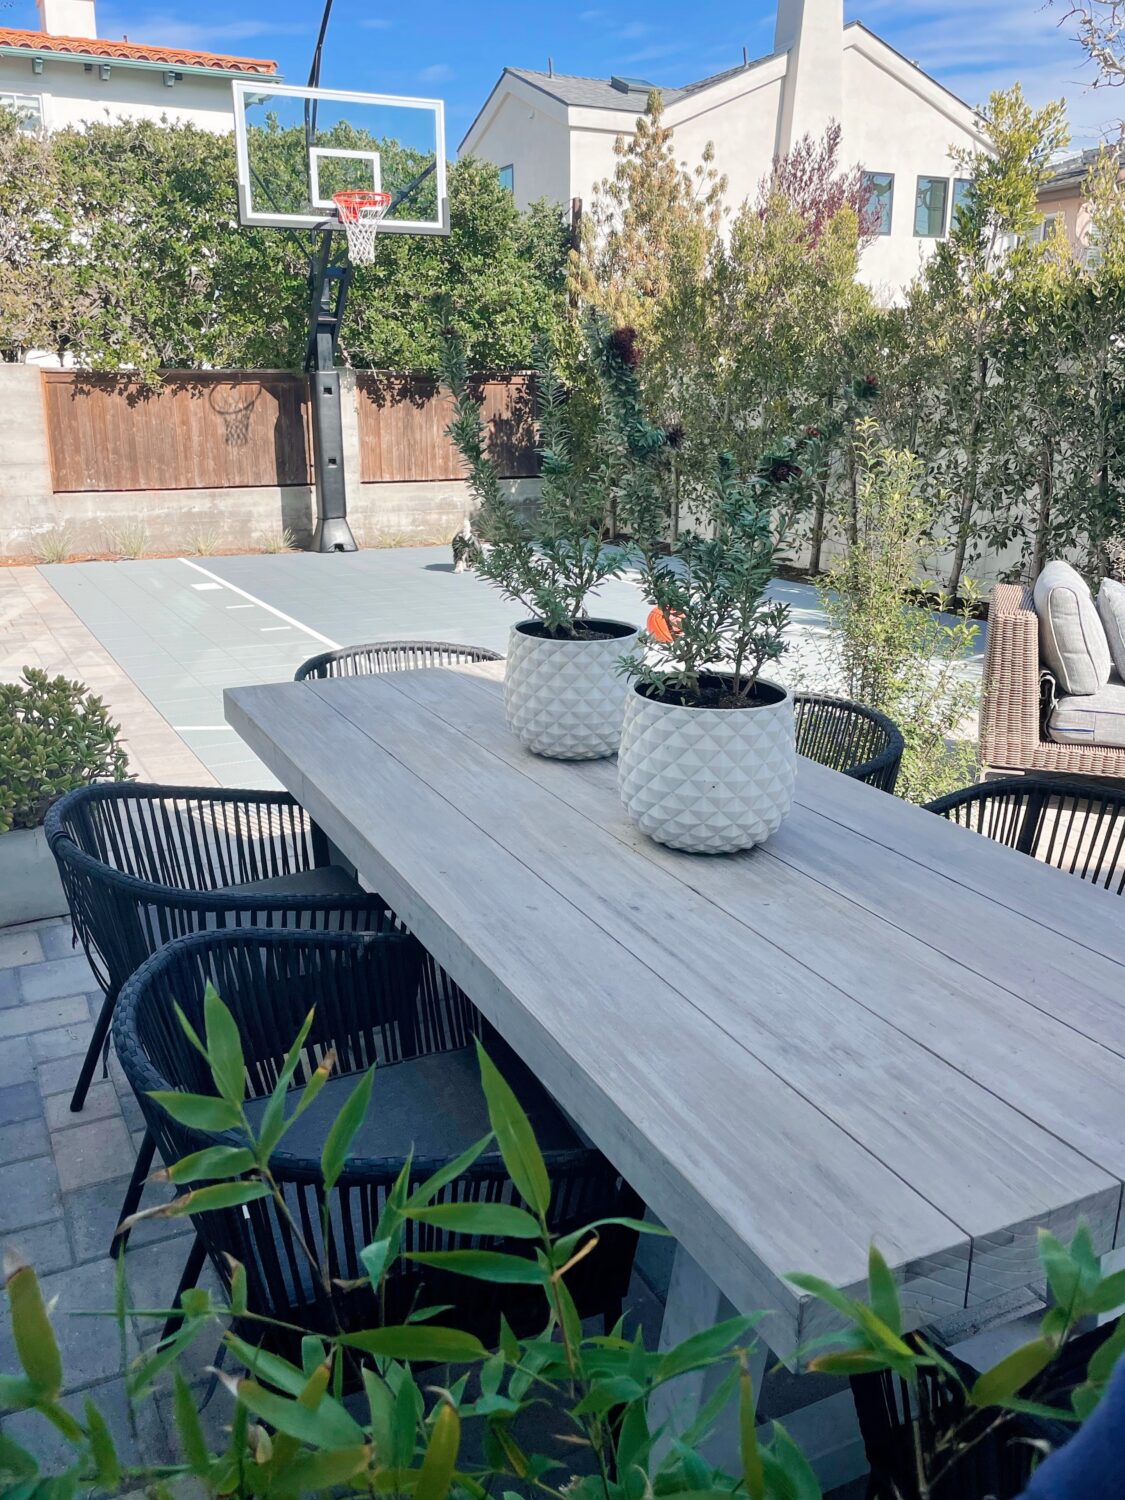
The dining chairs
The dining table is from Article but no longer available.
The sofa and chairs are our fav!   They are the brown wicker from Outer  – linked here.
We love that it is made from recycled materials AND it is incredibly comfortable.  We LOVE how easy it is to keep it clean and dry with the easy to use attached cover.  Use coupon DIONOUTER for 5% off.

Email me at kristindiondesign@gmail.com or DM me on IG for sub-contractor info or for any other information.   Happy to share!  I had an awesome experience with all.

xoxo,

Kristin

teenager boy bathroom reveal

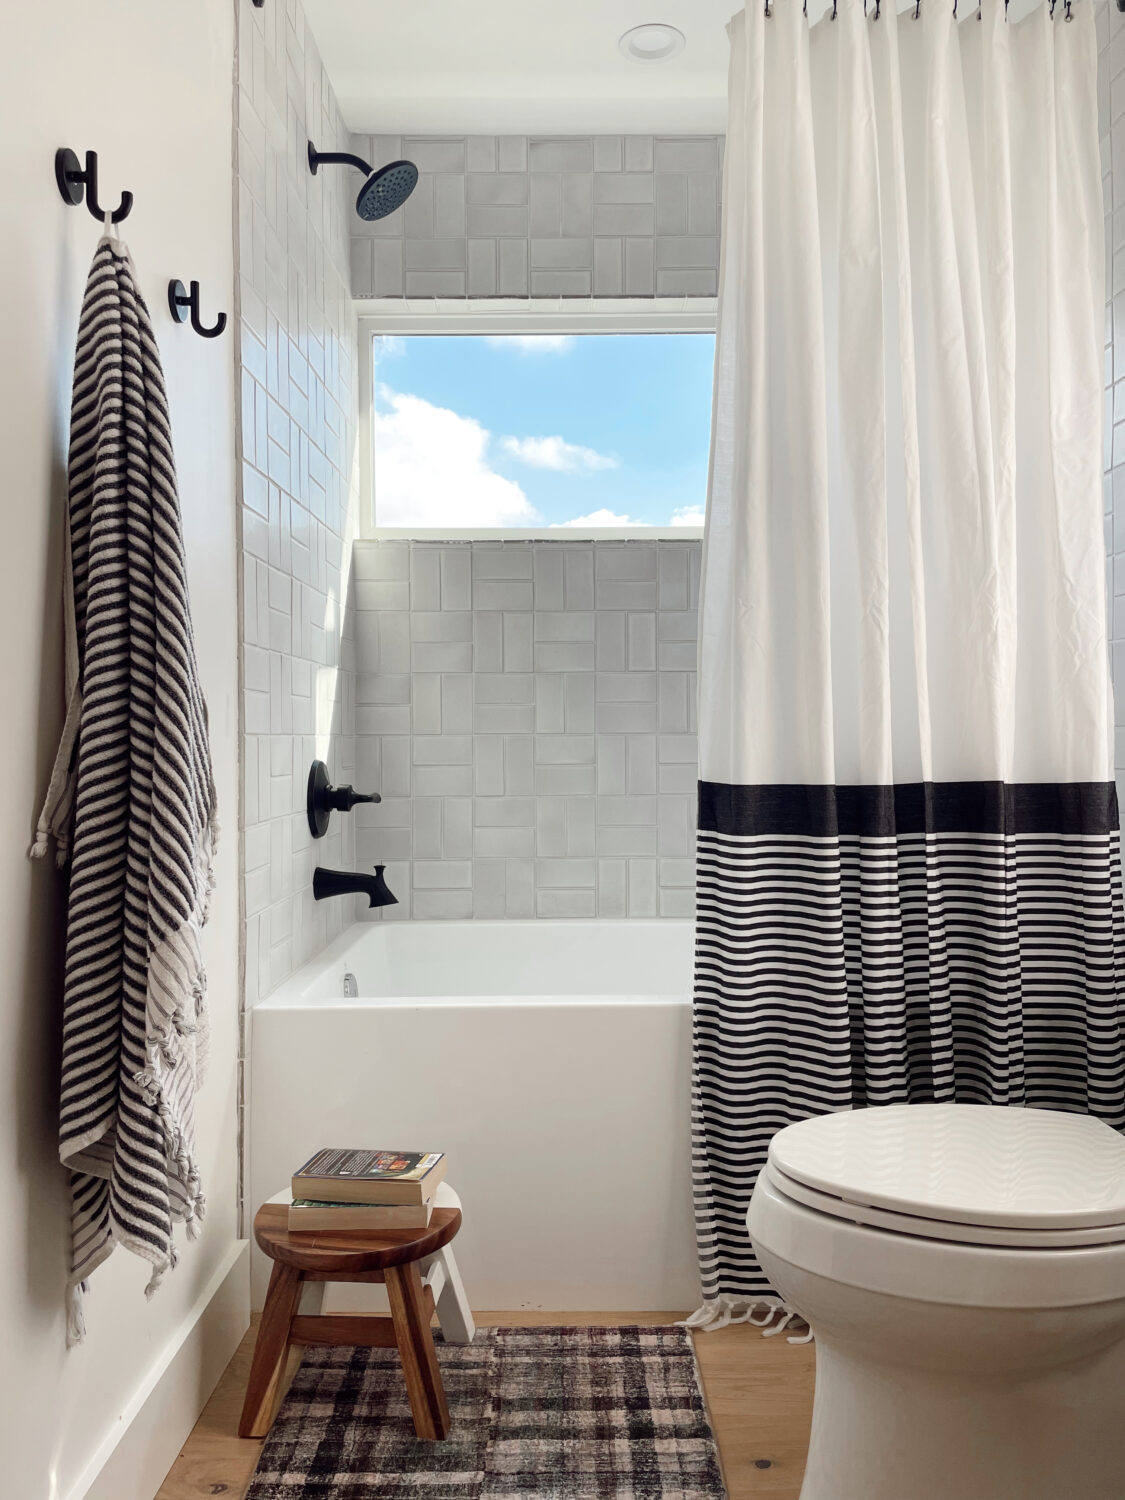
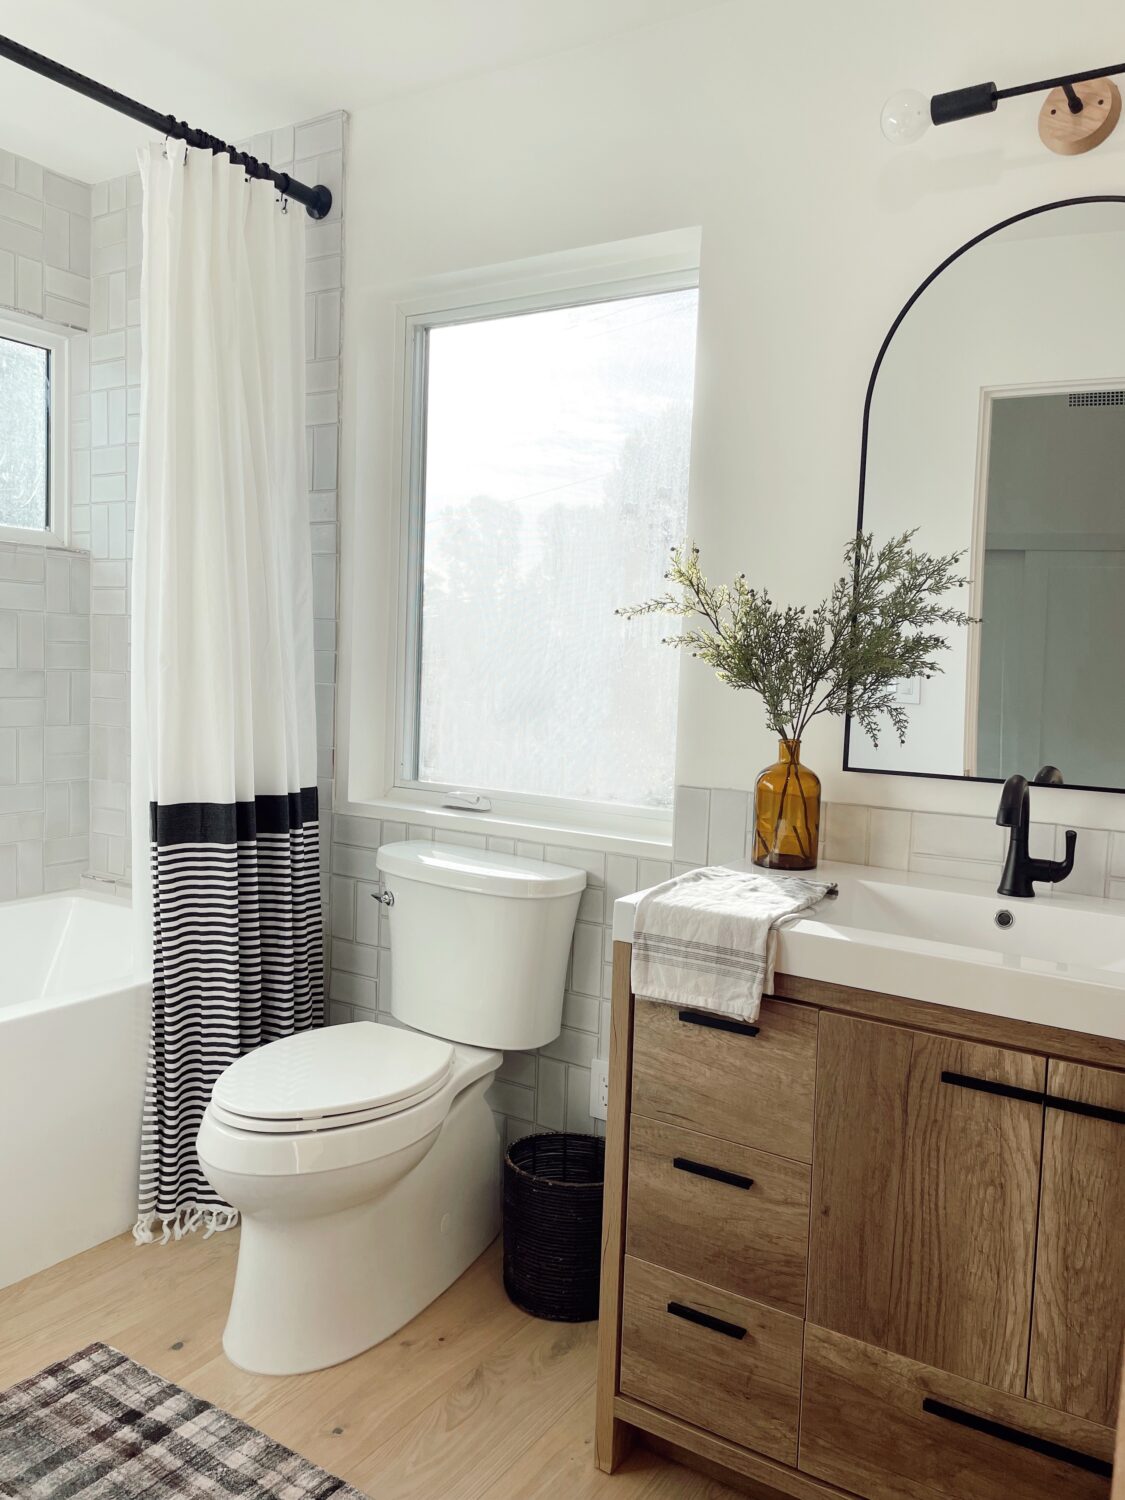
Besides a missing window covering, this boy’s bathroom is done!   I have encountered many hiccups when trying to reveal rooms in our newly remodeled home because not all of the details are done.  But this one is close enough!  We all, especially him, love it!  First, let’s talk about the beautiful tile, tile pattern and huge tub.

patterned tile, window in the shower, big tub, shower curtain

The tiles are from Arto.  They are 3×6 Studio Field Sierra Snow.   I decided to display them in a basketweave pattern.  I love mixing patterns, so I had fun mixing in stripes and plaids against the pattern of the tile.

The bathtub is a large acrylic alcove tub that is larger than what people typically use but I wanted a large shower and a large soaking tub and we had the space so why not?!  It measures 60″ (L) x 36″ (W) x 21-5/8″ (D).

After being an almost exclusively delta faucet purchaser for my faucets, I was lucky enough to work with Delta Faucet!  A dream!  This tub/shower combo faucet is the Kayra Monitor 14 Series tub & shower trim in matte black.   It is beauty meets function at it’s best.  I will link all accessories below.

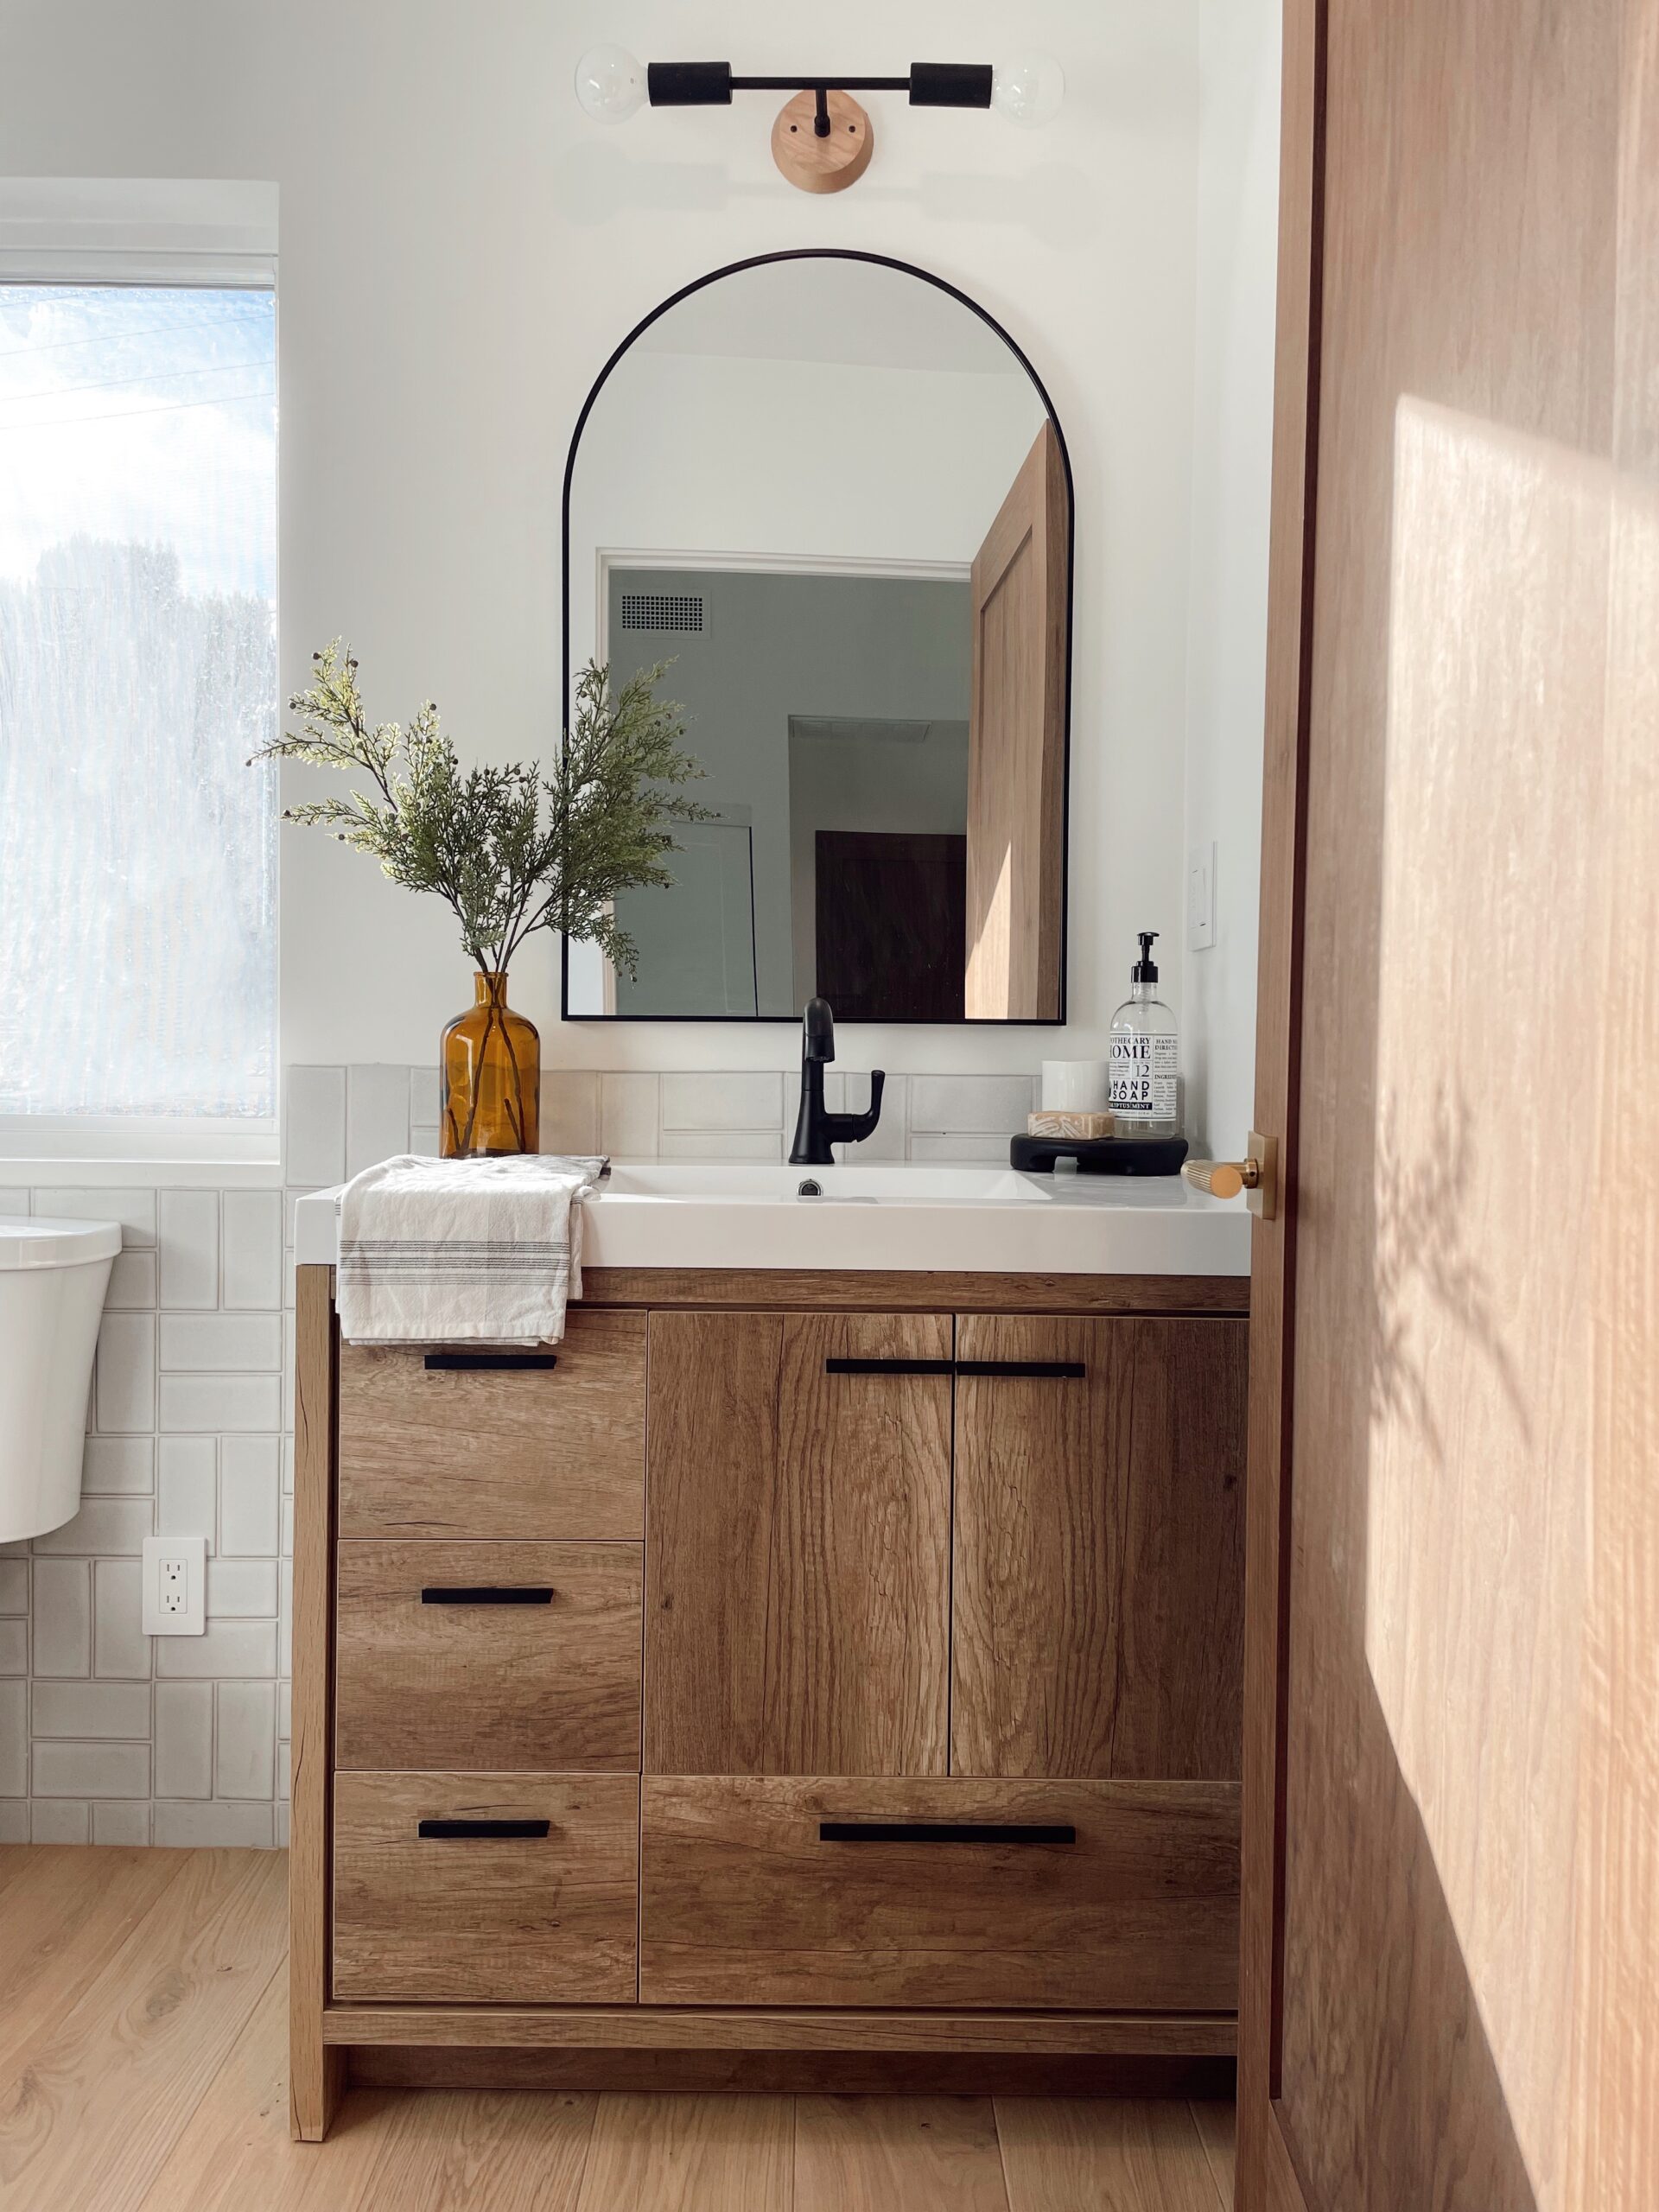
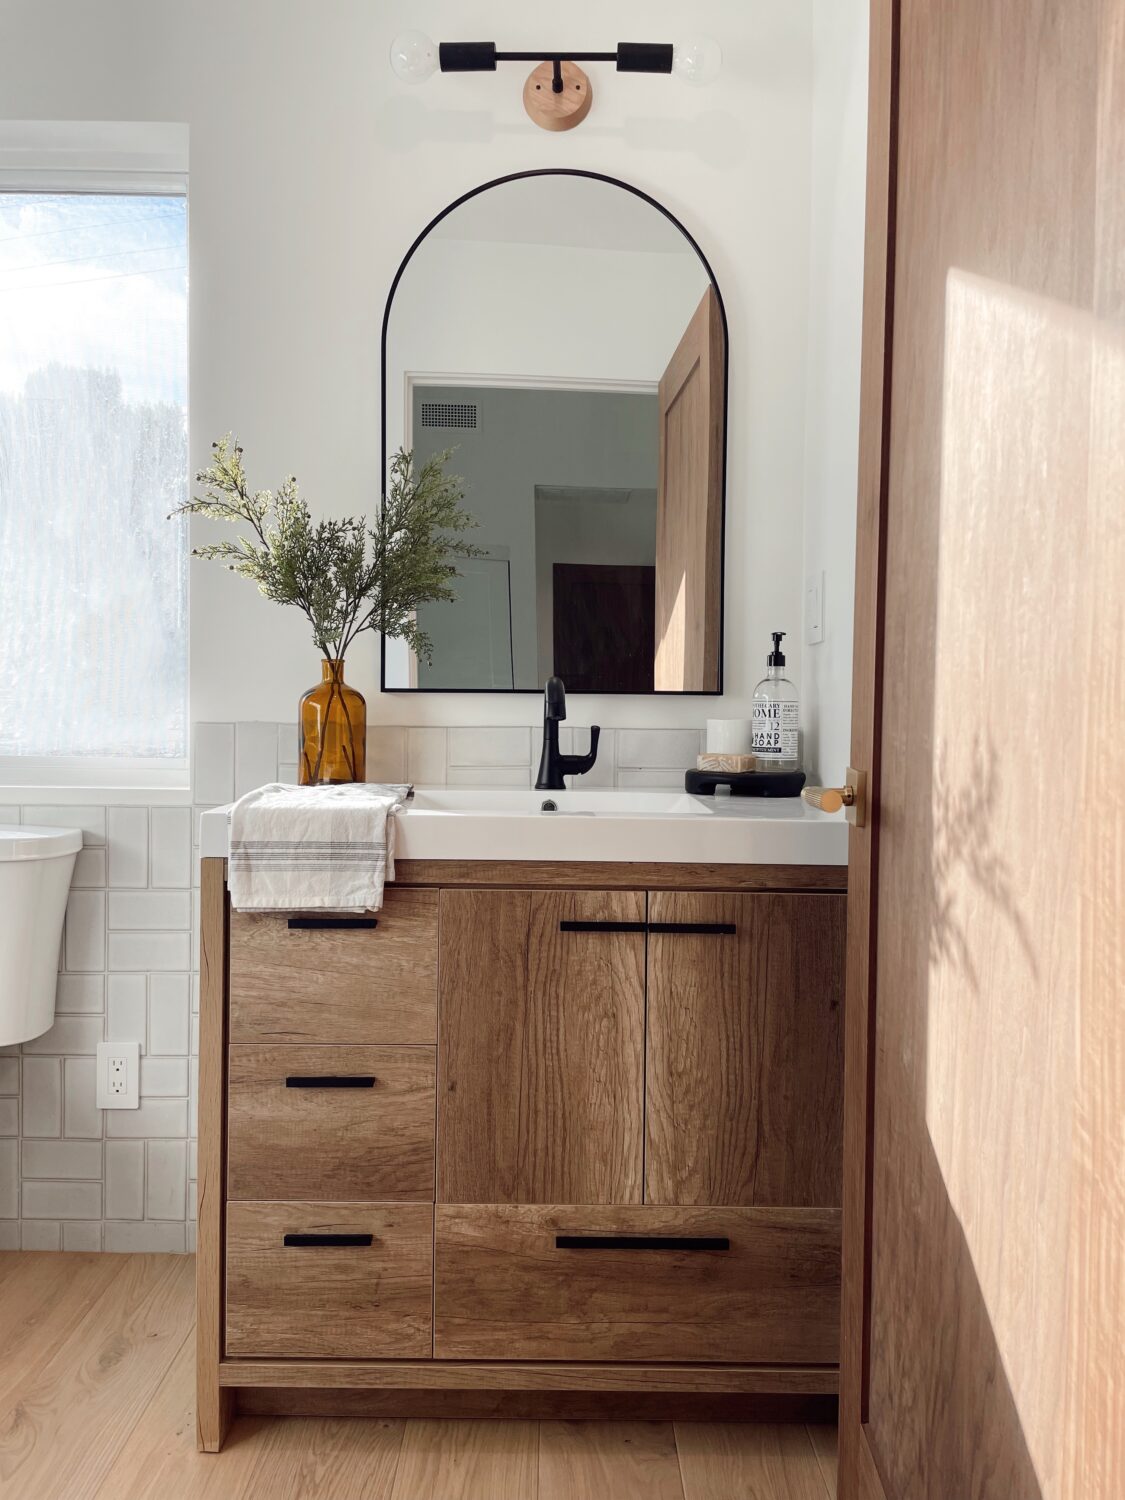
Let’s talk about the sink/vanity situation.   It is what you see when you walk in and it does not disappoint.

vanity and mirror with a beautiful rustic vanity

We bought this vanity from West Elm – it is their Donovan 36in vanity in white oak (note: it is a white oak engineered finish, easy to wipe down).  It comes with a beautiful white resin counter and sink and beautiful black hardware.

The faucet is the Kayra single handle pull-down faucet in matte black from Delta Faucet.   It is SO nice to pull it down for easy cleaning, especially for those hard to reach toothpaste spots …

Ok let me link all the accessories for you!   Styling can make a room FOR SURE.

accessories linked in a boy bathroom makeover


Last, but certainly not least, we decided to run our hardwood floors into all of our bathrooms, except the primary.  The floors are gorgeous.  They are “fika” from Stuga.

Hope you like it!  Let me know your favorite part below in comments!  You can find all this and more on my Instagram and Pinterest.  Thanks for reading!

xoxo,

Kristin

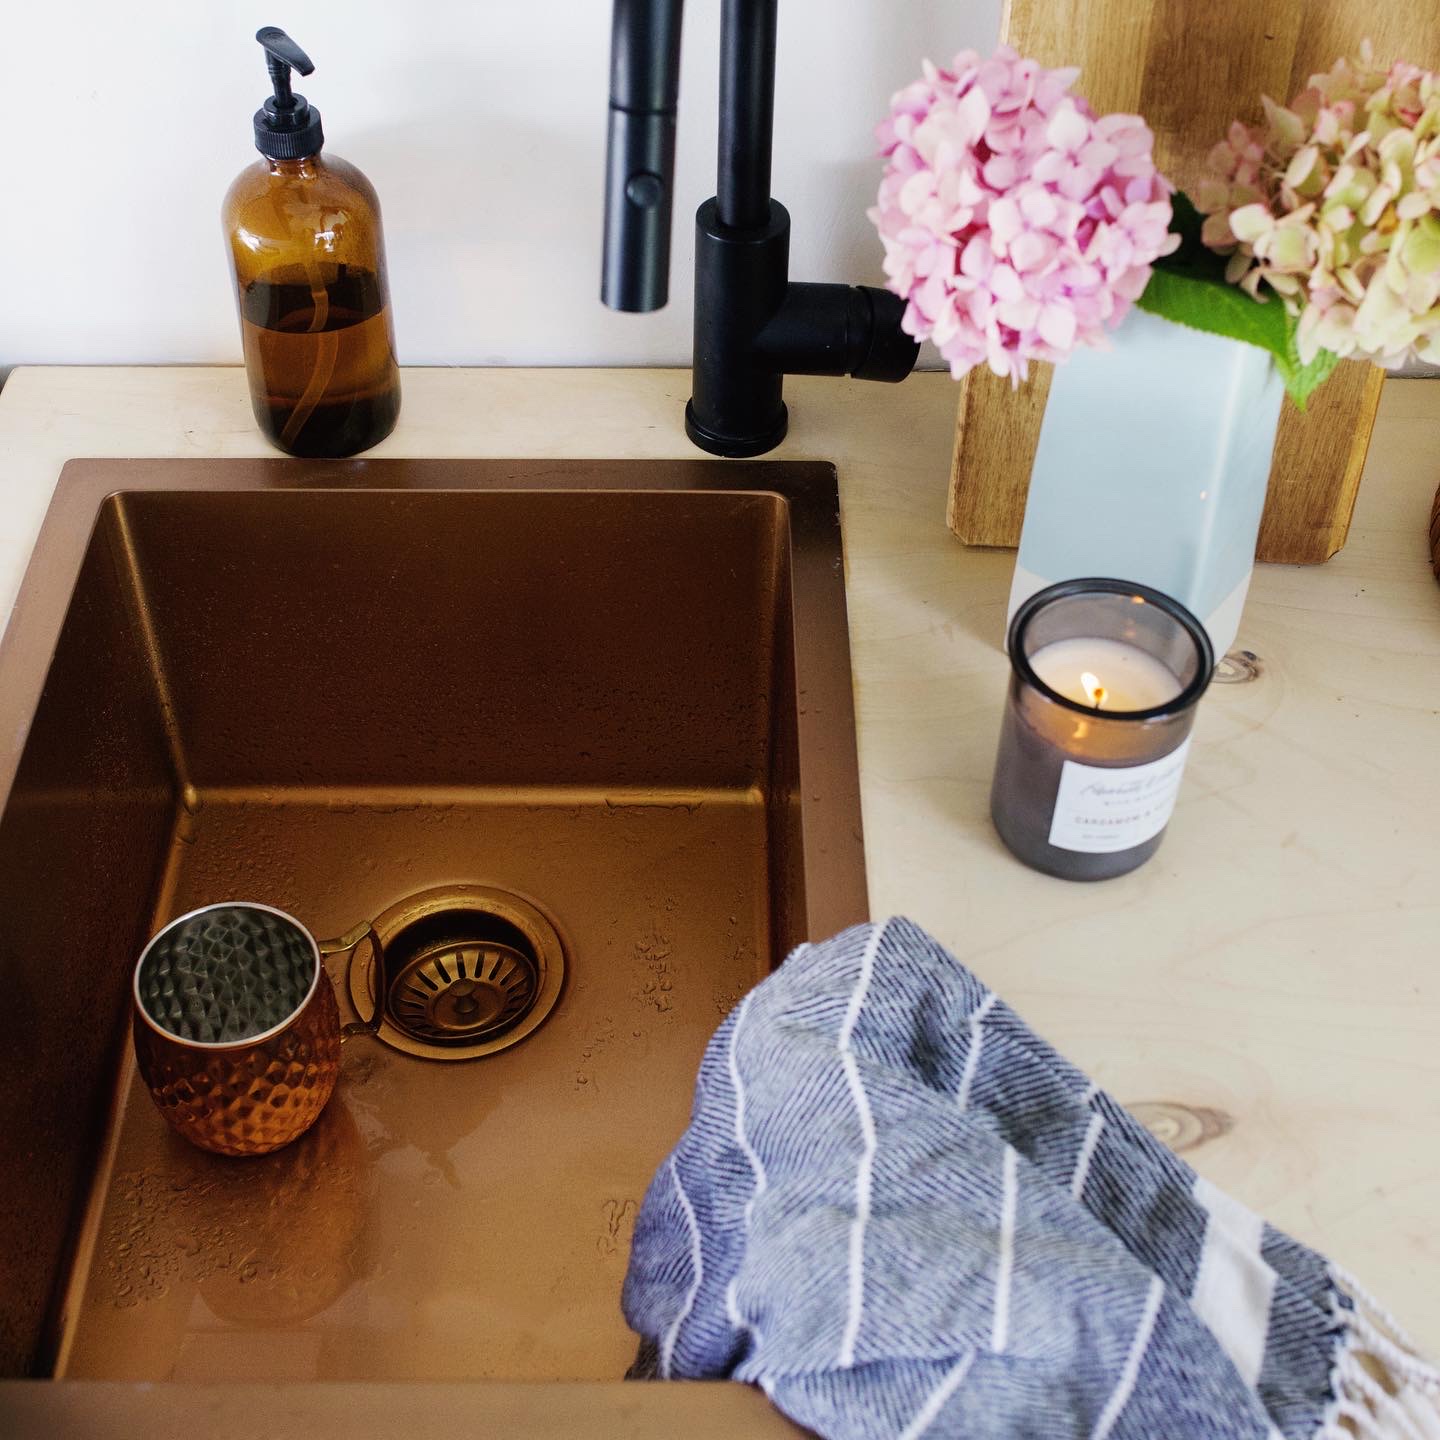
our van’s sink + faucet

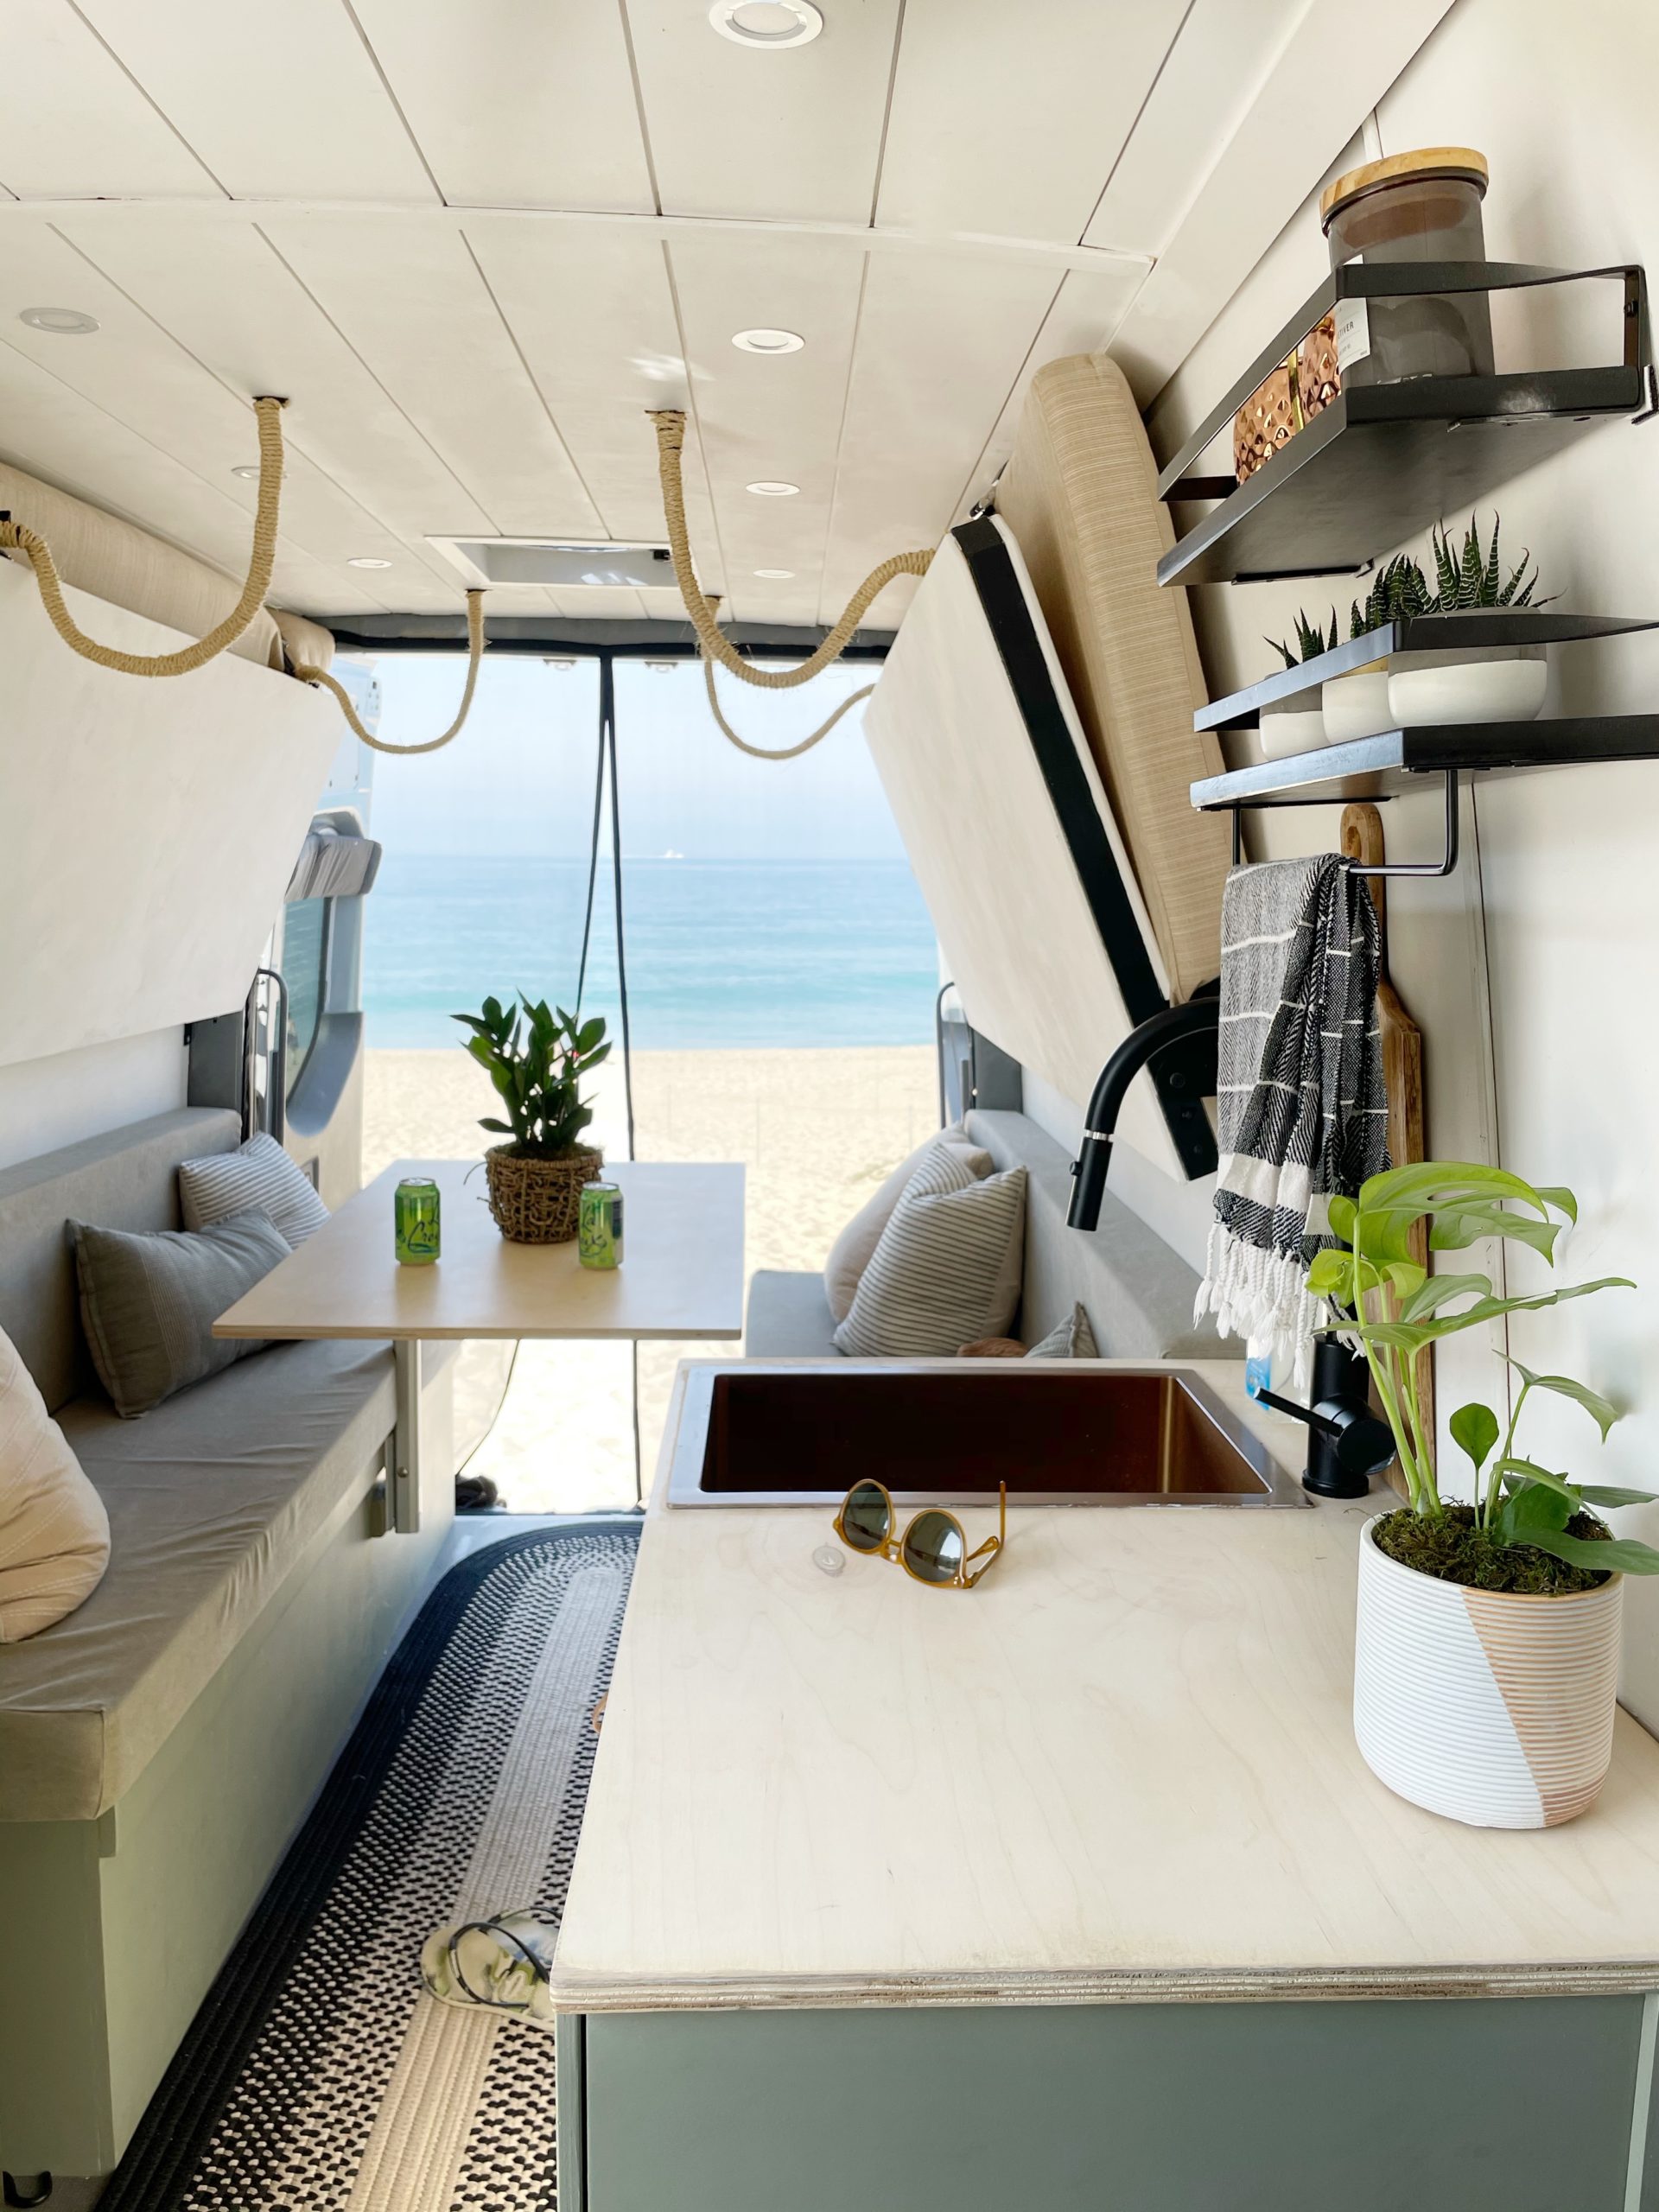
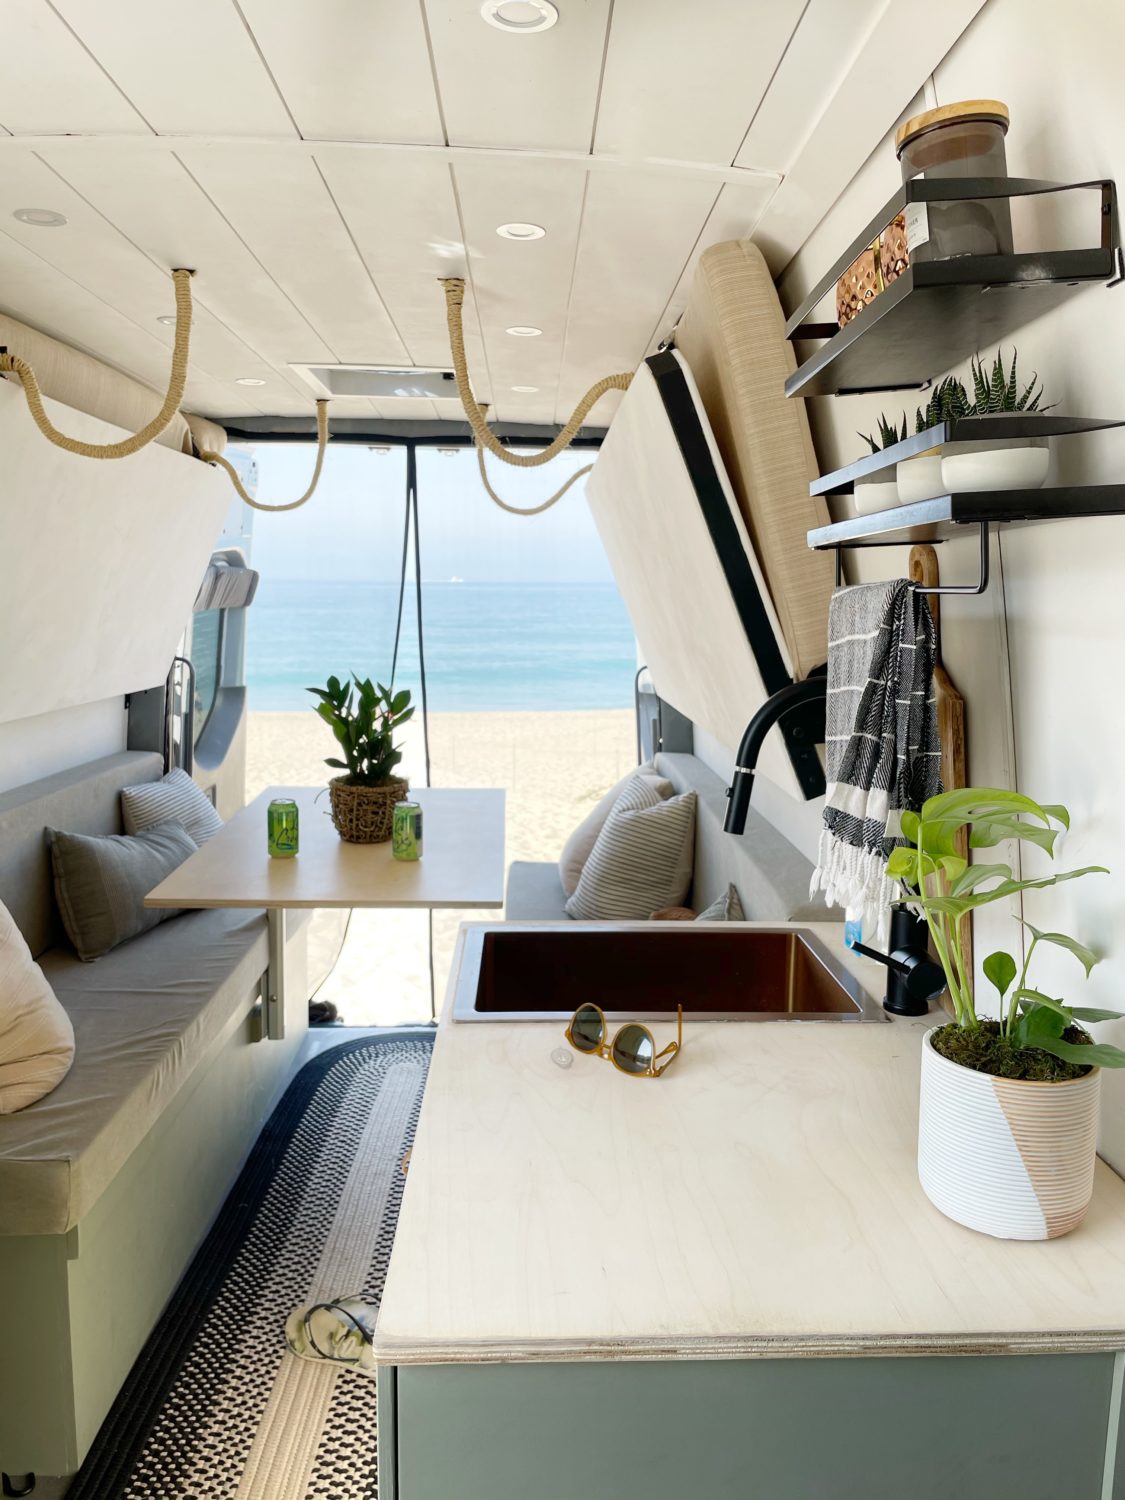
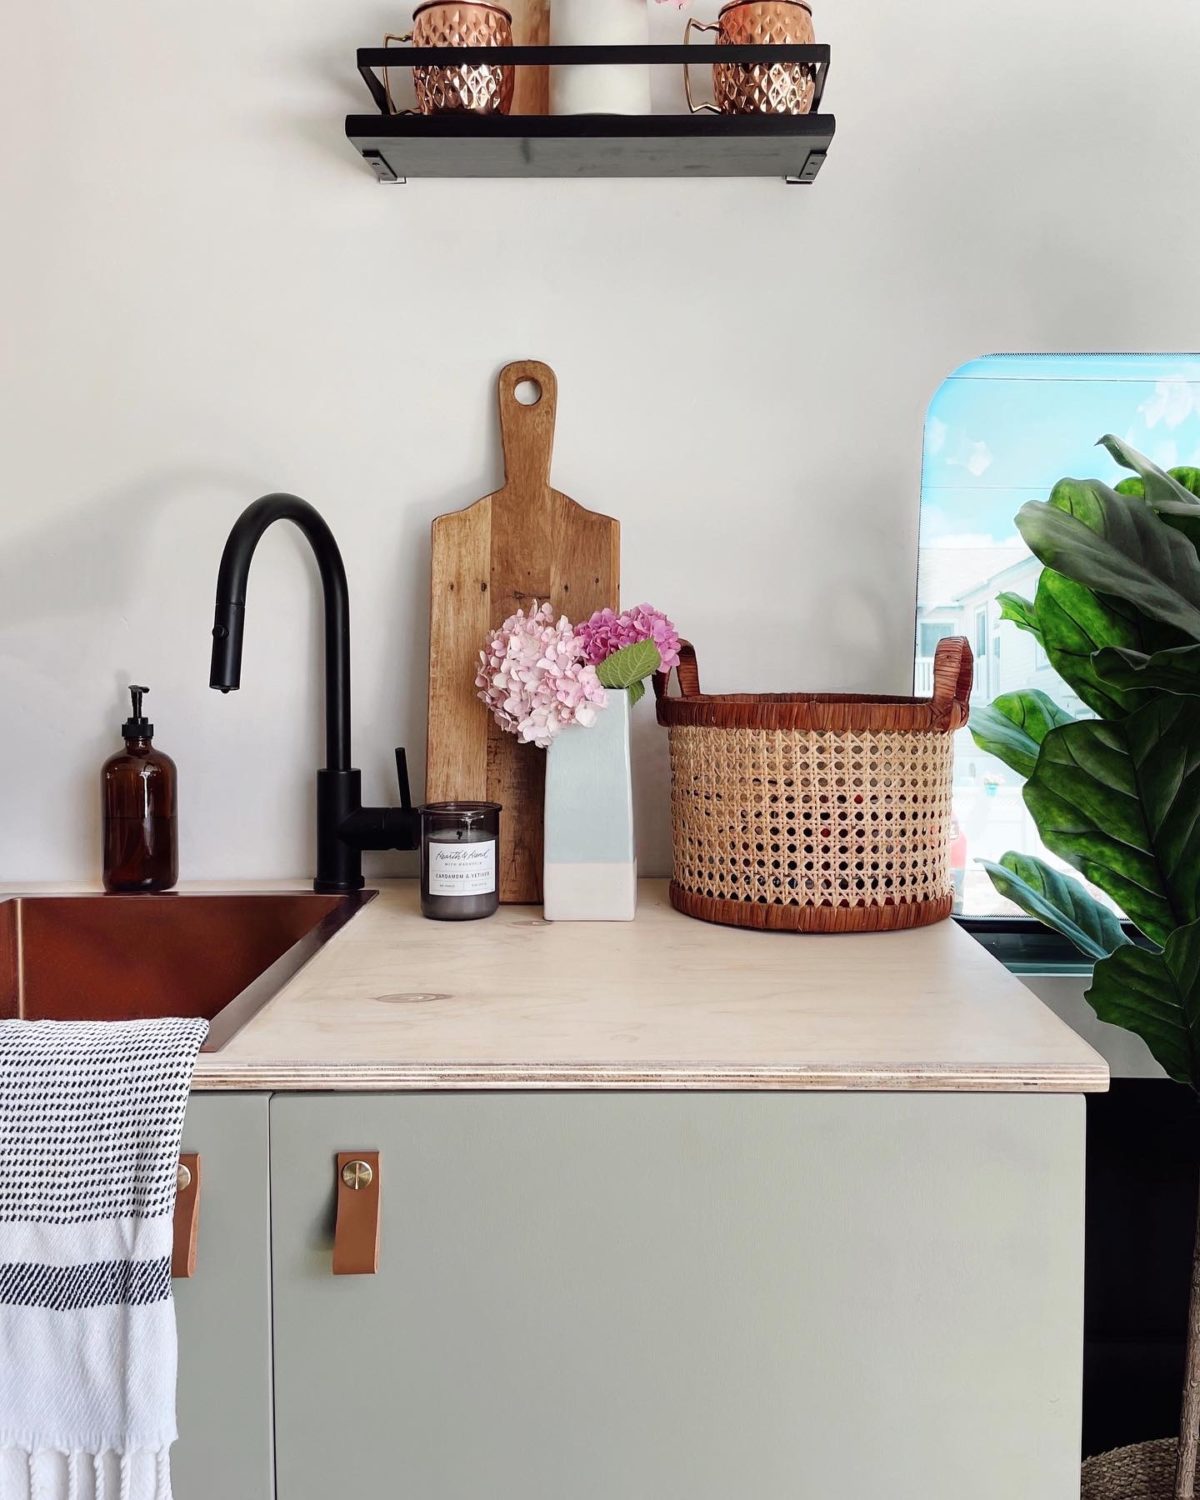
When we converted our van, one of our favorite additions was the sink and faucet!  This isn’t just any sink and faucet – it is a dream sink and a beautiful faucet.  I wanted our van to feel like our home on wheels, so naturally I was as picky about our van products as I am for our home.  I went with an earthy color palette – a creamy white, green, black and bronze.   I instantly fell in love with our bronze sink the moment I first laid eyes on it.   And how dreamy to have a big deep sink (15in feels BIG in a van) in a van, especially when camping.

I get asked OFTEN how I choose products for my designs without seeing them in person.   Honestly, if I cannot see the products in person, I make sure the company I am ordering from has a good return policy.  Luckily, I live close to a Ferguson showroom, so I booked an appointment and got to explore my products in person before making a final decision.  I made an appointment and toured the showroom with a showroom designer, who was super helpful.   The designer I worked with put together my order and managed the process.  Easy peasy.   But if you can’t visit a showroom, I know from experience that Ferguson/build.com has a good return policy for online purchases.  🙂

Click here for our sink.

Click here for our faucet.

I was gifted these products but all of my opinions are my own and am truly in love with these products.
xoxo,

Kristin

Etsy lighting finds

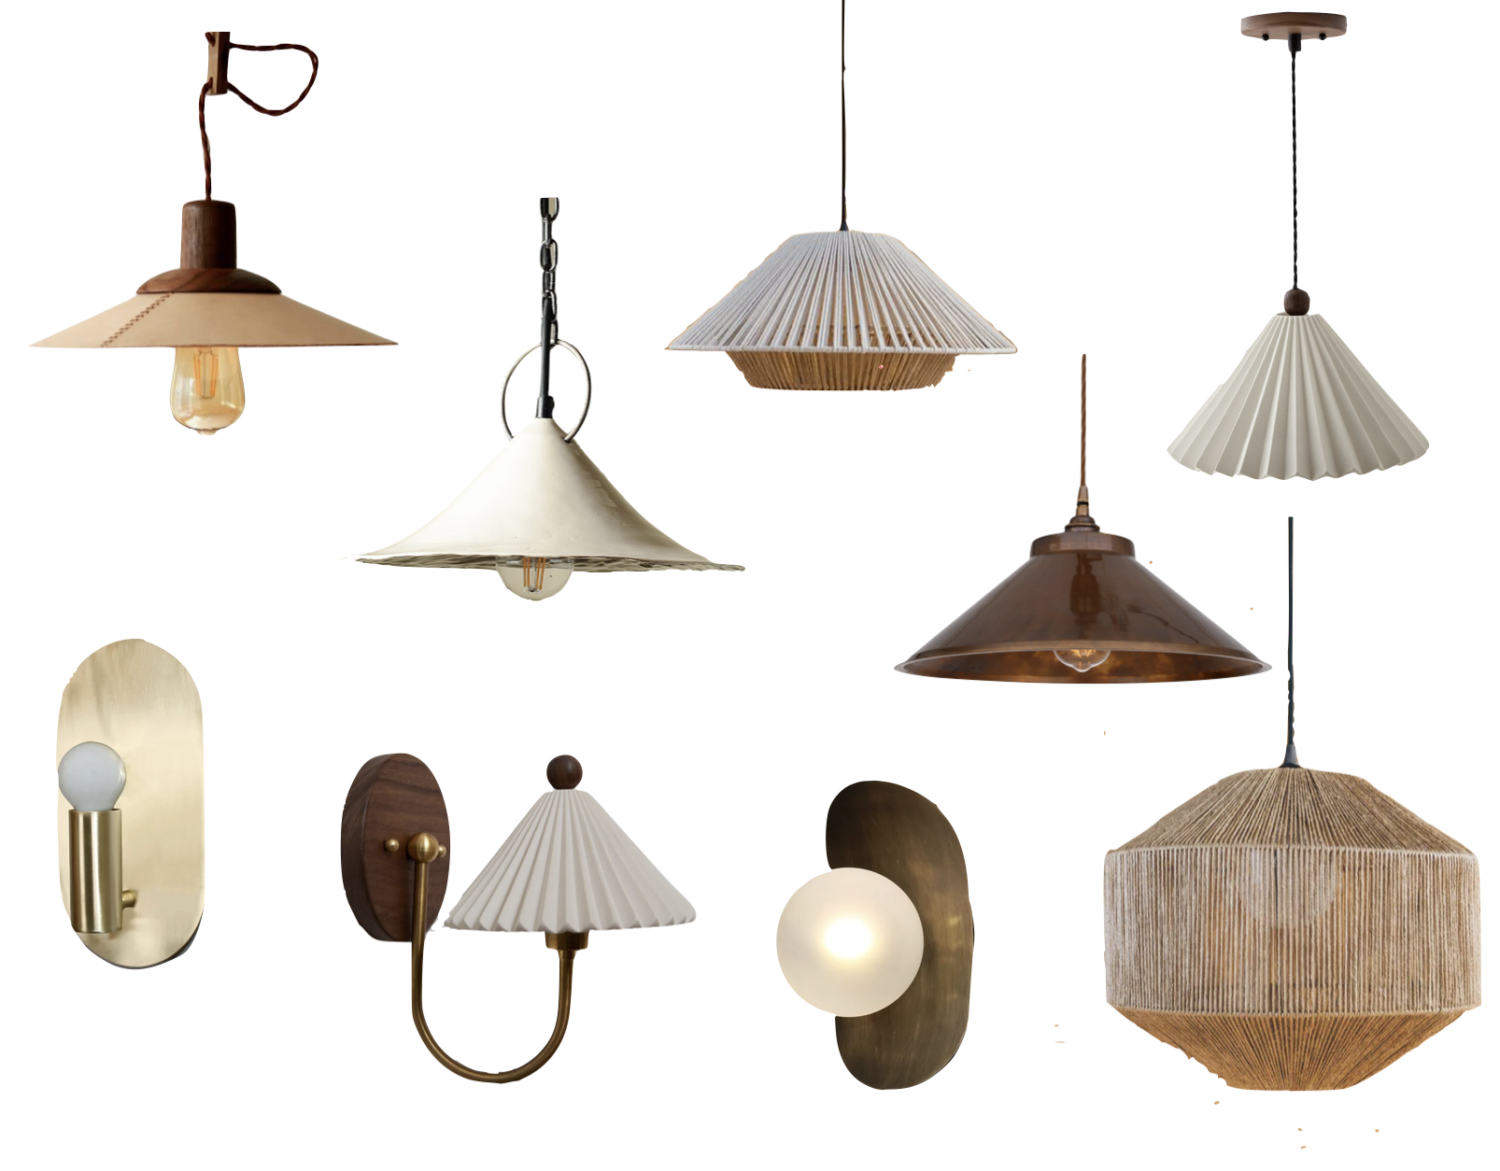
As promised, here is a curated list of my favorite pendant and wall sconce lights from Etsy — affordable, high quality and handcrafted lighting.  I purchased several of these lights for our new home and can attest to their beauty and quality.

After countless hours of searching the internet for good lighting, I am so thankful I found these artists who DELIVER handcrafted quality goodness.  I am so impressed.   I truly believe you guys will love every. single. one of the lighting shops I found.  And the prices.  You will love the prices.   The lights are each linked below.
Scroll to the bottom to read which ones I have already bought and where I am putting them in my house.

a curated collection of affordable and quality handcrafted lighting options from etsy

Which is your fav?  I purchased the bottom row.  The bottom left wall sconces are going in my dining room.  The fluted ceramic sconces will be in my powder room.  The rectangular disc sconces will be in my entry and the bottom right pendant is also going in my entry (I customized the size to a 24in diameter).  I am considering several of the top pendants for my kitchen.  I CANNOT WAIT to install these beauties!

xoxo,

Kristin


new fall decor

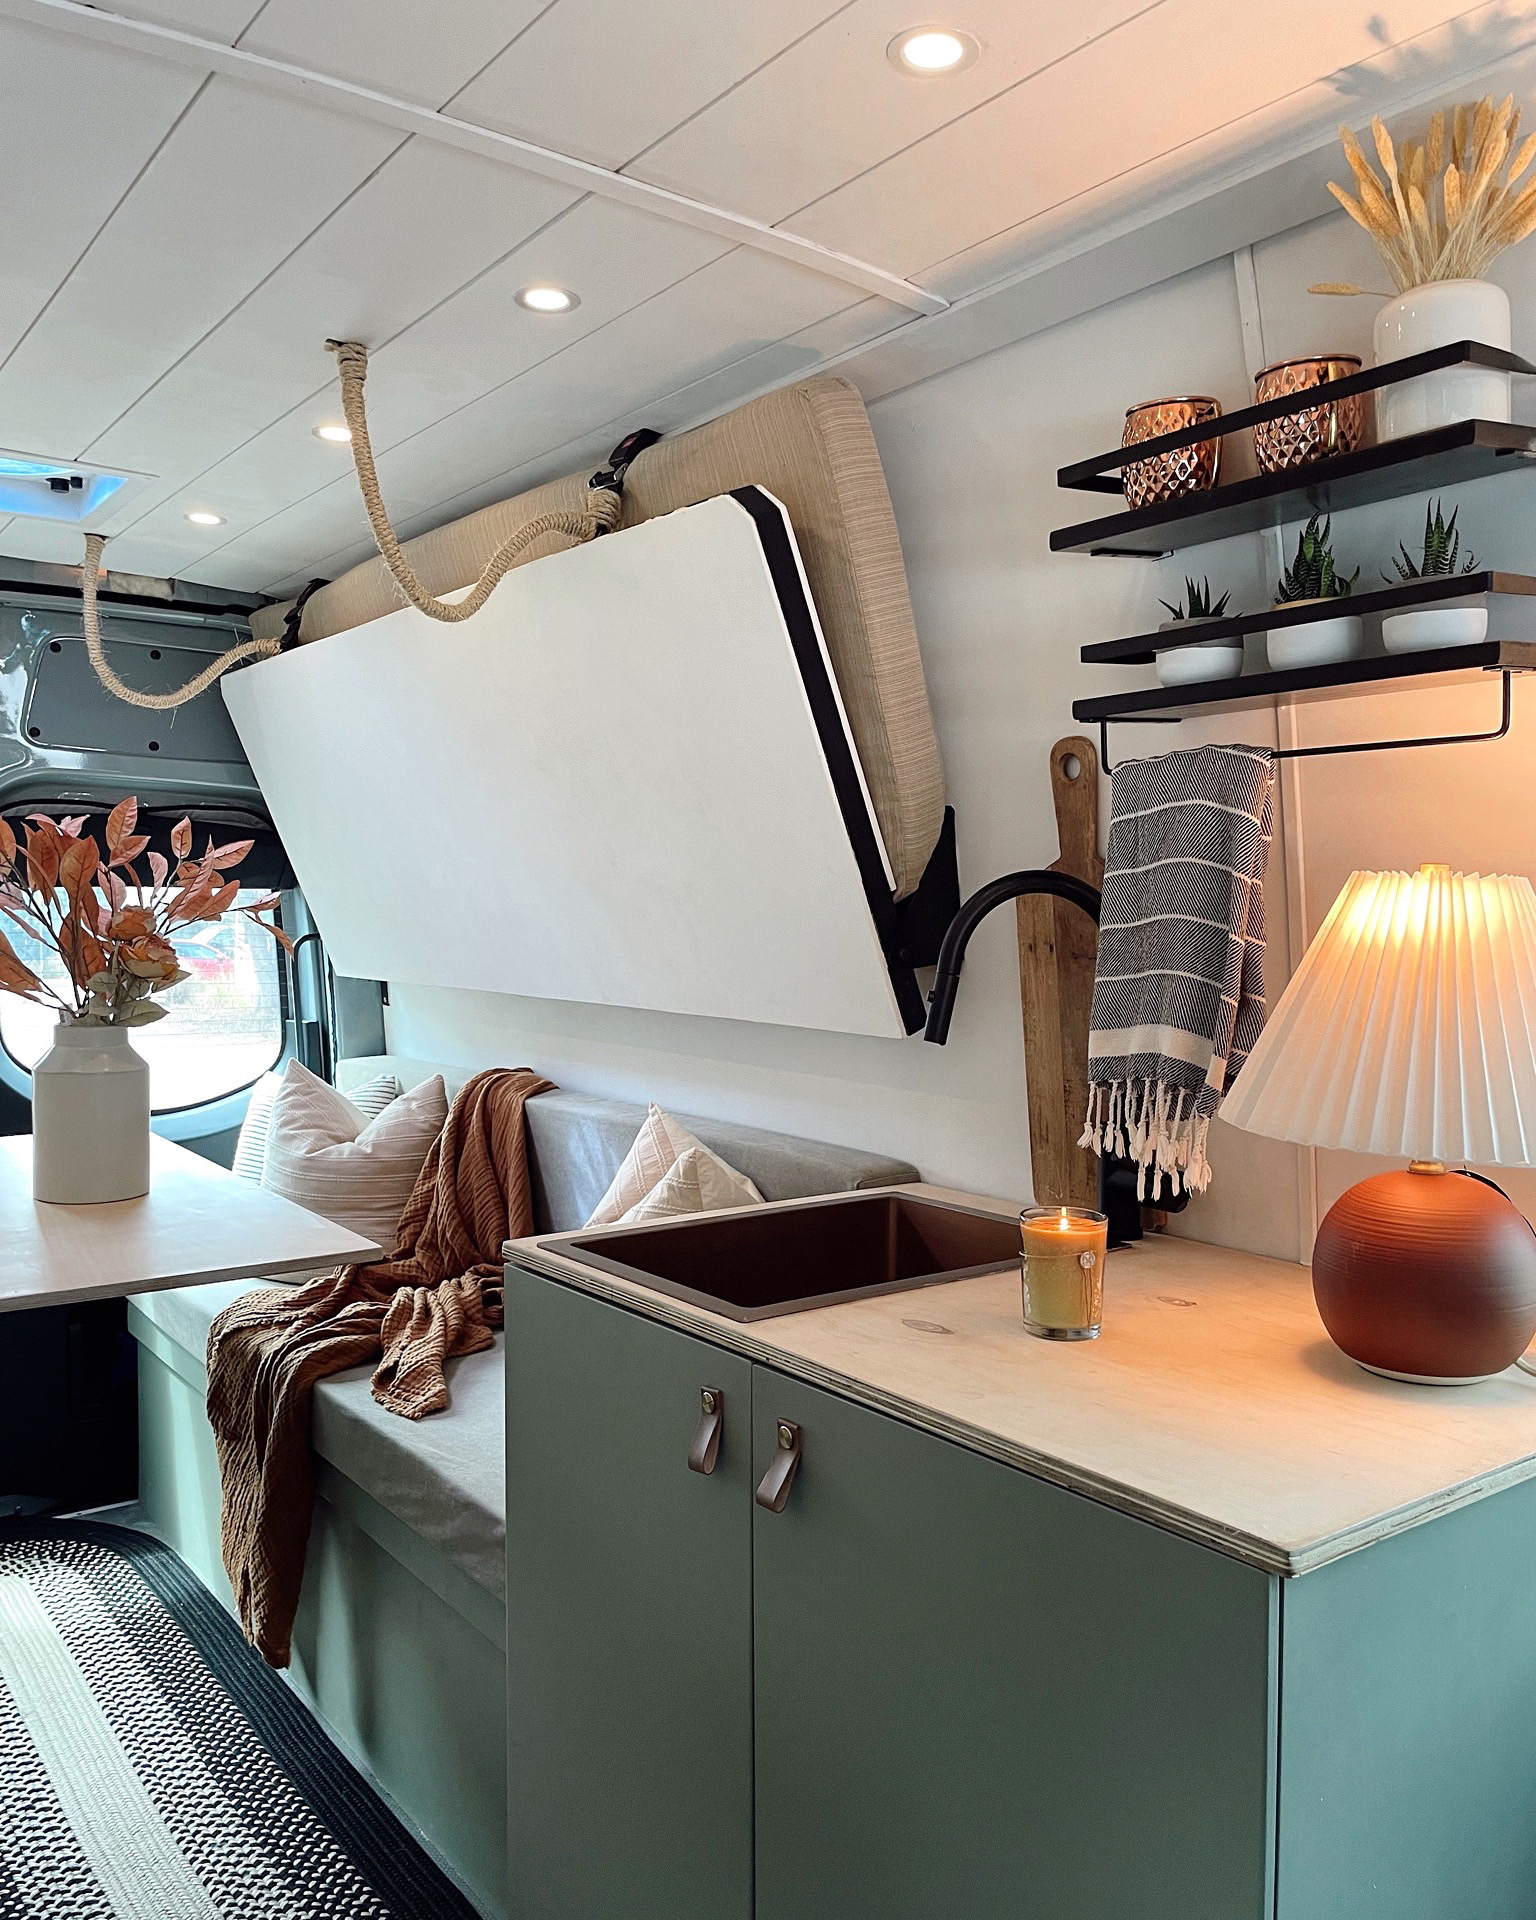
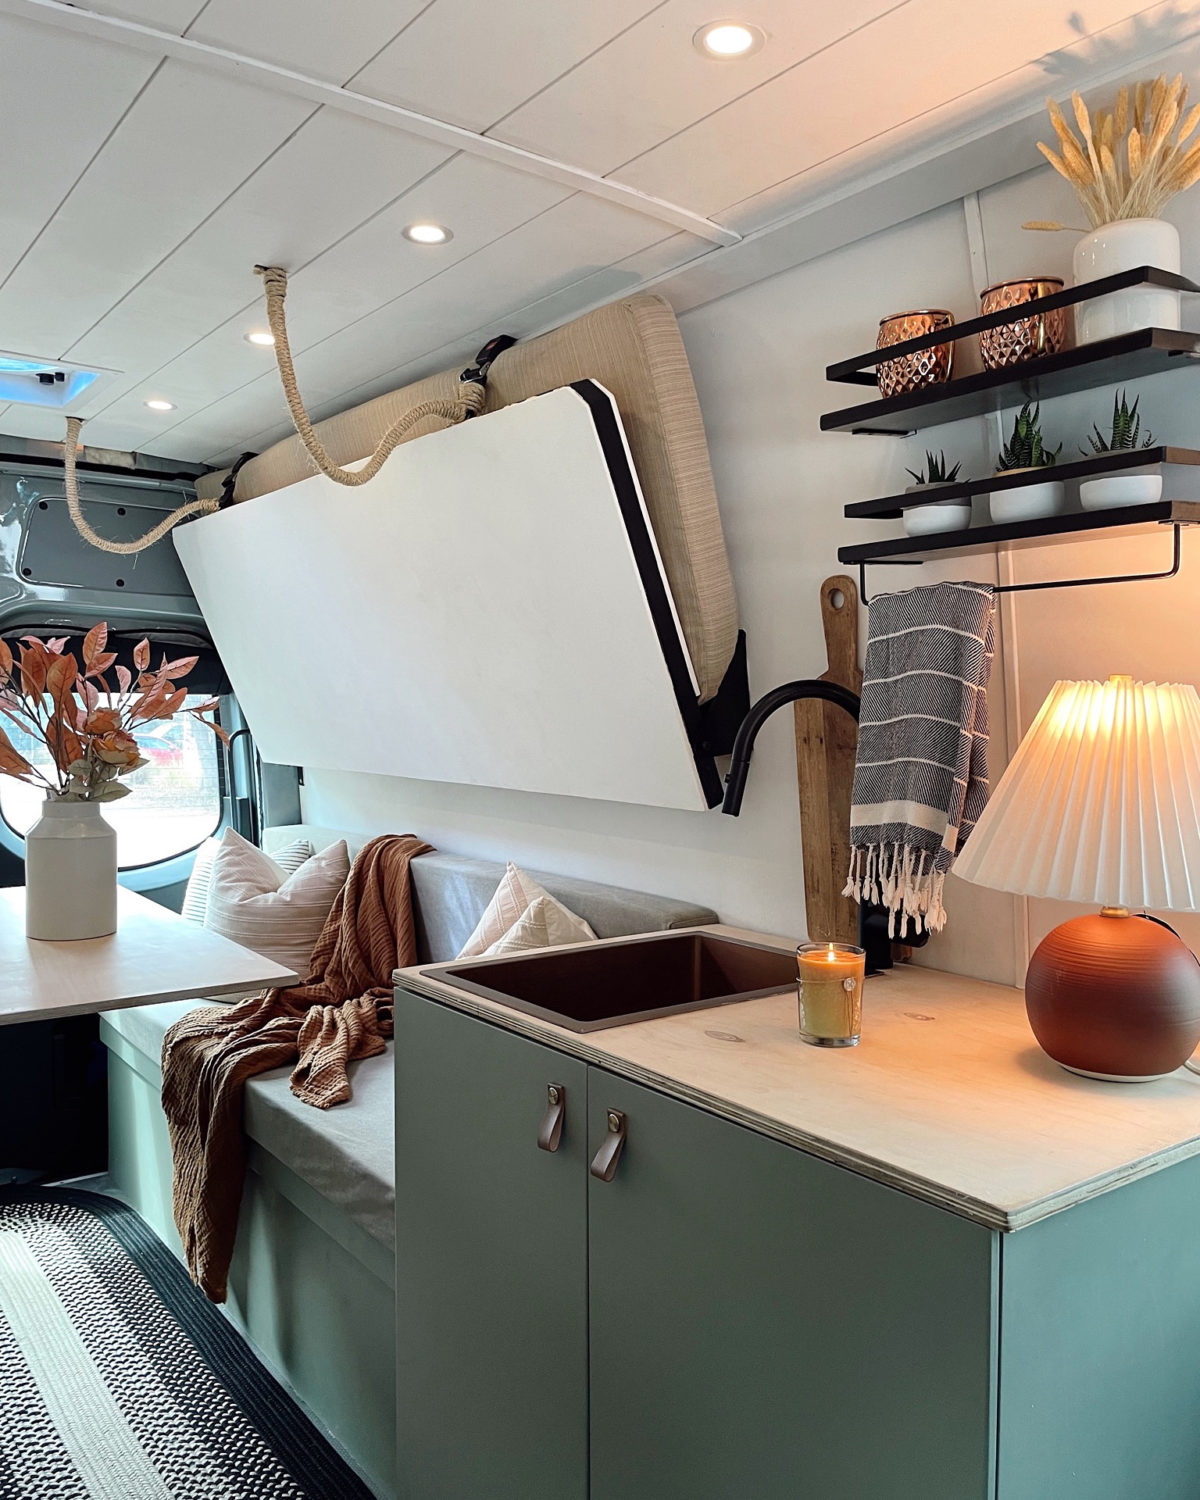
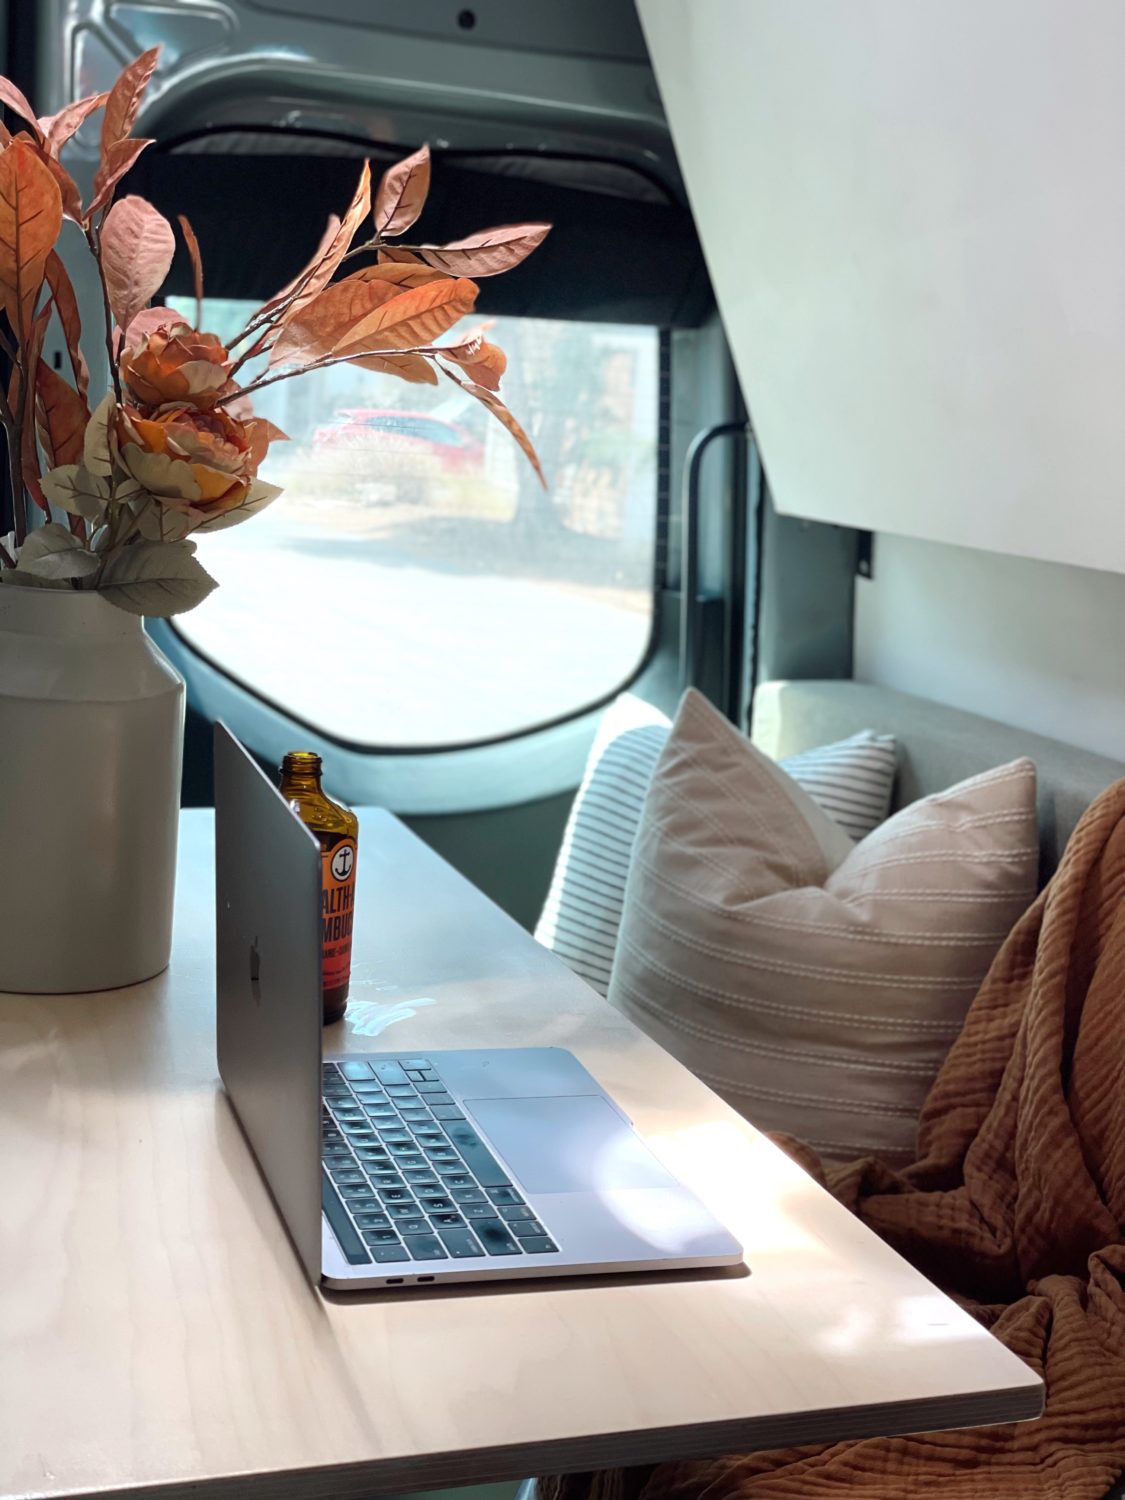
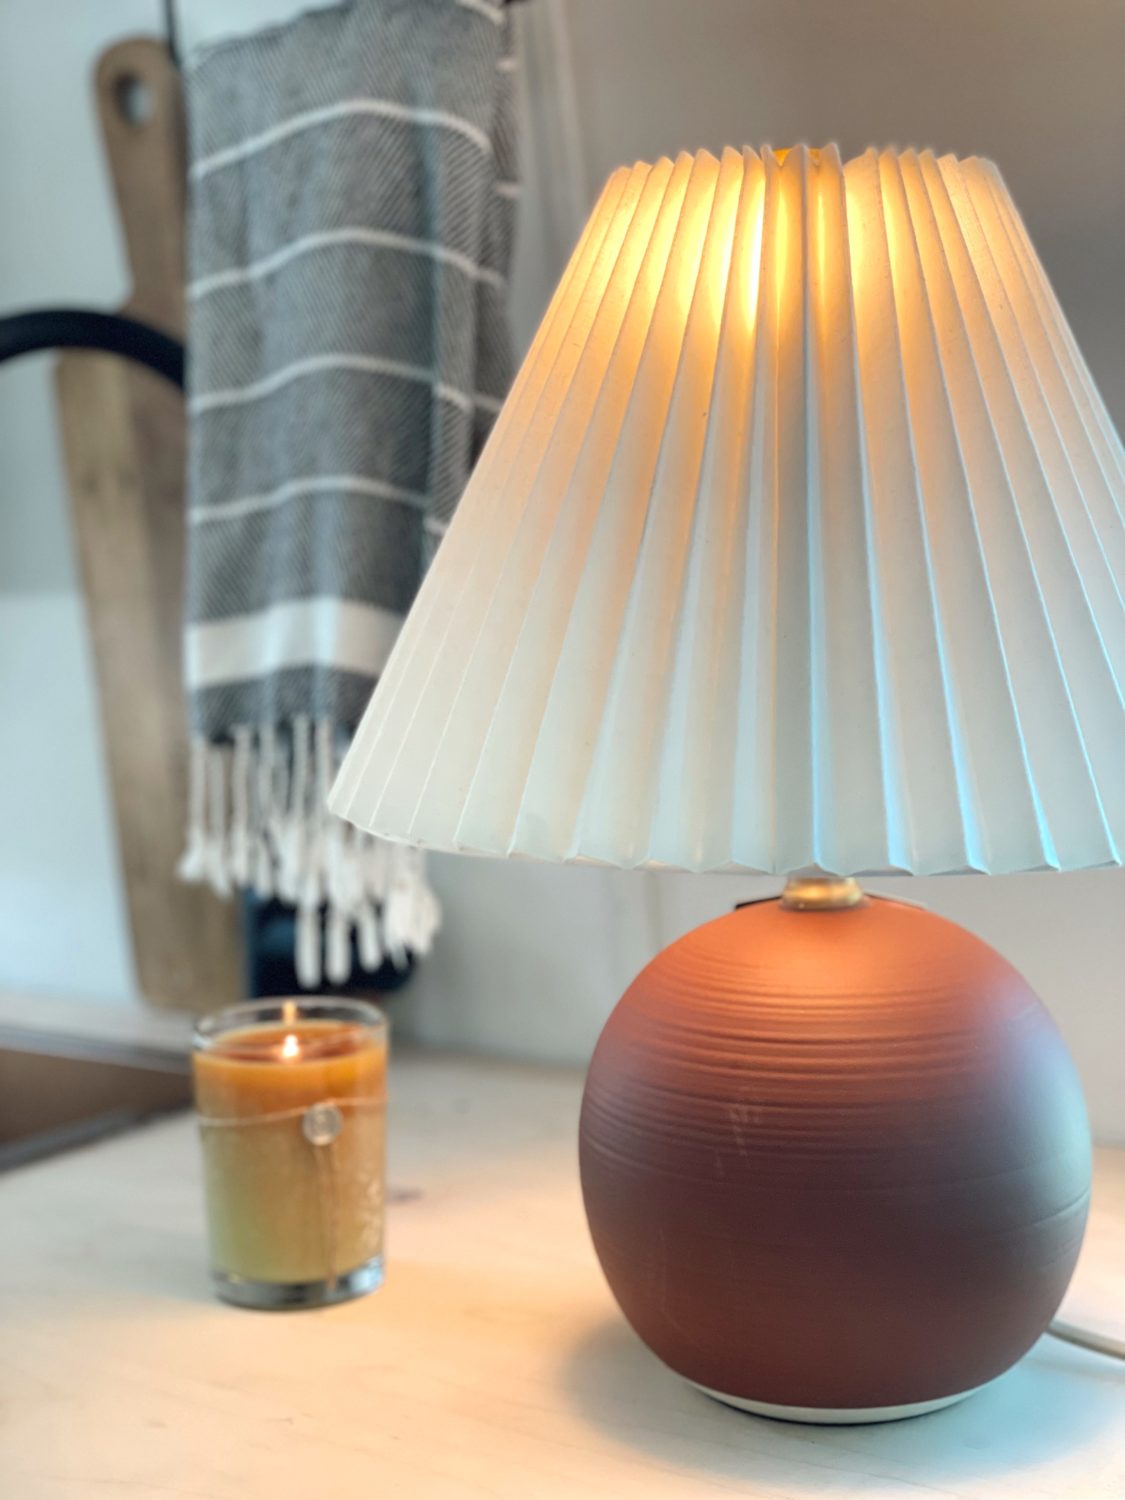
I tested some new fall decor in our VAN today!  I am obsessed with it all.  My van is giving me all the feels!  The little lamp might be my favorite.   You can shop the decor below.

our DIY van styled for fall

van fall decor van fall decor


some recent target clothing purchases

I’m in the midst of an expensive home renovation and therefore have no business buying new clothes . . . but I justified all of these purchases because they are practical, comfortable and affordable (considering the quality is quite good).    You can shop all the items here.  They are all true to size except the tie dye joggers, I’d size up.

A couple items from my try-on reel are no longer available (the white dress + green romper) but I linked some similar items.  And yes a couple of my items are from the girls section.  I’ve found that in some items, a girls XL is almost equivalent to a women’s 4/6.

I also linked my white Birkenstocks because I have been wearing them EVERY day.  🙂

Happy shopping.  Let me know if any of these work for you!

xoxo,

Kristin

window shopping 101: some useful information

Are you thinking about replacing your windows or choosing windows for a new project?  I am currently choosing windows for our remodel and I’m finding the process a bit overwhelming.   The choices seem endless! Styles, materials, types, colors, shapes, brands, etc.  SO many choices.   Here are the steps I’ve taken in this process.  Hopefully some of this info will be helpful.

Step 1:  Determine the sizes of your new windows

If you are replacing existing windows, this step is easy because the existing framing will dictate the size of your window.  My architect and I, as the designer, worked together to determine the sizes of our new windows, based on both structural considerations, functionality and aesthetics.  Once we finalized the plans, we created a “window schedule,” which lists each window by number and includes the rough opening size.

Step 2: Come up with a budget

Windows vary significantly in price.  How much are you willing to spend?  If you want steel windows and doors, for example, you are looking at a gigantic budget, as compared to most other window materials.

Euroline steel windows

Suffice it to say, steel windows and doors do not fit our budget.

Step 3:  Find your window inspo and determine how to recreate it within budget 

After much research and contemplation, we decided on black exterior windows/white interior.

Material:  Vinyl is the most budget friendly option but aluminum windows are stronger, more secure, and tend to have a much longer life and many more options for customization.  However, most brands only offer aluminum windows in the same color (black exterior/black interior or white/white).   We decided to source black aluminum exterior/white painted wood clad interior windows.  This combo gives me the most flexibility for size and functionality.  Also, I love the softer look of painted wood for the interior.  I decided against wood for the exterior because we live in a coastal location prone to termites.   For several of our fixed windows (not operable), I am using fiberglass windows because brands have the capability to make black fiberglass exterior/white fiberglass interior.   Fiberglass is more budget friendly and also very durable.

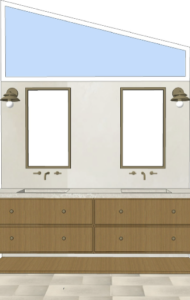
Rendering of our primary bathroom vanity/fixed window

Style:

There are so many choices: awning, bay and bow, casement, double hung, picture, single hung, sliding, etc.    When choosing the style of the window, it is important to think about the overall style of your home.  Sliders, for example, look awesome in mid century homes.  Traditional homes tend to have traditional grid lines.  But I LOVE casement push out windows so I decided on a combination of casement and picture (fixed) windows.   Picture windows are less expensive because they aren’t operable.  When you add in screens, hardware, hinges, etc. the window increases in price.

What is a casement window?  These windows feature sashes that are hinged on one side and swing inward or outward with a crank or push out operation.   The problem with casement is if you want screens, the screen has to be on the interior because the window pushes out.  I don’t love this look.  Some of the brands, however, including Loewen, Weathershield and Marvin, have nifty retractable screens that are built in the frame of the window and pull out when you want to use it.

casement pushout window. Photo cred: Amber Interiors

Picture/fixed windows:  I quickly learned that fixed windows (no functionality) are WAY cheaper than any window that functions.  So in several instances, we are including fixed windows.  For example, the triangular windows in our primary bathroom and closet will be fixed (rendering above).  Our kitchen backsplash window will be fixed.  A floor to ceiling window in our kitchen will be fixed.   I also learned that we can use fiberglass windows (black exterior, white interior) to save costs.   In certain cases, this makes sense and because of the window location, it probably won’t bother me that the interior frame is white fiberglass, as opposed to wood.

Window grid:  Old windows all had grids because glass was only available in smaller sizes so window panes had to be created to accommodate the glass size.   These days, new windows have grids to recreate the look of historical windows.  I love horizontal grids.  I can’t explain why – I just do.   SO… on most of my operable casement windows, I’m adding 2 horizontal grid lines and on all fixed windows and doors, I am leaving them open, with no grid.   This is ENTIRELY personal preference.

horizontal grid lines photo cred: Amber Interiors

Step 4:  Find a window expert

I found Joann Zwagerman at One Stop Door Inc.  Her number is (310) 766. 0662.   Please tell her I referred you.  She knows the look and feel I want to achieve and she is quoting multiple brands and materials to make this look achievable within my budget.  You do not have to order all your windows from the same brand.  For example, you may choose higher end windows for the front exterior of your home.  Or for the windows you know you operate everyday.  Joann is awesome at mixing and matching and coming up with a good solution.

Step 5:  Order the windows

We aren’t here yet.  We are still going back and forth on window sizes and materials in several locations.   Once we finalize the rough opening sizes for each, we can place the order.

After I order the windows, I will share what brands I chose and why.

Hope this helps!

xoxo,

Kristin

laundry room makeover

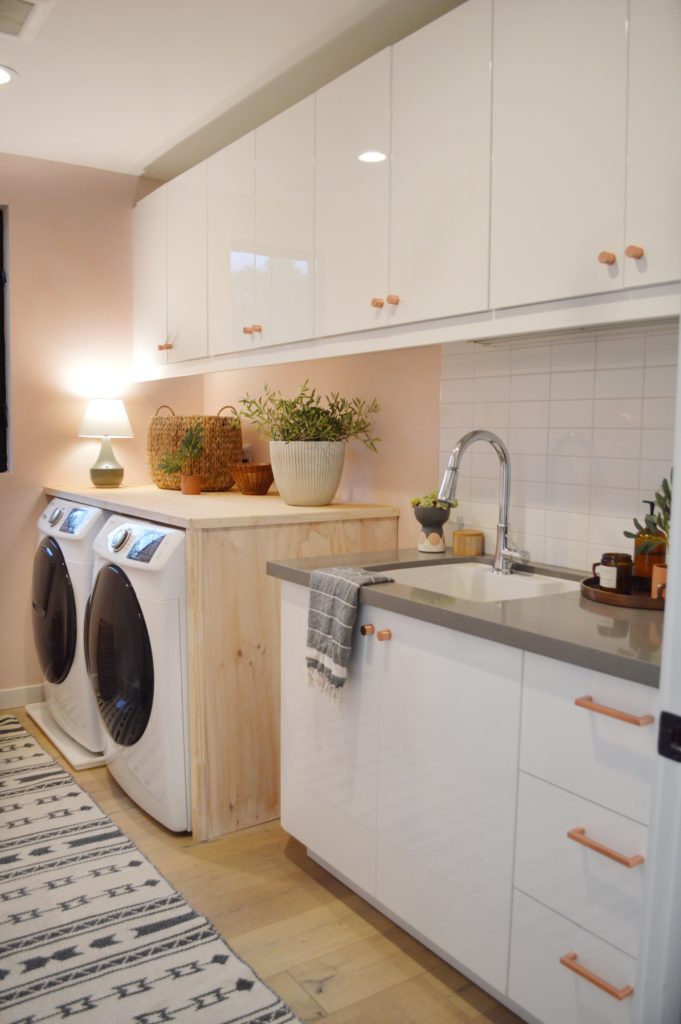
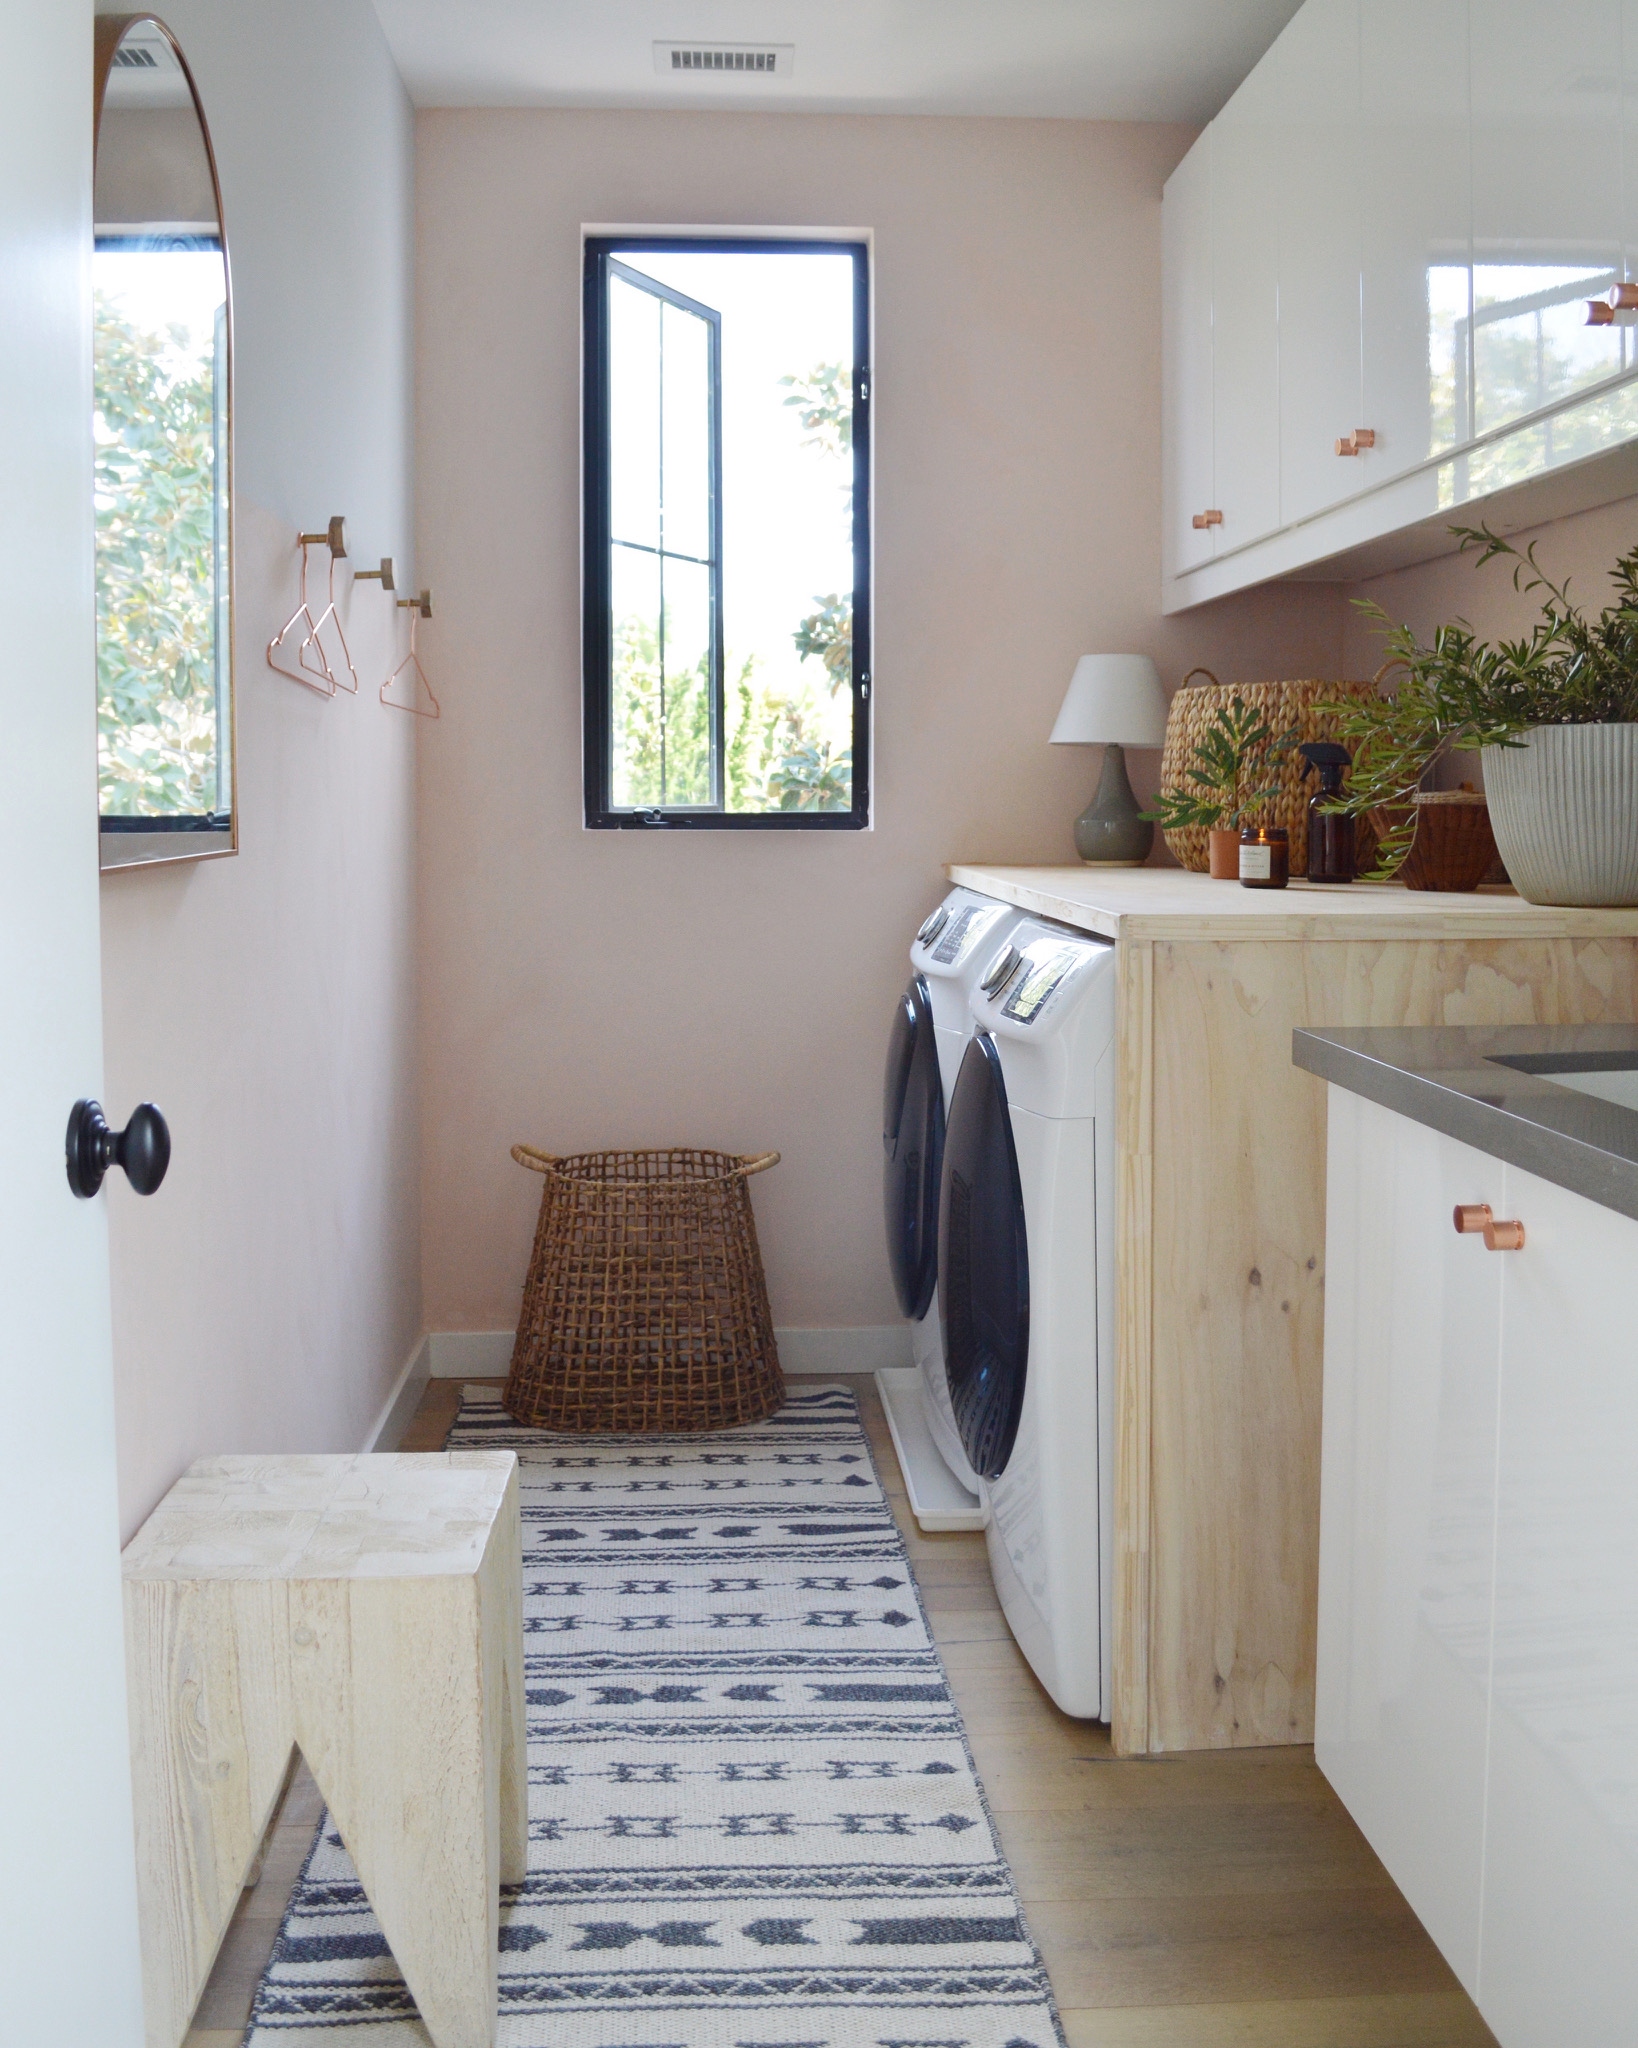
I promised you all the sources and all the details about my laundry room makeover and here it is!  I’m sharing all the details about the paint, the DIY counter space and all the styling items I purchased, including the new copper hardware.

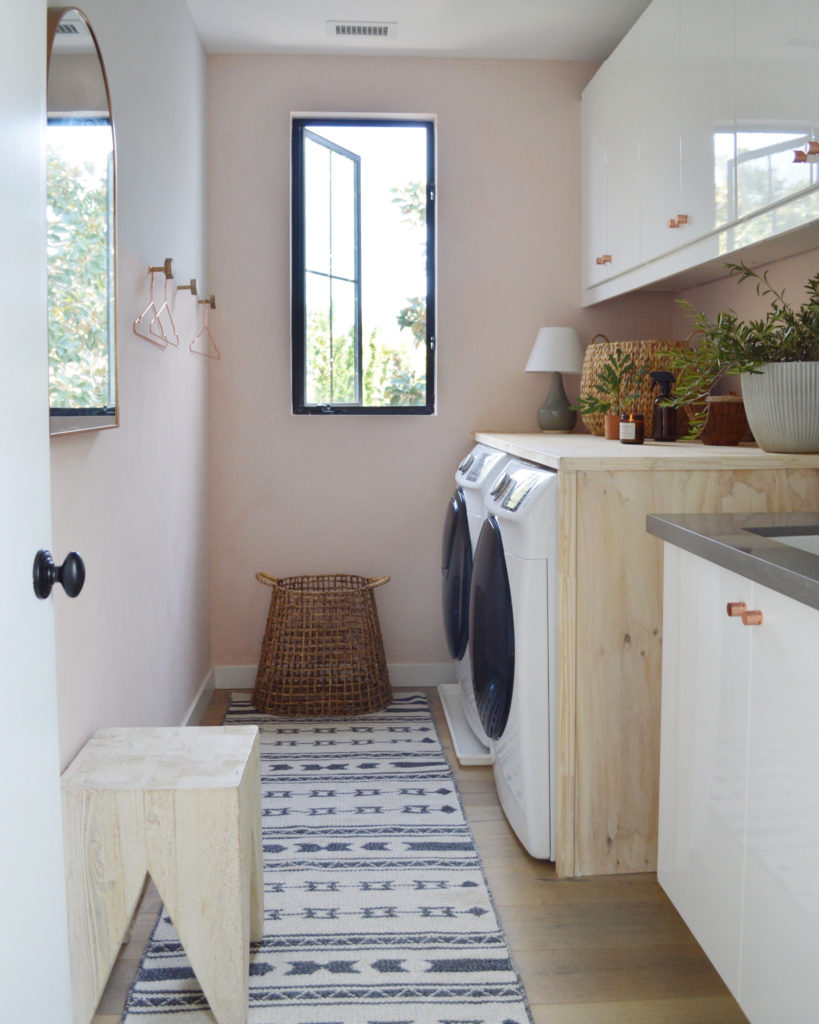
I’m going to start with the paint.  Ever since I first saw lime wash paint by JH Wall Paints in my friend Bri’s bedroom, I knew I had to try it!   Since our house is currently being remodeled, I don’t have walls yet so I tried it in my dad’s laundry room.  I was craving a brighter more joyful room so I chose a pink color, click here, which is totally out of my comfort zone and super exciting.  I applied the primer, and 2 coats of the paint.  The paint mixes with water, goes VERY far, and is super easy and safe to apply.  I love the texture it provides without the cost and time required for plaster.  The directions on their website are very clear and easy to follow.   I will definitely be using this paint in our new home with our renovation is complete.

laundry room makeover


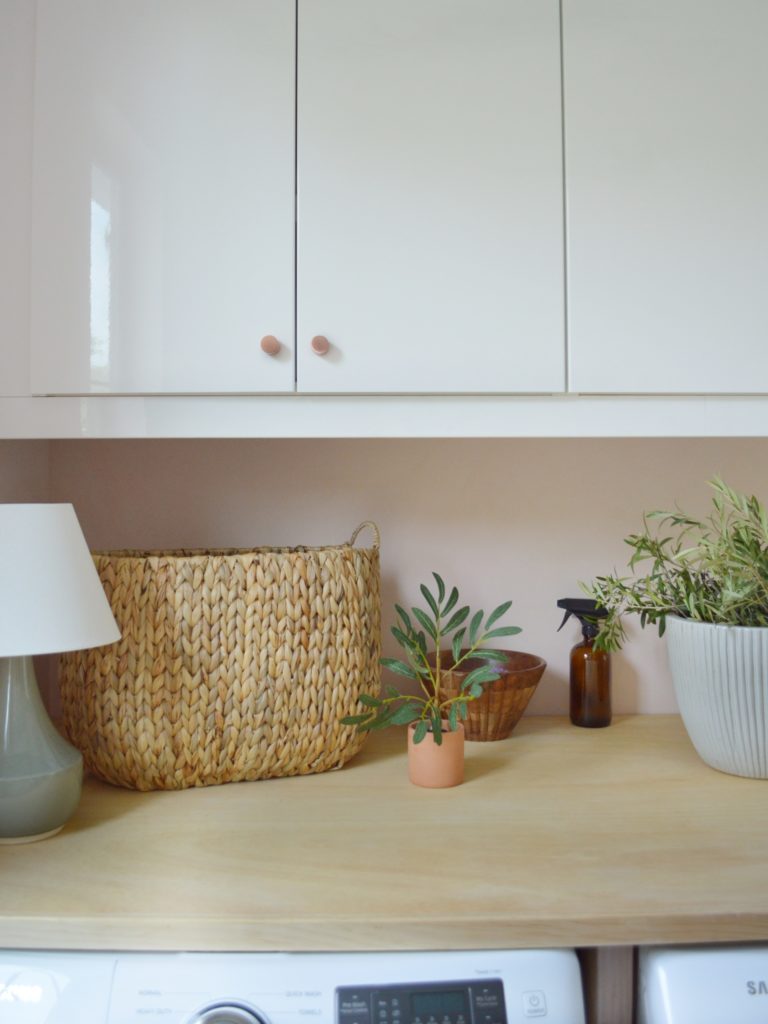
I also wanted to create more counter space for folding clothes.  First, I took off the risers from the front loading machines.  Then I built a counter with 3/4 nice plywood from home depot.  My handyman helped me out and the tutorial is in my Instagram highlights under “laundry room.”  I used Danish oil in natural to finish it to keep the raw look.

laundry room makeover

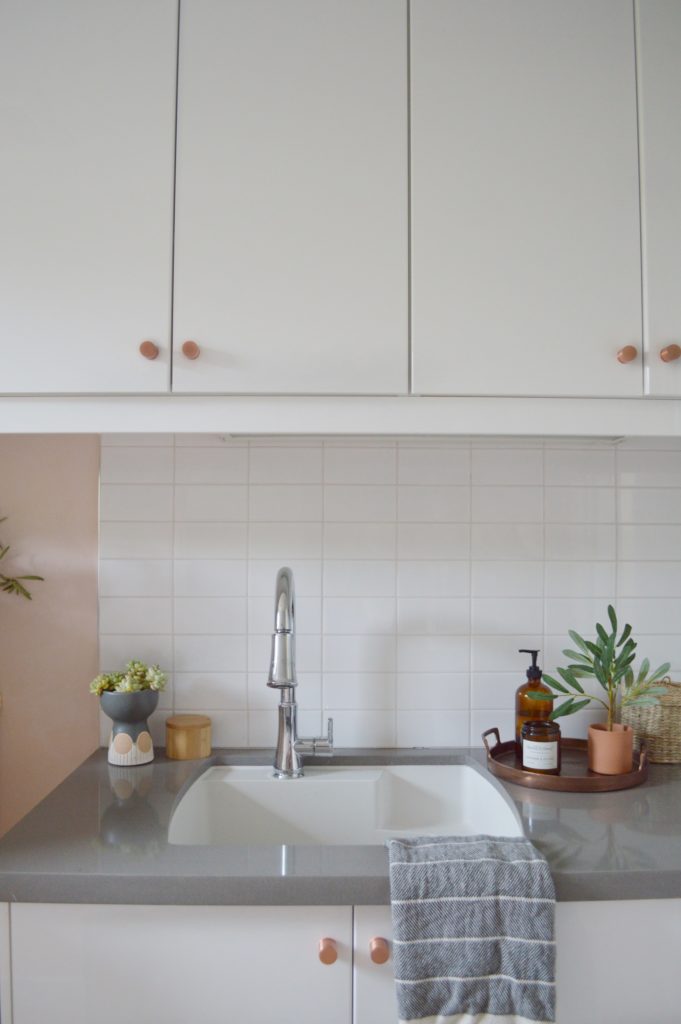
One of my favorite parts of this makeover (and the easiest part), was changing the black hardware to copper!  I found such fun and affordable hardware and it instantly made the room more cheerful.   Everything I used to style the room, except for the baskets (I found those at Home Goods) and the copper mirror (details on it coming soon) are linked below.

laundry room makeover

Click on any image below for the product.  🙂

Do you like it?

xoxo,

Kristin

neutral rug round up

Hi friends!

Neutral rugs are so pretty in most rooms and have an amazing calming effect.   Don’t ya think?

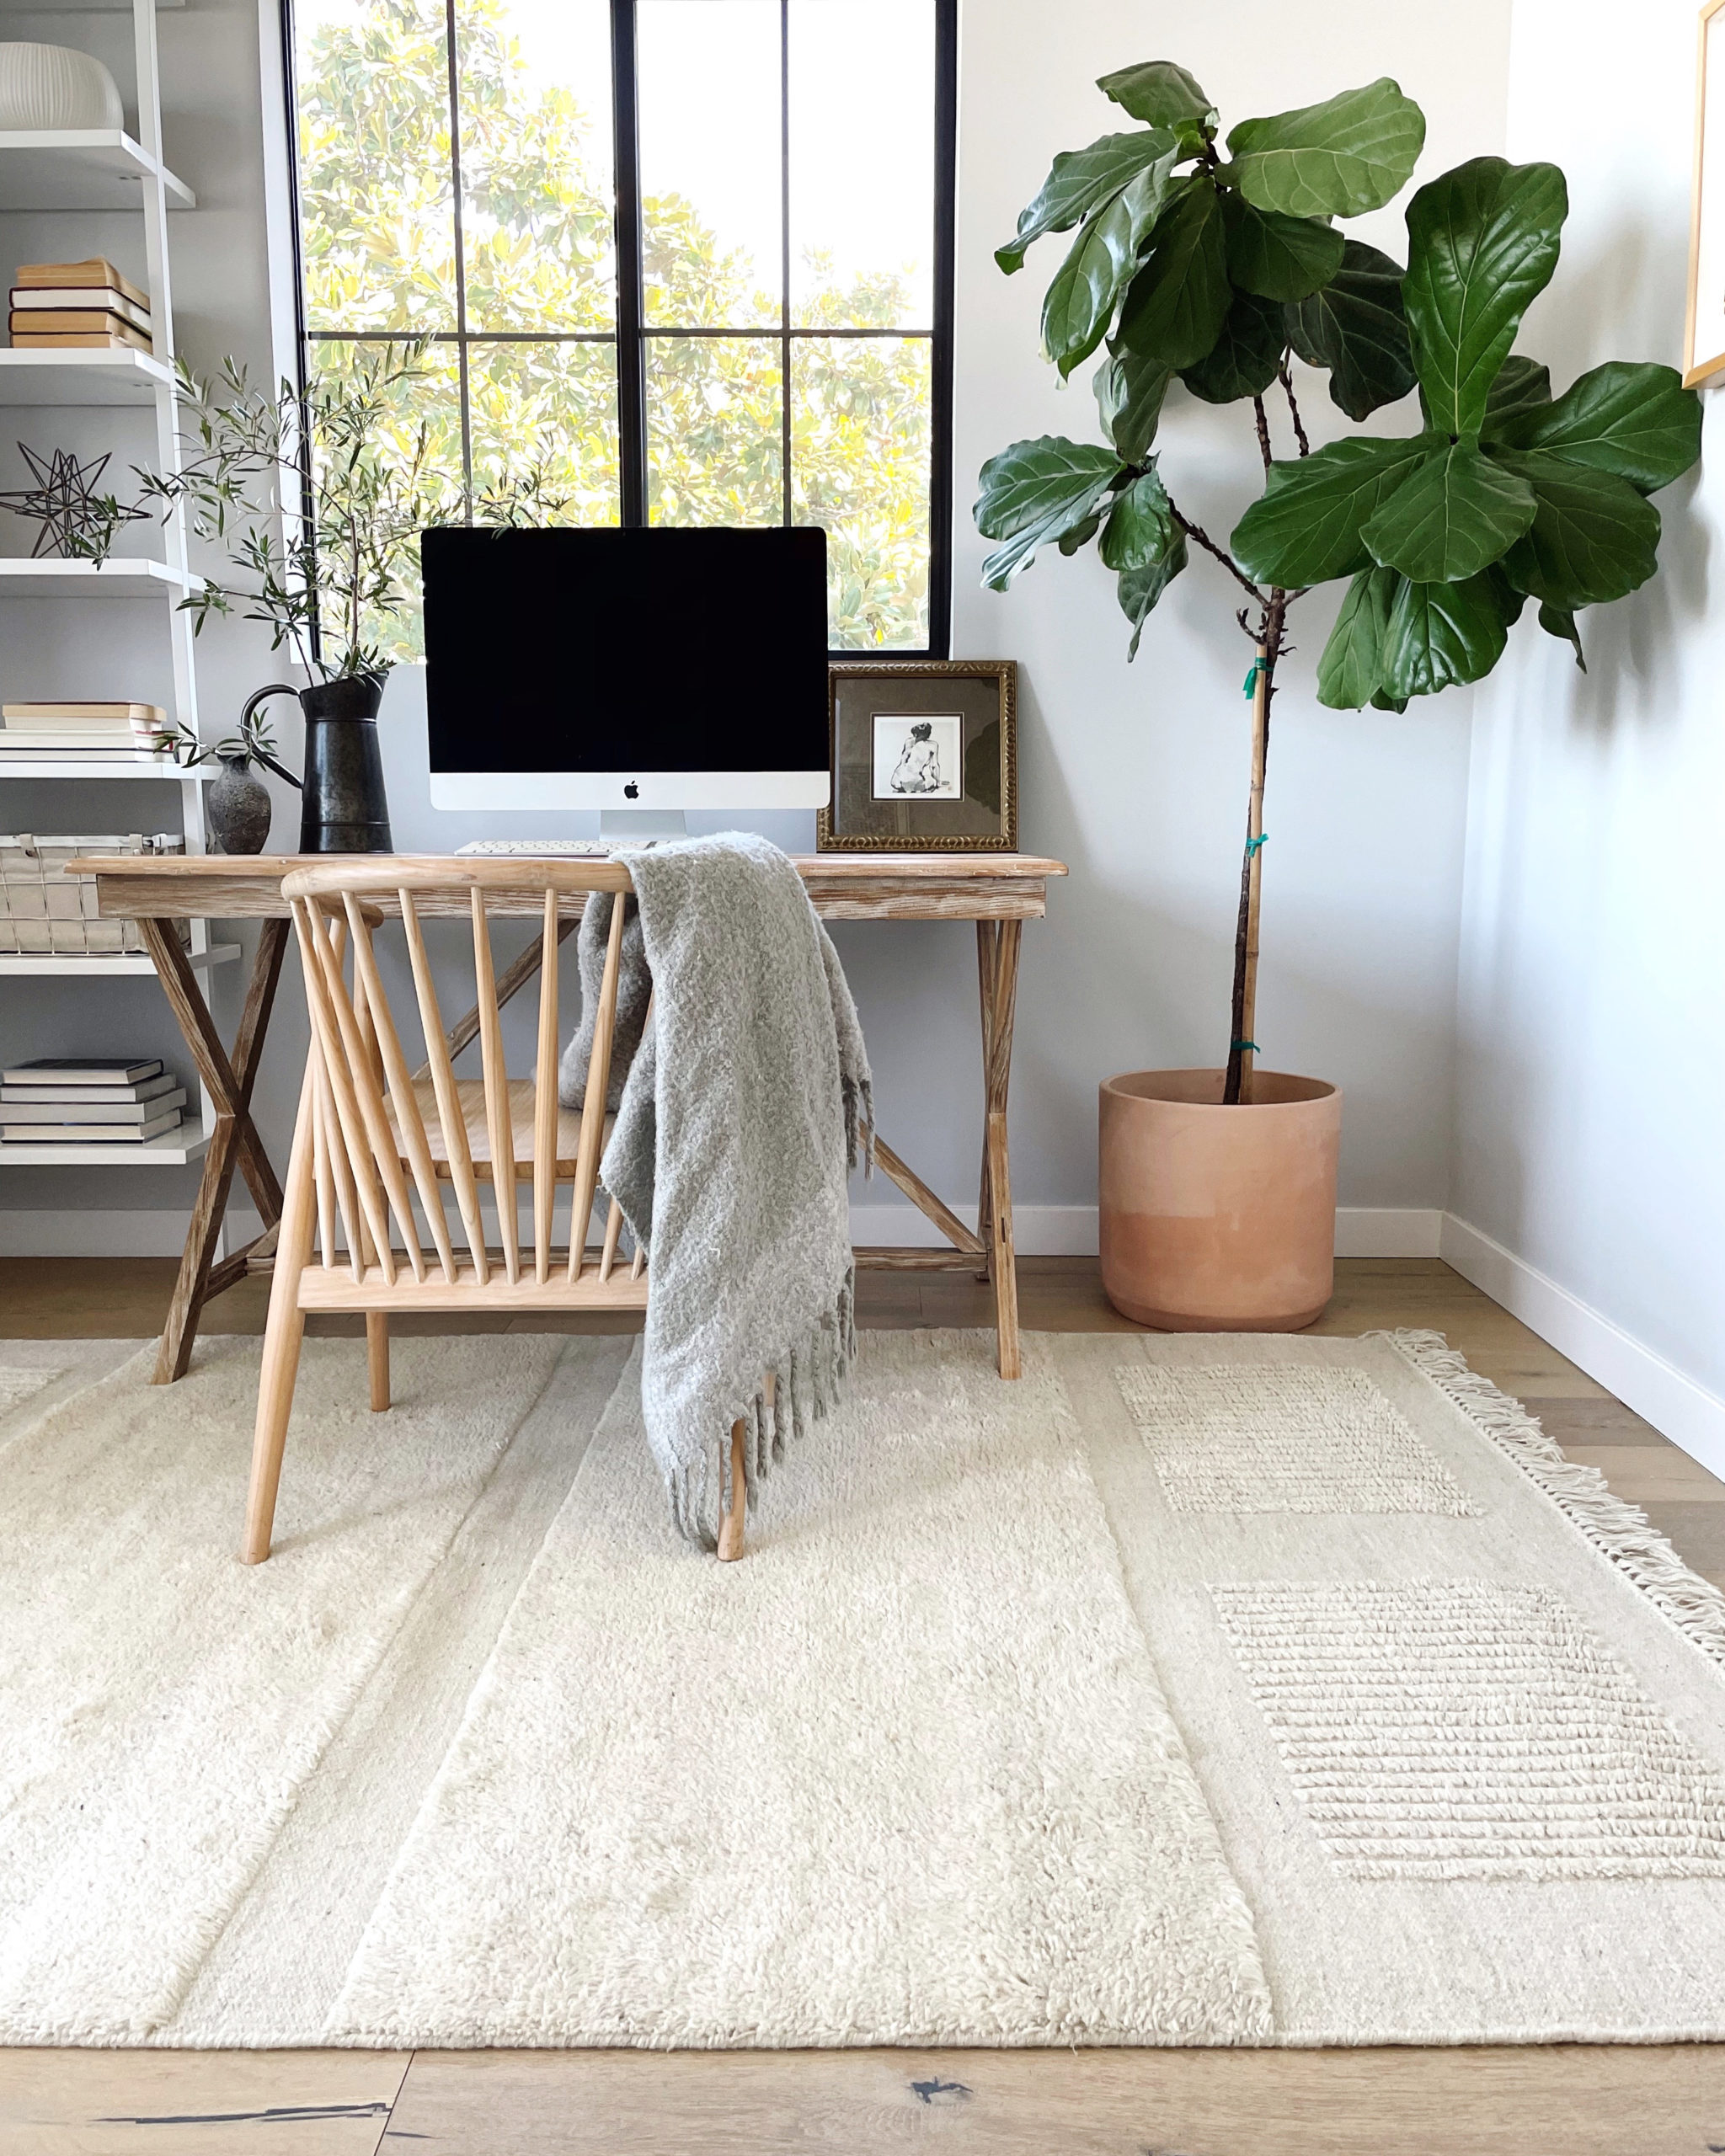
I rounded up some rugs I have purchased recently for me and for clients in case you are ever in the neutral rug market and want some help.  These are all beautiful and I included a variety of price points.

Scroll and click on the pictures below to shop!  Enjoy!

xoxo,

Kristin

We Bought a Fixer Upper – Now What? The Non-Glamorous First Steps . . .

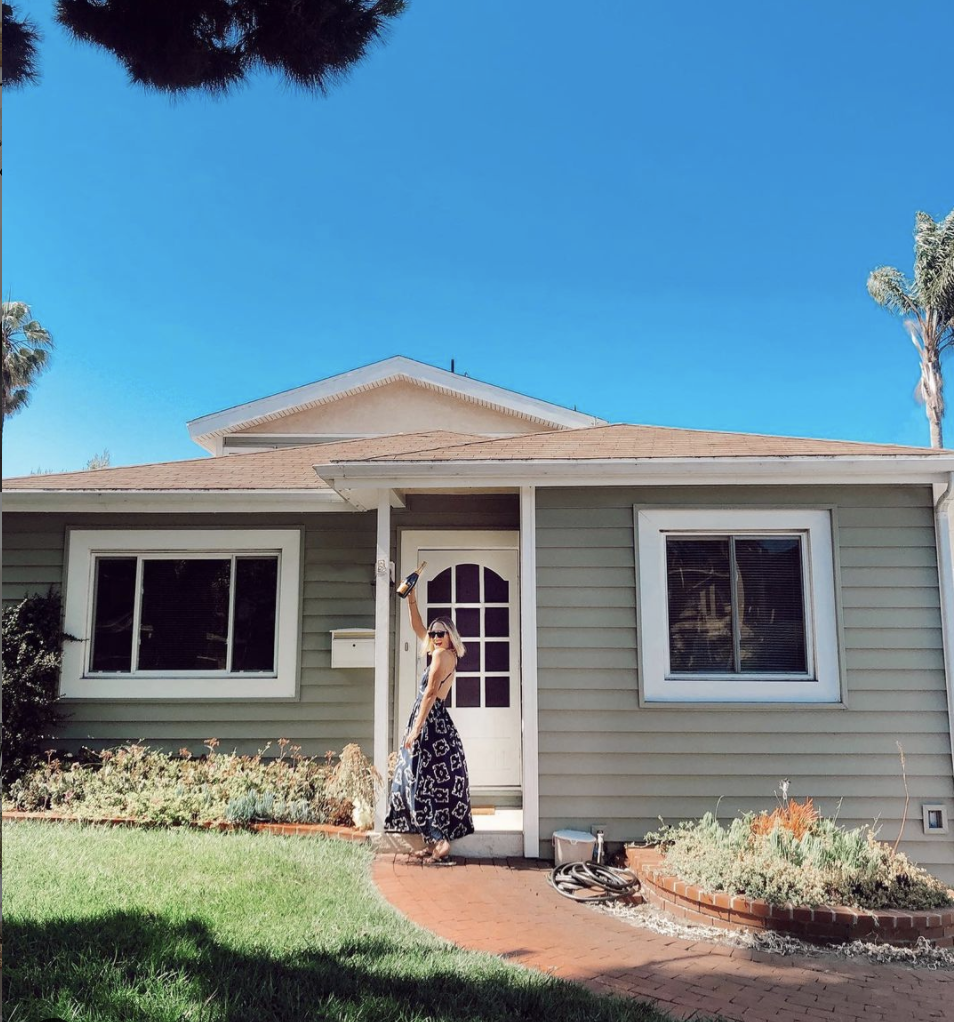
As some of you know, we purchased a fixer upper home in our dream neighborhood last August, 2019.  We love a design project AND we couldn’t afford an already perfect home.  We decided to live in the house “as is,” to make sure we like the schools and community before we pour more money into the house.  Some would call this crazy because it means we had to move in, move out and when construction is done, we will move back in – 3 MOVES!  Turns out it was the BEST decision for us because we made lots of friends, became close with our neighbors, the kids quickly adjusted to the excellent schools (and even got 7 months in-person before the pandemic hit) and got a better feel for the property and what we want.

we bought a house
the day we closed on our fixer upper

So let’s dive in the first phase of planning a remodel.  First, obviously, you have to buy the property (we chose ours for its lot size, proximity to the schools and the price was right for us).   Then you get to dive into a pretty fun phase – drawing the plans.  For an extensive remodel project like ours, I highly suggest hiring an architect.  I interviewed several and went with my gut and hired Ben Ballentine.  Ben has a collaborative attitude and together, we came up with an amazing floor-plan that will work perfectly for our family.  This phase is like a fairytale.  For relatively little money (compared to the total price of a remodel), you get to put your house dreams to paper!  SUPER exciting.

Then comes the next phase – the non-glamorous reality check.  Applying for city building permits and hiring a contractor.  I’ll start with permits.  We let our architect take the lead on this one.  But in a nutshell, you have to pay an engineer to draw construction papers based on the architectural papers and make sure everything is up to code.  In Manhattan Beach, you have to pay for a soils test.  And then you have to pay the permit office to review your papers and keep your fingers (and toes) crossed for months until you FINALLY hear you’re construction papers are approved.  It’s not fun and feels totally out of your control AND it costs money.

At the same time as we were waiting for permits, we started interviewing contractors.  So far, this has been the most emotional part – a true rollercoaster of emotions.  You are essentially inviting strangers into your home (during a pandemic)  to tell you how much your dream costs.  All of them purport to be the best in their industry and the bids ranged by hundreds of THOUSANDS of dollars.  It’s super confusing.  Ultimately I went with the price I felt was fair (not the least expensive, not the most) and with the contractor I liked the best.  It’s no small thing handing over your dream to a stranger to execute.  So trust is critical.  Hopefully, we made the right choice.

So that’s where we are folks!  We got through the purchasing, planning, drawing, permitting, and hiring phase and now are ready to start construction.   This process kept me very busy the last 17 months and none of it is Instagram worthy.  BUT it is information and hopefully helpful to you if you ever consider a large scale remodel.  Thanks for reading!  I’m SOOOOO looking forward to the Instagram worthy phase of this project — the designs and the execution of those designs.  WOO HOO!

Bye fixer upper!

Easy DIY slat wall art

Here is everything you need to know if you want to try my easy DIY slat wall art!

DIY wall art

You will need:

  • wood – I bought this wood and used my circular saw to cut them to a desired length (but you can ask them to cut it for you at Home Depot if you don’t have a tool to cut them at home).
  • stain – You can paint, stain or use the natural finish for this project.  I used this stain.
  • faux plants/succulents/flowers –  I used 4 of these airplants and several of these. 

How to:

  • I cut the wood and stained it and left it to dry overnight (an hour would probably suffice).
  • I used small nails and nailed the wood to the wall with a hammer (easy) and because I only wanted to use 1 nail on either side, I also used this glue. I used a glue gun.
  • I spaced the slats out approx 1.25 inches.
  • I used a level to make sure I was hanging the slats straight.
  • I used very small nails to attach the faux succulents.

DIY wall art tutorial

Have fun creating!

xoxo,

Kristin

Camping Products we LOVE + tips on Mammoth/Yosemite)

As promised, here is a blog post with some of our favorite camping luxury products and some tips/favorite spots in mammoth/yosemite.

First, I will start with some camping luxuries.  These are all products we love and have collected over the years.  These products are not necessary to enjoy camping but we’ve found them all super useful and they have held up perfectly over the years.   Here is a list of items we bring, in case you are packing and need some help.   And for any of the products pictured, click below for each link.

Packing list:  Tent, sleeping pads, sleeping bags, flash lights, camping lights, table (if no table provided), table cloth, cooler, camping chairs, towels, stove, propane, cooking pan/pot, spatula, hand washing water, dish/hand soap, paper towels, toilet paper, baby wipes, sponge, sticks for roasting marshmallows, fire stick, swiss army knife, paper plates, forks, cups, playing cards, music speaker (batteries). (I’m probably forgetting stuff. ha)

1. Cooler (worth the money) 2. Coleman Stove 3. Sleeping bag (only$30)  4. Camping lightbulbs  5. 7 gallon water container  6. Kitchen set  7.  Fan 8. Sleeping Pad  9. Kingdom tent  10. Camping chairs (they fold up tiny) 11. Fold up small table 

And here are some of our favorite spots and INFO for Yosemite and Mammoth in the summer.

Yosemite:

First, if you want to visit Yosemite this summer, you MUST make a reservation on recreation.gov.   You can buy a week day-use pass for $35 but you MUST pick it up on the day you purchased it for and then it’s good for a week.   Because of Covid, they are restricting the number of cars per day and it’s AMAZING because there are not a lot of people.  In fact, in many spots, we barely saw another person.

We entered the Lee Vining entrance, which is 45 minutes from Mammoth.  You should definitely stop at the Mobil in Lee Vining for gas, food and drinks (we stopped for food and drinks after exiting the park).  I know it sounds weird that I’m recommending food from a gas station but YOU WILL NOT BE DISAPPOINTED.  Amazing fish tacos – YEP I promise.

The entrance to Yosemite is approx 11 miles from the Mobil.  This is what we did in the park and we loved it all:

Pothole Dome/Tuolumne Meadows– Park at the meadow and walk to the right side of the dome.  You can walk up the dome to the very top.  It’s a unique experience to walk up rock/granite and the views from the top are outstanding.  There is also a nearby river (you can see it from the top) that you can hang out at.  The whole area is so beautiful and unique, your kids will forget they are hiking and will be in heaven!

Tenaya Lake —  It’s gorgeous, perfect for swimming, and you can easily distance from others on the beach.  You can also walk around it for a nice easy hike.  The perfect picnic spot!

Olmstead Point — Amazing views of Half Dome!  Many people just park and take a picture.  We hiked down to the “lookout point” and then continued to hike down and around and saw nobody.  The view kept getting better and better!

Yosemite Creek — Another easily accessible picnic spot.  We walked down to the creek and waded in the water while eating our picnic.

Tuolumne Grove/Sequoias:   Go there to see about two dozen mature giant sequoias. The Sequoias are only visible after a one-mile hike with 500 feet of elevation loss.  The walk back was fine for our 7 year old but she was a little tired.

El Capitan:  Park and walk through the meadow towards the forest (or park near the forest if on the other side of the road) and hike the “nose to south east face”.   Its approx 1/4 mile up a rocky trail that sometimes doesn’t look like a trail.  Don’t get discouraged, just keep walking and eventually you will be able to put your hands on El Cap and it is MIND BLOWING that (1) anyone climbs it and (2) that Alex FREE SOLO’ed it!

Yosemite Falls:  We parked and walked in to see the lower falls.  This is the only place we saw what felt like too many people and I would skip it next time.  Instead, we will hike the 1 mile strenuous hike to the upper falls, where I imagine we will see less people.

Mammoth/June Lake:
The town seemed crowded so we did not eat out, except for the following:
– Ate outside at the Distillery in the village (such yummy food and delicious whiskey drinks)
– Picked up “to-go family dinners” from Bleu on Old Mammoth Road.  DELICIOUS!
– The kids got ice cream a couple times at The Fun Shop
– We love the food truck at June Lake Brewery (open thurs-sunday only)
– We love The Lift in June Lake (cutest new’ish coffee shop)
– Mammoth Brewery has outdoor seating and amazing food and beer but was too crowded for our comfort when we visited.

Favorite Hikes:
– Convict Lake:  It’s approx 3 miles around, easy hike, gorgeous views and NO CELL service.  Lots of great places to picnic and fish around the lake.
– Horseshoe Lake: 2 mile easy hike/mountain bike trail around it
– Duck pass Trail – Gorgeous but long (read about it before you commit with your kids).  Lots of lakes along the way.
– Emerald Lake trail head –  Some elevation/rocks but my 7 year old did it no problem
– Inyo Crater hike – easy hike and the craters are AWESOME
– Earthquake Fault – the kids enjoyed exploring it and walking in and around the rocks/trees
– Crystal Lake Trailhead
– Rainbow Falls Trailhead (easy 3.5 mile round trip to lower falls but shorter if you just go to the upper falls).  It’s past Devils Postpile, which we skipped because the trail was narrow with too many people.  Go early 8am to avoid crowds.

Other things to do:
– Mammoth Lakes Pack Outfit for horse back riding!  They have rides for almost all ages.
– Mammoth Mountain mountain biking — SO FUN
– Mammoth Creek Park (the playground is closed b/c of covid but you can bike/scoot on the trail there up to Eagle Lodge)
– Twin Falls Overlook (beautiful place to stop on the bike trail that goes from town to Horse Shoe Lake)
– Crowley Lake:  Great lake to rent a boat and cruise around
– June Lake beach (great for swimming and relaxing with gorgeous views)
– Kayak at Lake Mary
– Skate board at Volcom Brothers Skatepark
– Explore Mono Lake (in Lee Vining and have lunch at the Mobil) – you CANNOT swim in this lake but it’s gorgeous!

Happy exploring!  Here are a couple pics.

xoxo,
Kristin

Inyo Craters
Horse Shoe Lake
Pothole Dome
Olmstead Point


Rainbow Falls