As a parent, I’m always on the lookout for ways to create a magical and memorable space for my children. Right?! What if I told you that you can add a touch of whimsy to your 11-year-old daughter’s room with a simple DIY project? Yep! In this step-by-step guide, I will show you how to make a delightful indoor swing that’s perfect for kids of all ages. After all, who says you’re ever too old to enjoy the simple pleasure of swinging? So, grab your tools and materials, and let’s get started on this fun project that will bring joy and relaxation to your child’s room.

Materials You’ll Need
Before I dive into the nitty-gritty of crafting your DIY swing, let’s gather the materials you’ll need to make this project a reality. I found all these items easily at Home Depot.
1. Wooden Board:
- Select a sturdy wooden board that’s about .75 inch thick, 6-8 inches wide, and at least 18 inches long. This will serve as the seat of the swing. I used a .75in thick wood piece that is 7in wide and 18.5in long.
2. Rope or Chain:
- You’ll need a strong and durable rope or chain to suspend the swing. Choose a material that can support your child’s weight and is comfortable to hold onto. Consider nylon rope or a sturdy chain for safety. I used this one.
3. Eye Bolts:
- To securely attach the swing to the ceiling, you’ll need eye bolts. Make sure they are strong enough to support the weight of the swing and your child.
4. Carabiners:
- Carabiners will help you connect the rope or chain to the eye bolts. They also make it easier to adjust the swing’s height.
5. Tools:
- I used a saw to cut the wood (but you can get it cut at Home Depot), a drill and drill bits (a 1/2″ hole bit) to make the holes for the rope, an orbital sander, a measuring tape and a stud finder.
Now that we’ve gathered our materials let’s move on to the exciting part—building the swing!
How to Make Your DIY Swing
Step 1: Measure and Prepare
Before you start drilling holes or attaching anything, measure the space where you plan to hang the swing. Make sure there’s enough room for the swing to move freely without touching walls or furniture. Also, consider the height from the floor to the ceiling.
Step 2: Locate Ceiling Joists
Use a stud finder to locate the ceiling joists where you want to hang the swing. Attaching the eye bolts to a sturdy support structure is crucial for safety.
Step 3: Create the Swing Seat
Cut the seat to your desired dimensions. Then, sand the edges of the wooden board to prevent splinters. Then, paint or stain the board in your chosen color to match the room’s decor. Allow it to dry thoroughly. I used poly.
Step 4: Use a 1/2″ round drill bit to make 4 holes 1.5″ from each corner.
Step 5: Attach Rope or Chain
Cut two equal lengths of rope or chain, ensuring they are long enough to reach from the eye bolts to the desired height for the swing. I doubled up the rope on each side of the swing, threaded the rope through each hole in the swing seat, knotted it and fringed the bottom. Connect the carabiner to the top of the rope and make sure they are securely closed.
Step 6: Install Eye Bolts
Using a drill and appropriate drill bit, create holes in the ceiling at the locations you’ve identified for the eye bolts. Screw the eye bolts into these holes securely. Make sure they are level and tightly fastened to the ceiling joists.
Step 7: Hang the Swing
With the seat ready, and the rope in place connected to carabiners, clip the carabiners into the installed eye bolts. Make sure the swing hangs level and is at the desired height.
Step 8: Safety Check
Before your child takes the first swing, perform a safety check. Ensure all bolts, knots, and connections are secure. Test the swing yourself to make sure it’s stable.
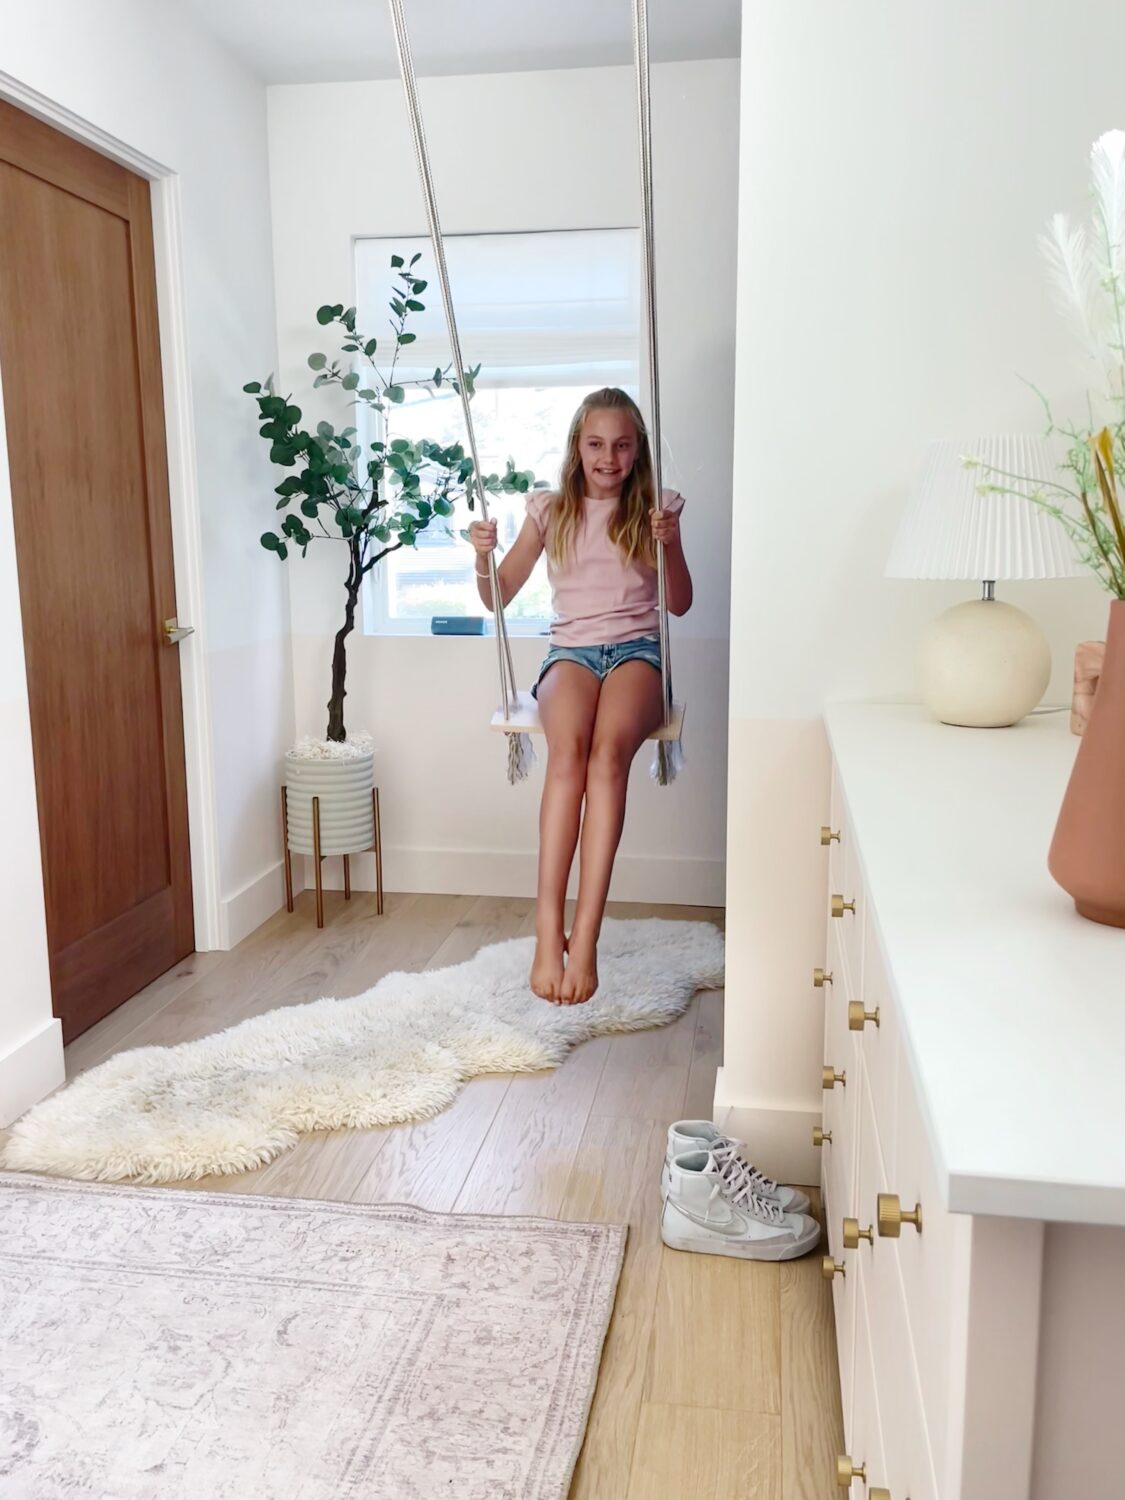
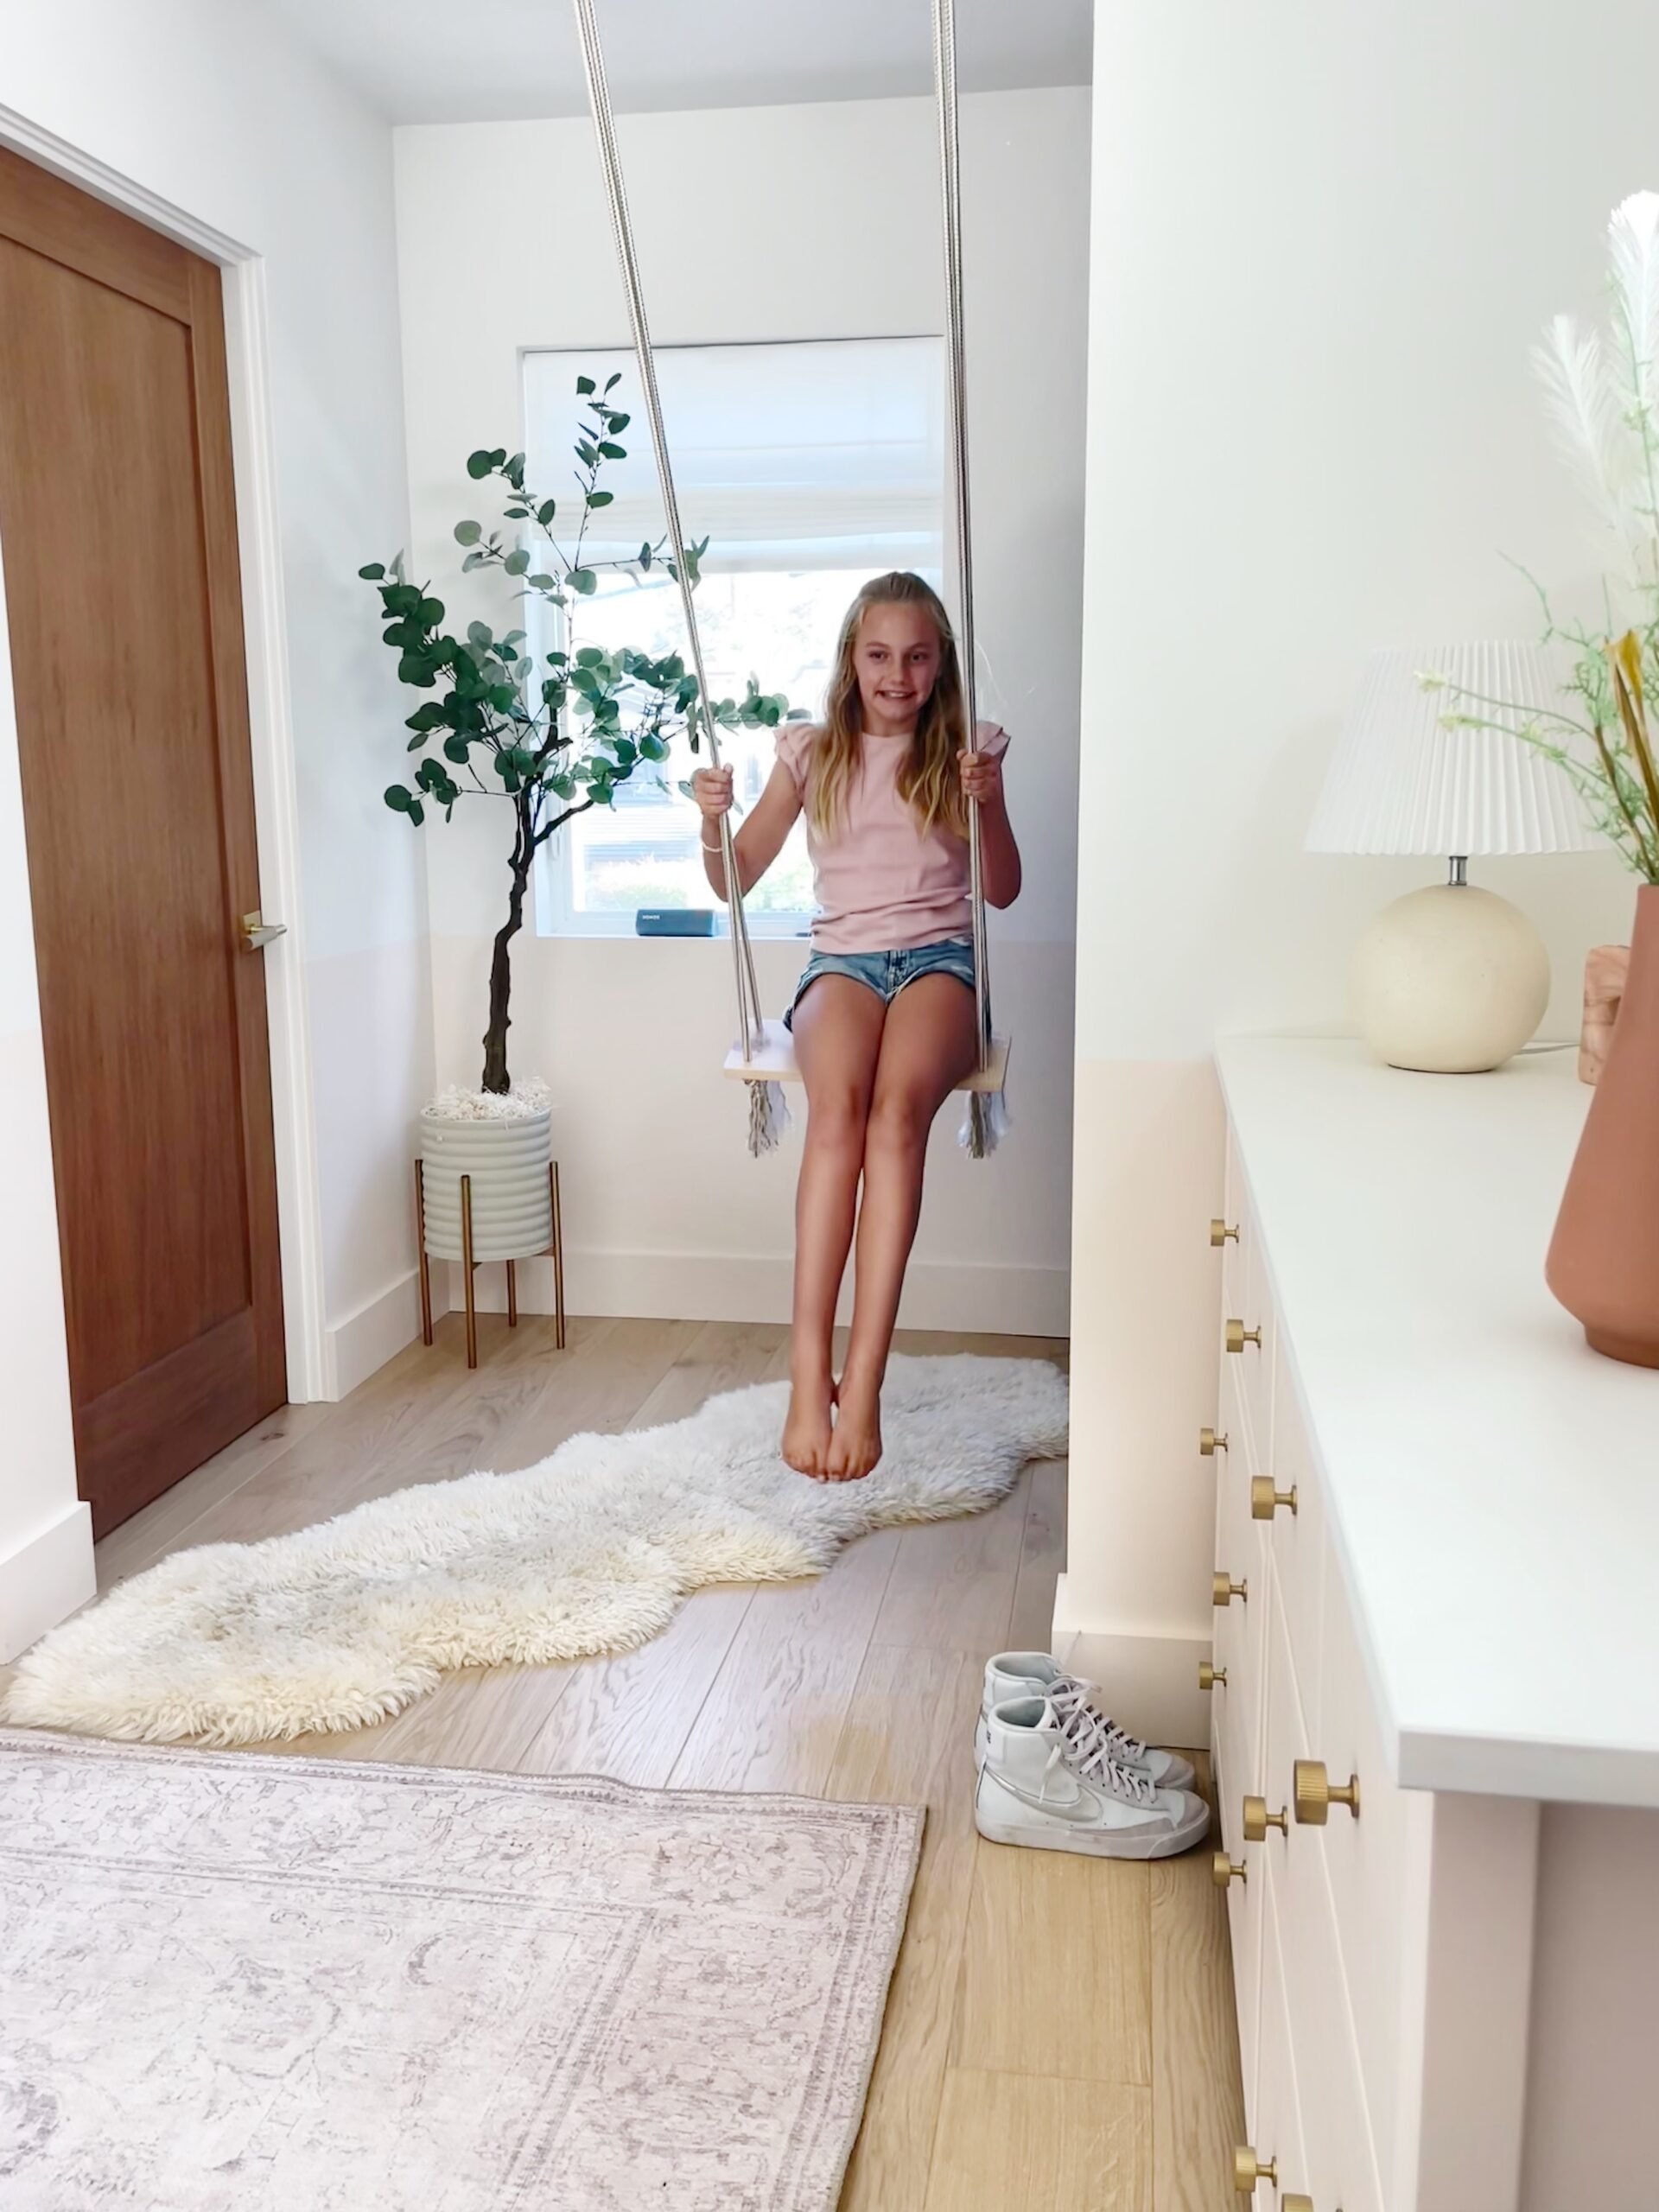
This simple project adds a touch of whimsy, comfort, and joy to Tegan’s space while allowing her to enjoy the timeless pleasure of swinging indoors. We have already formed so many memories on this swing! Her friends love it too! Remember, you’re never too old to enjoy the simple joys of life, and your child’s smile will be the best reward for your DIY efforts.