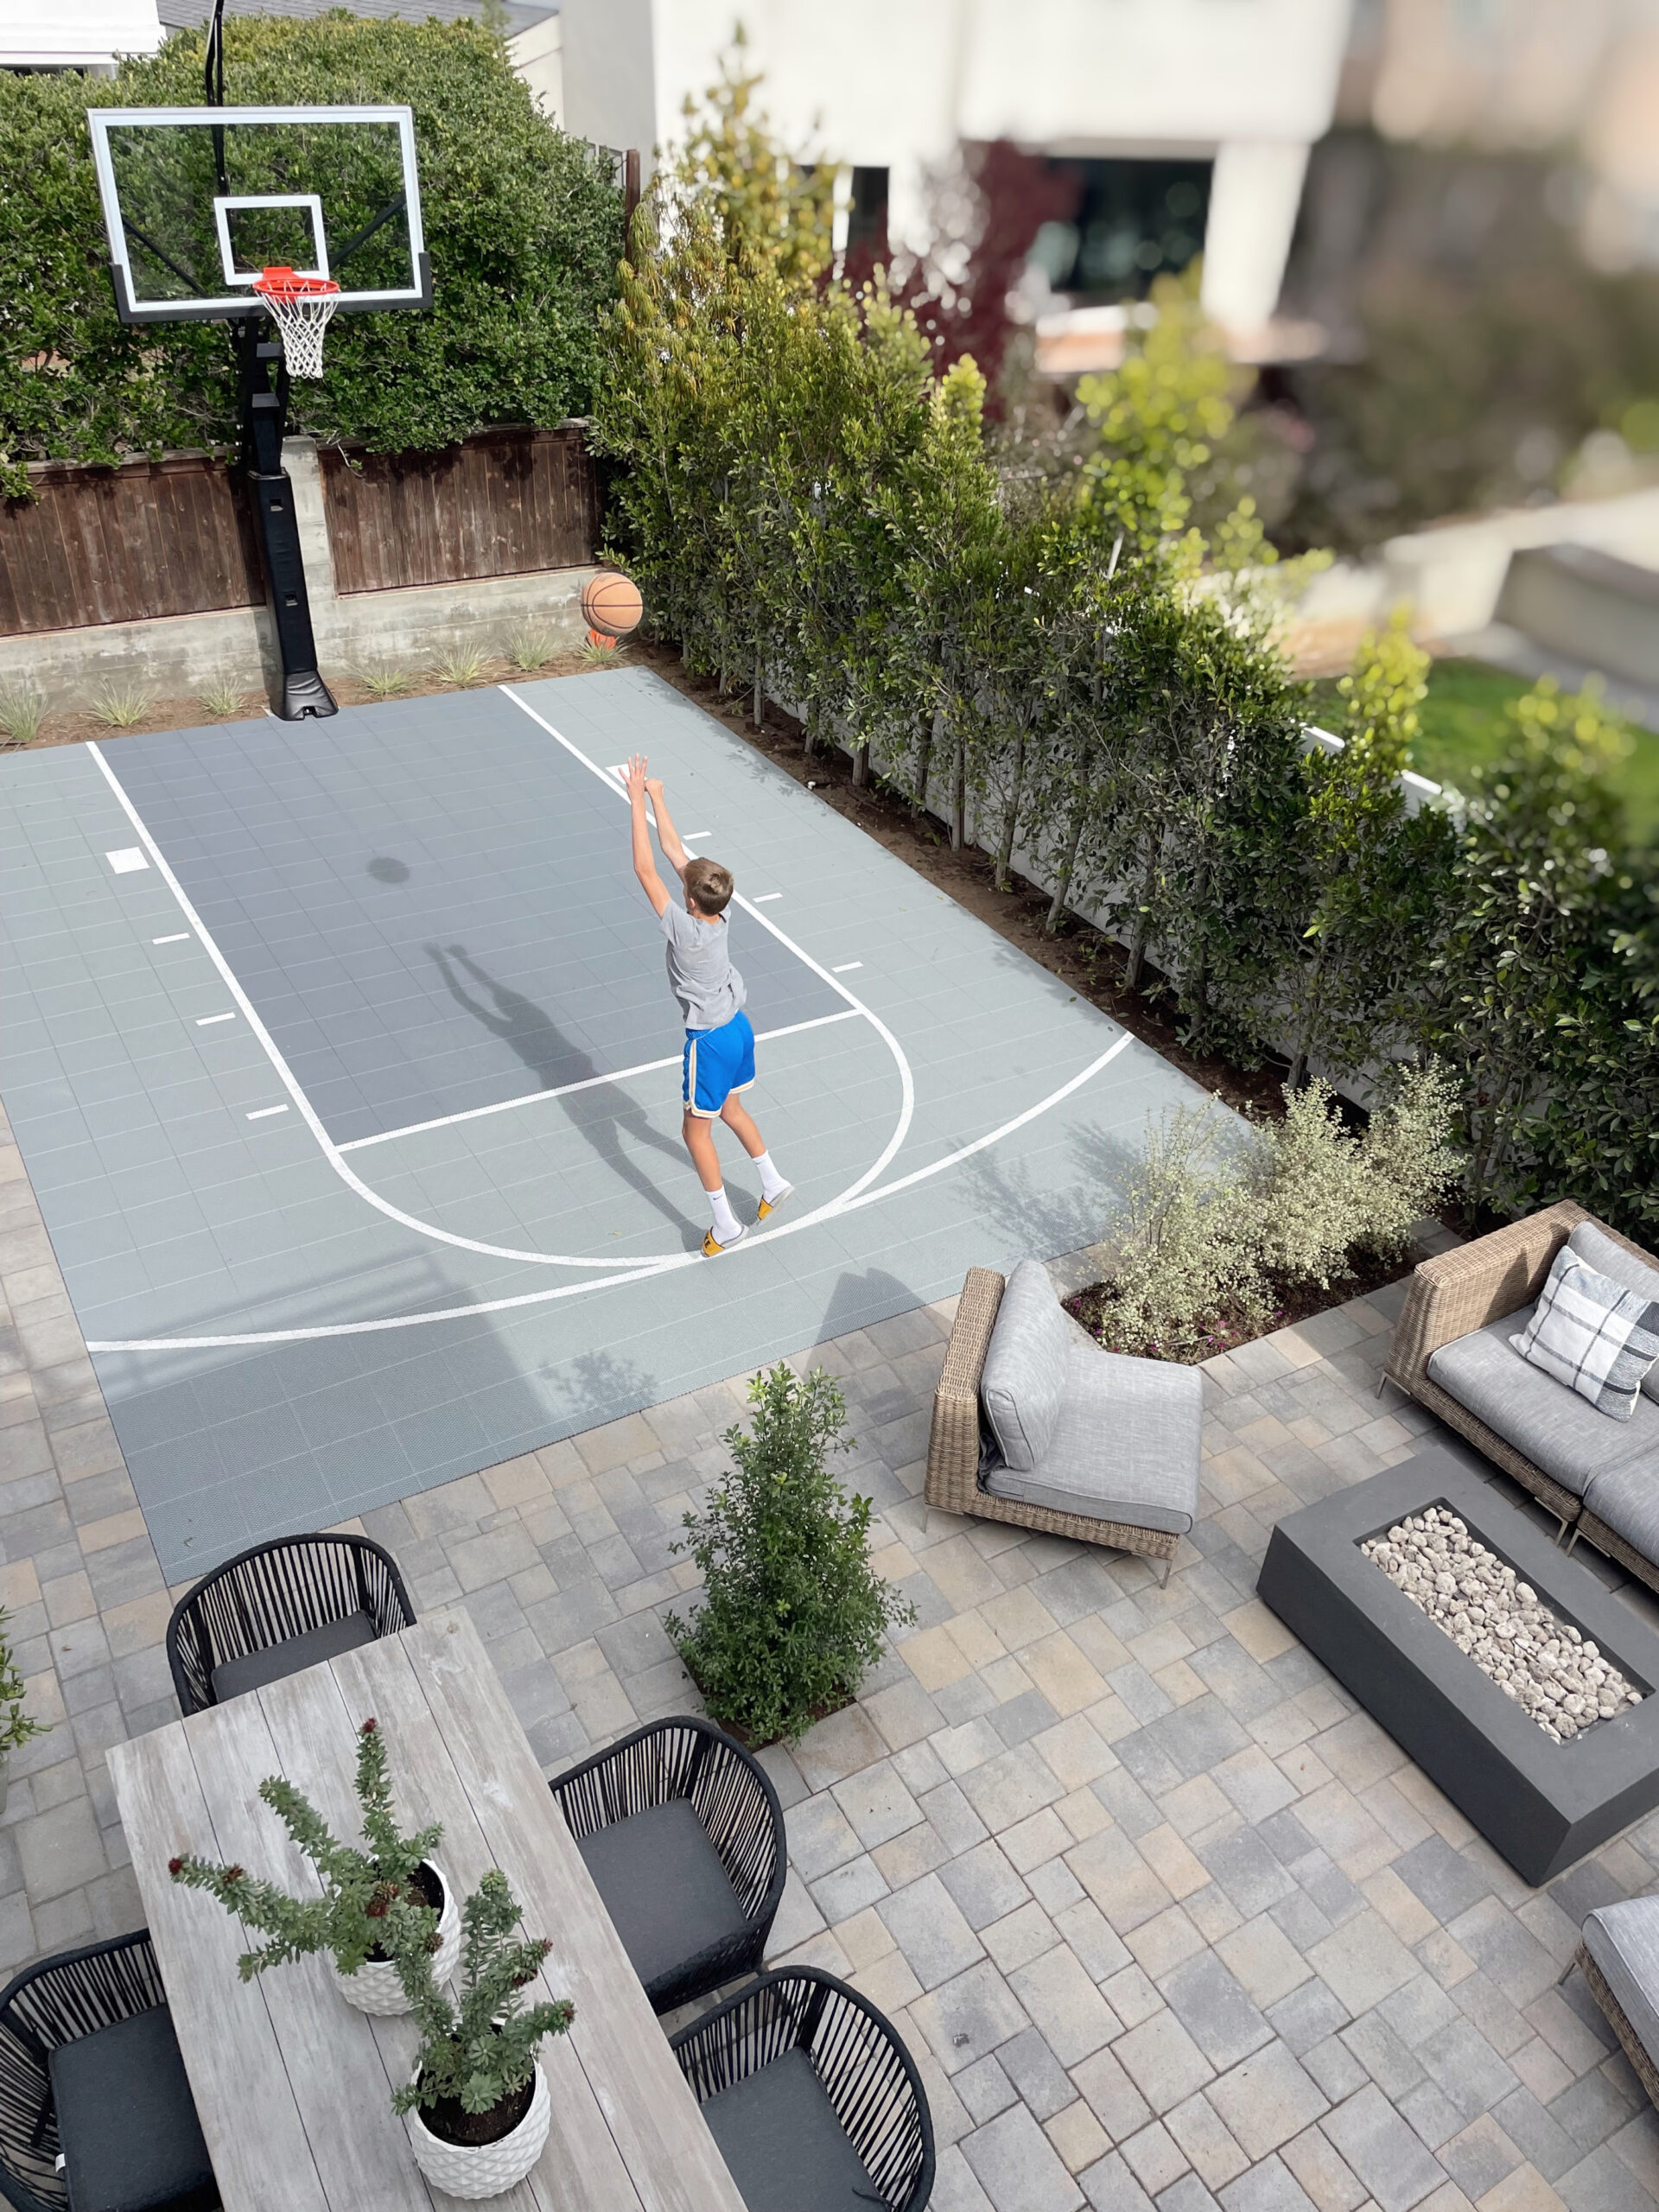
We recently completed an incredible home renovation that not only transformed our house but also redefined our backyard, now featuring a brand-new basketball court! When we first purchased the property, the backyard was essentially a driveway because the garage was situated there. Our major renovation involved converting the old garage into a modern open-concept kitchen and family room, and relocating the garage to the front of the house. This renovation has given us a spacious and functional backyard, perfect for adding a basketball court. In this post, we’ll share all the details of our backyard transformation, including the design elements, plants, furniture, and how you can add a basketball court to your own backyard.
BEFORE PICS:
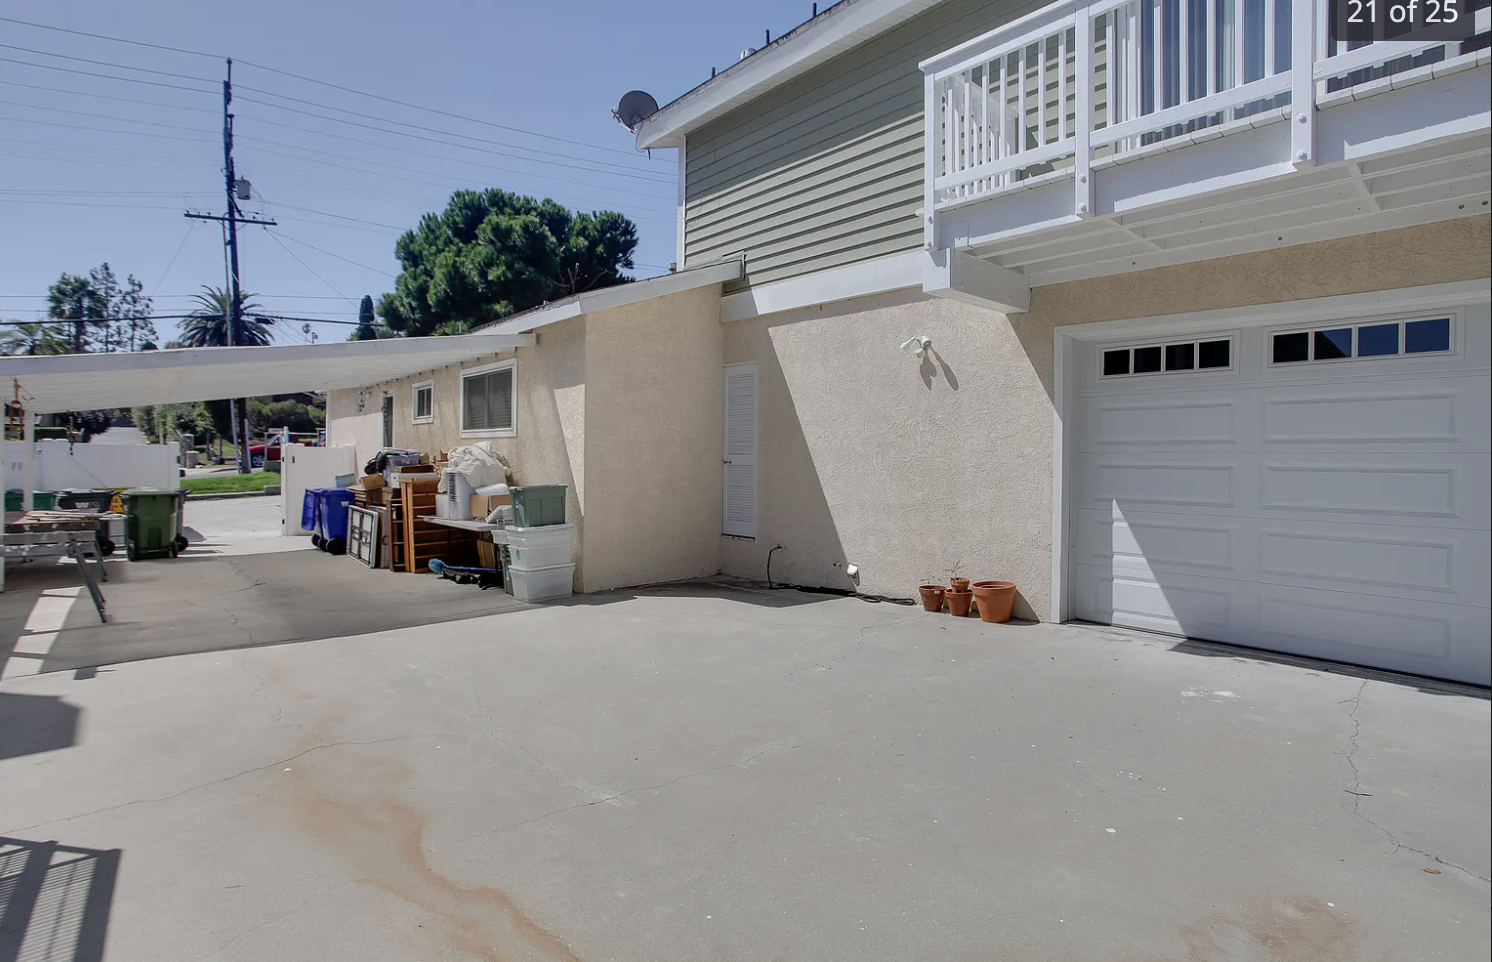
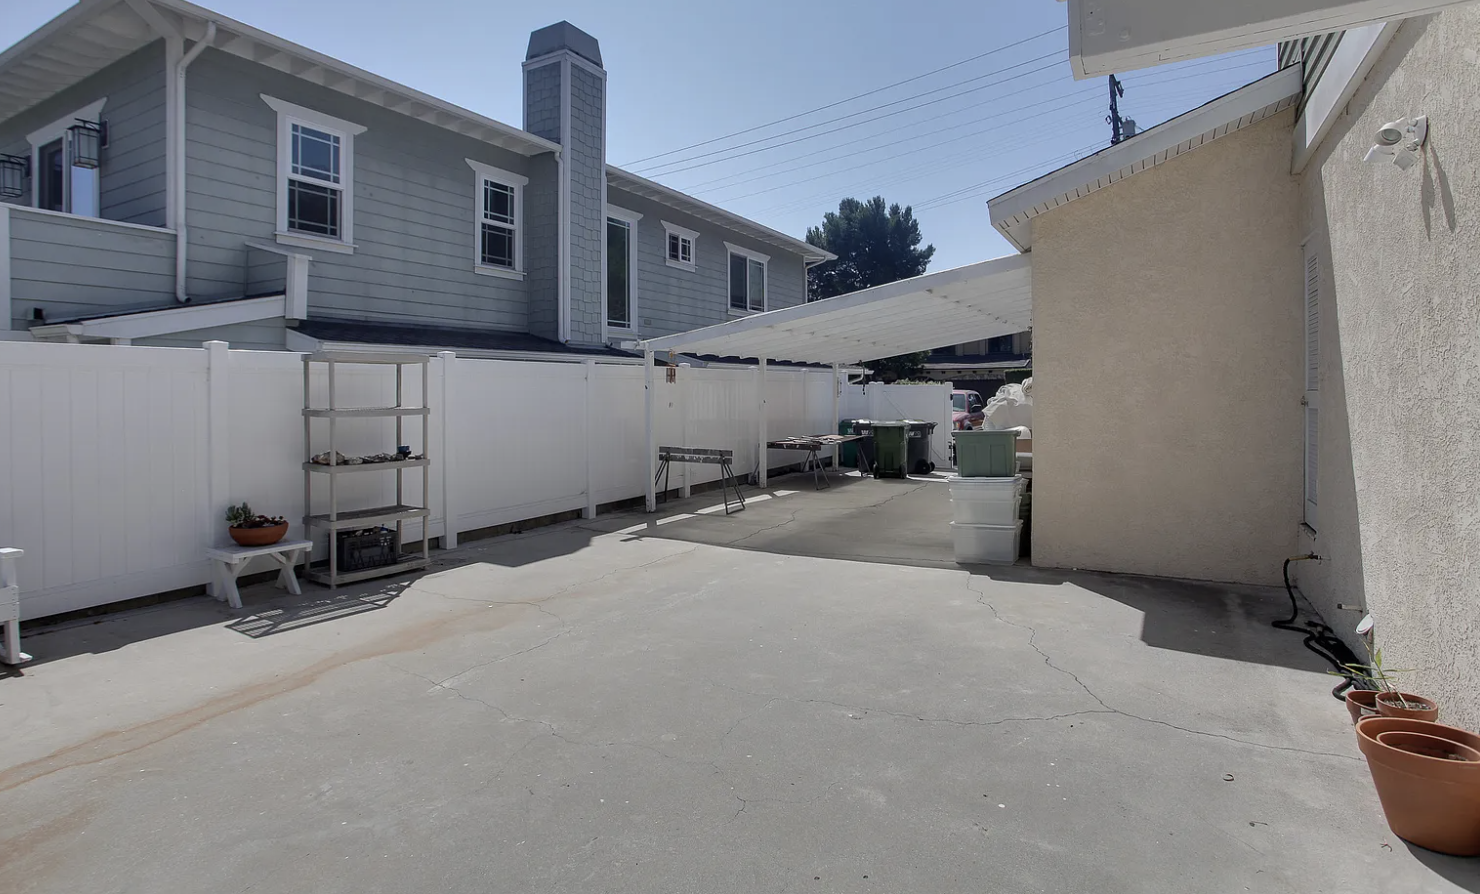
As a family, we decided to add a sport court for basketball games and a large enough patch of artificial grass for tumbling. And I definitely wanted a hang out space with a fire pit and dining space. We worked with Yardzen to make our dream our reality. Yardzen gave us the plans years ago and now it finally and truly is a reality! I played the contractor role and hired various sub-contractors to get the work done.
We started by pouring the concrete for the sport court. The concrete guys leveled our yard (at a slight slant for water) but making sure the sport court area was completely level. It is important to finish it with a medium broom finish on the concrete, so that the sport court tiles can be properly installed on top. We painstakingly measured the space to make sure we had room for a 3 point line and to ensure that the free throw line was regulation. Our court is 18′ wide and 25′ 3″ long with the hoop anchored right in front of the court (allowing 2 ft total to the fence to leave room for the hoop crank). We purchased our hoop from this company. We purchased the multi-sport 72/36 with pro rim. If you order from them (the best hoop for the price – please let them know I referred you).
We hired a sport court expert to order and install our tiles , which includes cutting, anchoring and painting the lines. Please let me know if you want his number!
After our concrete was poured, we started with the artificial grass. We had our gardener install the grass, which involves leveling, gravel and decomposed granite for proper drainage. We installed a 15′ by 15′ square of grass. It is right off our garage, which is perfect and easily accessible for my daughter’s gymnastics equipment. It is kid/pet friendly and adds a nice pop of grass without requiring water or causing mud. 🙂
Lastly, we hired a company to install pavers. We decided on Courtyard stone combo pavers in the dark gray/copper/charcoal color. They came in and finished in a week – we had over 300 sq ft total. If you install pavers near your sport court, make sure they are level to the court. Our pavers were installed before the sport court tiles, so we had the pavers 5/8in above the concrete to ensure they were level to the court once the 5/8in sport court tiles were installed.
AFTER:
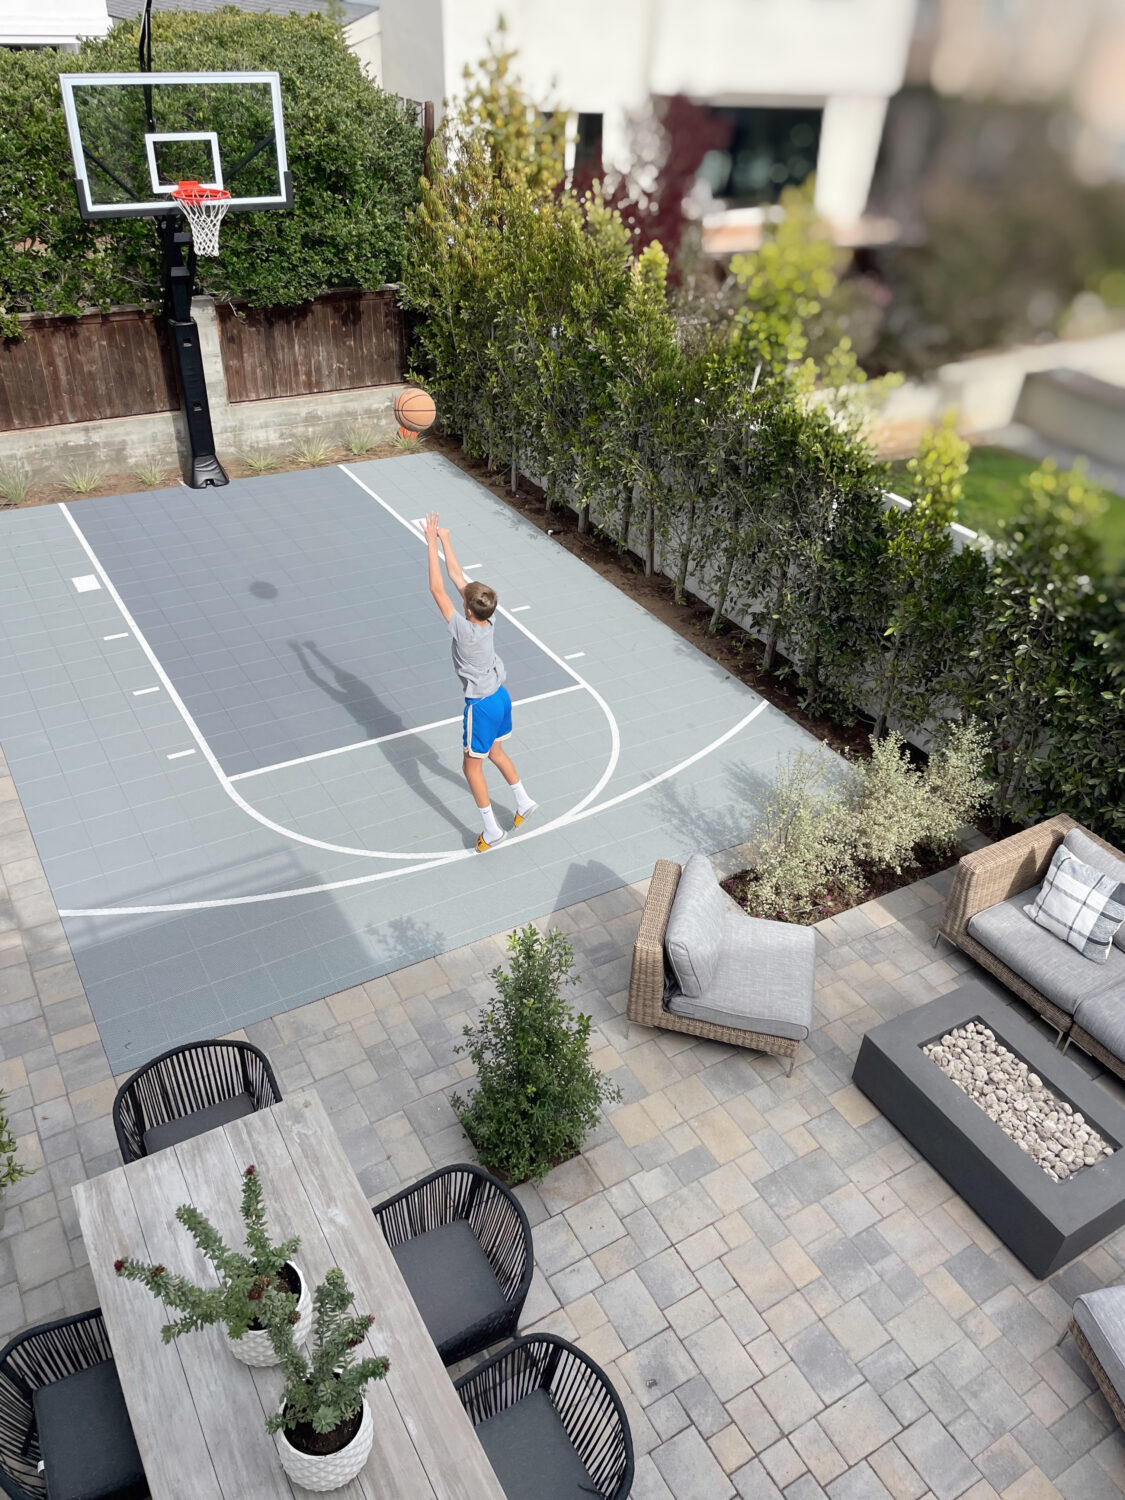
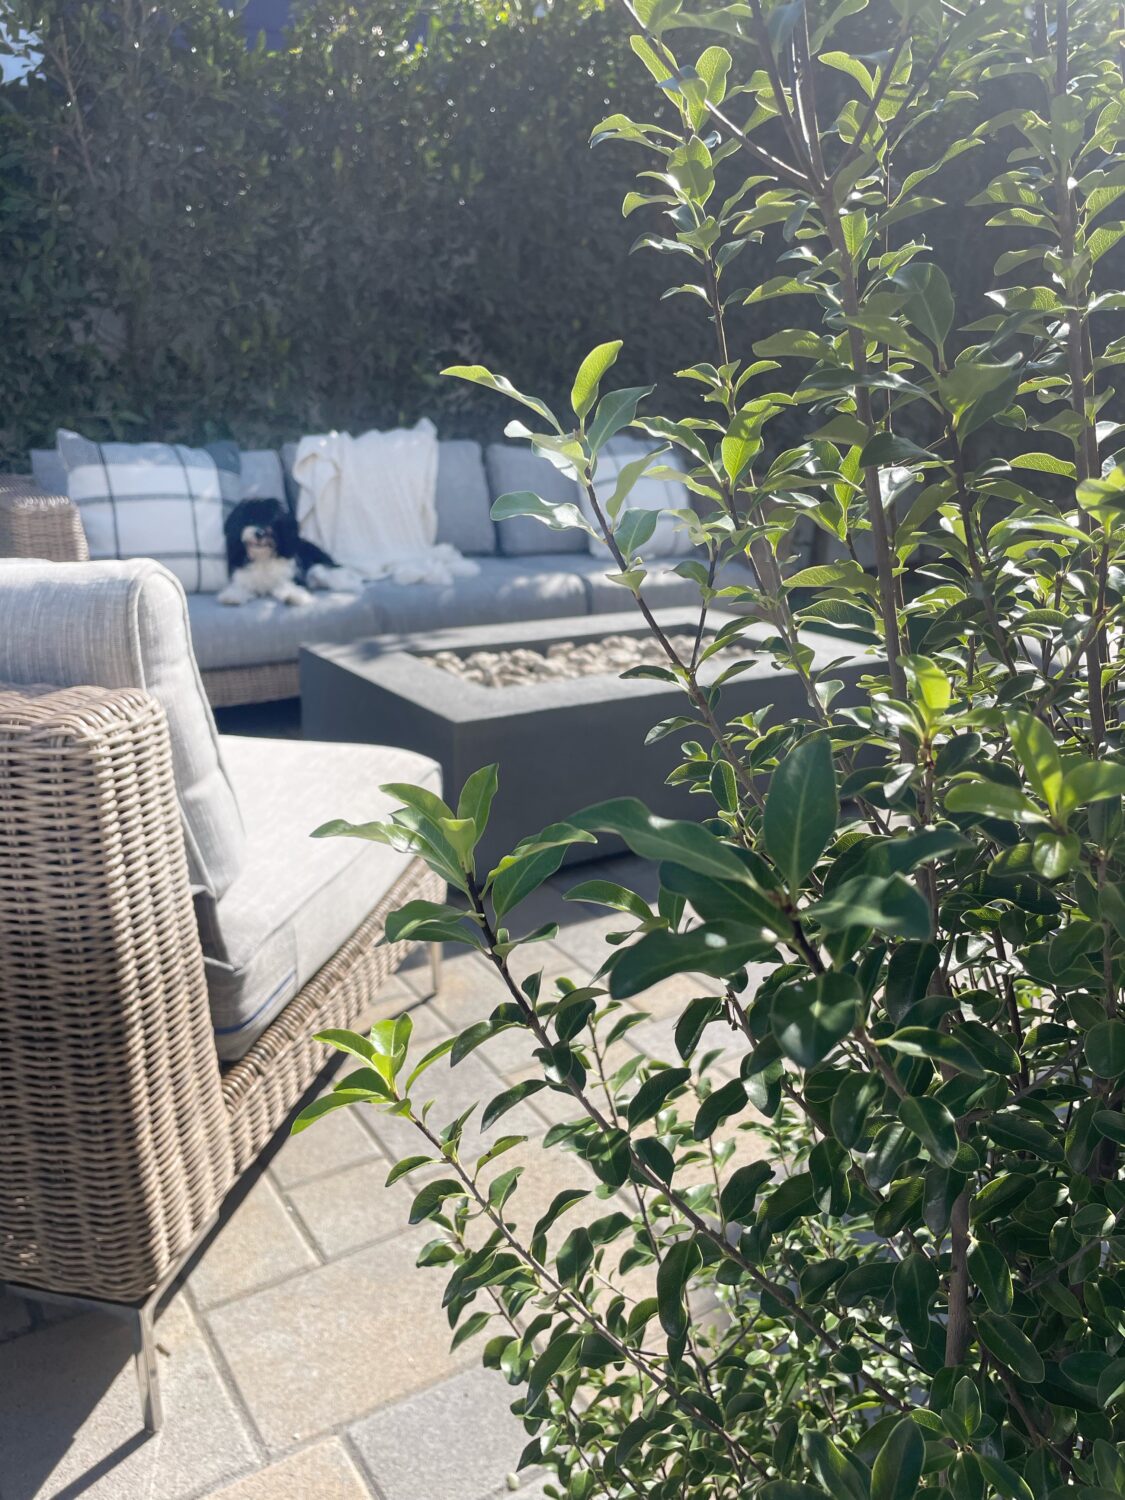
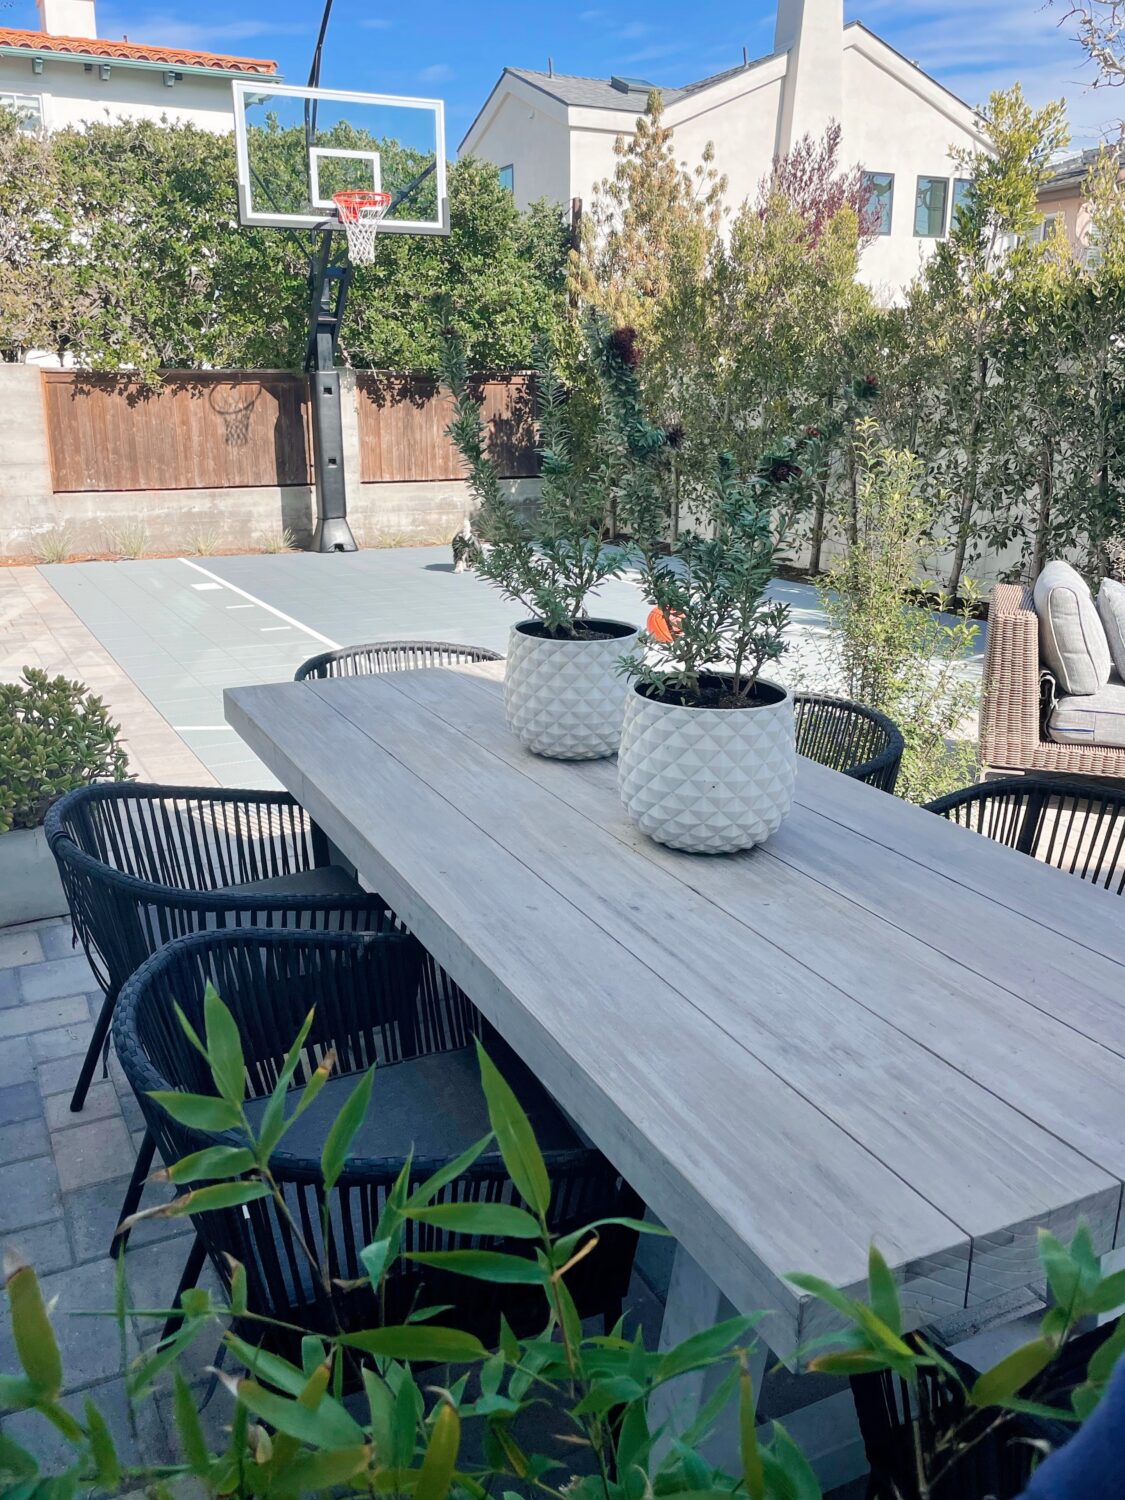
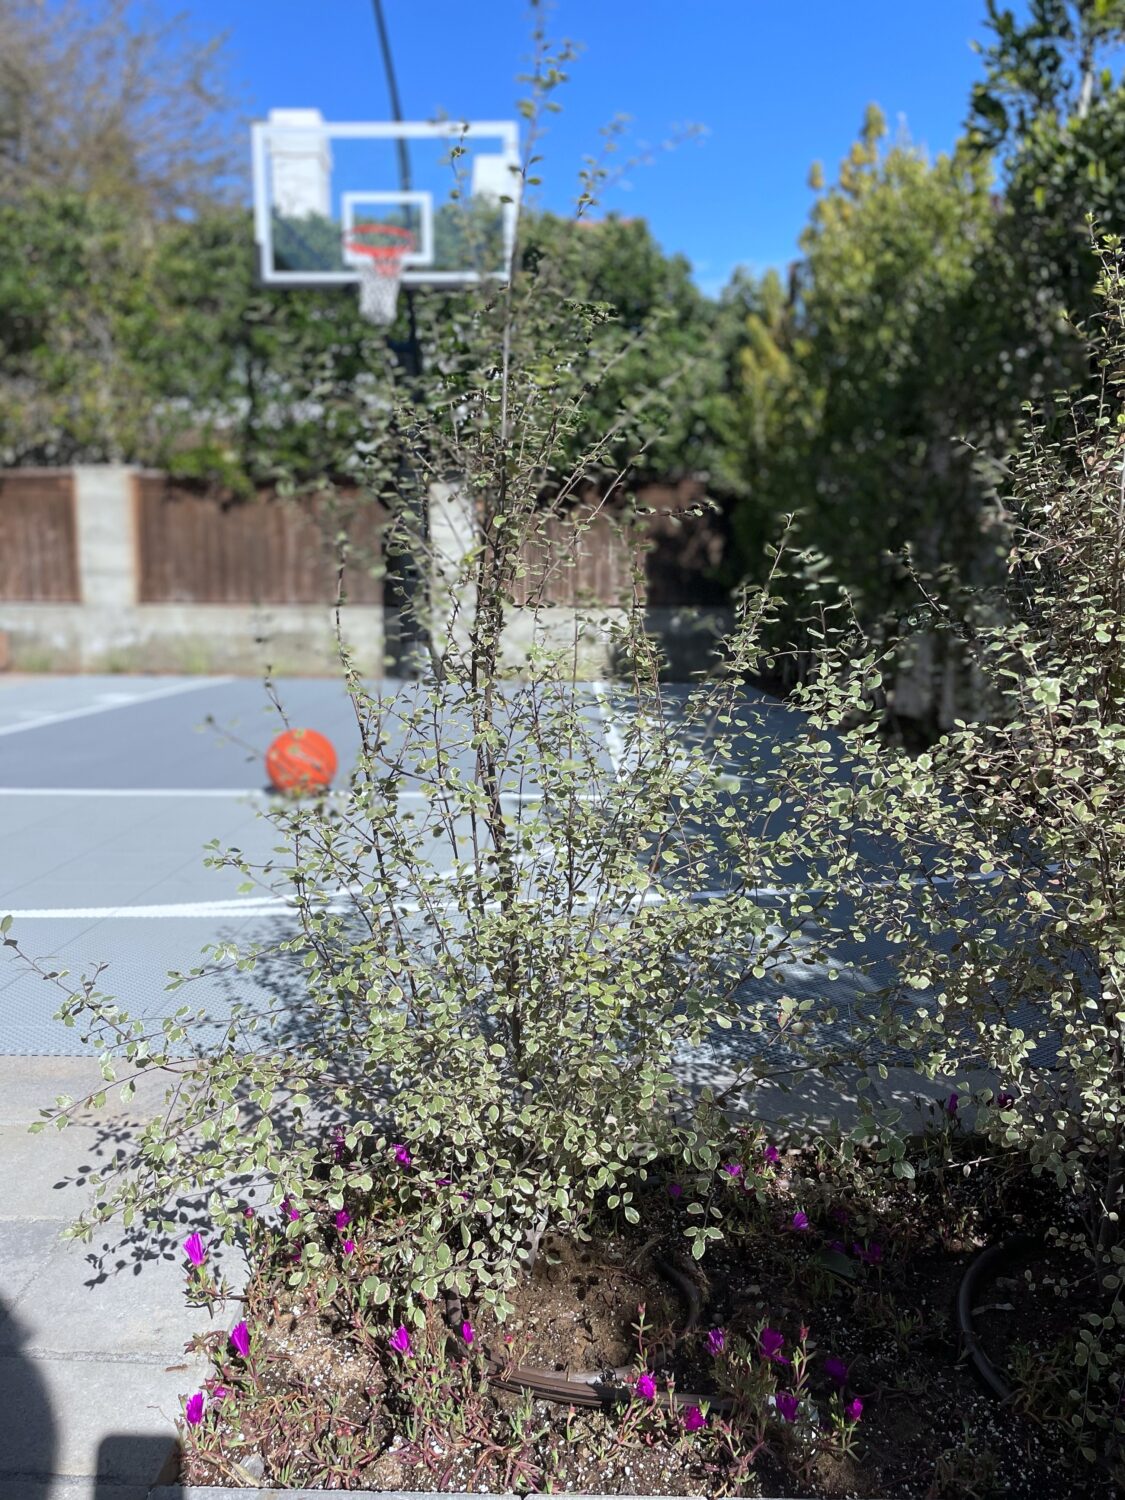
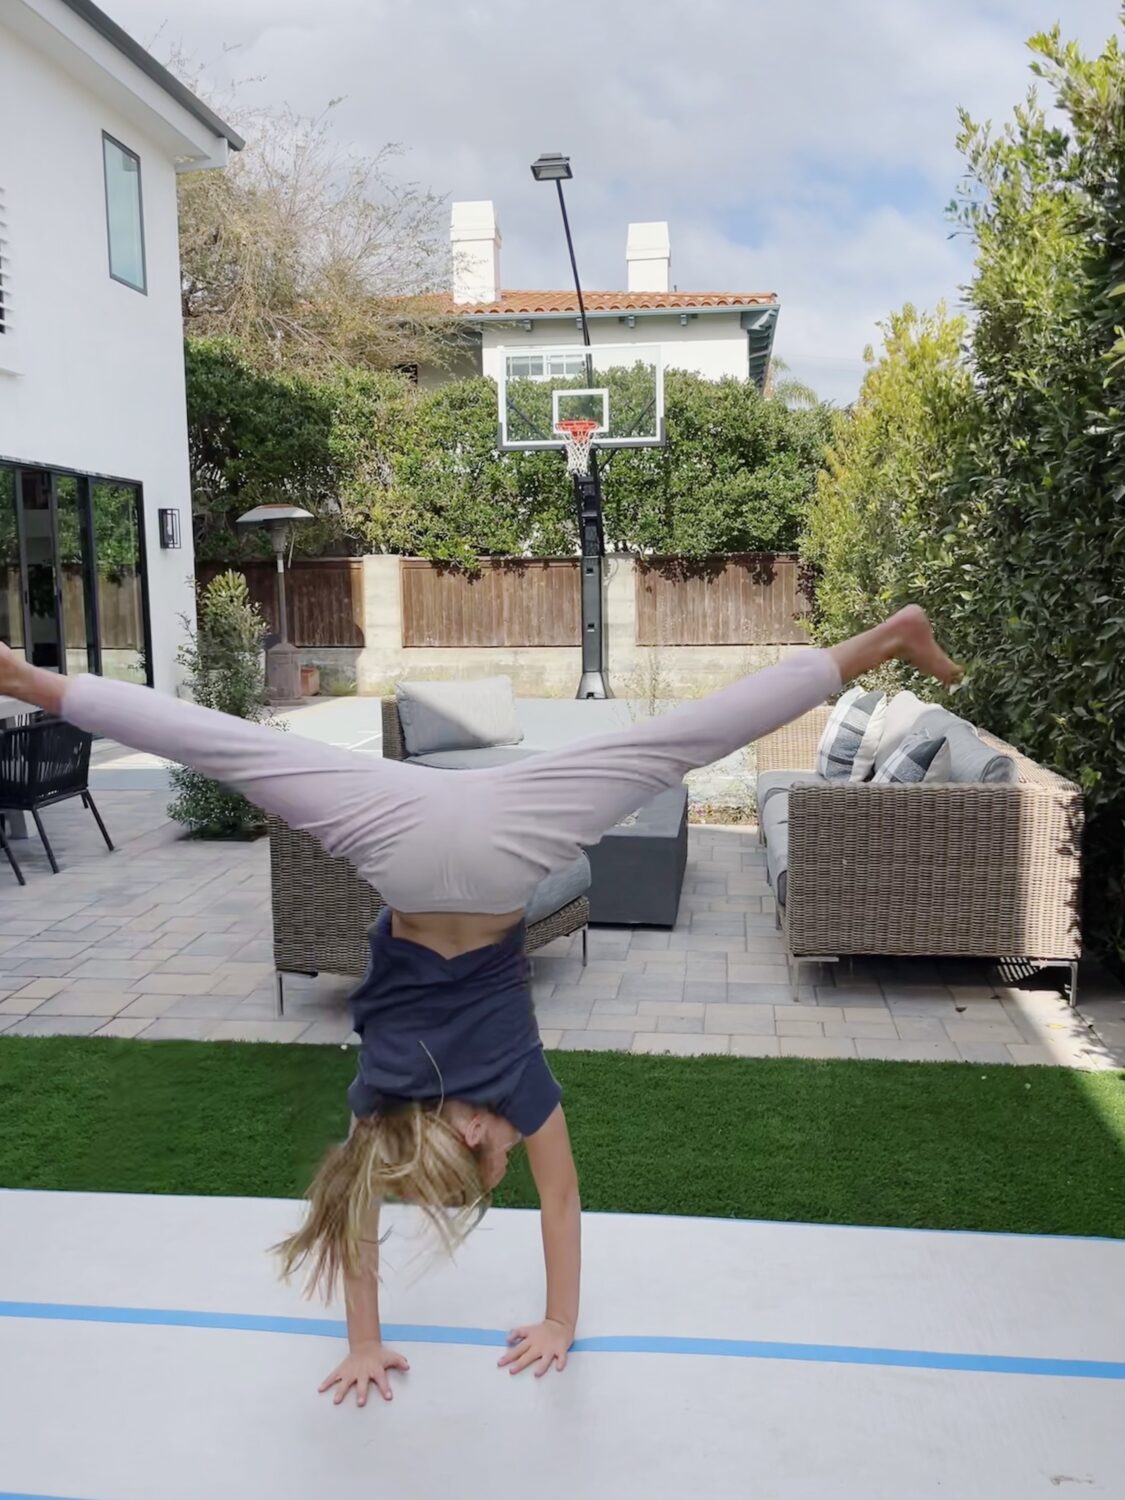
Plant sources: Our privacy hedge is ficus. For the other plants, I purchased and planted a combination of grasses, ground cover and silver sheen bushes/trees.
Furniture:
The fire pit is from Terra Outdoor
The dining chairs
The dining table is from Article but no longer available.
The sofa and chairs are our fav! They are the brown wicker from Outer – linked here.
We love that it is made from recycled materials AND it is incredibly comfortable. We LOVE how easy it is to keep it clean and dry with the easy to use attached cover. Use coupon DIONOUTER for 5% off.
Email me at kristindiondesign@gmail.com or DM me on IG for sub-contractor info or for any other information. Happy to share! I had an awesome experience with all.
xoxo,
Kristin

