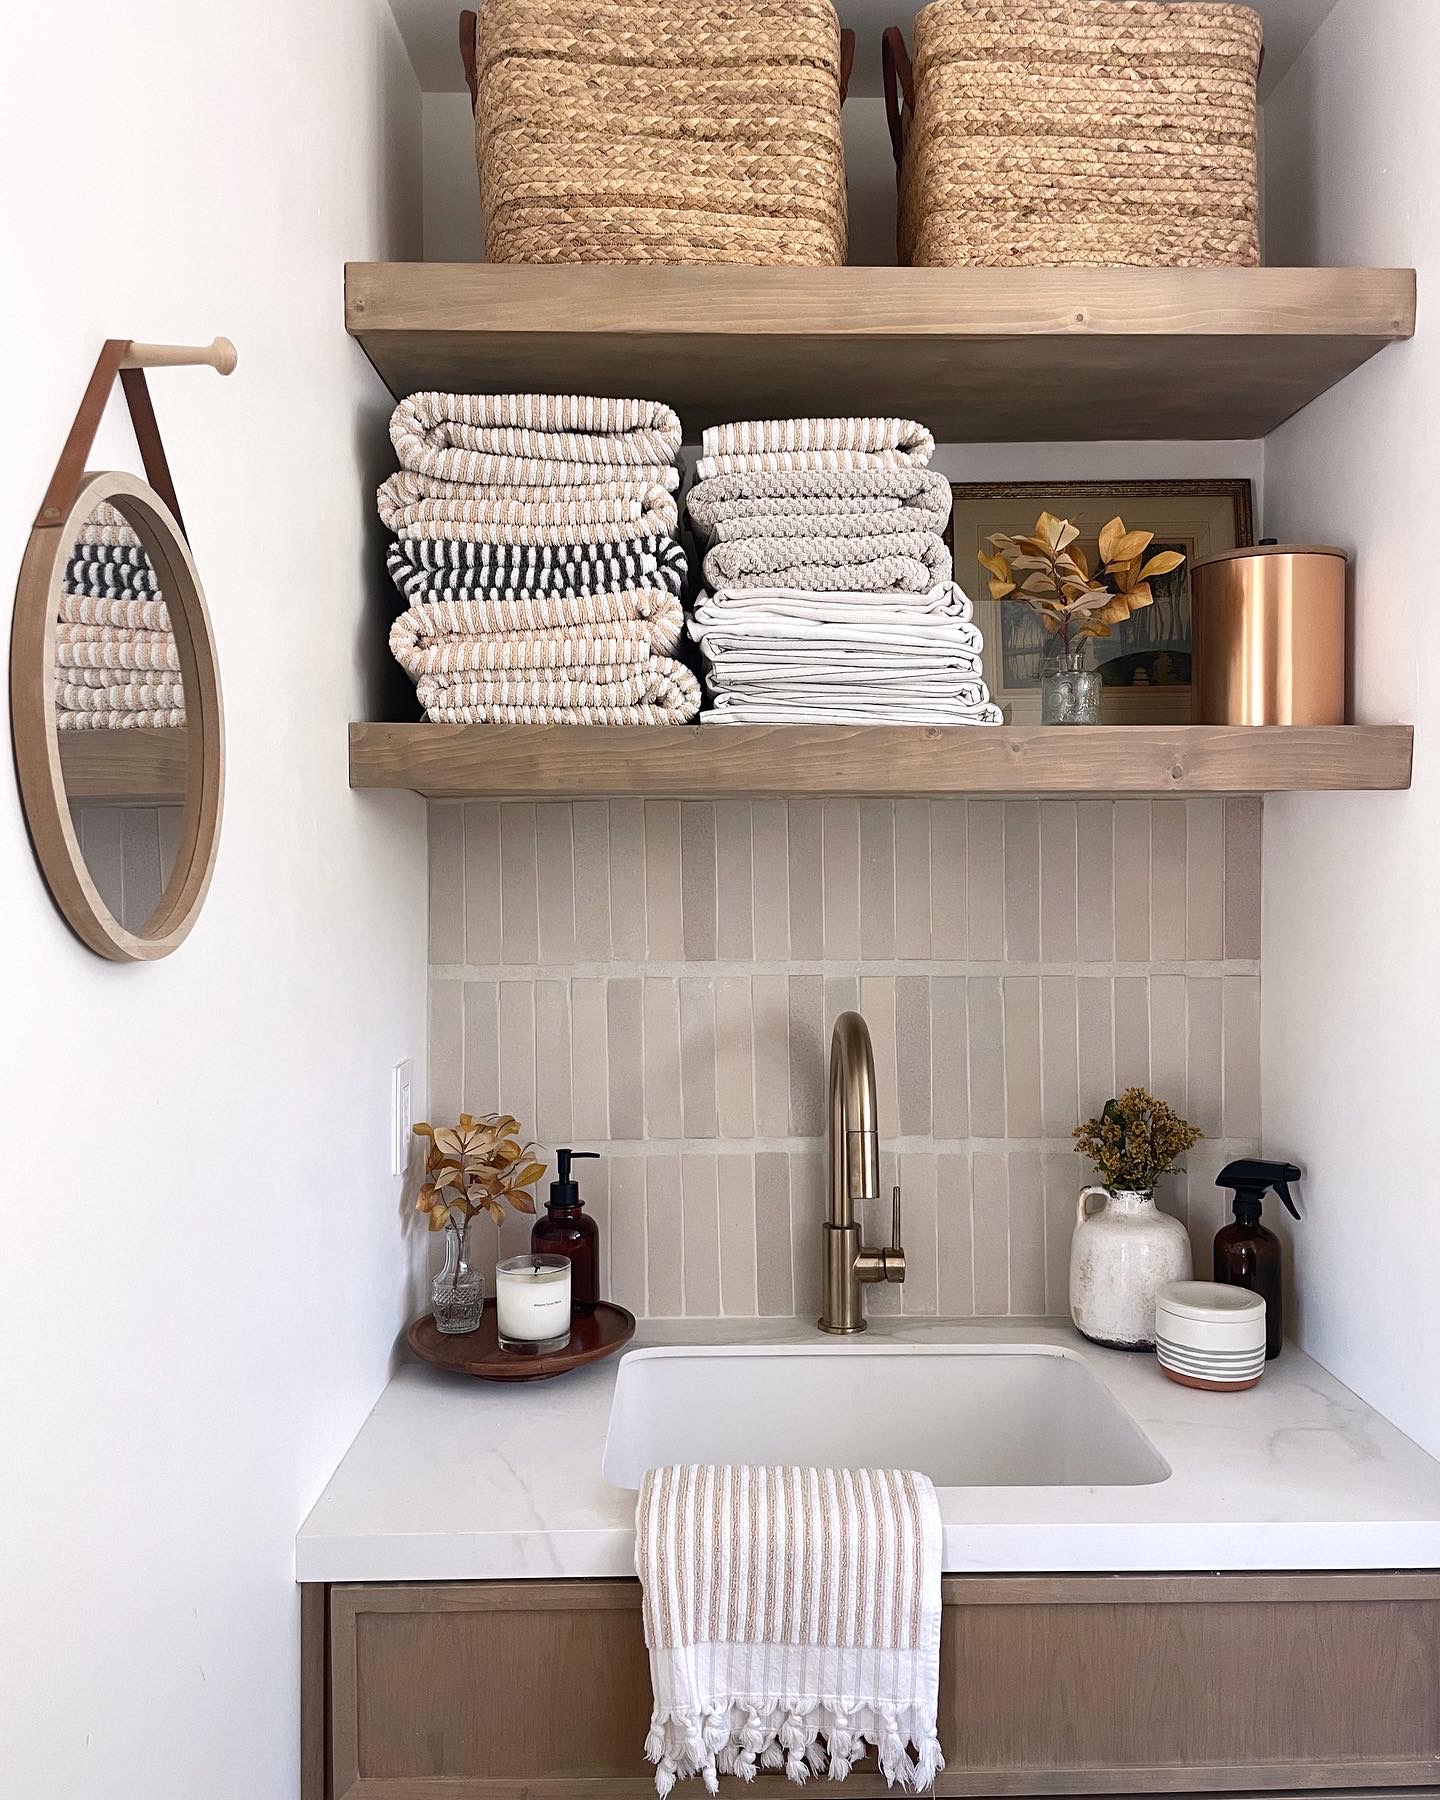
I realize I never blogged about my first venture into DIY’ing a tile wall and floating shelves! This was my first phase of my laundry room makeover and it was transformative! With some leftover tiles, a bit of creativity, and some elbow grease (and f bombs hahaha), I managed to revamp a boring space into something stylish and functional. Here’s how I did it, including tips and tricks for both tiling and making floating shelves.
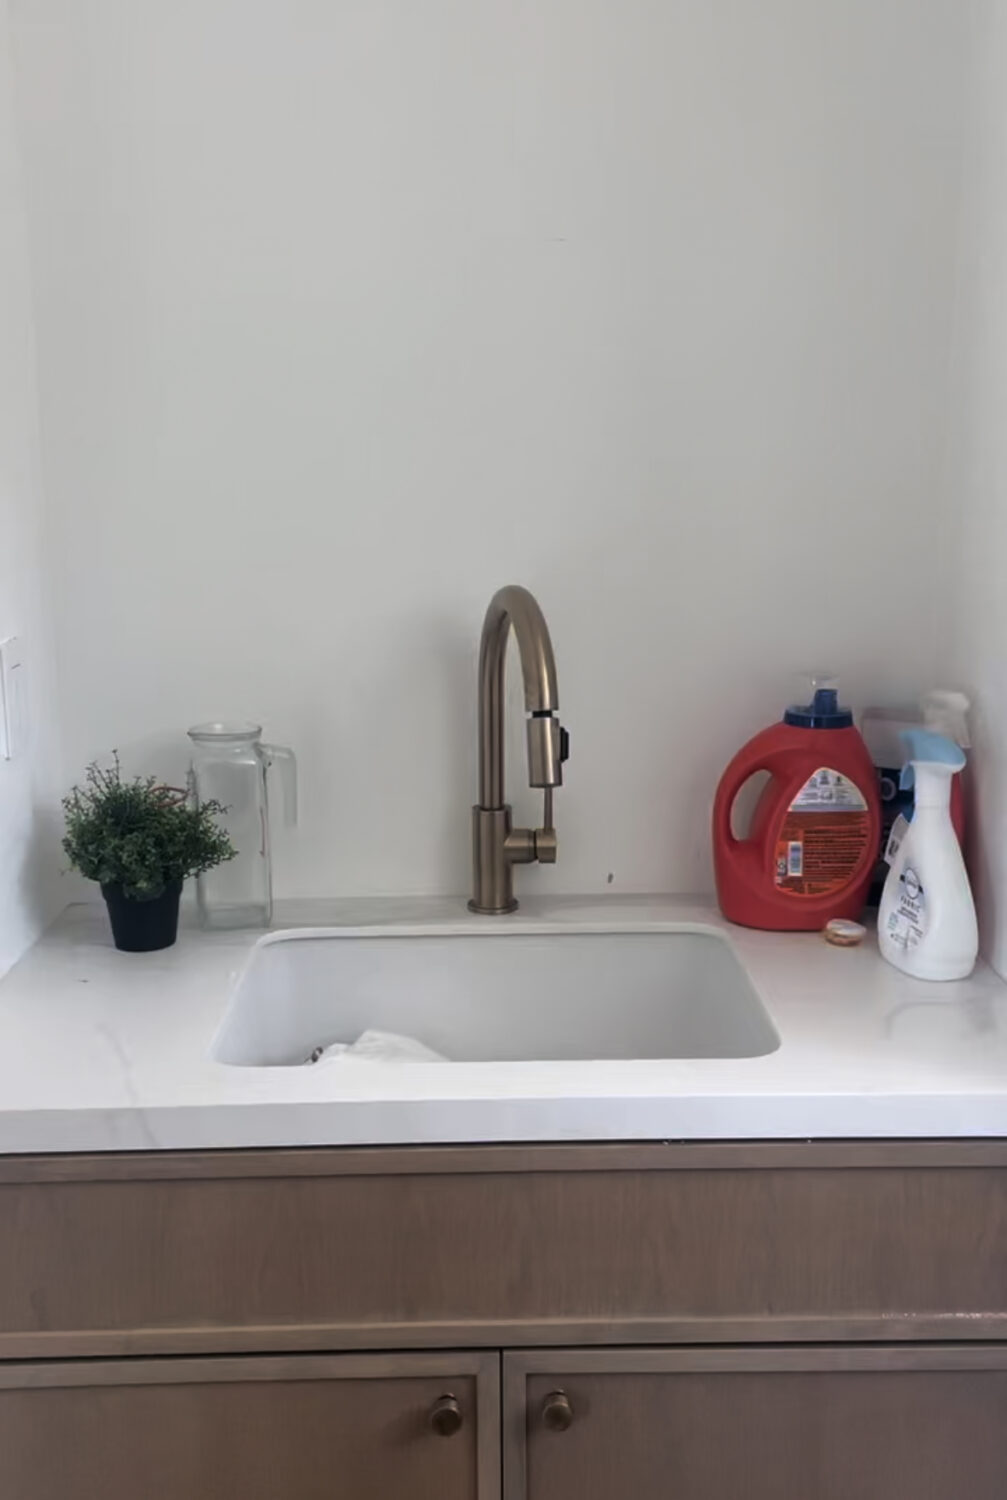
How it started . . . it was just a blank wall
(1) Tiling the Wall:
Step 1: Plan Your Tile Layout
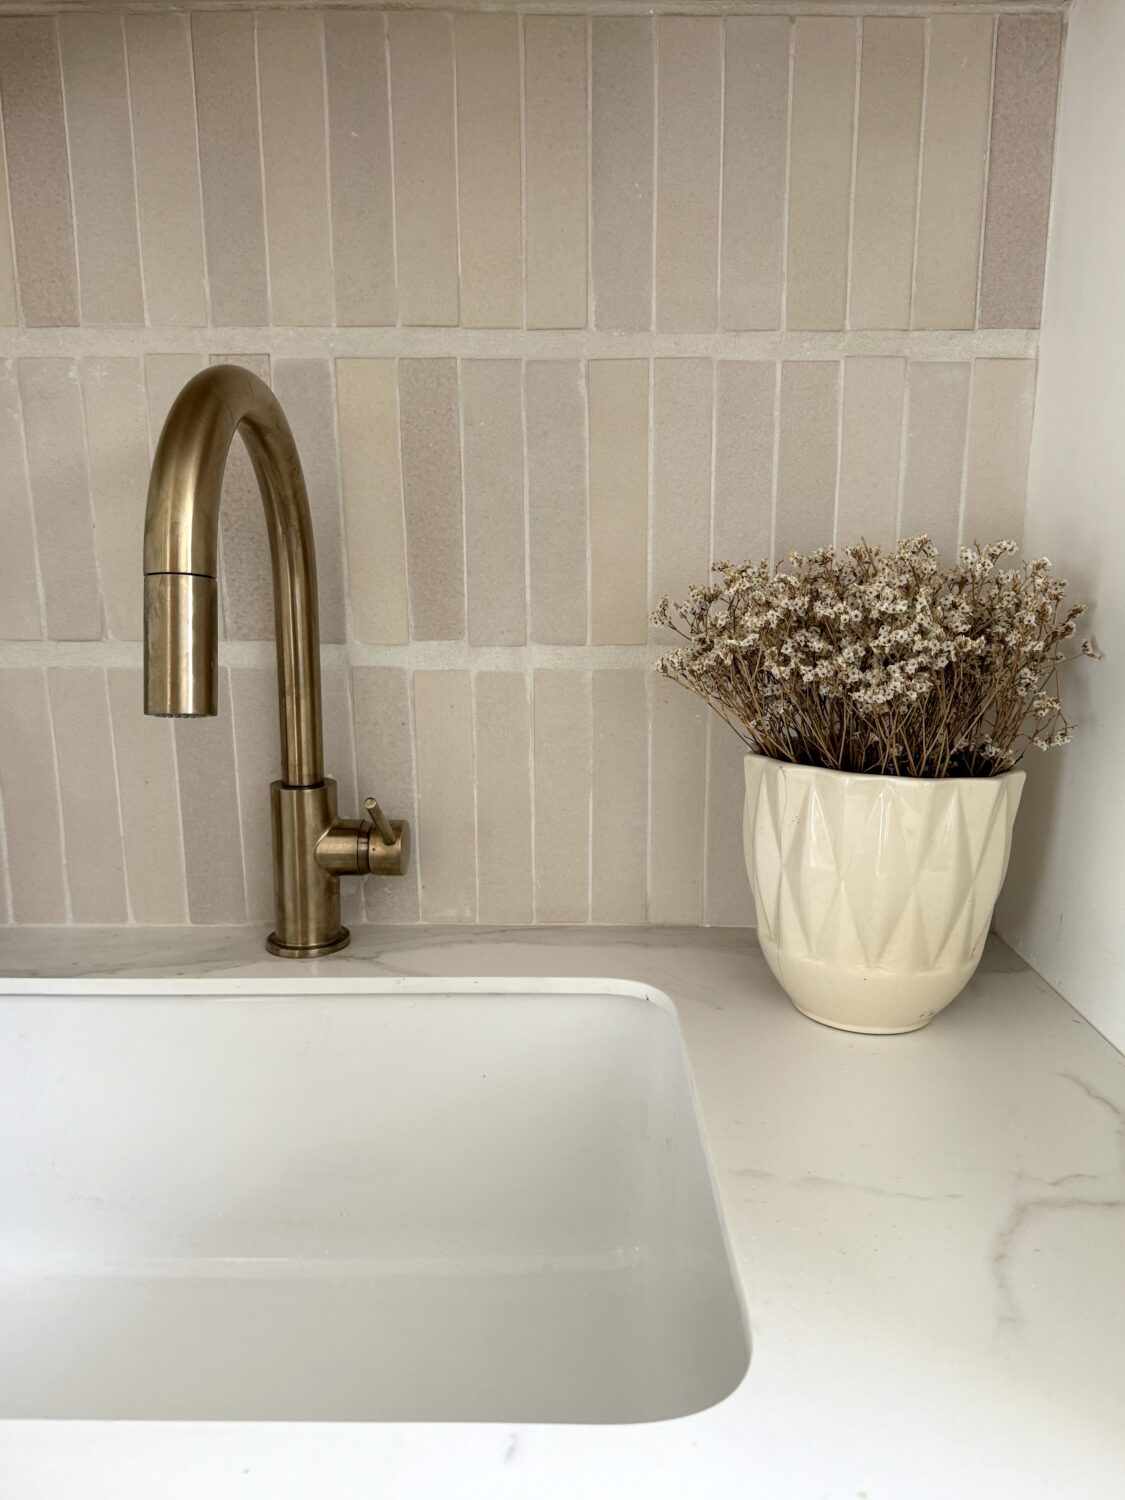
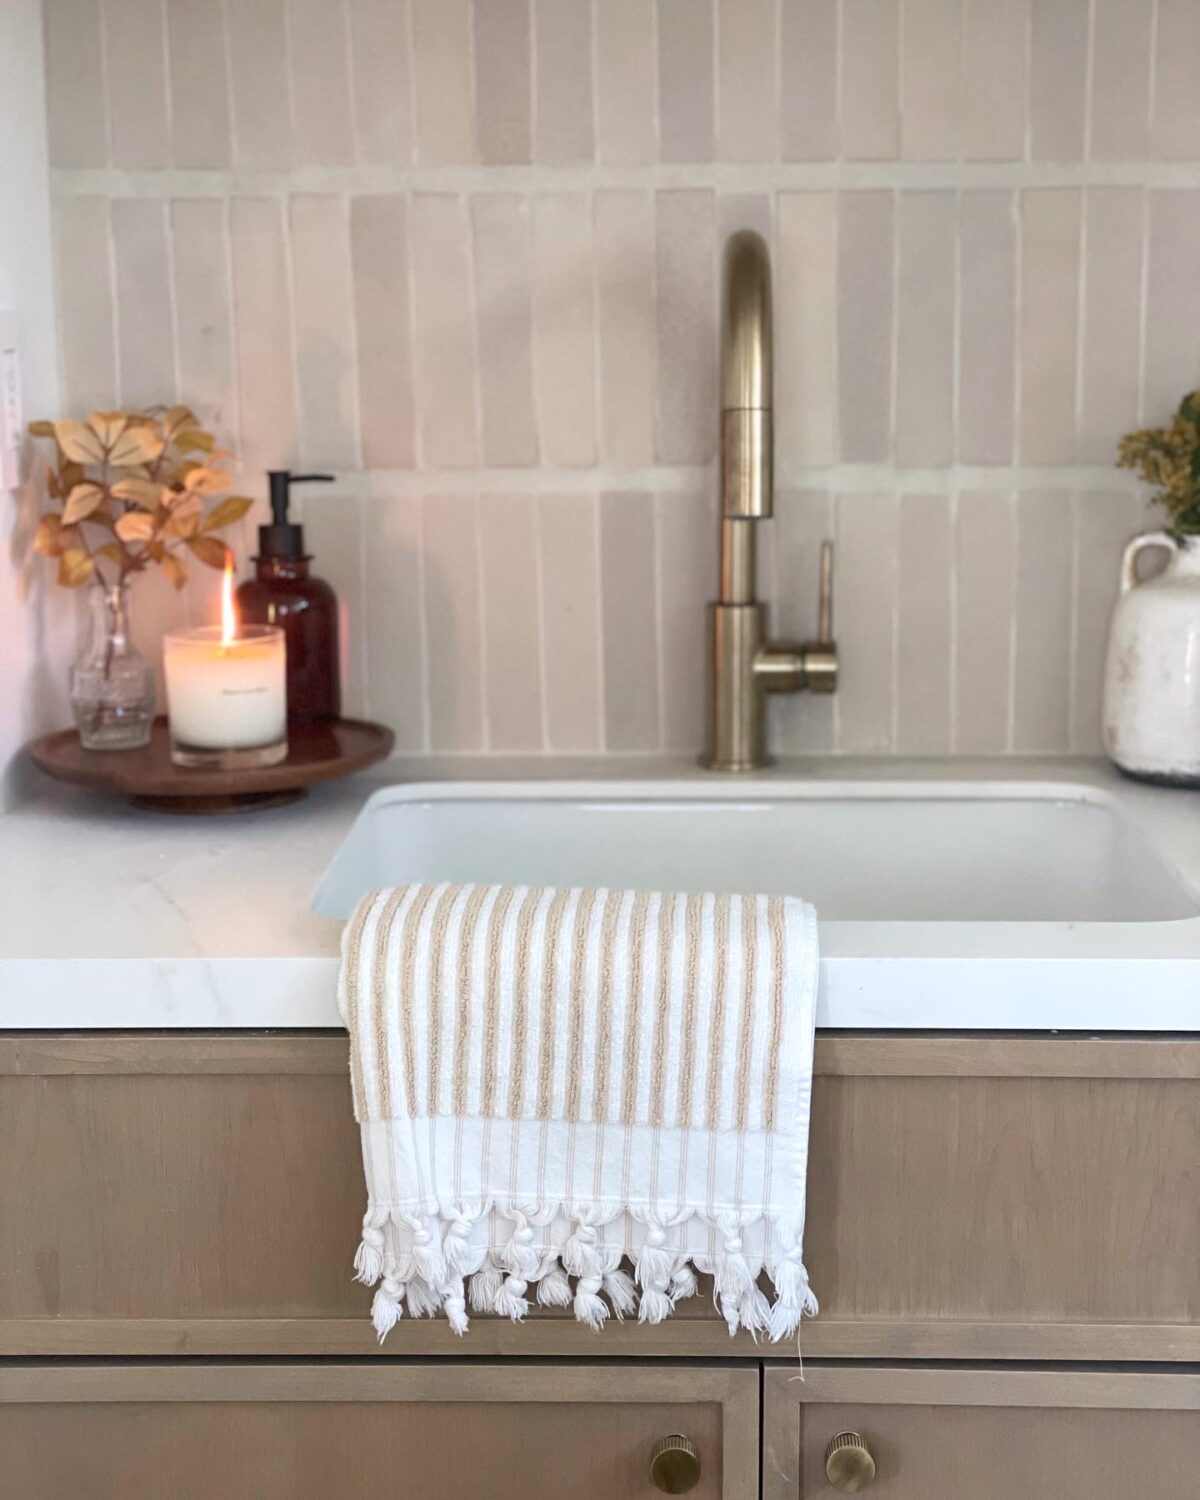
Before diving into the tiling process, I mapped out my tile layout to avoid having to make any cuts. I chose a modern vertical stack but added a thicker grout line in between the lines to mix it up. I used leftover tiles from my daughter’s bathroom build – the tiles are Arto Brick, Studio Field, in Alabaster.
Step 2: Gather Your Supplies
For this project, you’ll need:
- Tile spacers (I didn’t use them but I recommend them)
- A level
- A tile trowel
- Thin-set mortar
- Grout
- A grout float tool
(scroll to the bottom for links to all tools and supplies)
Step 3: Prepare the Surface
Ensure your wall is clean and smooth. Any imperfections can affect how the tiles adhere, so give it a good wipe down and let it dry.
Step 4: Apply Thin-Set Mortar
Using your tile trowel, spread a layer of thin-set mortar on the wall. Work in small sections to keep the mortar from drying out before you place the tiles. While the mortar is still wet, you can adjust where the tiles are.
Step 5: Place the Tiles
Start at the center of your layout and press the tiles firmly into the mortar. Since I didn’t use spacers, I eyeballed the gaps between tiles. This approach worked for me, especially because I wanted an organic look — but spacers will give you more consistent results.
Step 6: Check for Level
Periodically use a level to ensure your tiles are even. This step is crucial for a professional-looking finish.
Step 7: Allow to Set
Let the mortar cure according to the manufacturer’s instructions, usually 24 hours, before moving on to grouting.
Step 8: Grout the Tiles
Apply grout between the tiles using a grout float. To be honest, I used my hands too when I got frustrated with the grout float tool. I opted for a thicker grout line to add some visual interest. Wipe away excess grout with a damp sponge, being careful not to pull grout from the joints.
Step 9: Final Touches
Once the grout is fully dry, clean the tiles with a soft cloth to remove any grout haze. Your tiled wall is now ready for its new look!
(2) Creating Floating Shelves
Step 1: Make a Cleat
First I used painter tape and a level to determine where I wanted my floating shelves. Then I used a stud finder to determine where the studs were in my wall. I purchased 1×2″ boards from home depot and attached one to the back wall and to the side walls to the studs. Then, at each stud (and every 4″), I attached a 1×2 board at the desired depth of my shelf to the 1×2 on the wall.
Step 2: Prepare the Shelves (cut and stain)
I cut 1/4″ plywood to the size of my shelf (width = wall to wall, depth = 15″). I stained them to my desired color. I chose Minwax White Wash for the first coat and Early American for the second. Apply the stains in thin layers, allowing each coat to dry before adding the next. I used my brad nailer to attach one sheet to the top of the cleat and one on the bottom. Finally I attached a 1.5″ trim piece to the front edge for a polished look. All tools and supplies are linked below.

Here are the links to most of the products I used:

In hindsight, if I were to make open shelves again, I’d probably opt for floating shelf brackets from Amazon to save some time. But the DIY approach was rewarding and gave the space a unique touch.
I hope these tips and steps inspire you to tackle your own DIY projects! Feel free to drop any questions or share your own experiences in the comments. Happy renovating! 🌟
xx,
Kristin