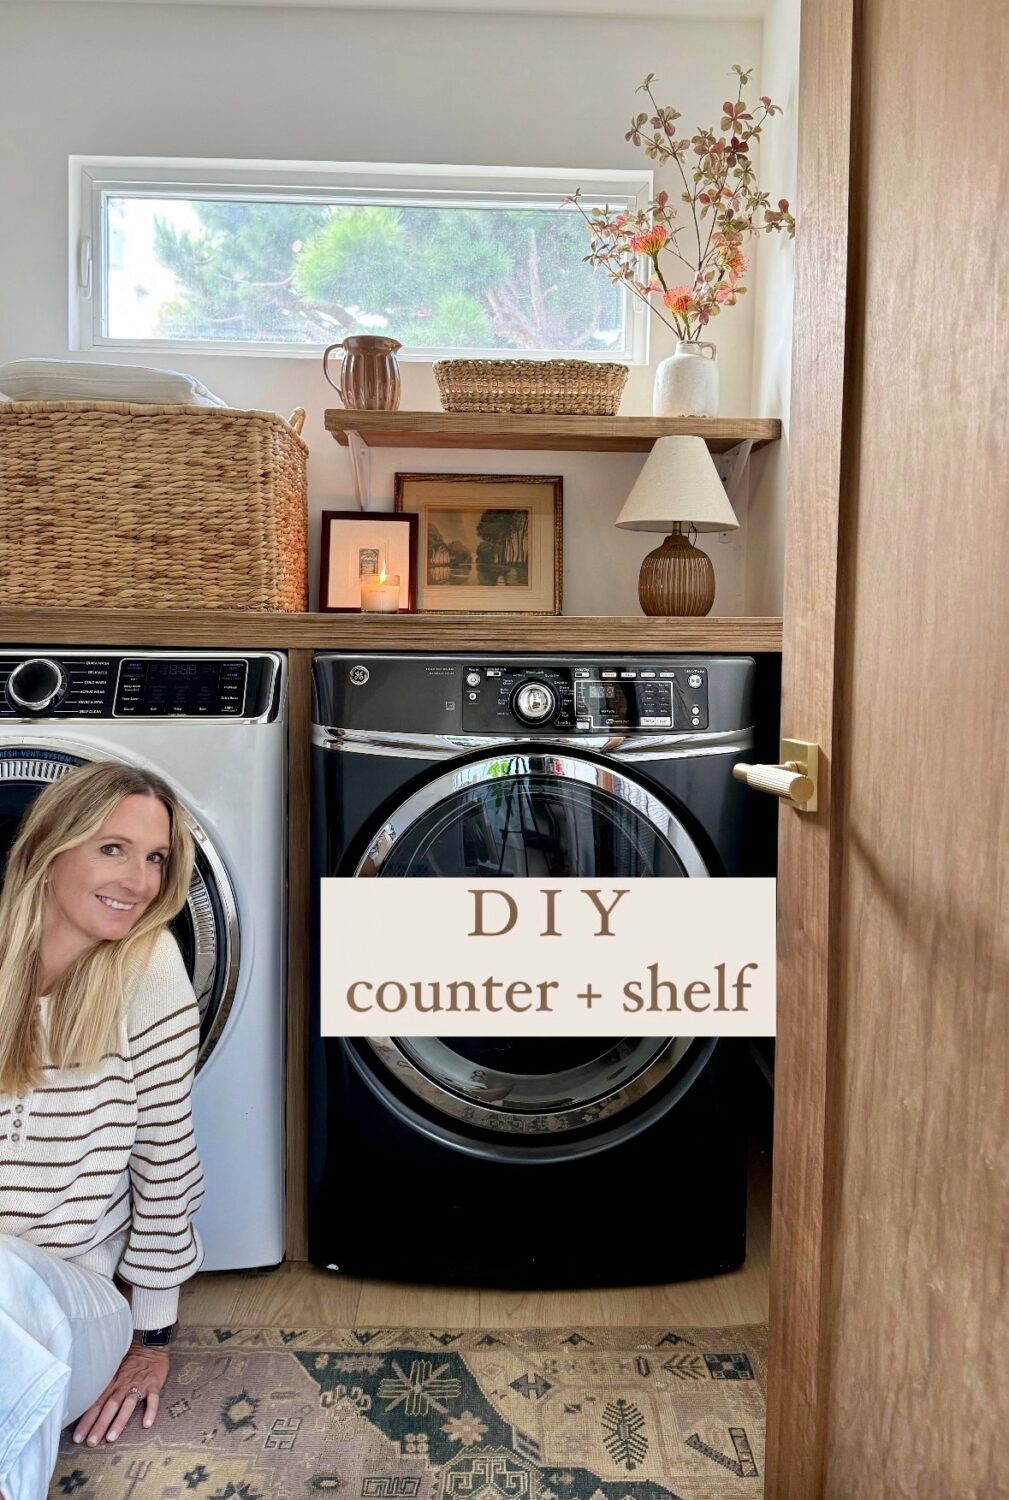
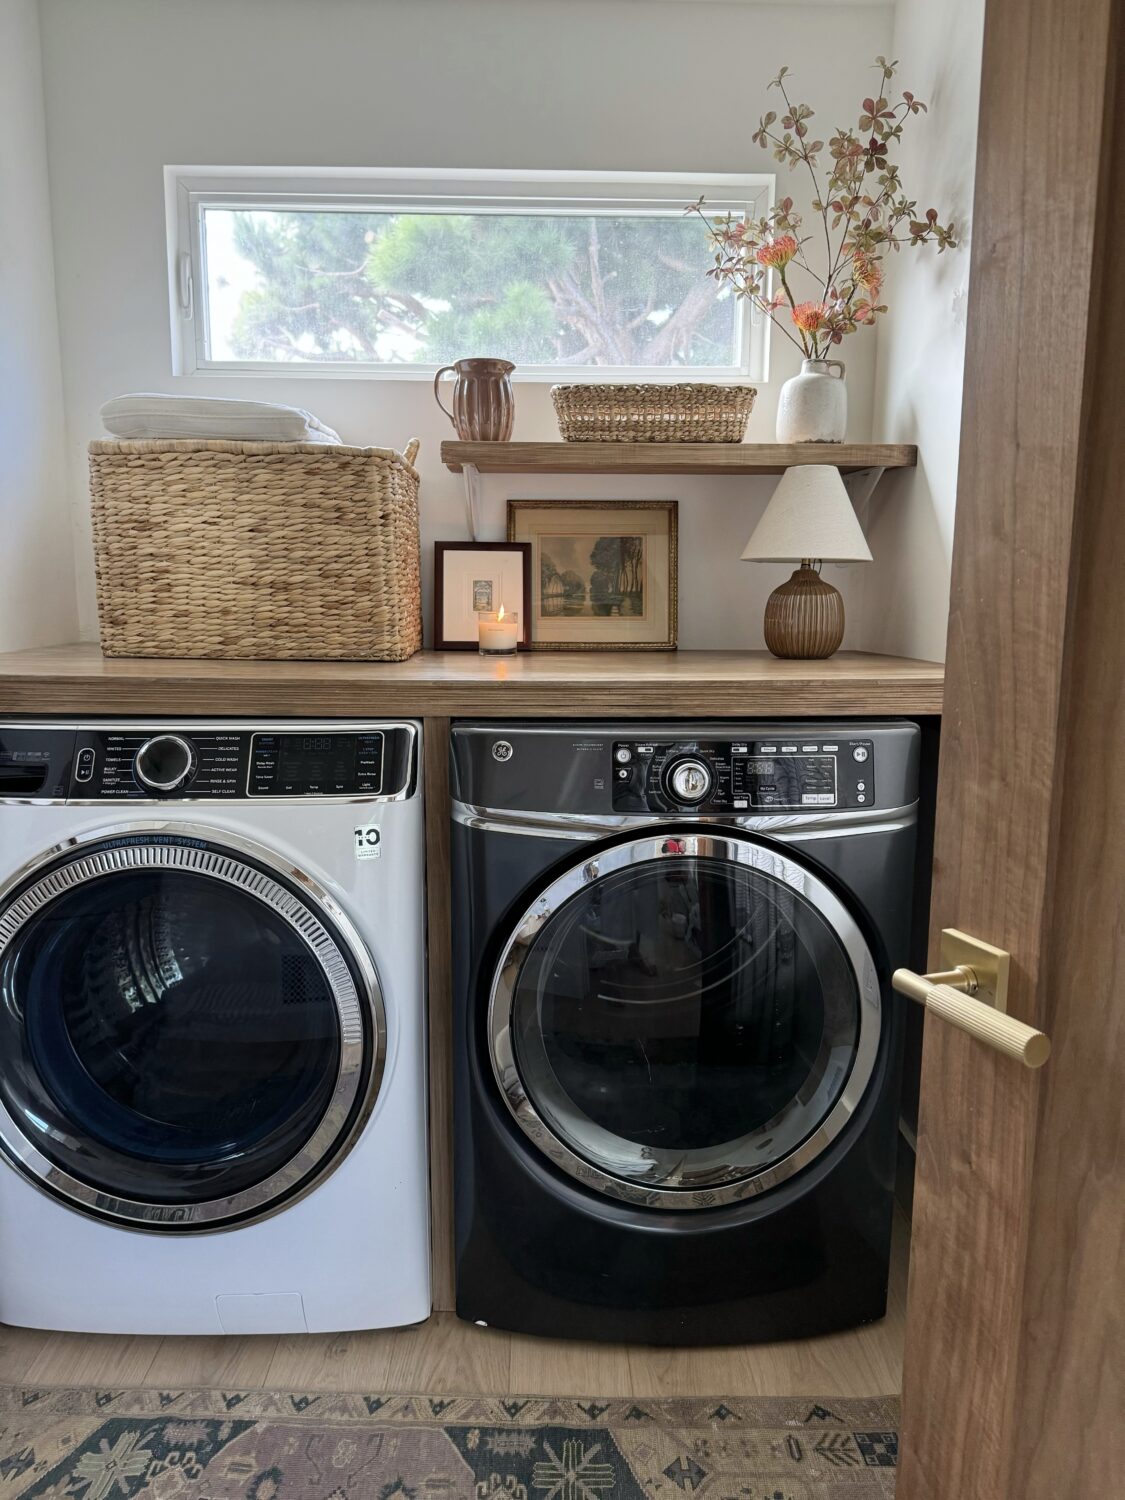
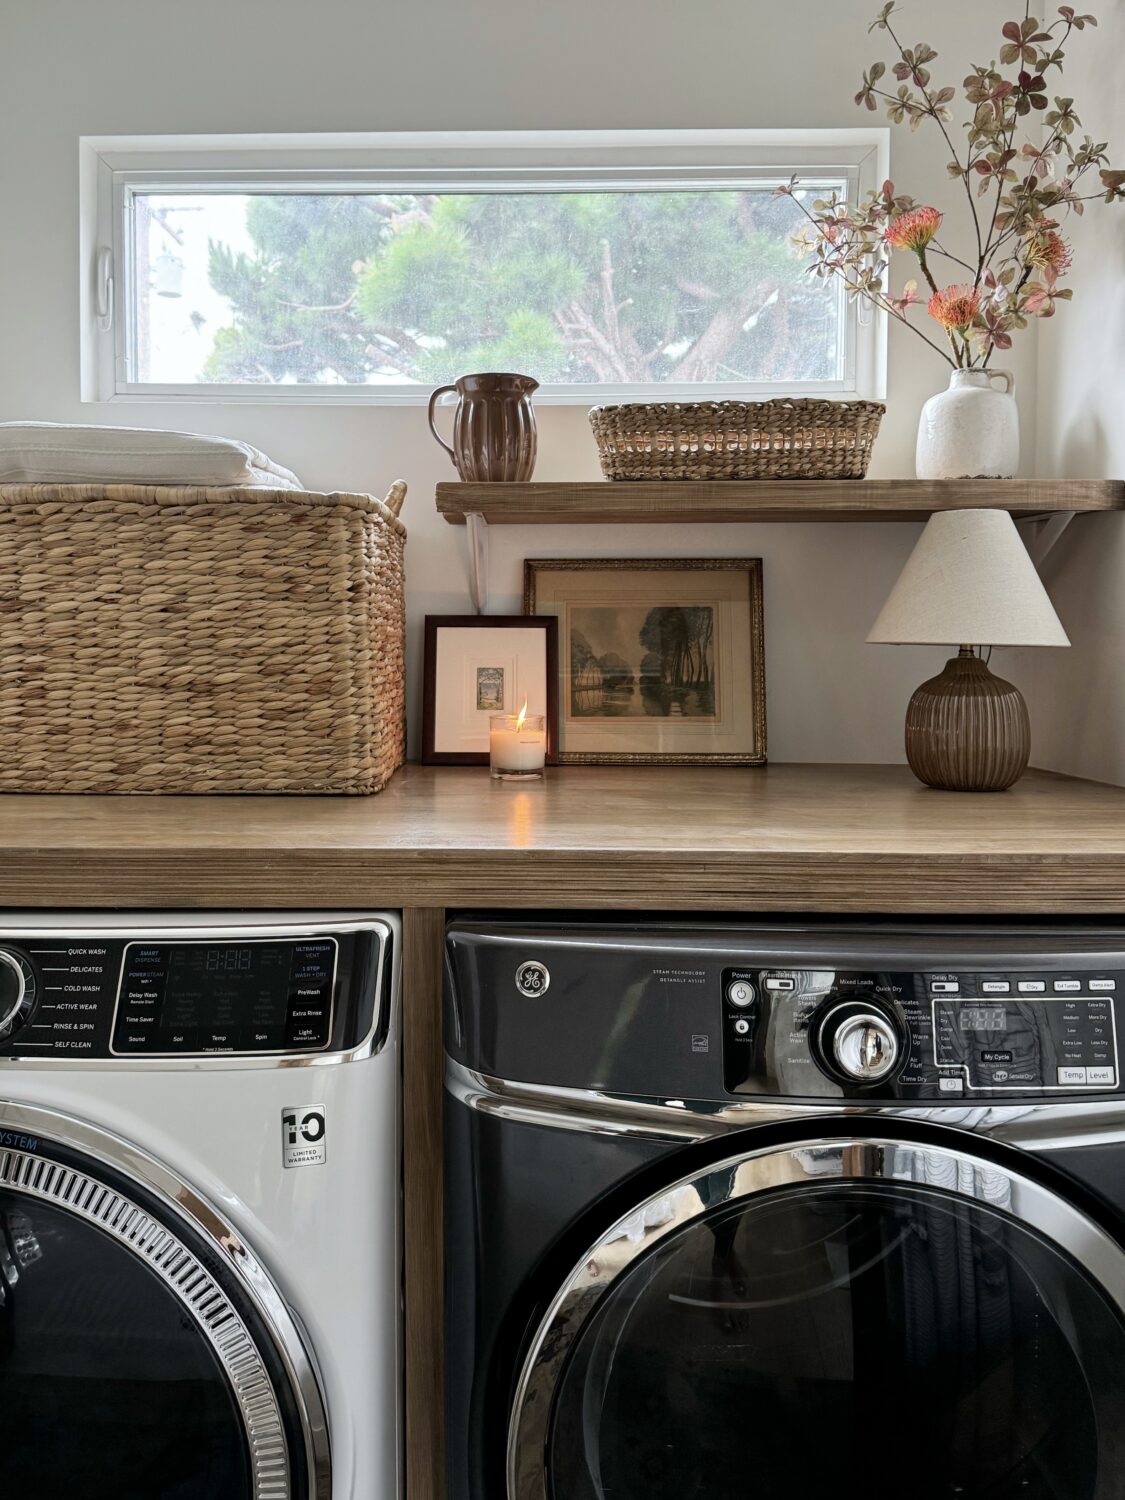
I recently transformed my laundry space by building a DIY wood countertop over my side-by-side laundry machines. I have been wanted to do this for years! I paid someone to do it in our last home but this go-around I took the plunge and did it myself. This project is not only budget-friendly but also adds beauty and practicality to your space. It provides extra storage and a convenient surface for folding clothes. Here’s a step-by-step guide to help you create a high-end looking (on a budget) countertop. Scroll to the end for links for everything I used to complete this project. And in case you are wondering, my mismatching machines is not on purpose. I replaced my broken washer and decided to go with white and don’t want to replace the dryer until I have to. So until then, it is what it is. Here is the before/after:

Step 1: Plan and Measure
Before heading to the lumber yard, precise measurements are key. Since my project involved creating a countertop that spanned wall to wall, I measured:
Length: The total length of the space from wall to wall. If you don’t have walls on either side, you could buy the same type of plywood for the side panels, which would create a frame that you could install to the back wall.
Depth: How deep you want the countertop to be. I measured 32.”
Height: The height at which you want the countertop to sit (I chose 41 inches from the ground).
These measurements will guide your material purchases and ideally ensure a perfect fit. Mine did not end up fitting perfectly because my walls are not perfectly straight, so I had to make some minor adjustments at home using my circular saw and sander.
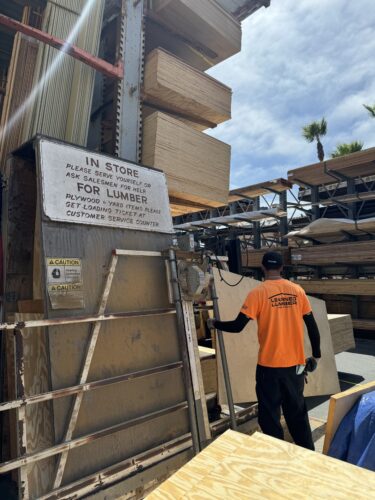
Step 2: Purchase Materials
With your measurements in hand, go to your local lumber yard and buy the following materials (and have them cut them down to size):
Birch Plywood: One sheet of 3/4” birch plywood ($44). I had it cut to 69” long by 32” deep. (Home Depot has plywood but it is more expensive and was not as nice IMO. Try a local lumbar yard if you have one nearby).
2x4s: I purchased 12 feet of 2x4s for the frame ($5.32). I had them cut into: 1 back piece (69”), 2 side pieces (28” each)
Exterior Plywood: Half a sheet of 3/4” exterior plywood ($20) for the middle frame between the machines. Have it cut into two pieces to glue together for added strength. This plywood does not show so I bought the cheaper (but still strong) plywood.
Trim: 2” trim for the front edge of the counter for a thicker appearance. 1/5″ trim to cover the 1.5″ of plywood edge in the center frame.

Step 3: Build the Frame
To create a solid base for your countertop:
Create the Middle Frame: Use wood glue to double up the exterior plywood pieces. This will form a frame measuring 41” high by 28” deep. Allow the glue to dry thoroughly. Then place this directly on the floor in between the 2 machines. I pushed my machines together to hold it in place.

Attach the Wall Frame: Find the wall studs with a stud finder and mark them. Use a brad nailer and a level to attach the 2x4s around the wall, forming the frame for the countertop. The brad nailer does not secure the frame but holds it in place for you to then screw the frame into the studs. Use a drill bit first and then drill the 2×4 into each stud using a 2 1/2″ wood screw (linked below). The top of the frame should measure 41” from the ground.
Step 4: Prepare and Stain the Wood
Stain the Countertop: Apply a layer of Minwax White Wash as a base, quickly wipe it off, and let it dry. Next, apply Minwax Early American stain. Finish with two coats of polyurethane for a durable, glossy finish.
Stain the Trim: After trial and error, I ended up using Aged Oak gel stain for the trim pieces to match the countertop color. Remember, different types of wood absorb stain differently, so always test on a scrap piece first. (I linked all of these stains below).
Step 5: Install the Countertop
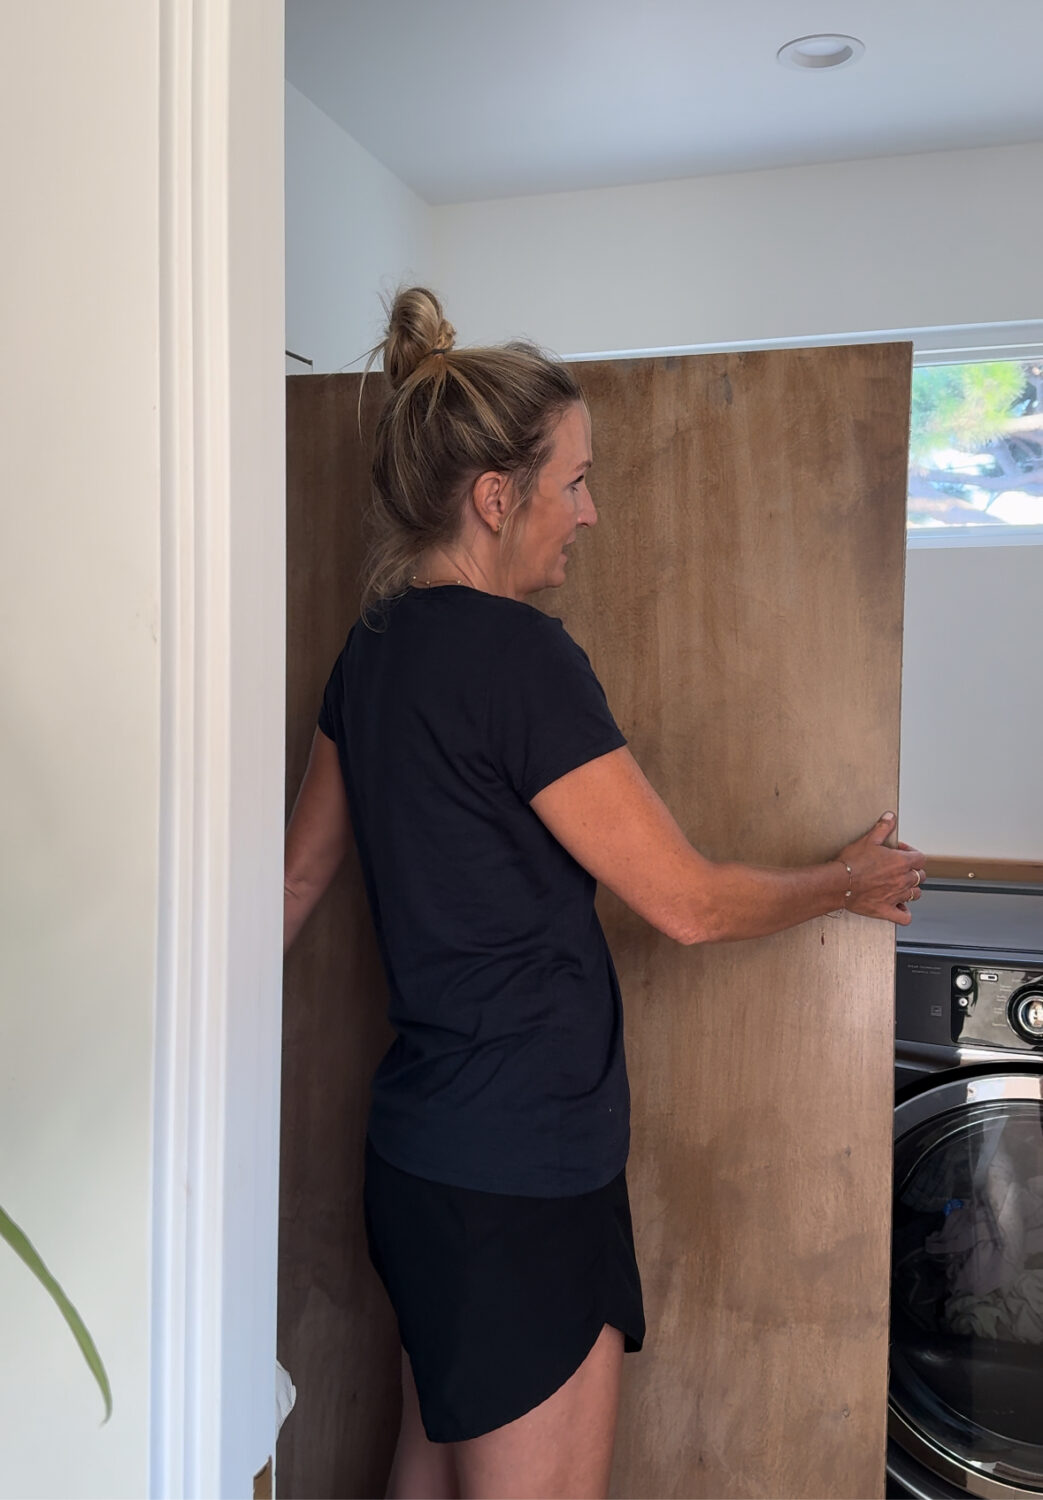
Position the Countertop: Place the stained birch plywood onto the frame. My son helped me with this. It was heavy and did not fit perfectly the first go-around. I had to saw off a tiny bit (and then sanded the edge with my circular sander).
Secure the Countertop: Use your brad nailer to attach the countertop by nailing once on each side, in the back, and in the center. Given the weight of the plywood, this should hold it securely while allowing easy removal if needed.
Step 6: Attach the Trim
Attach the 2” Ribbed Trim: Align and nail the 2” trim piece along the front edge of the countertop. You can have this cut down to size at Home Depot (or wherever you purchase it). But I highly recommend buying a $12 miter saw to have at home for easy cuts like trim. Also linked below.
Install the 1.5” Trim: Affix the 1.5” trim piece to the center frame using your brad nailer.


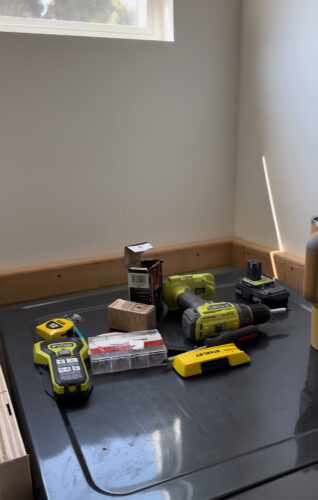
Tools and Supplies: (all linked below)
Measuring Tape
Level
Stud Finder
Drill
Brad Nailer
Sander
Circular Saw (for any adjustments)
Wood Glue
Stains and Finishes
LINKS TO EVERYTHING 🙂

Final Touches:
Ensure all nail holes are filled and sanded smooth. Clean any excess stain and polyurethane. Your new wood countertop should now be a beautiful and functional addition to your laundry space! I ended up making a shelf with the plywood extras. It measures 3′ long and 11″ deep. I glued 2 pieces together and used 1.5″ trim for the exposed edge. And then of course, I styled it pretty. 🙂
If you end up trying this, please feel free to reach out with any questions! I look at my DMs on Instagram.
xx,
Kristin